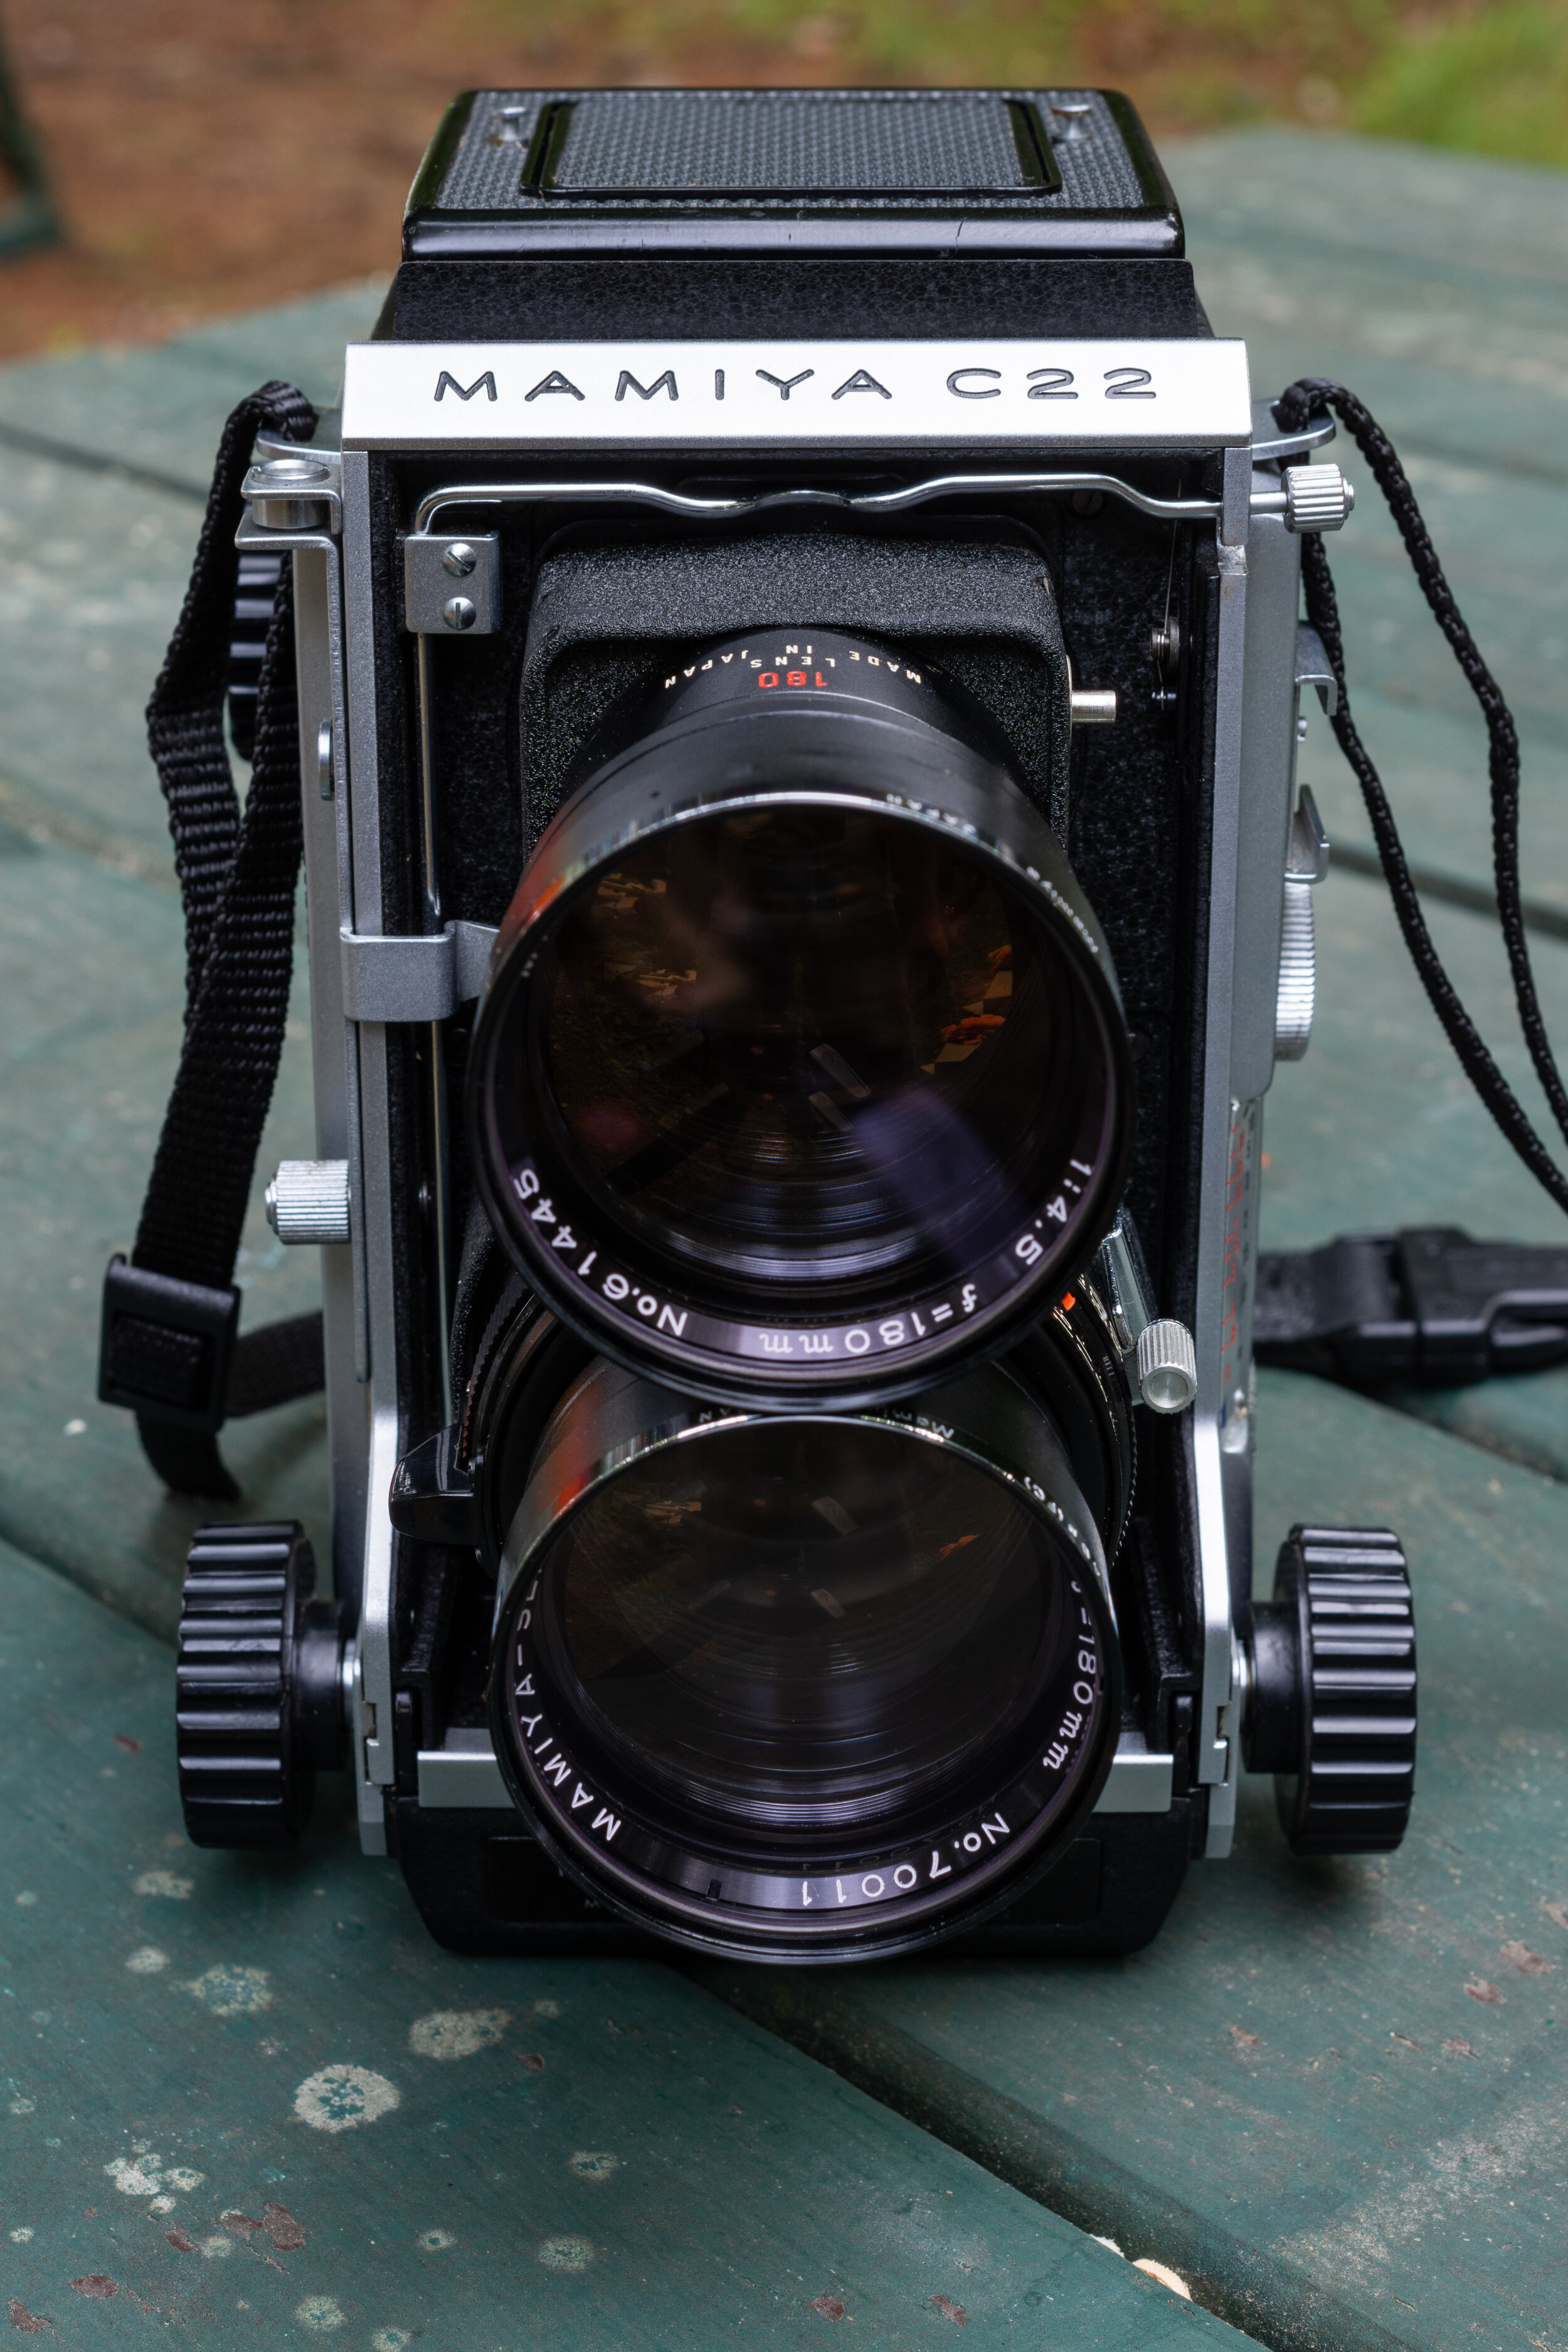
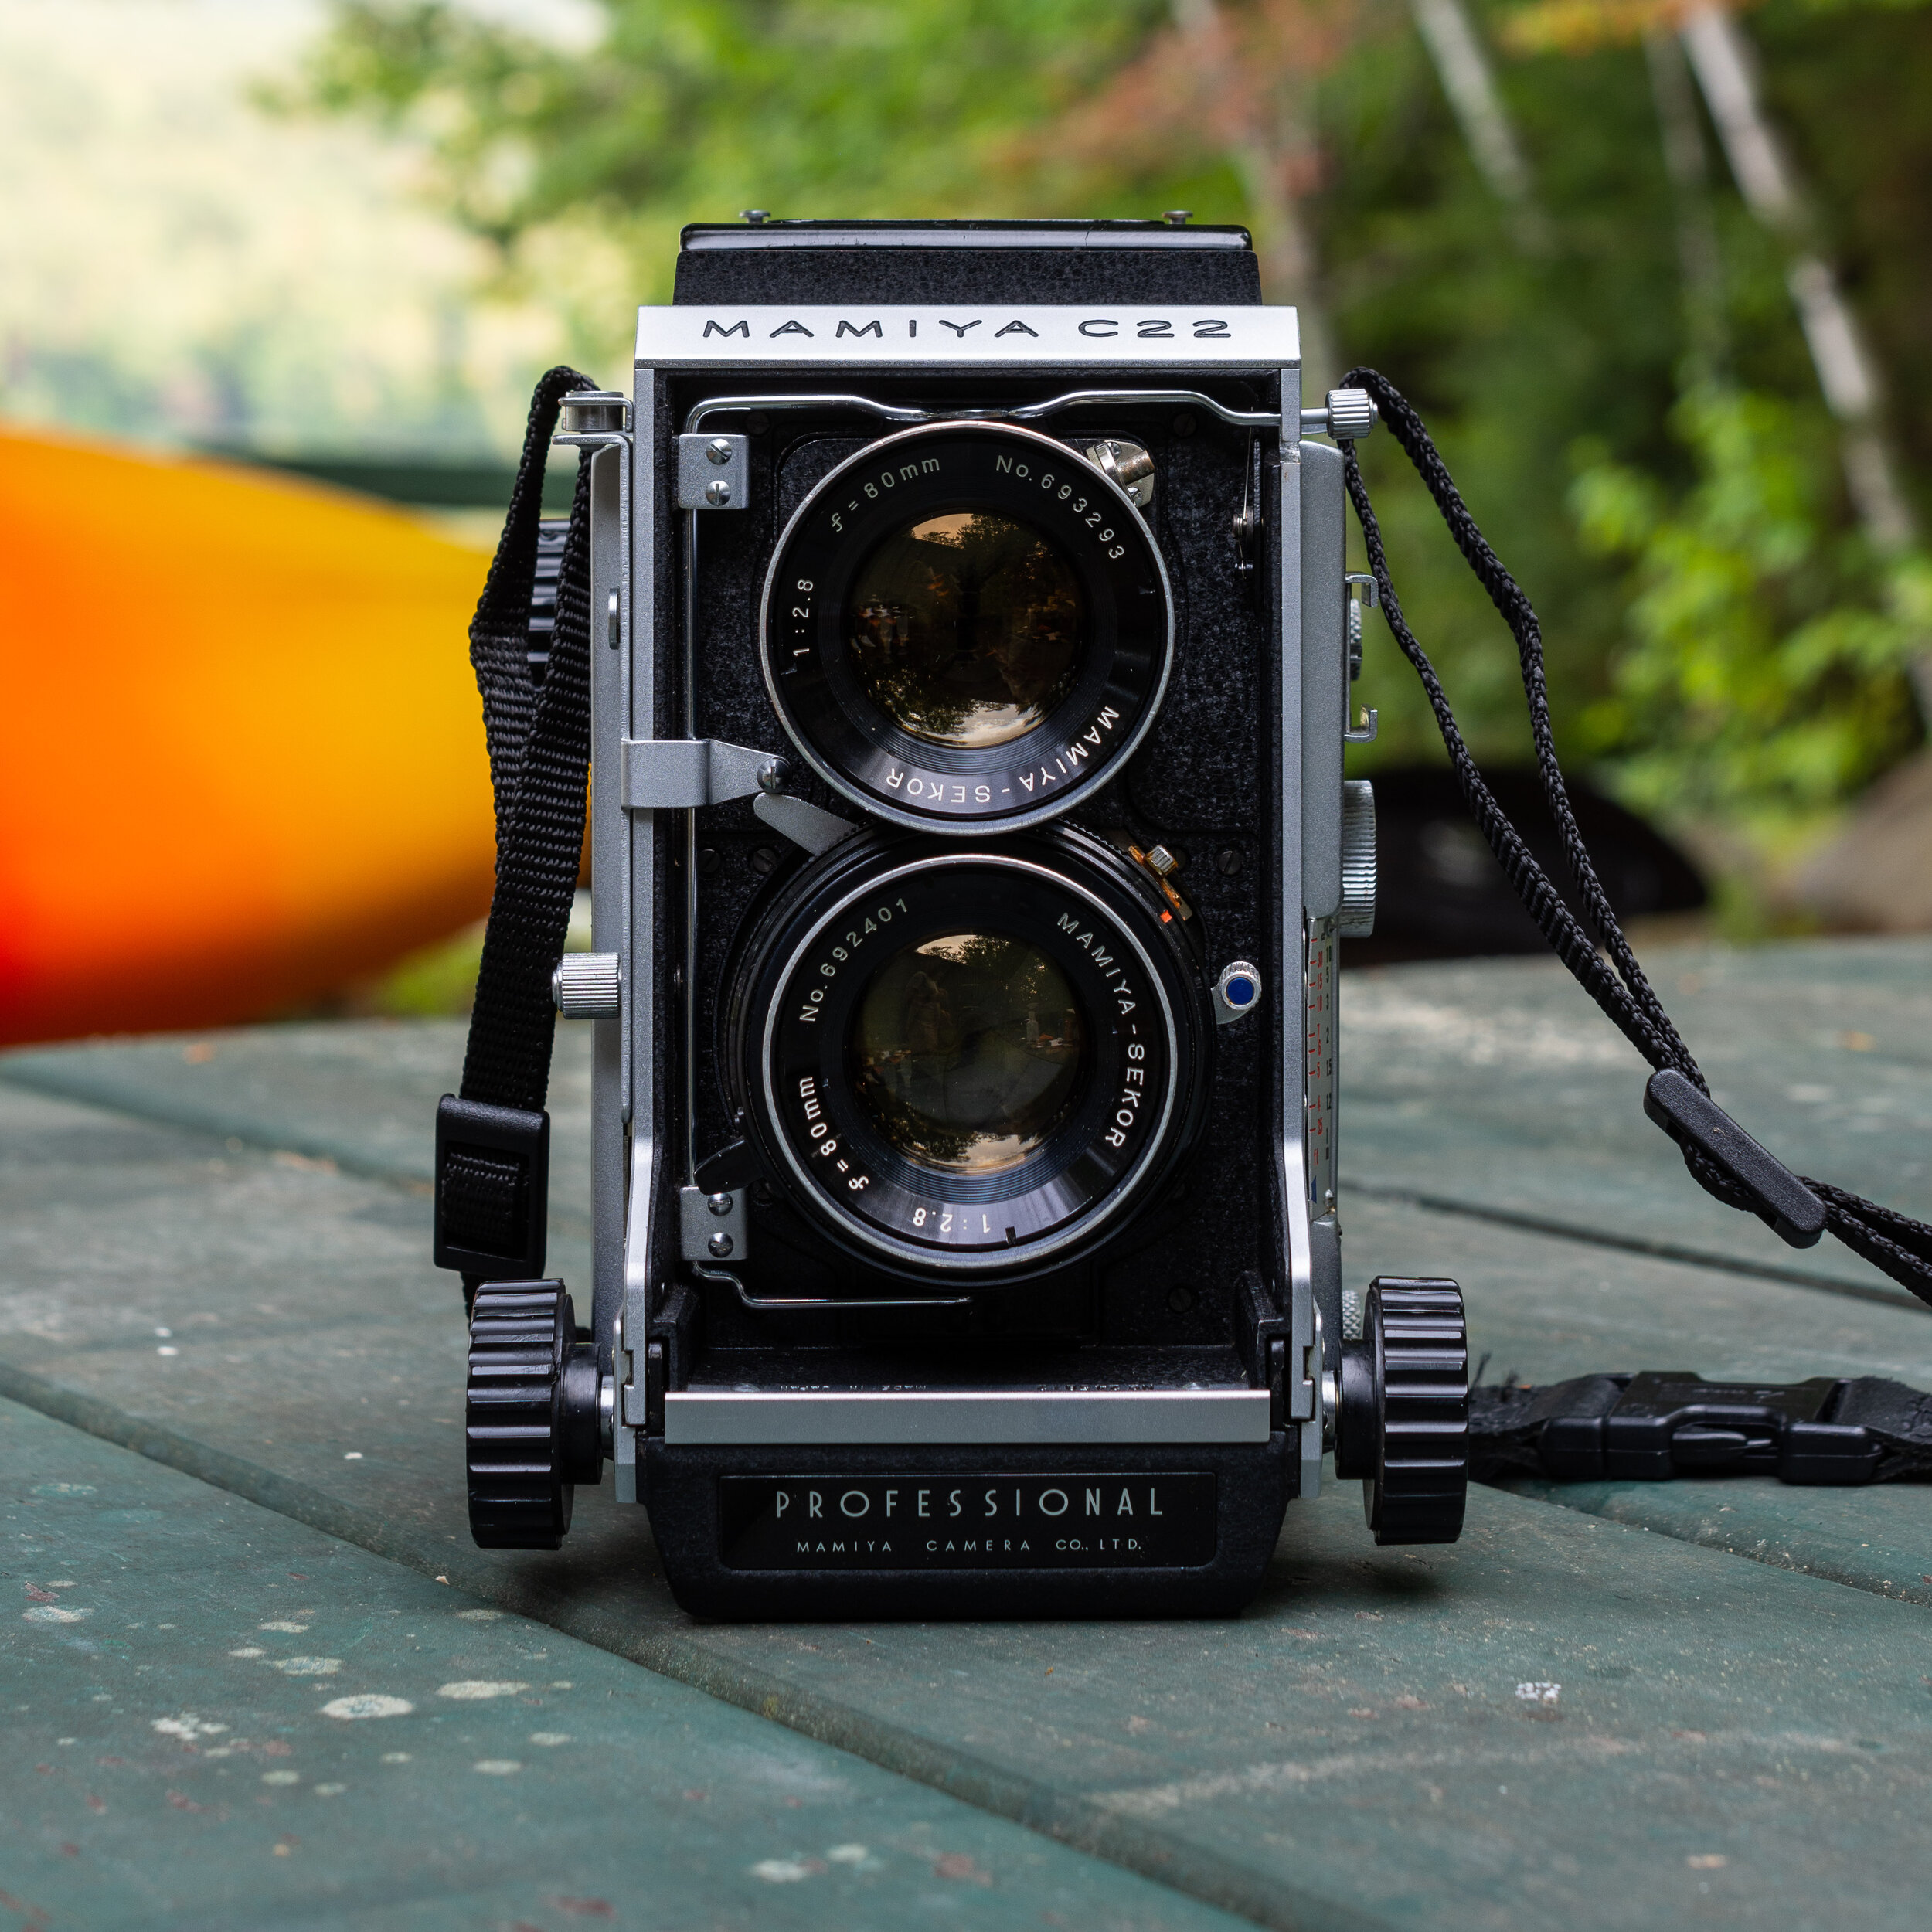
Review | Mamiya C22

_GRC3865.jpg

I’ve been through a few different camera systems over the years, refining the equipment I work with to fit my shooting style. I started off in the world of medium format film with a Bronica ETRS 6x4.5, mainly because it was a reasonably priced system to get into. Scanning on an Epson V600, I just wasn’t happy with the picture quality I was getting from my negatives. The 6x4.5 format exists in this weird space between 35mm and 6x6 and I felt like it really didn’t provide any benefits over just shooting 35mm with my F100. When many people think of the 6x6 format, they envision a TLR (twin lens reflex) from companies like Yashica or Roliflex which features a fixed (usually ~80mm) lens. I stayed away from these cameras because I wanted interchangeable lenses, though I wanted to stick with the TLR style of camera. The unique selling point of the Mamiya TLR system is the range of interchangeable lenses which allows you to switch focal lengths mid-roll.

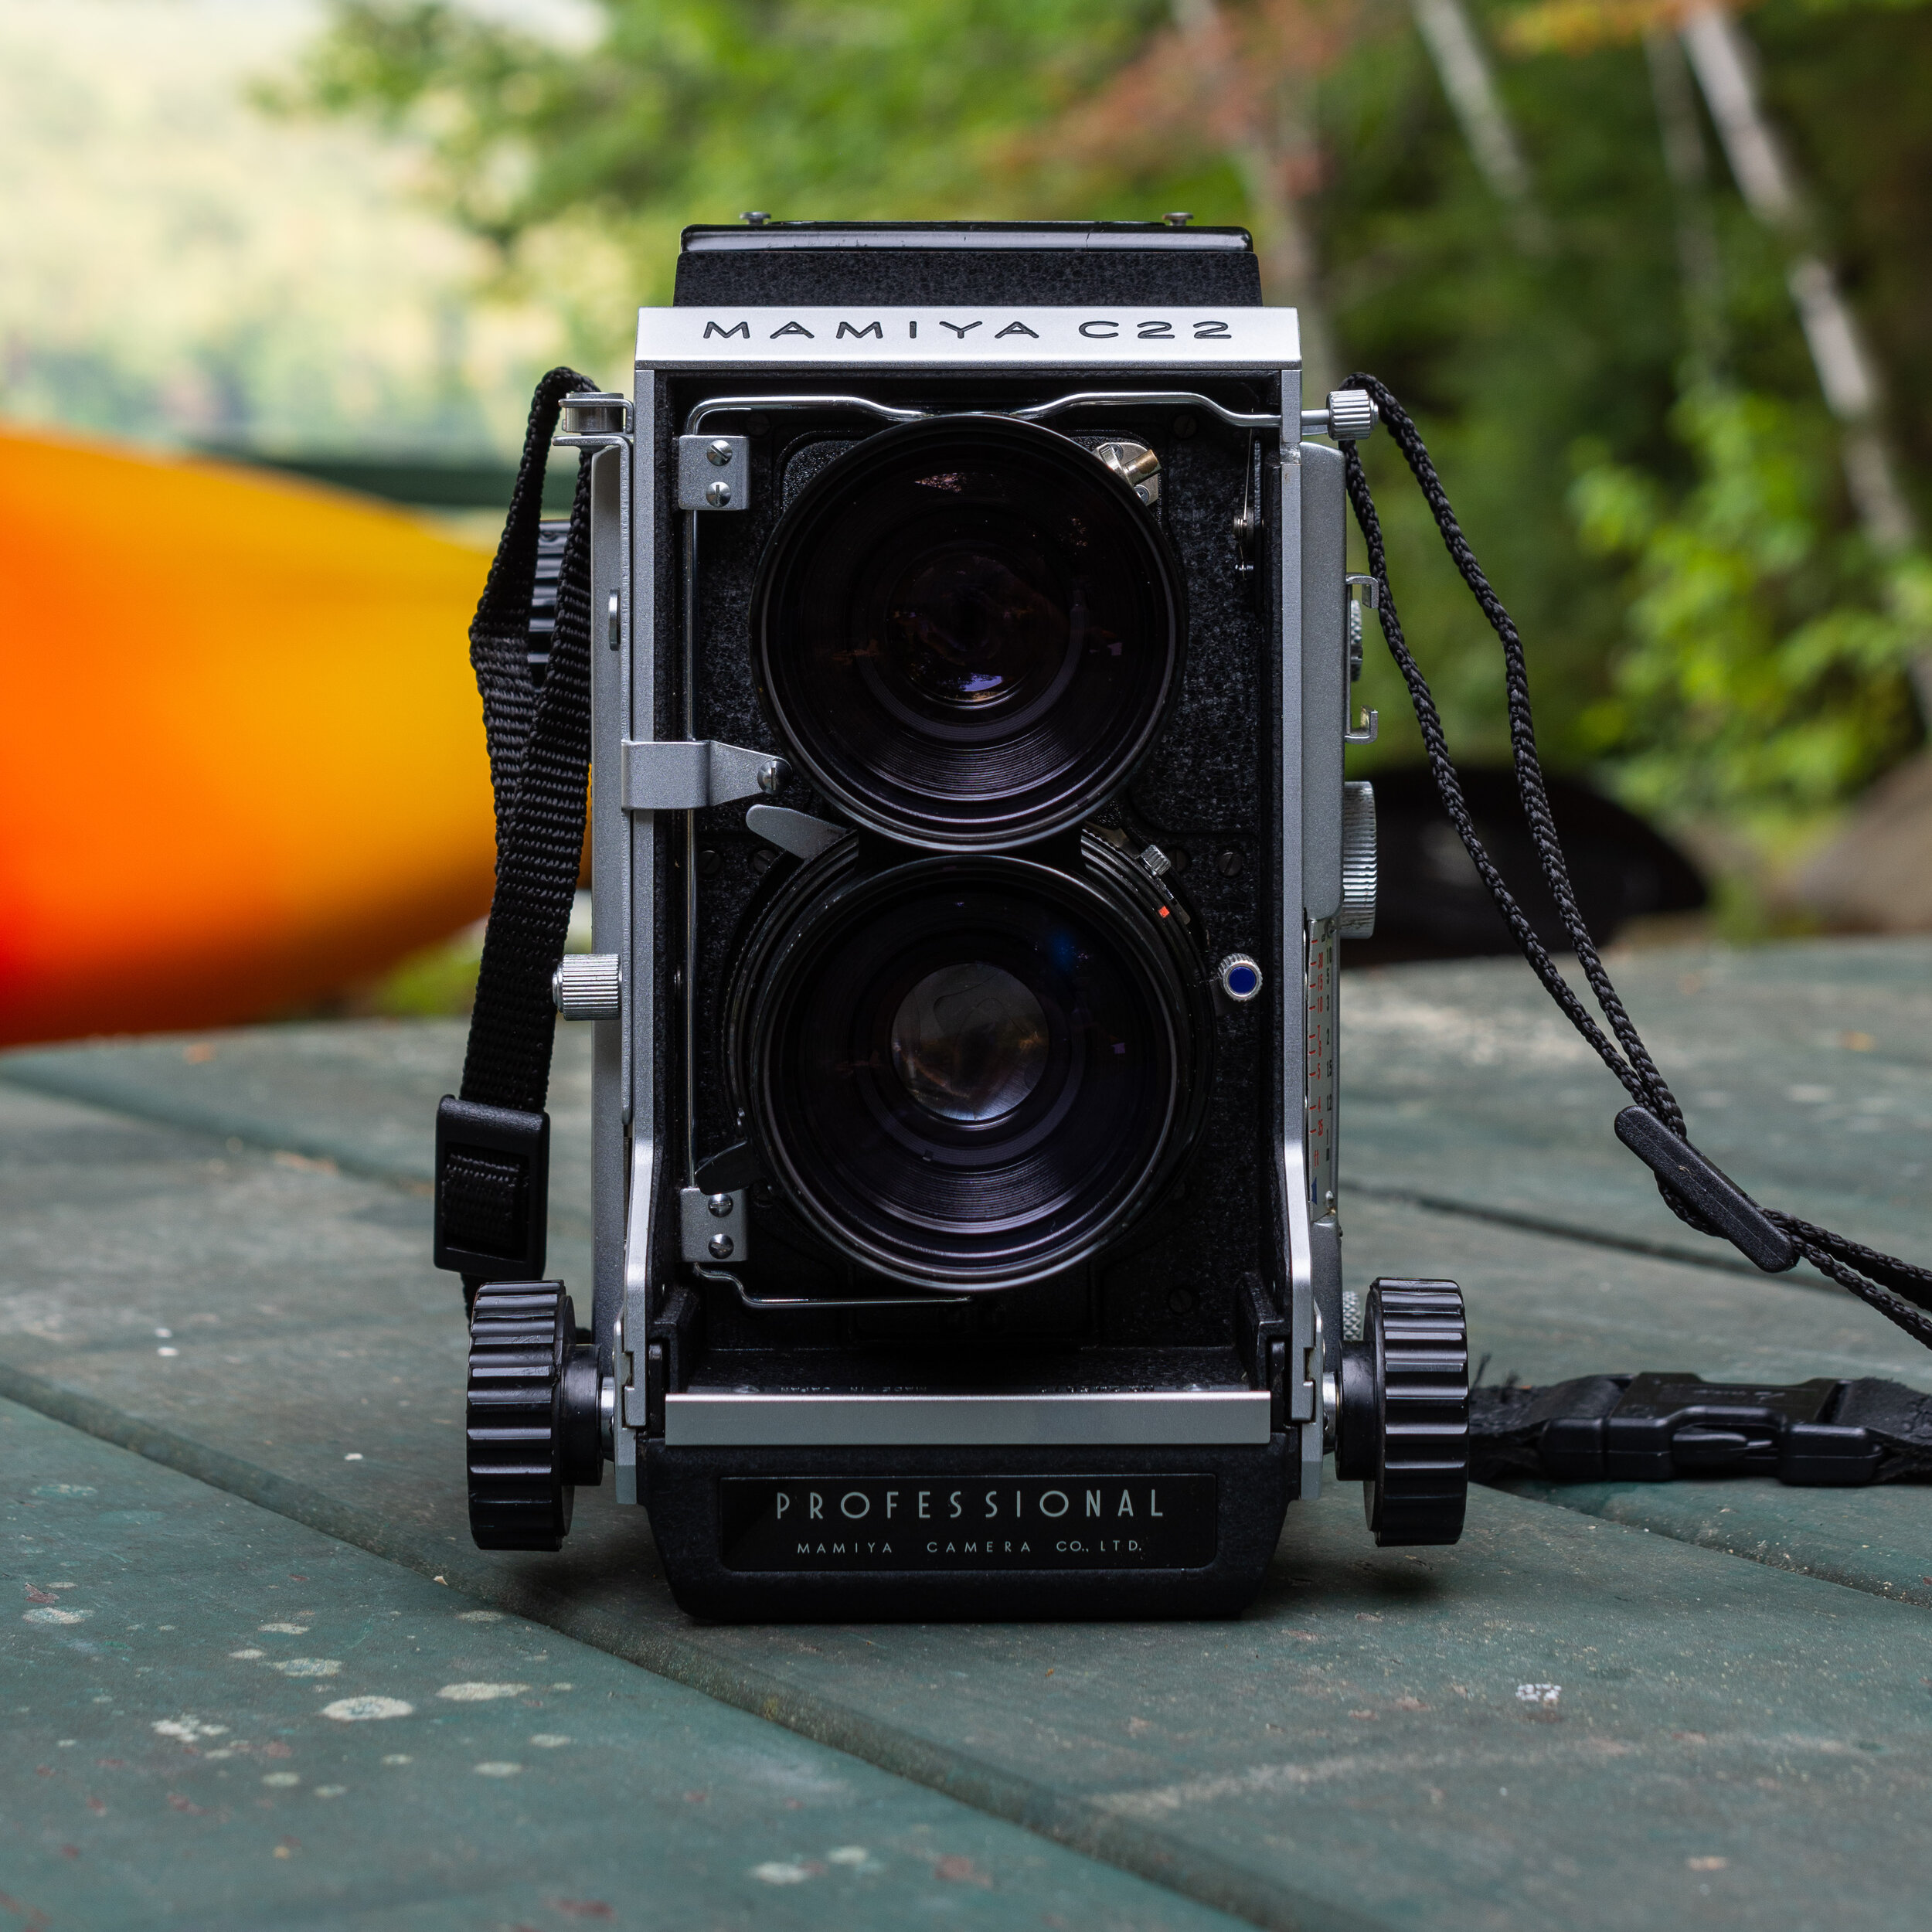
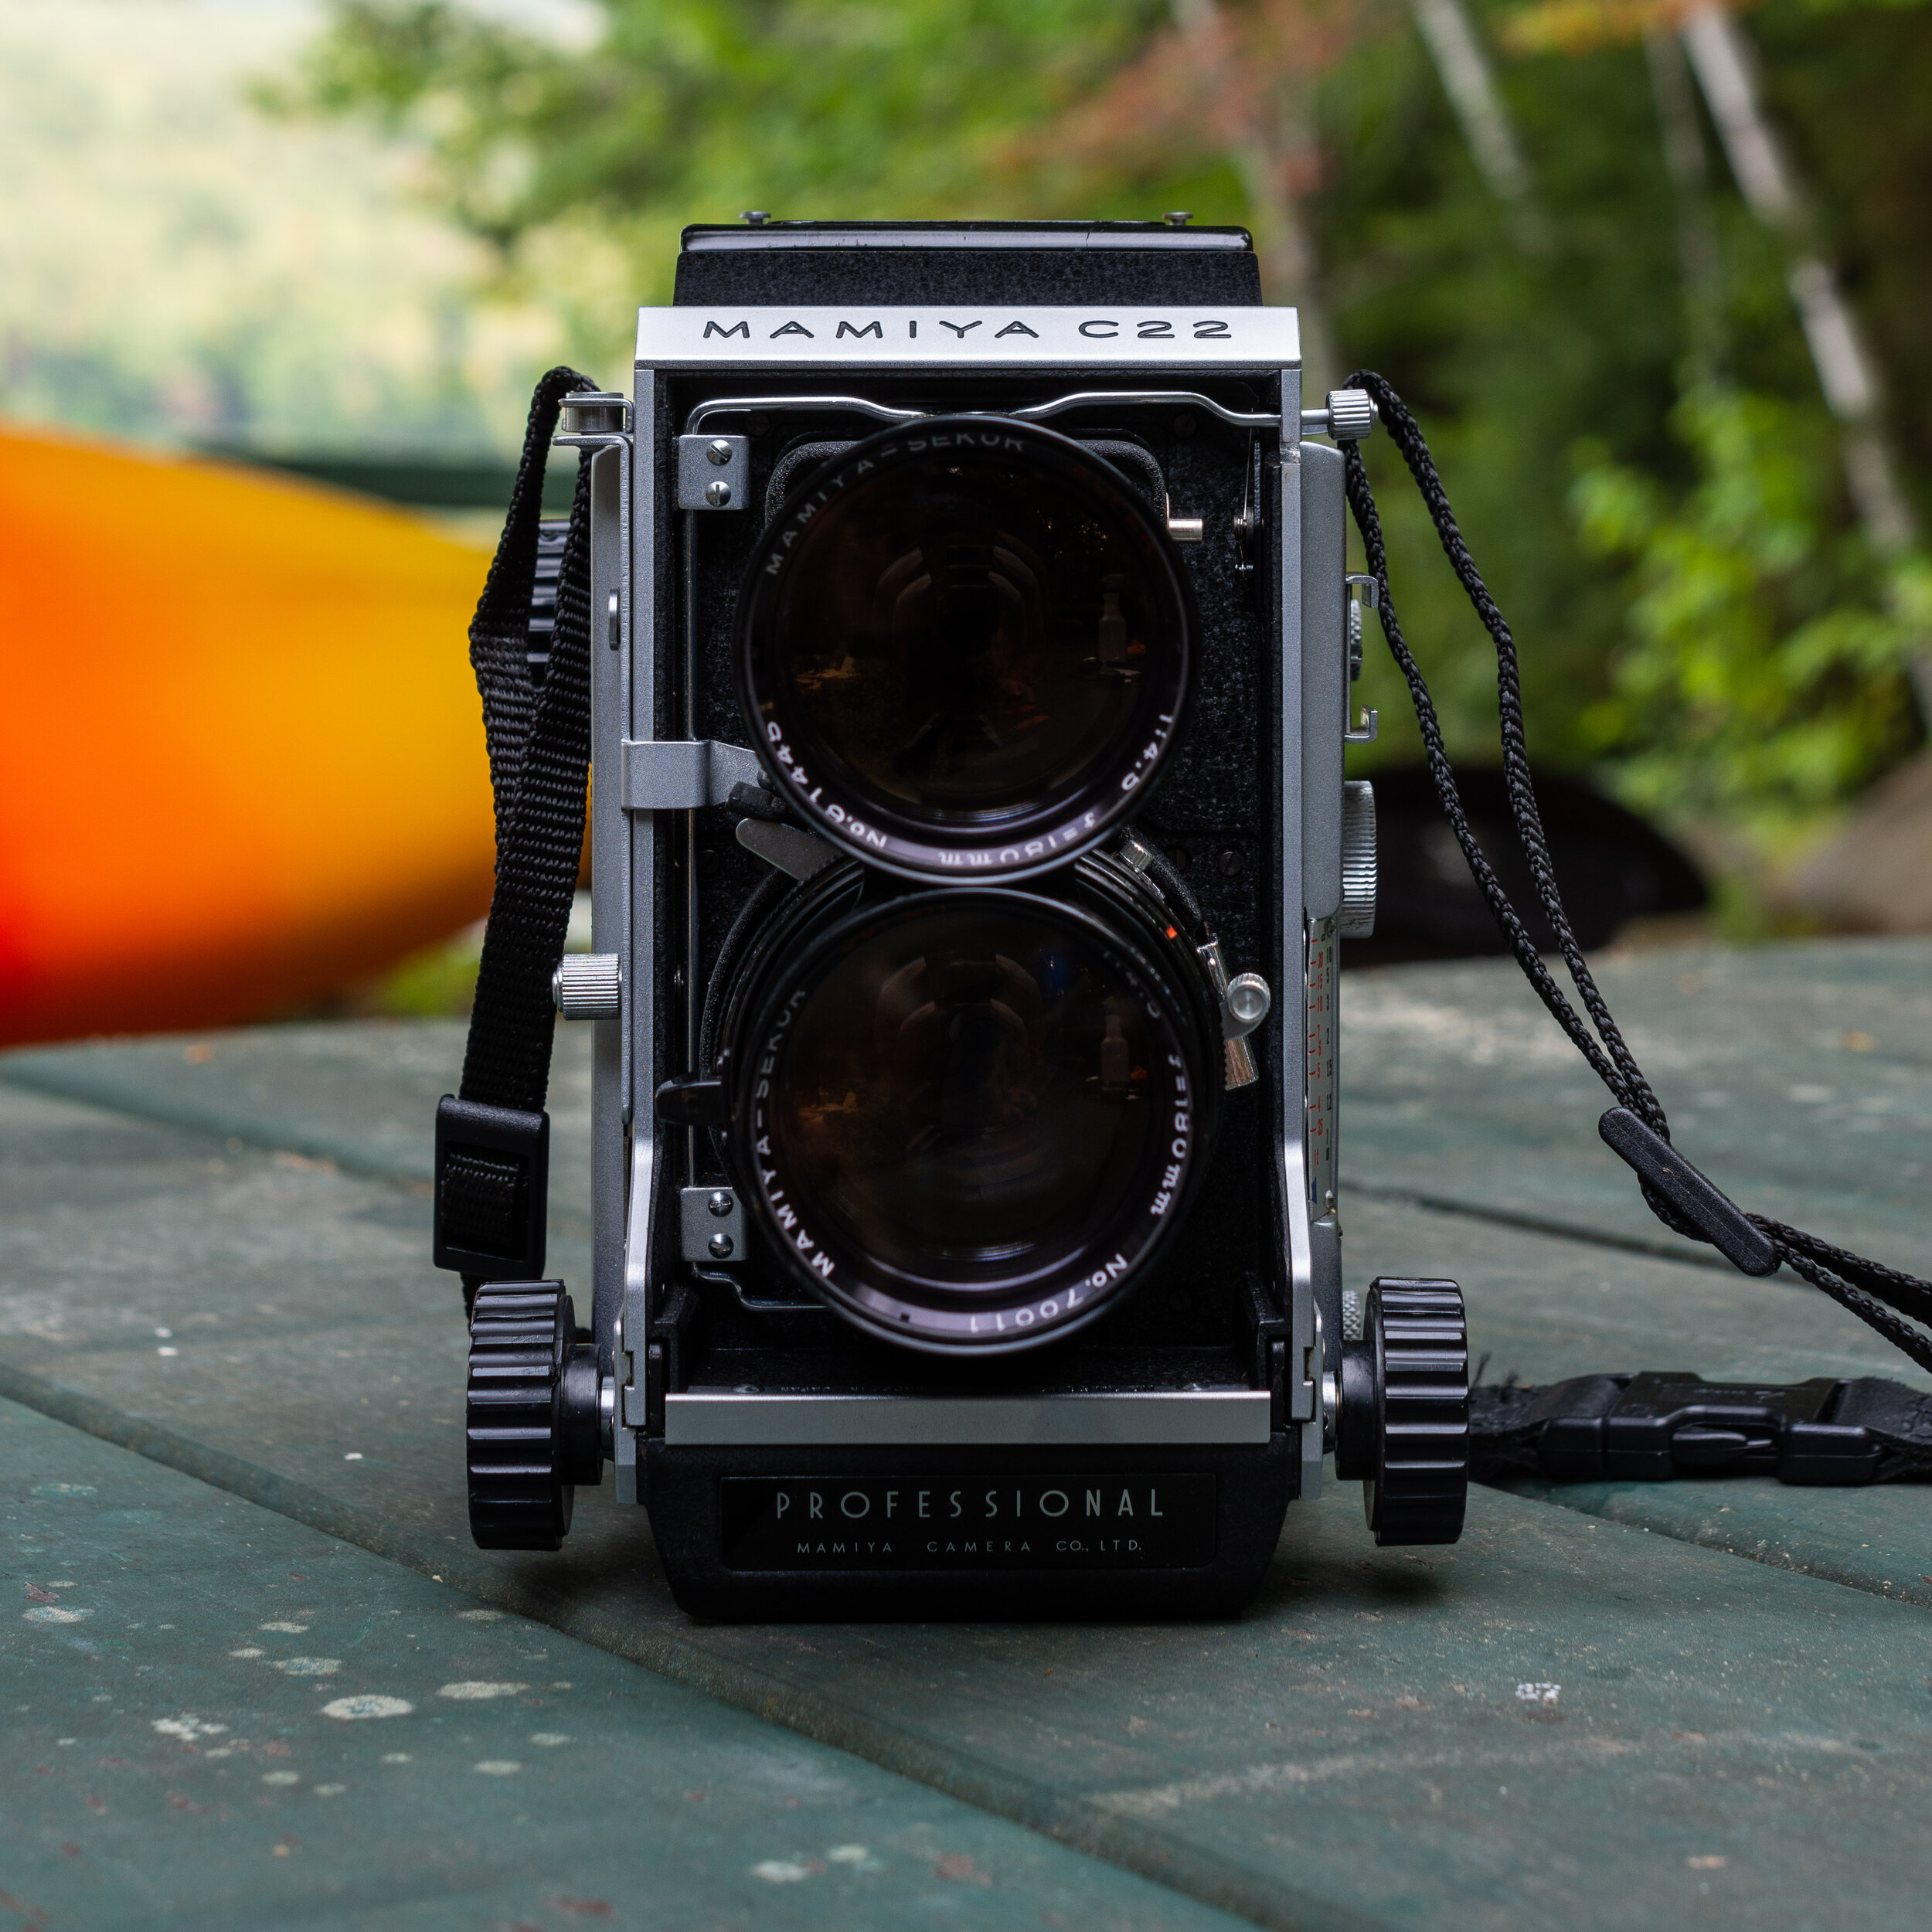
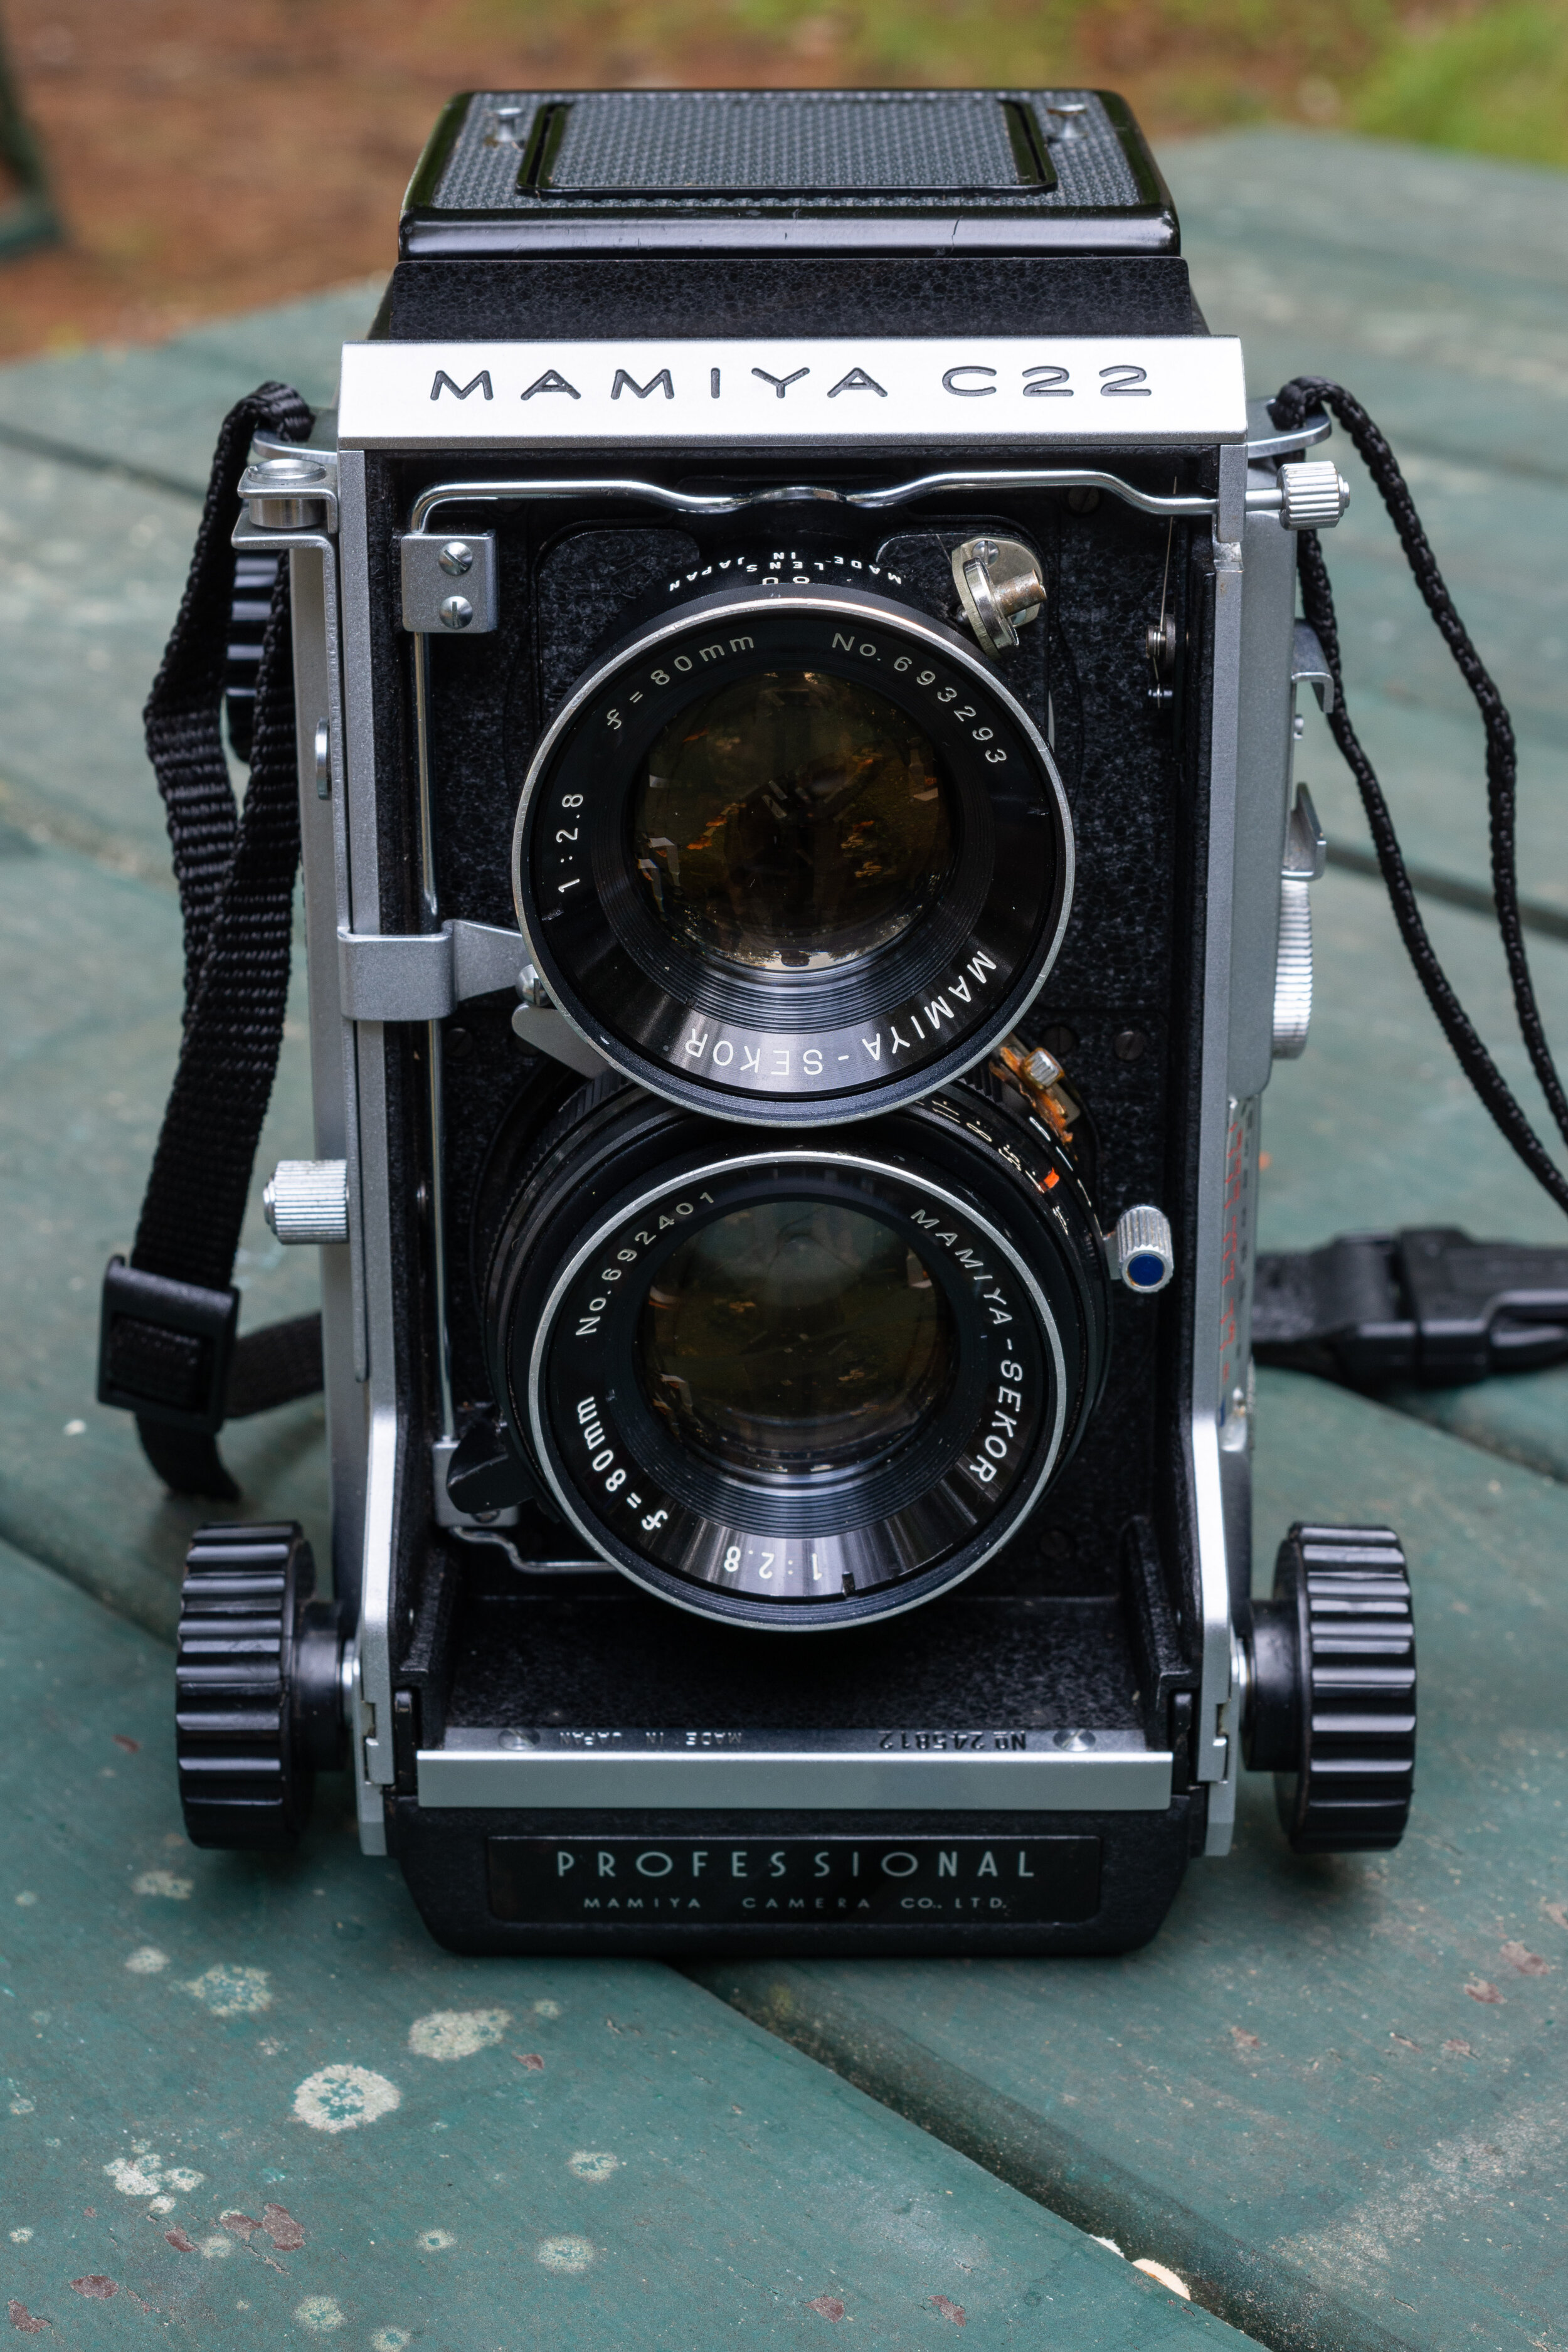
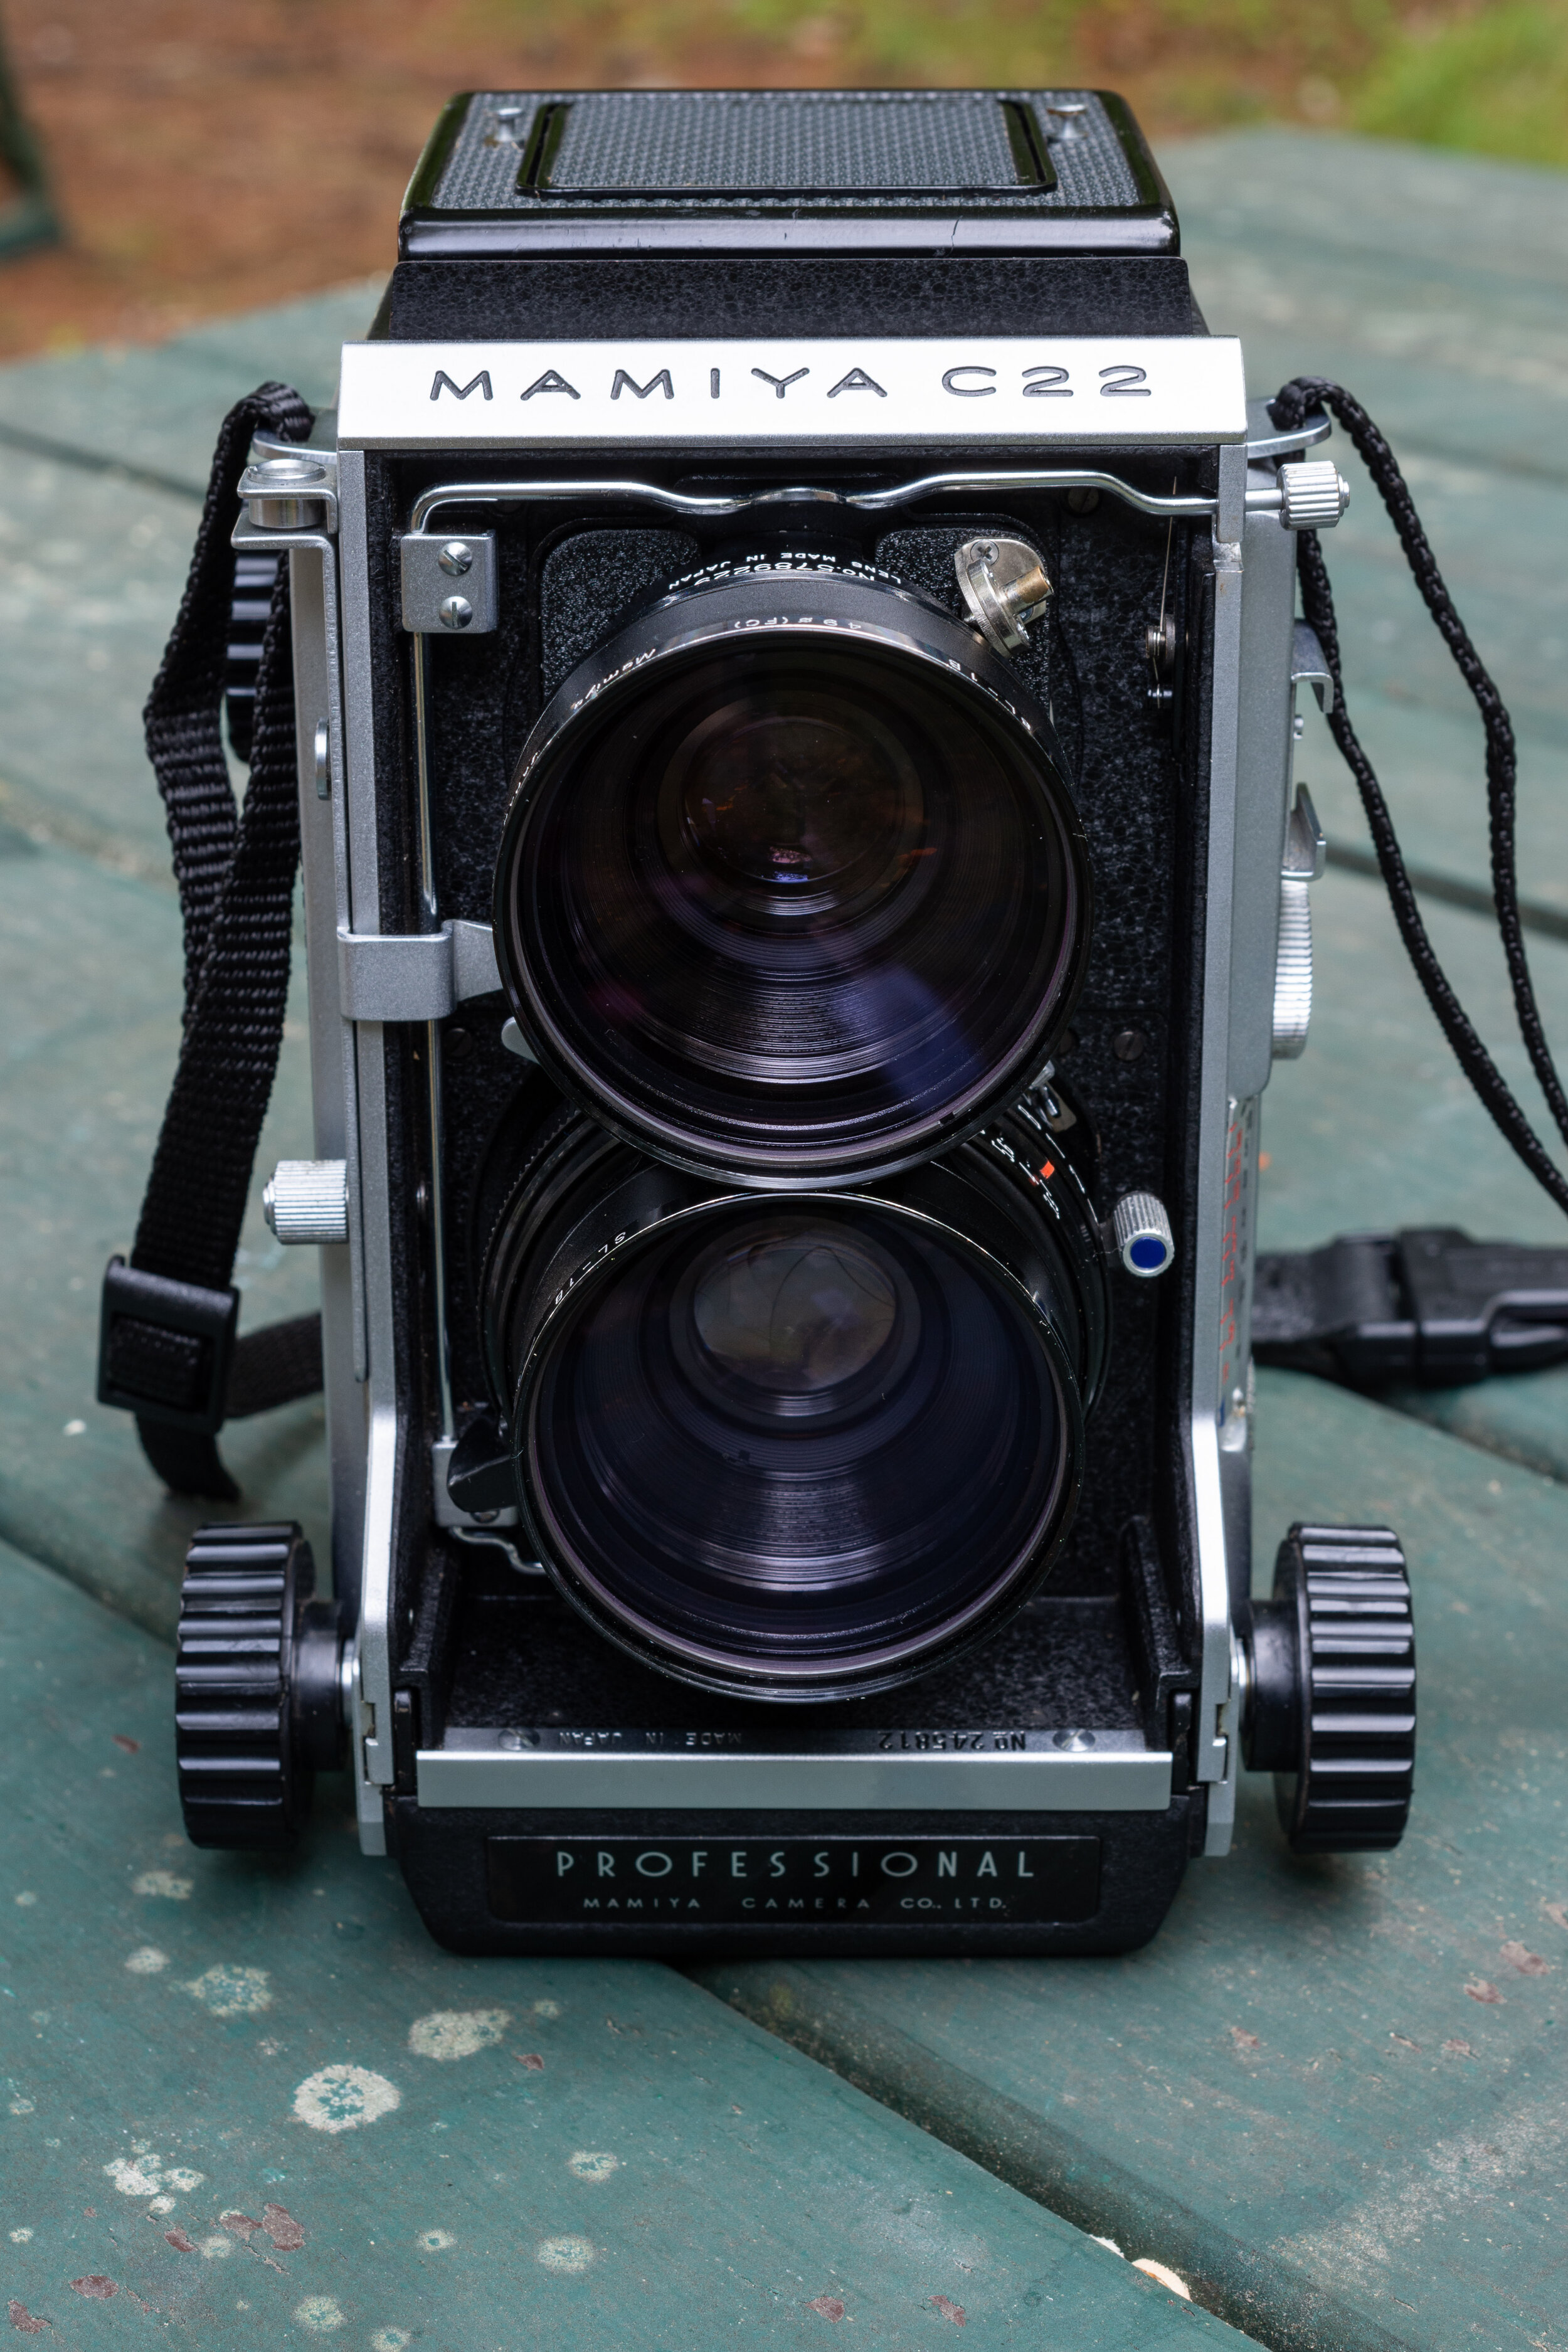
The Mamiya C22 is solid camera that just feels right in your hands. Mamiya is known for making heavy cameras (think of how much an RB67 weighs!) and the C22 is no exception. It’s weighty, but also helps you keep the camera steady when using a neck strap. I use a padded OP/TECH Envy strap, but even then, I can only wear the camera around for so long before my neck starts to hurt. Prism finders are handy when using the camera on a tripod because it’s impossible to look down through the waist level finder (WLF) when the camera is up high. I prefer the C22 over the C220 and C330 because it’s a simpler (and slightly lighter) camera. I also just prefer the design ascetics over the later bodies, and don’t mind the “drawbacks” of the C22.

I shoot a combination of three lenses: the 80mm f/2.8, 65mm f/3.5, and 180mm f/4.5. The 80mm is the most versatile and can cover 80% of what I shoot. The 65mm is a good wide angle for those shots that are just a bit too tight for 80mm but it exhibits some vignetting on color film, which can be corrected in post. Mamiya did make an elusive 55mm lens, but I have yet to find one at a price point I’m comfortable with. I especially noticed the vignetting when shooting Ektachrome, where it showed up noticeably in the sky on a clear day. The 180mm is a beautiful and unique lens that looks almost comical when attached to the C22. It’s a beast of a telephoto lens that produces beautiful bokeh and is incredibly sharp. The 180mm is by far my favorite lens for the C22, but often requires a tripod because it’s very easy to get camera shake at shutter speeds less than 1/250th of a second when shooting handheld.

These lenses are built around Seiko shutters, which most repair shops won’t touch. Repair tutorials/manuals are also difficult to come by online. I had to rebuild the 80mm shutter myself because it became sticky and was difficult to cock. If you’re going to attempt a repair on these types of lenses, make sure you don’t over-tighten the interior lock ring when you put everything back together or the slow speed escapement won’t function correctly. After a few flushes of the shutter with contact cleaner and a touch of gun oil on the slow speed escapement, the shutter was back to working perfectly. Here’s a few tips I’ve picked up over the years if you’re planning on investing in the Mamiya TLR system:

  • Did you take a shot but can’t wind the film to the next frame? The Mamiya C22 has built in multiple exposure protection, and the film winding knob can lock up after you take a shot if you don’t completely follow thorough. This will require you to cock and fire the shutter again before the winding knob will release. Move yourself out of direct sunlight, put the lens cap back on, stop the shutter down to f/16, and set the shutter speed to 1/500 sec. This will reduce the chances of making an accidental double exposure while releasing the multiple exposure lock. Cock the shutter and take another shot, making sure to completely depress the shutter release lever. This should allow you to advance the film and keep shooting.

  • Is there dust between your lens elements? If so it’s an easy fix. Set the lens to maximum aperture and put the shutter on bulb (B). Cock the shutter, unscrew the front lens element, depress and hold the shutter release, and shoot a few bursts of canned air into the lens body. You can then reassemble the lens dust-free! Don’t overtighten the front lens element when you put it back together.

  • Is your viewfinder dirty? There’s a piece of protective glass over the focusing screen, so you can easily clean it by removing the WLF and wiping it down. If the dirt is between the focusing screen and protective glass cover, you can disassemble it and clean both. I’ve done this with my C22, and it’s not a difficult process though the task seems daunting. Be careful to retain the paper shims that will inevitably fall off when you remove the silver piece cover that holds the glass and focusing screen in place. These were added at the factory and are critical to maintain focus between the ground glass and film plane. Make sure to put them back when reassembling, otherwise your images will all be out of focus. After cleaning everything by hand with a bit of Dawn and some warm water (DO NOT use anything abrasive, just wash with your fingers), air dry the components and reassemble. Now your viewfinder should be as spot free as when it left the factory! Note that washing the focusing screen and protective glass cover won’t fix any etching damage that was caused by fungus.

  • Is there a chance you might bump your lens into something while walking around? Of course there is - don’t ask how I know. I’ve found the 80mm f/2.8 lens is pretty safe from bumps, but the 65mm f/3.5 and 180mm f/4.5 lenses are highly susceptible to dents and dings. It seems these lenses once came with protective retaining rings for the delicate threads, but they’re often missing on the second hand market. I was lucky enough to find some 49Ø Mamiya SL1-B skylight filters on eBay (the spacing between the looking and taking lenses is very tight and requires slim filters) to protect the threads. Even if you don’t normally put UV filters on your camera lenses, which I don’t, I’d recommend keeping one on just to protect the threads from damage.

Review | Ferrania P30

I’m a little late to the game with this review because I’ve been shooting Ferrania P30 since it was first available, and I figured it was about time I put my thoughts on paper for anybody else wondering whether it’s worth their time and money to try this film. It’s always exciting to see new (or revived) emulsions enter the market. P30 was resurrected by the team at FILM Ferrania in Italy, who launched a Kickstarter campaign to buy the rights to Ferrania’s emulsions after the company ceased operation in 2009. As of 2021, P30 is only available in 35mm with plans to produce 120 at some point in the future. Bringing back a defunct emulsion is no easy task, and there have been many delays over the years (much to the chagrin of Kickstarter backers). I purchased two rolls in late 2017, giving one to a friend and shooting the other one myself. The Bethlehem Steel series here on my website was actually shot on P30 in early 2019.

GRC_19883-Edit.jpg

Introduction & Shooting

So, what do I think of Ferrania P30? It certainly won’t replace FP4 Plus or Across 100 in my arsenal, but P30 does have a place in my film fridge. It’s a film suited to very specific situations and subjects, and I wouldn’t suggest shooting it on anything but a clear, sunny day. You need to be very careful with this film and contrasty scenes – the emulsion does not leave much information in the shadows and it’s very easy to underexpose a scene. I tend to apply +.3 or +.7 exposure compensation on my F100 when the subject is primarily in the shadows. Trust your instincts and you’ll end up with a roll of rich, if contrasty, negatives.
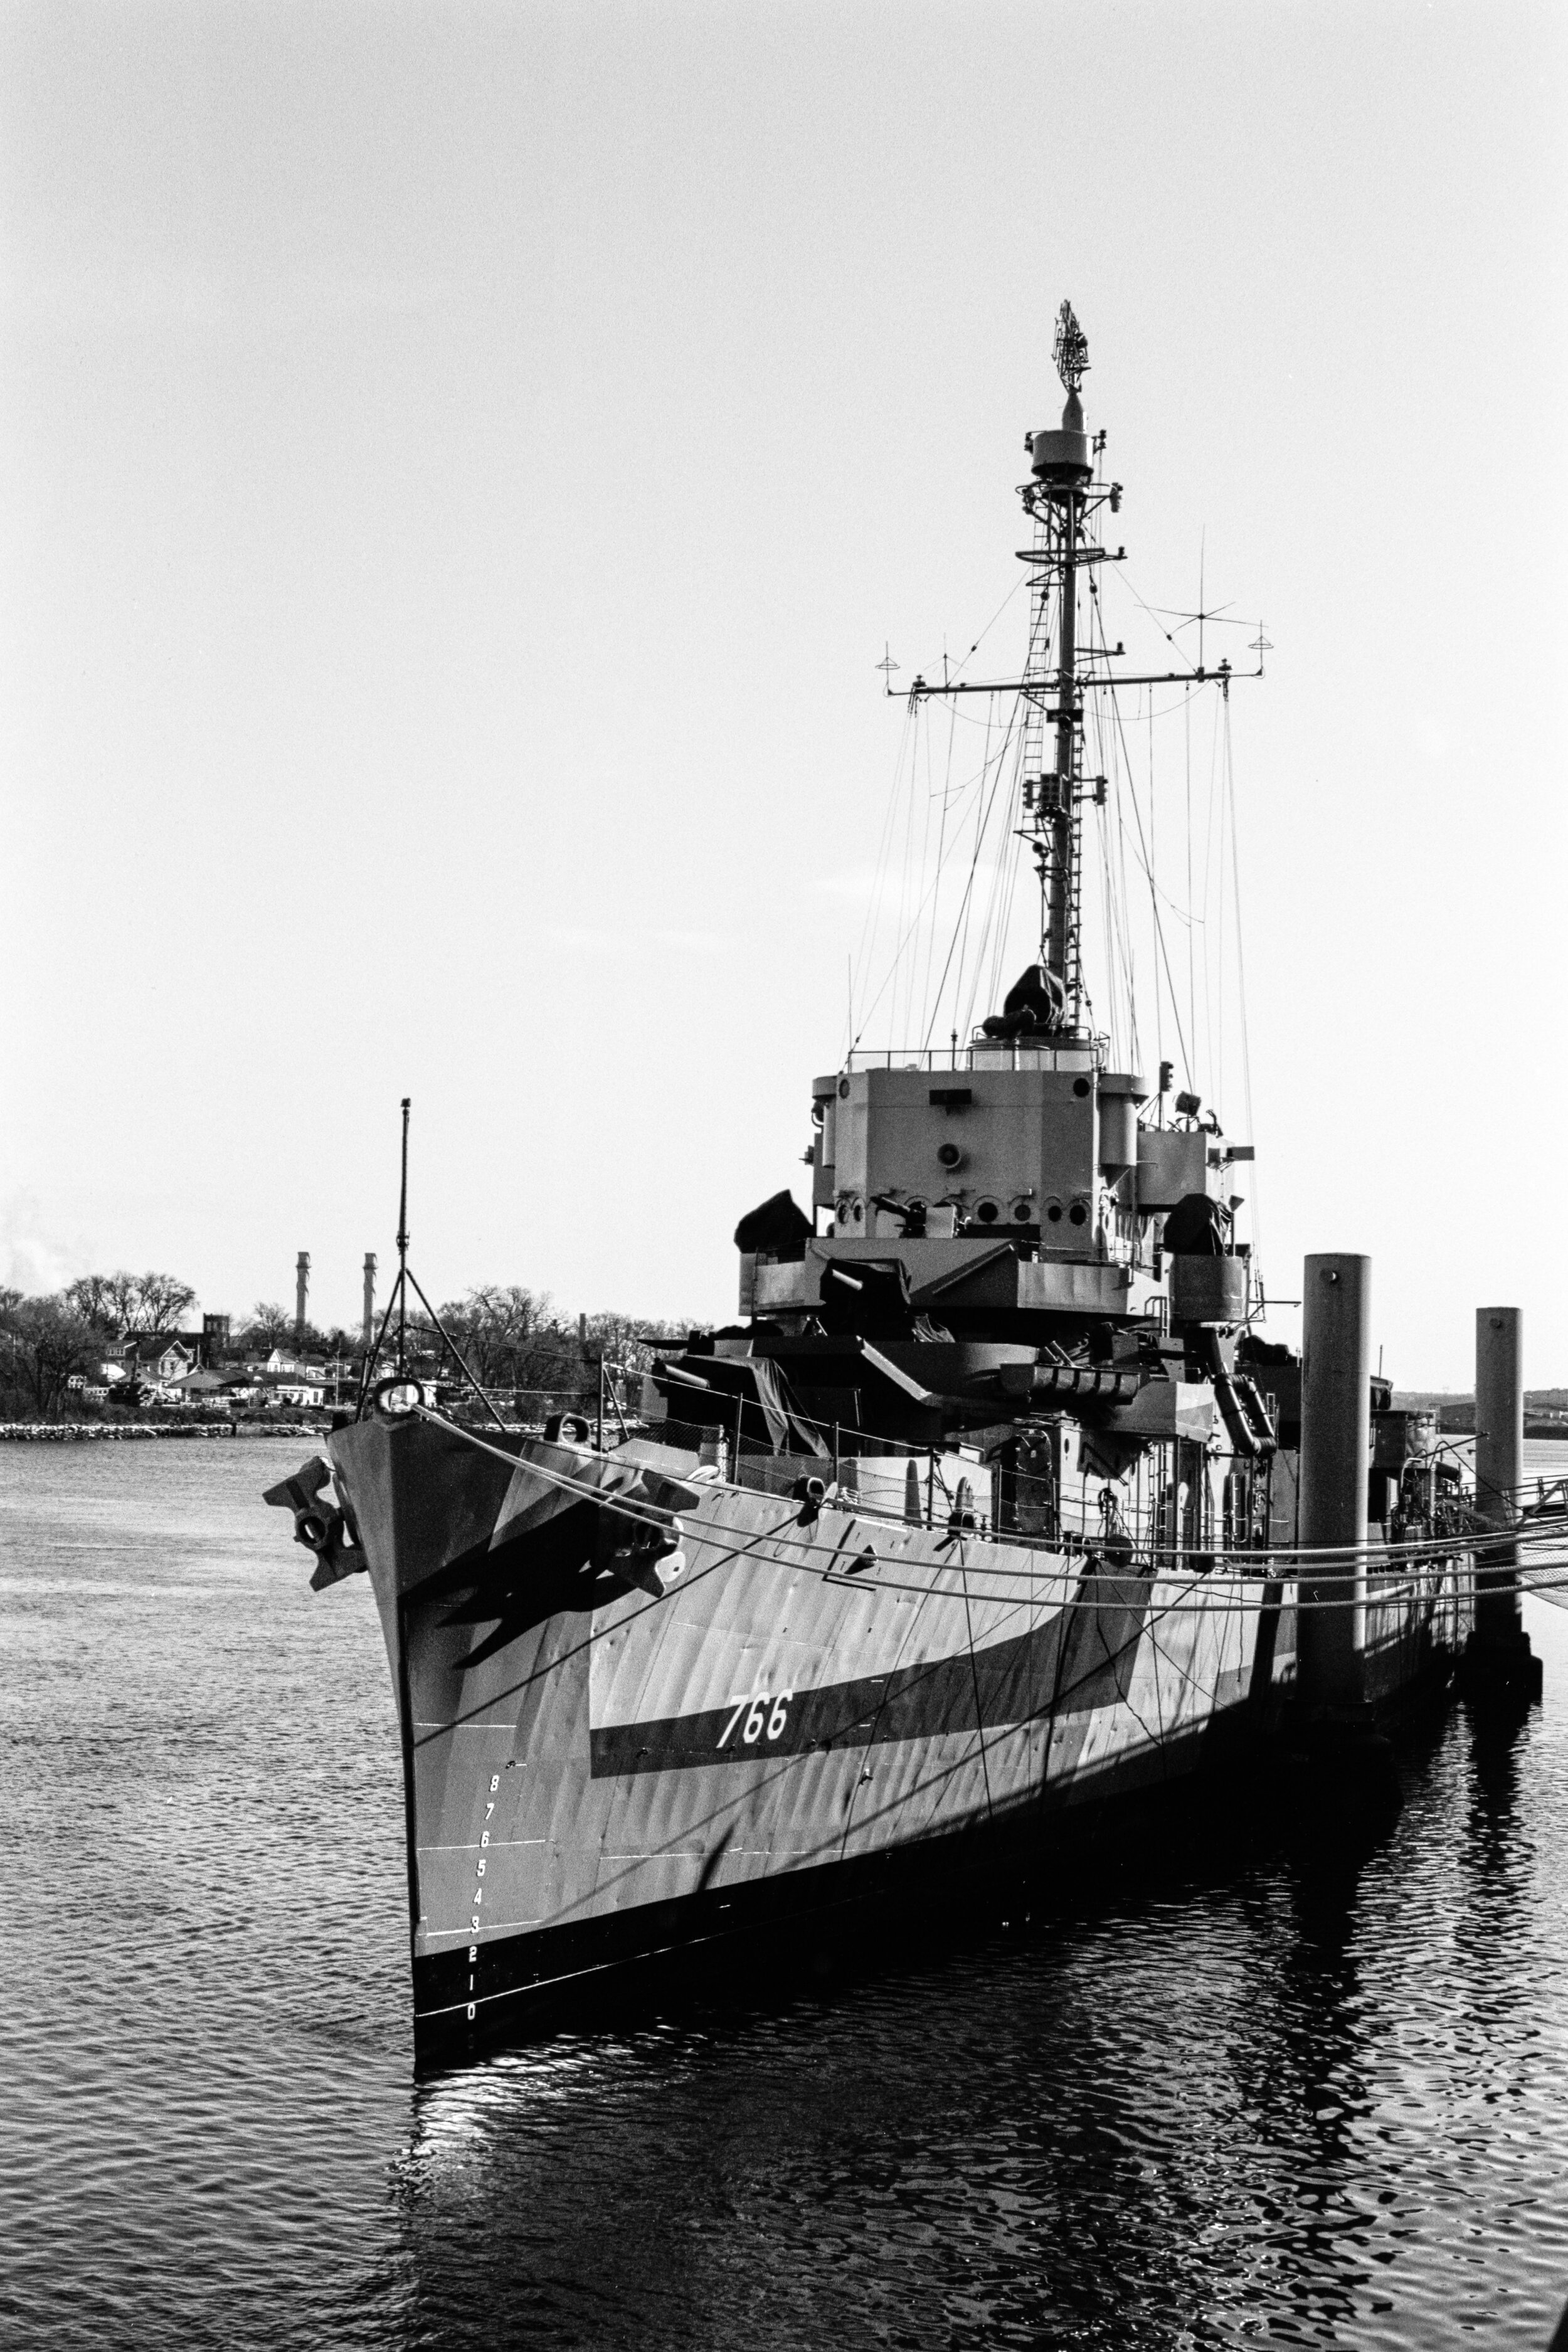
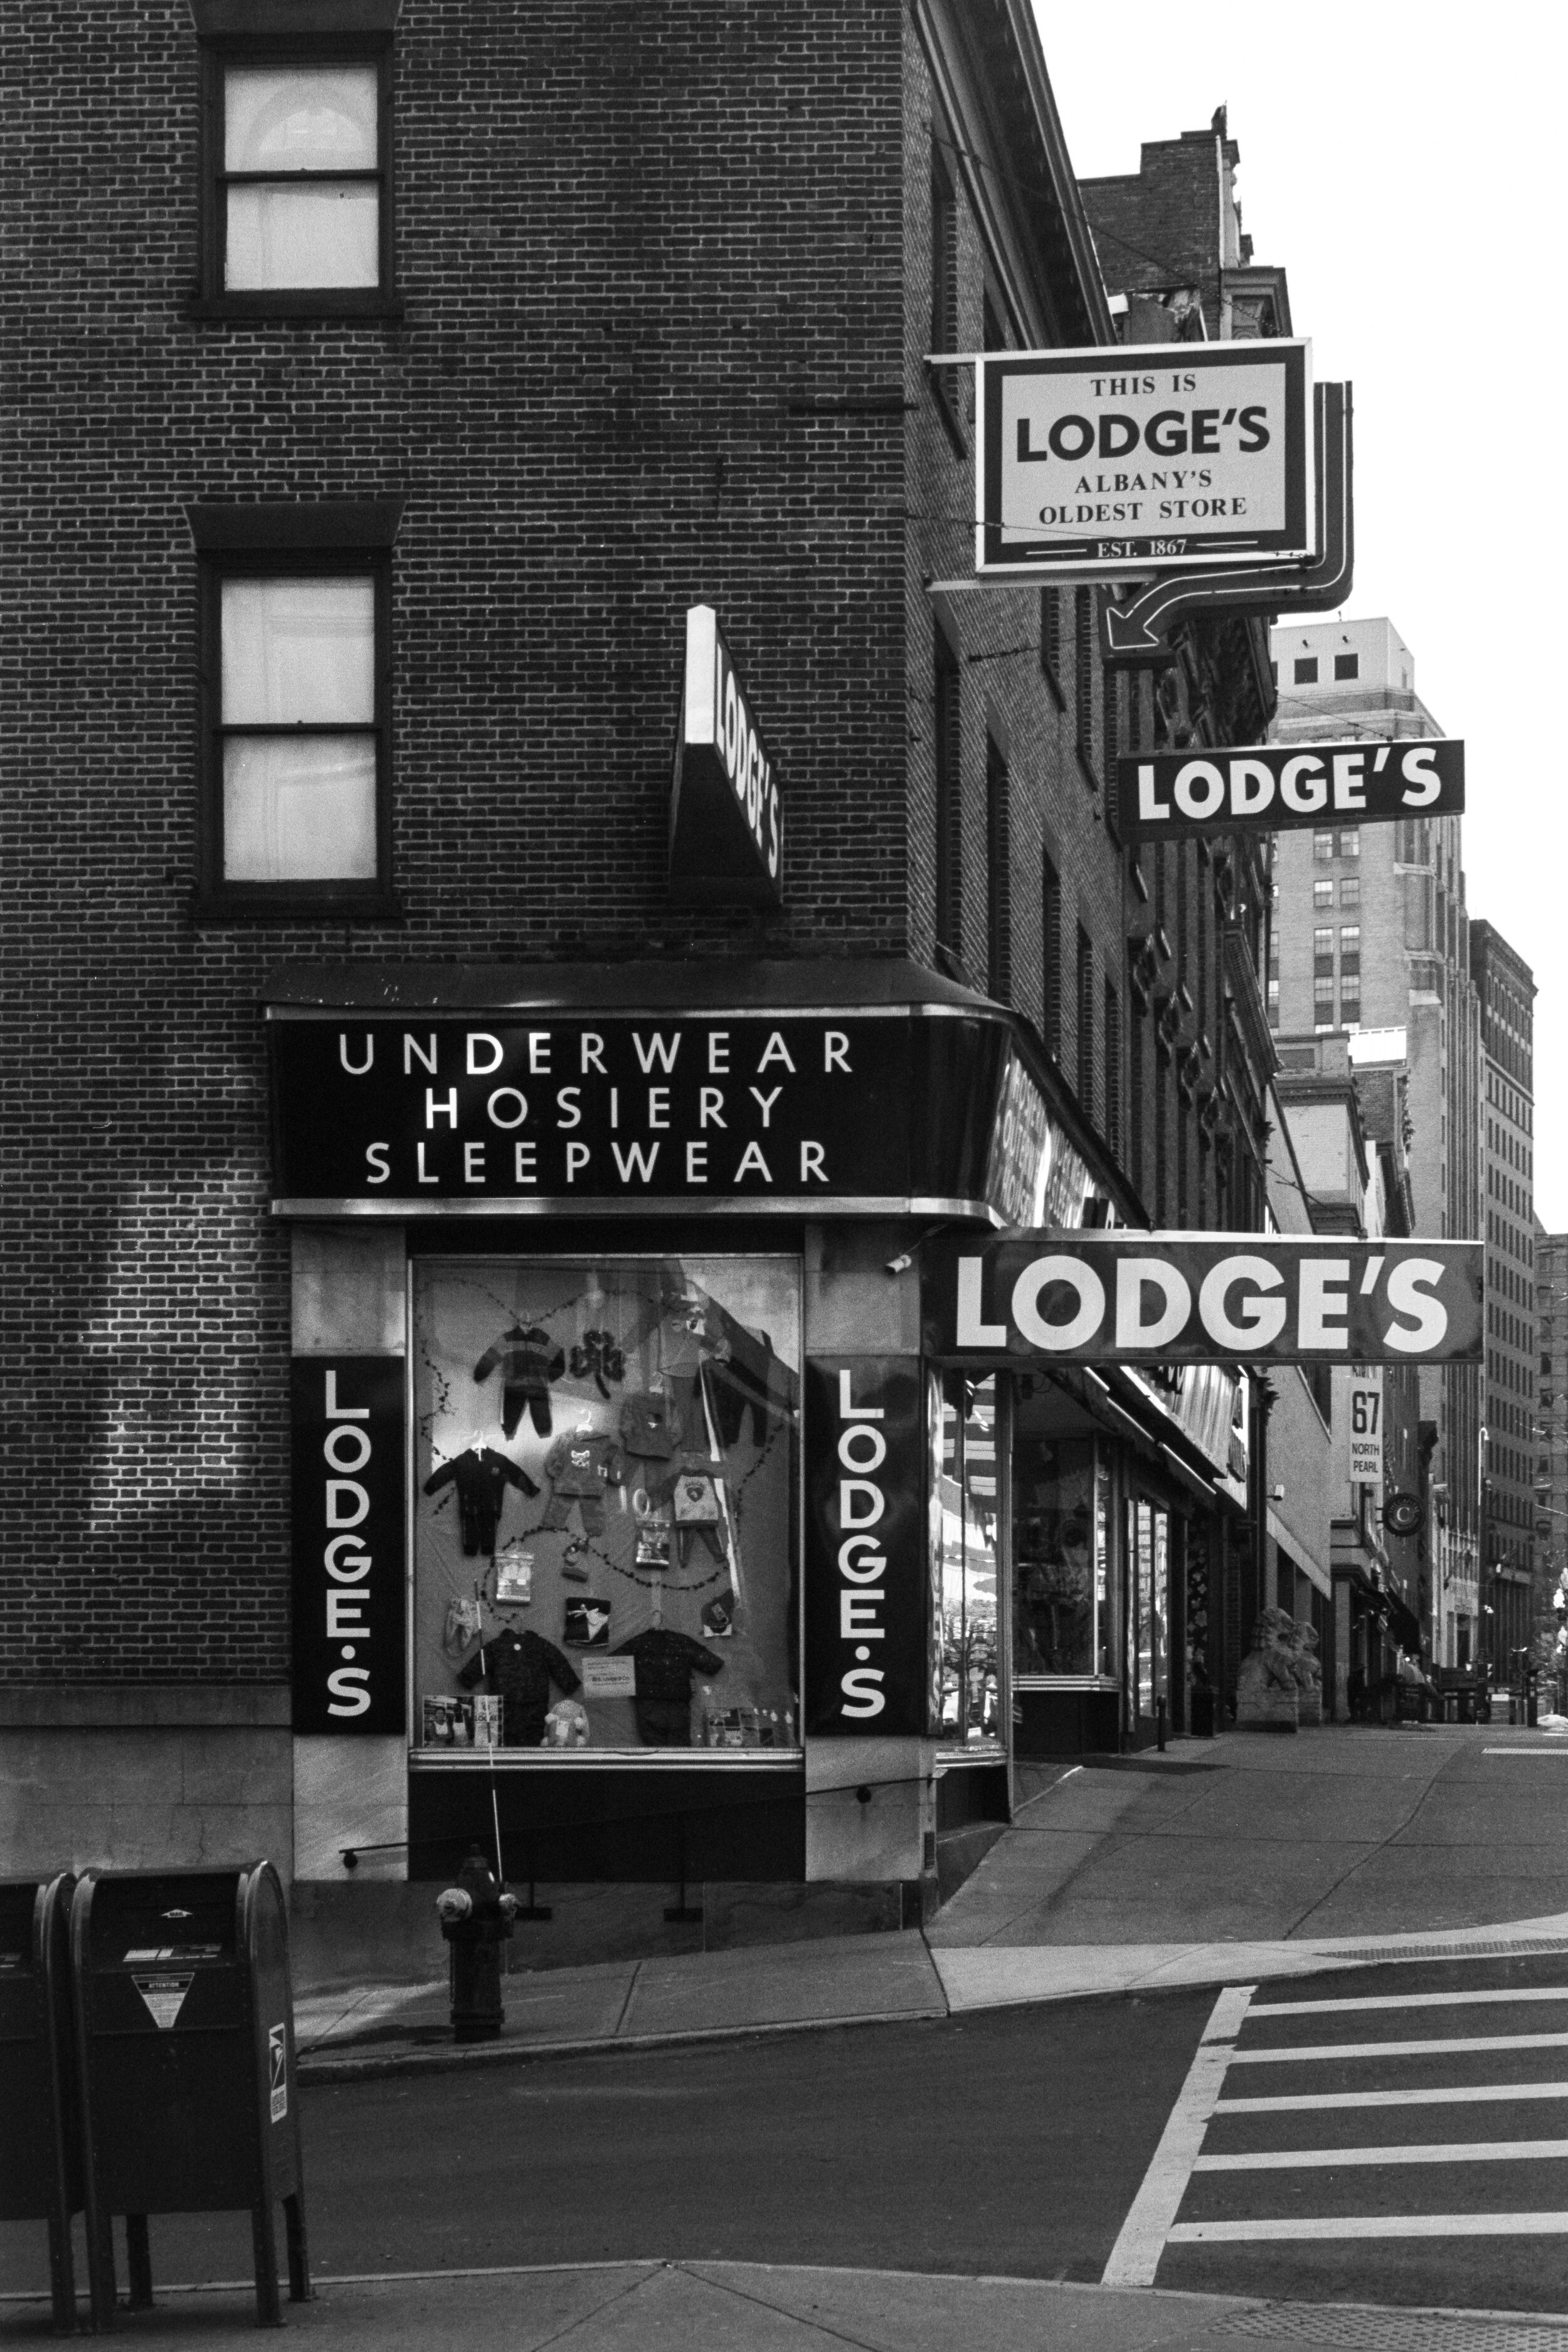
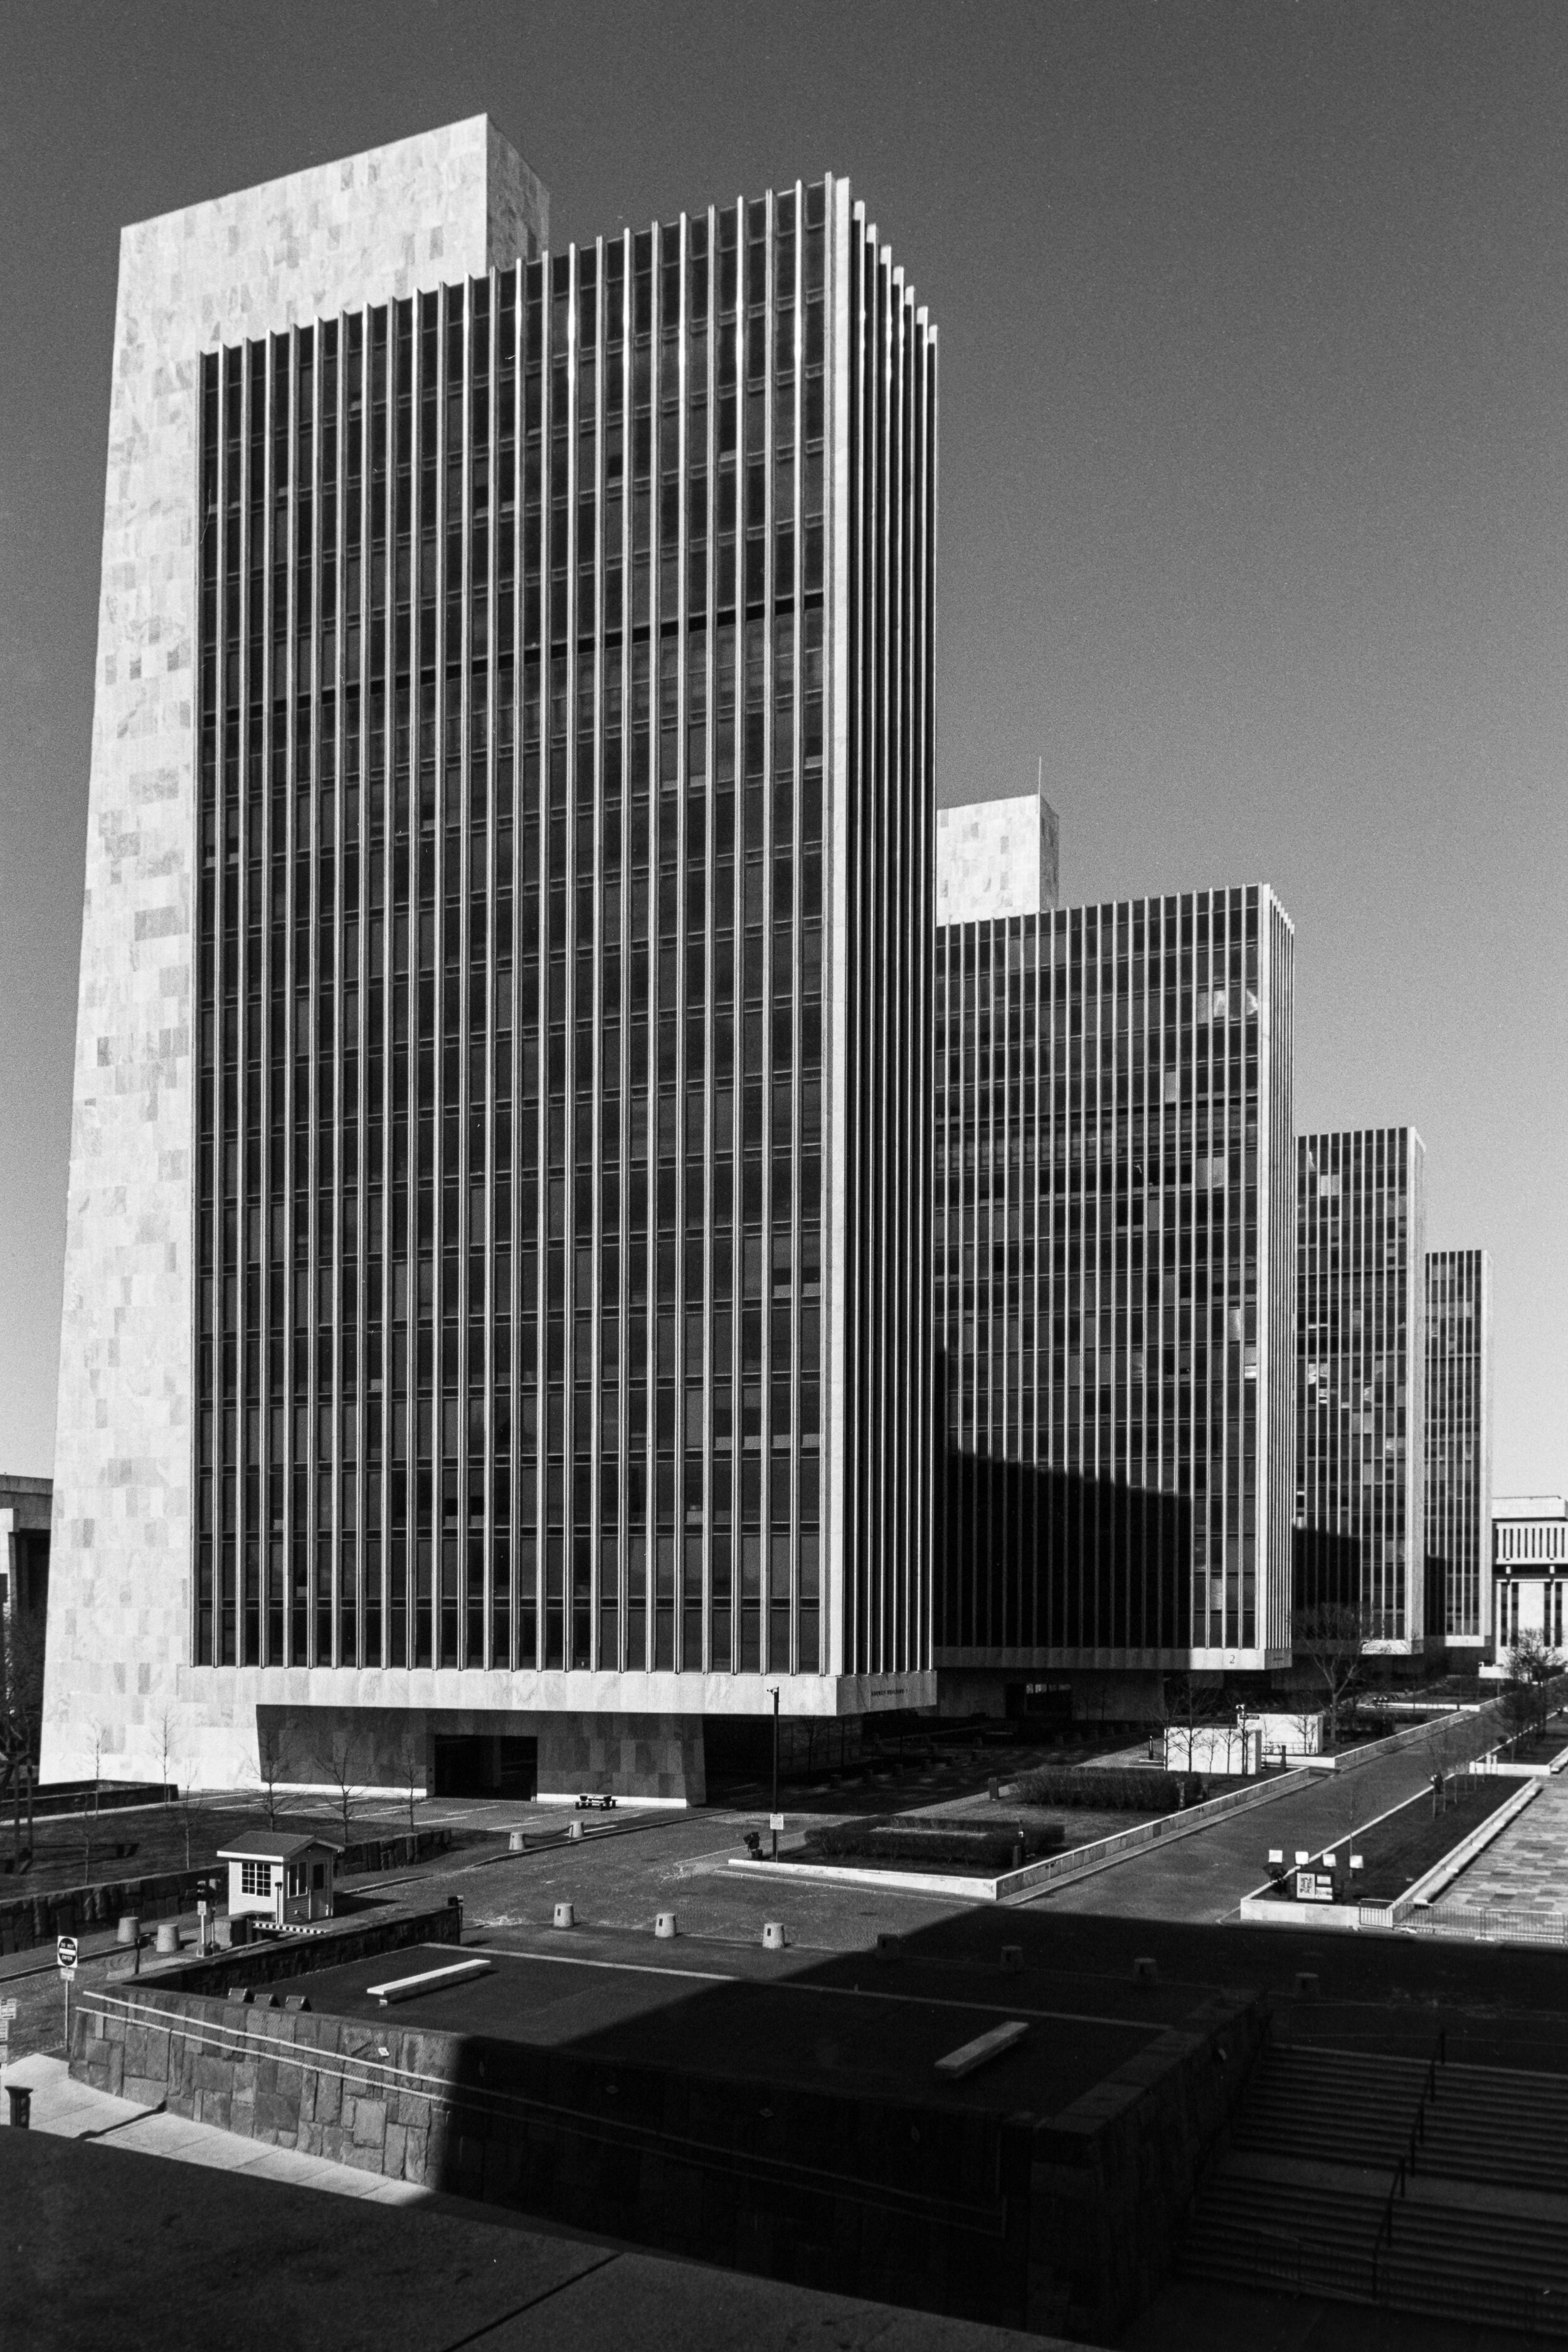
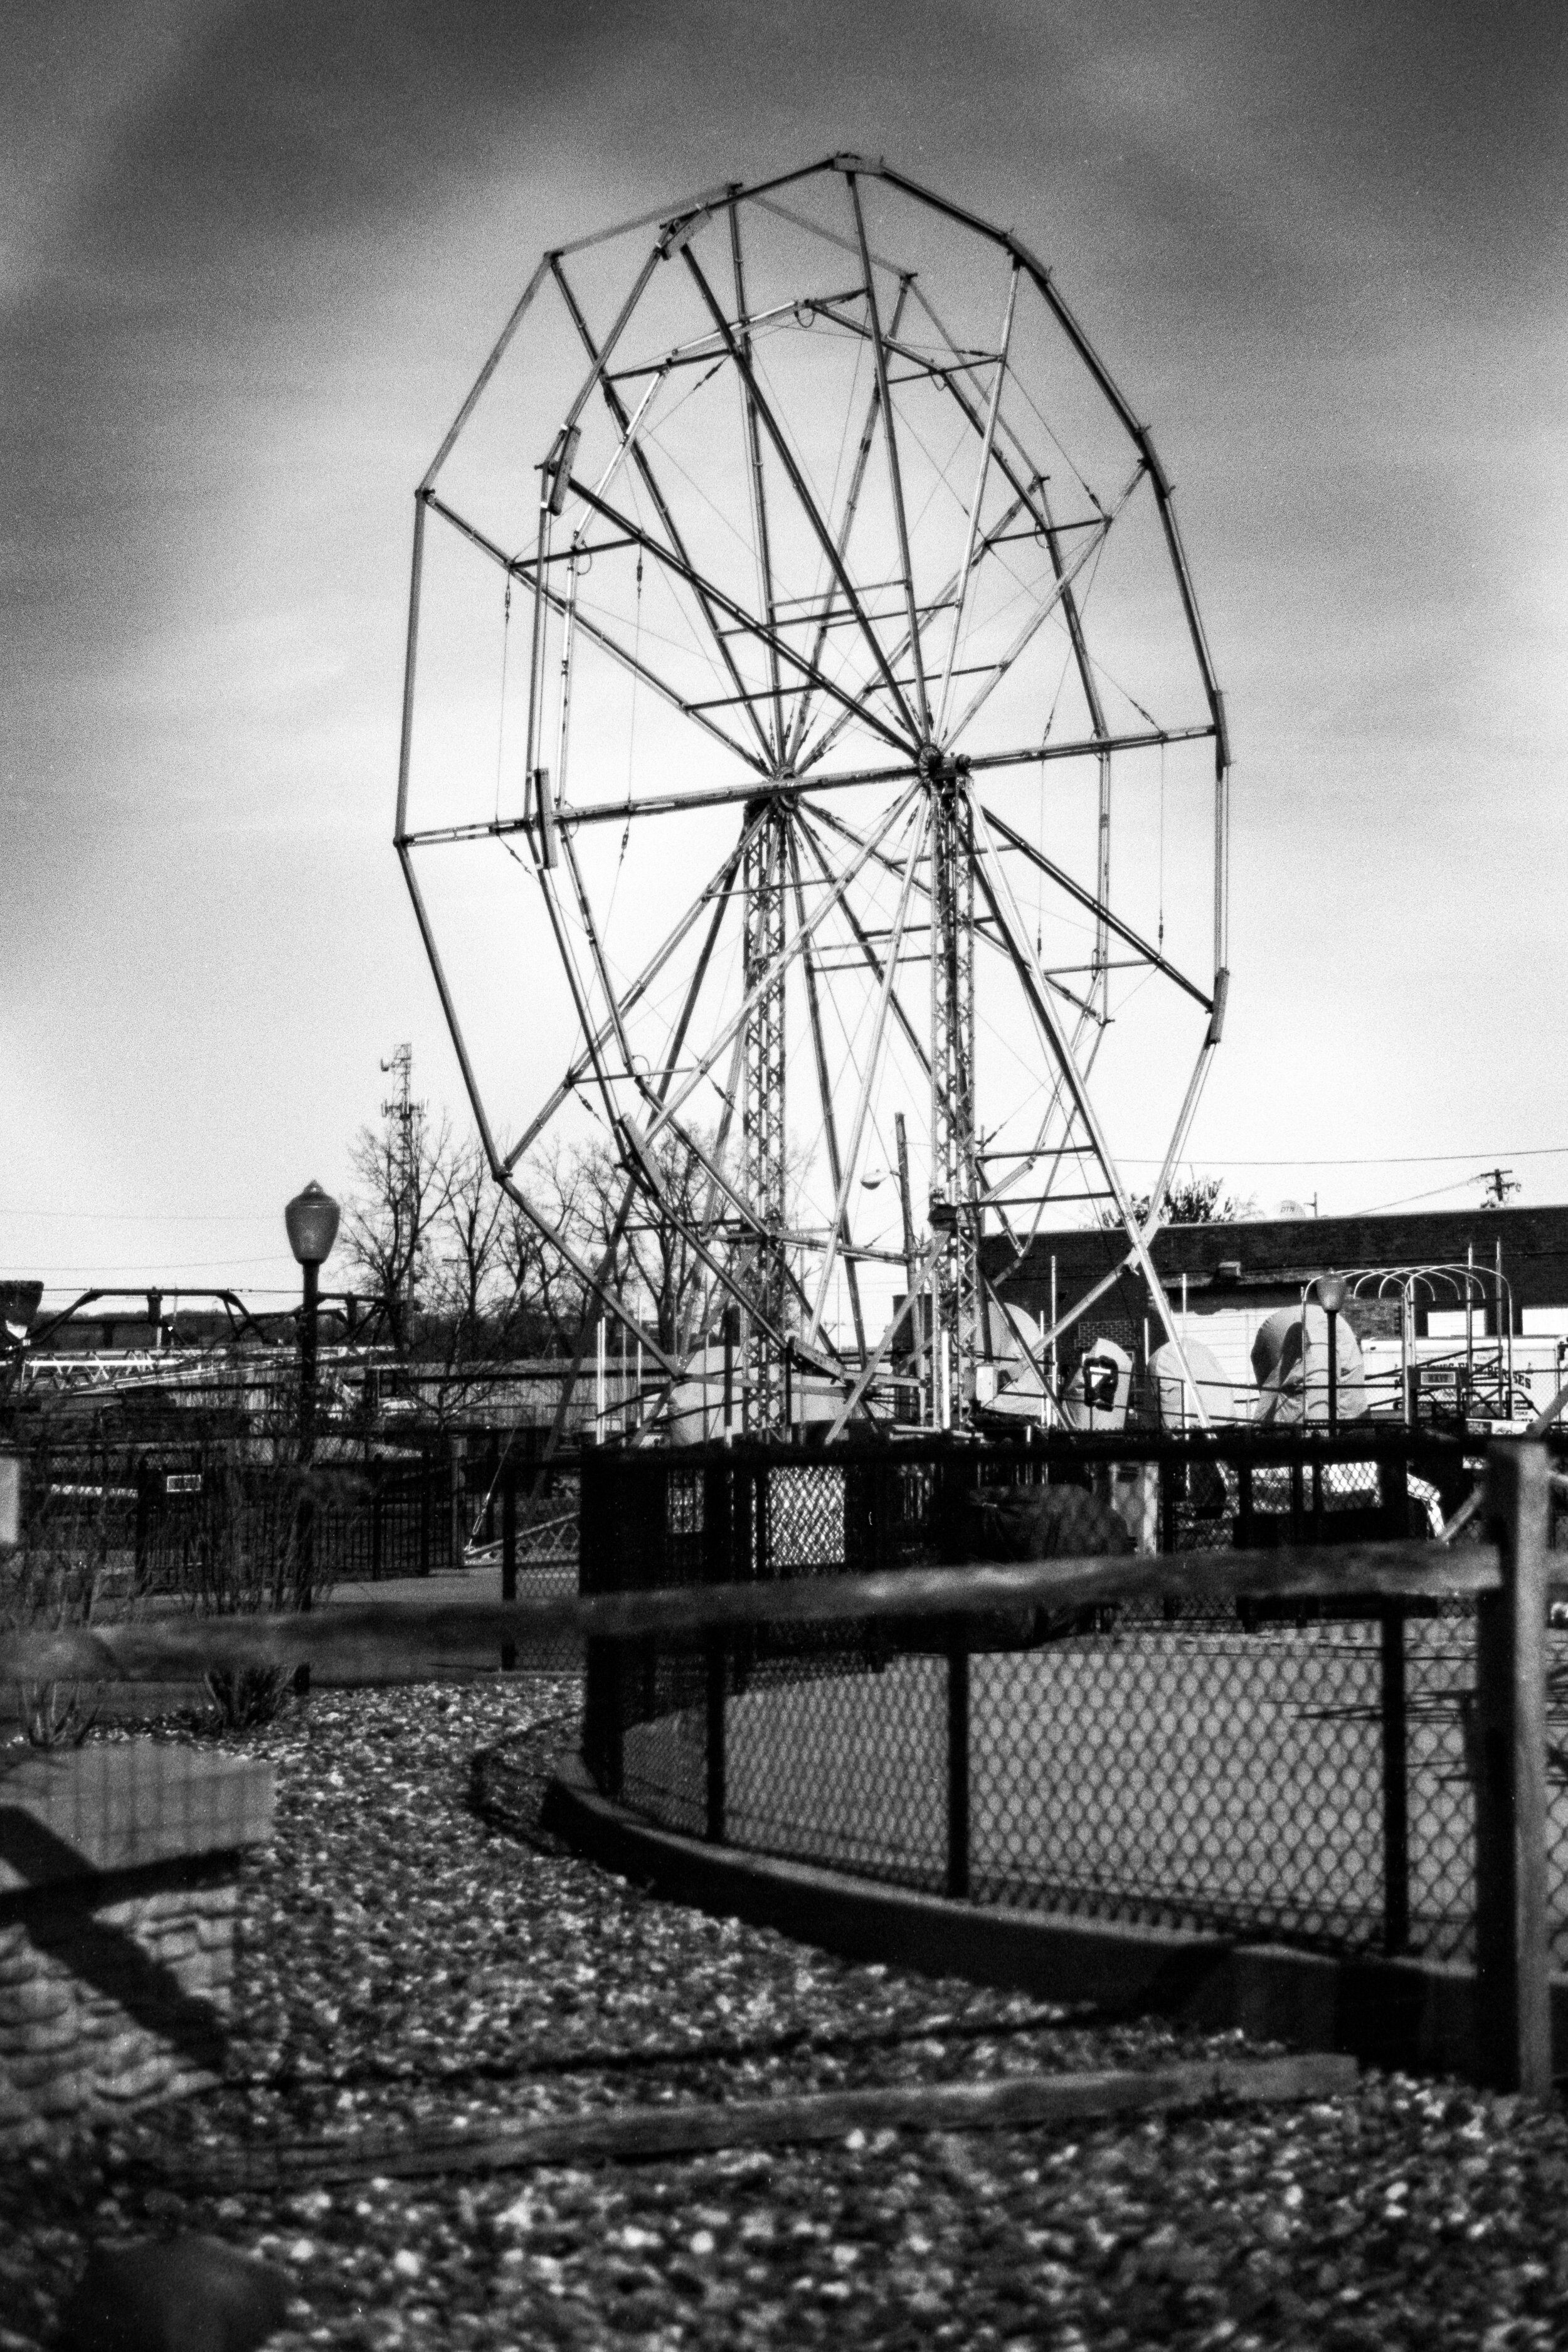
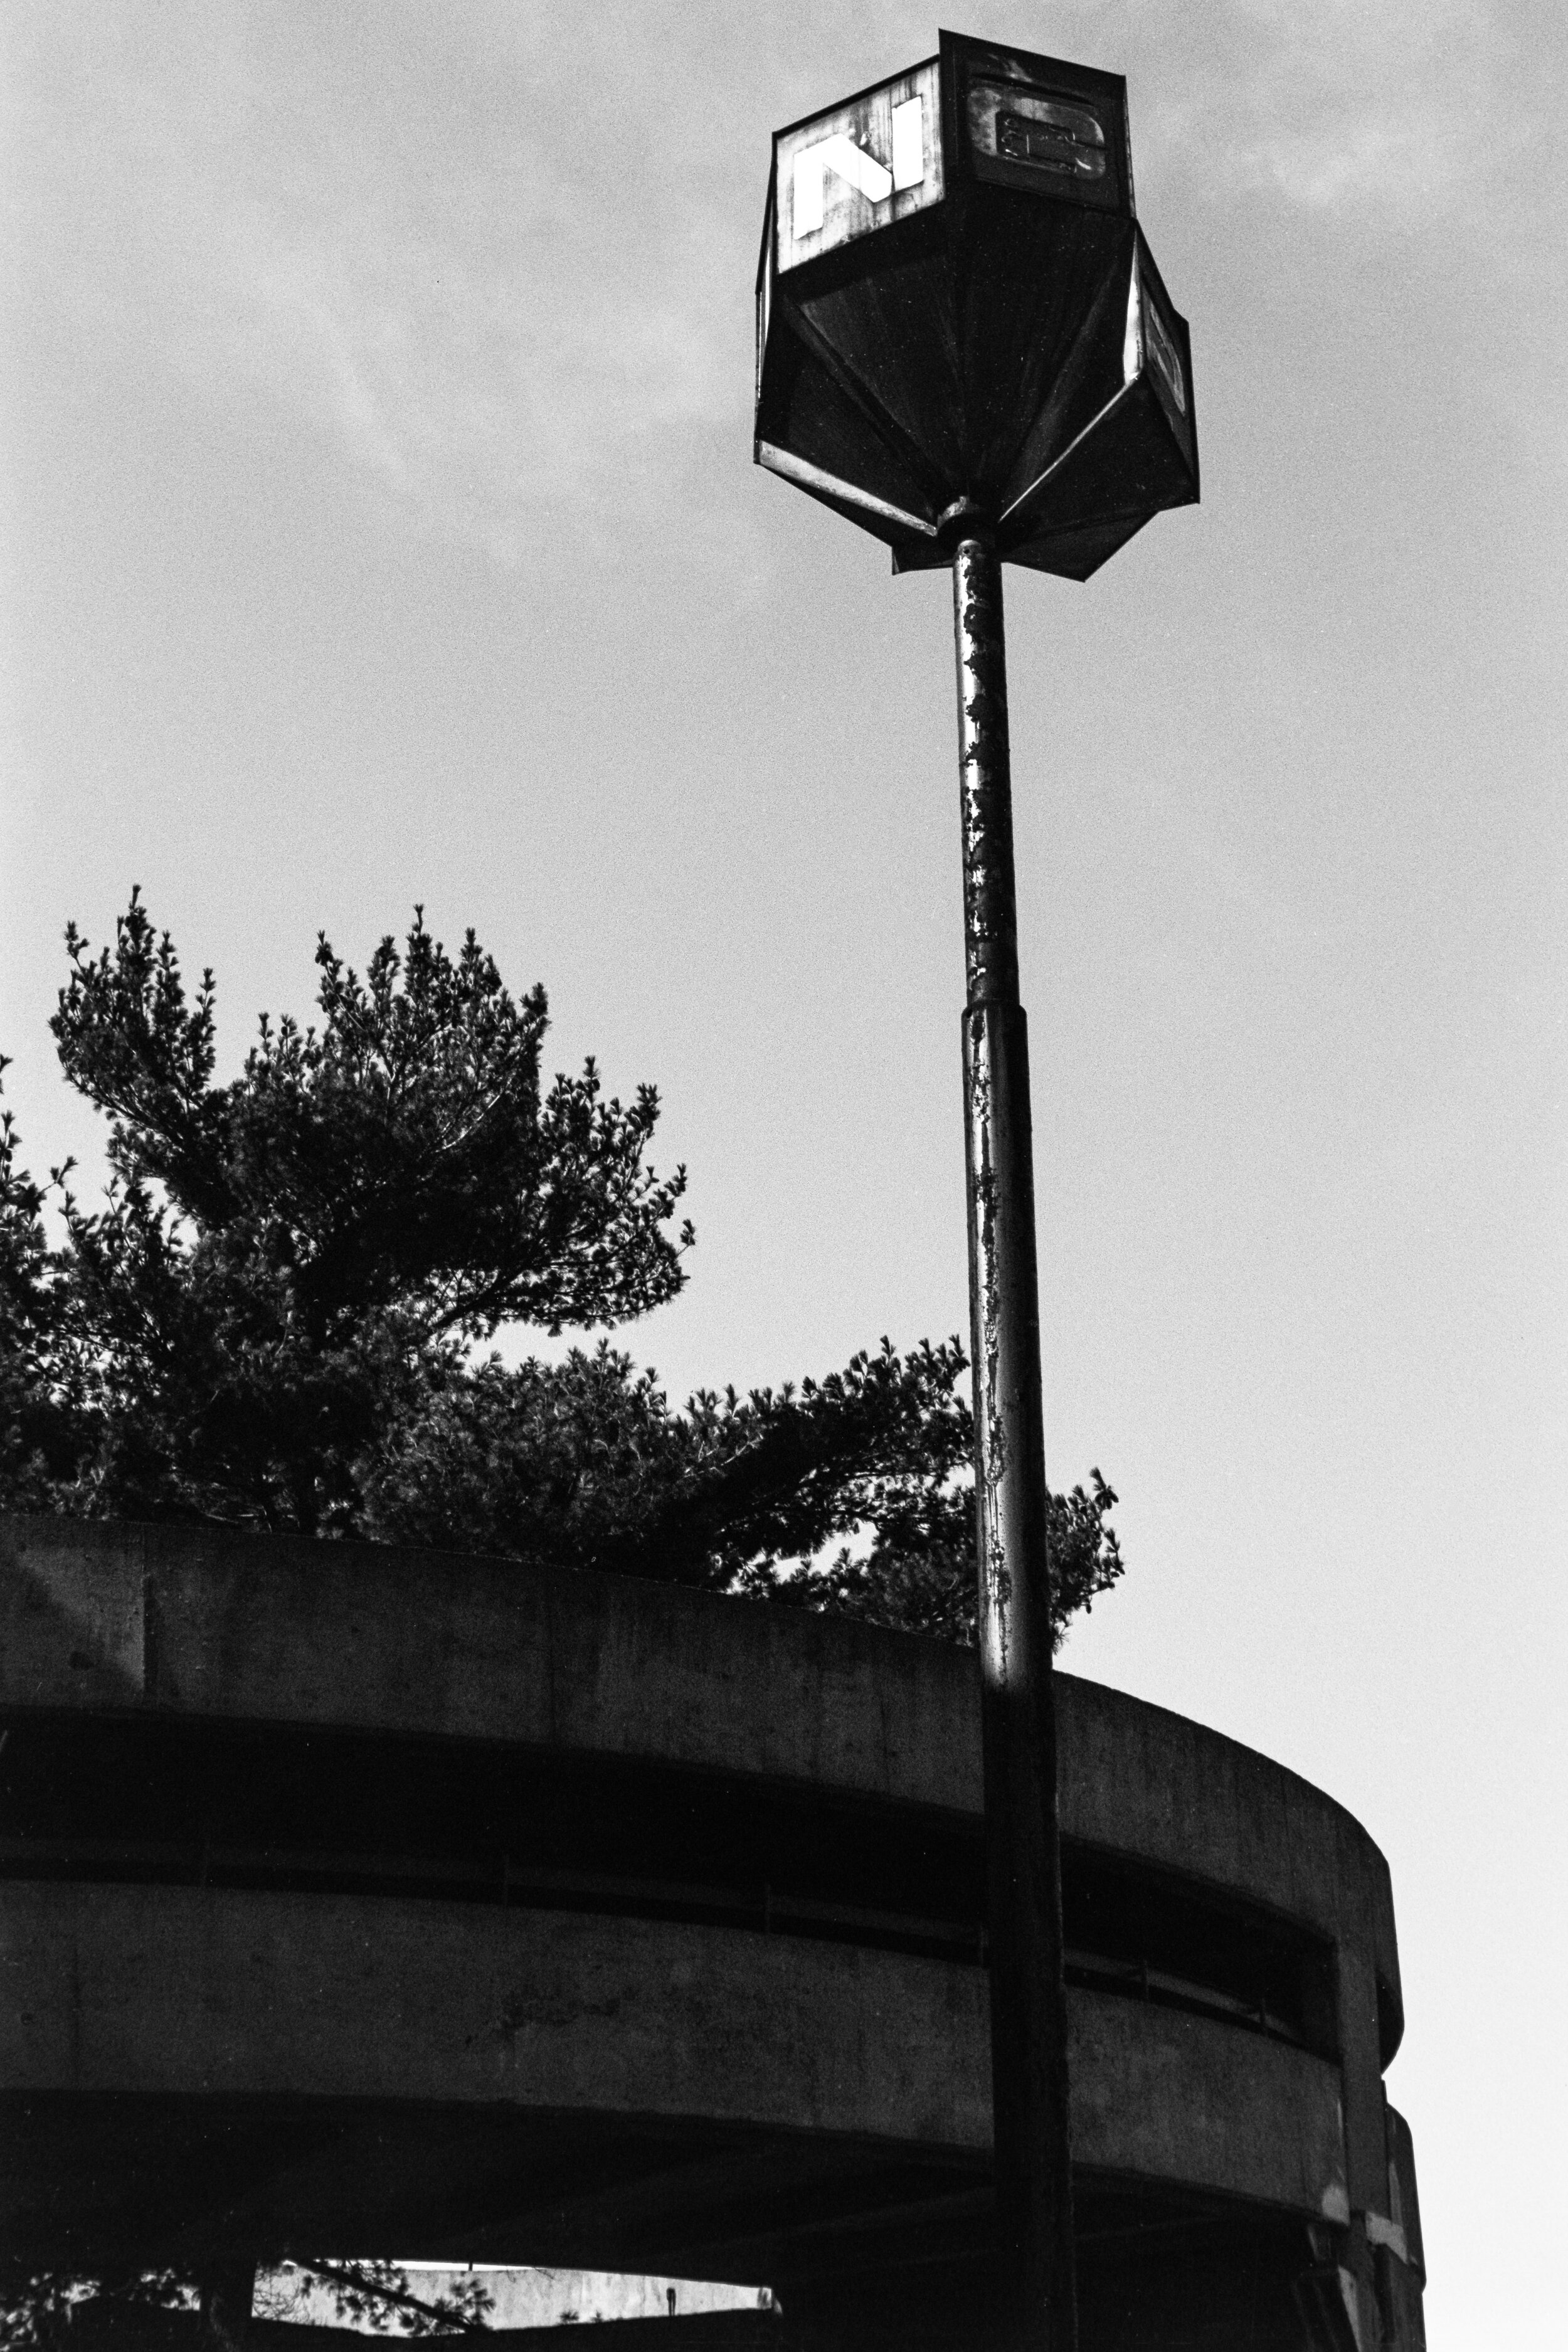
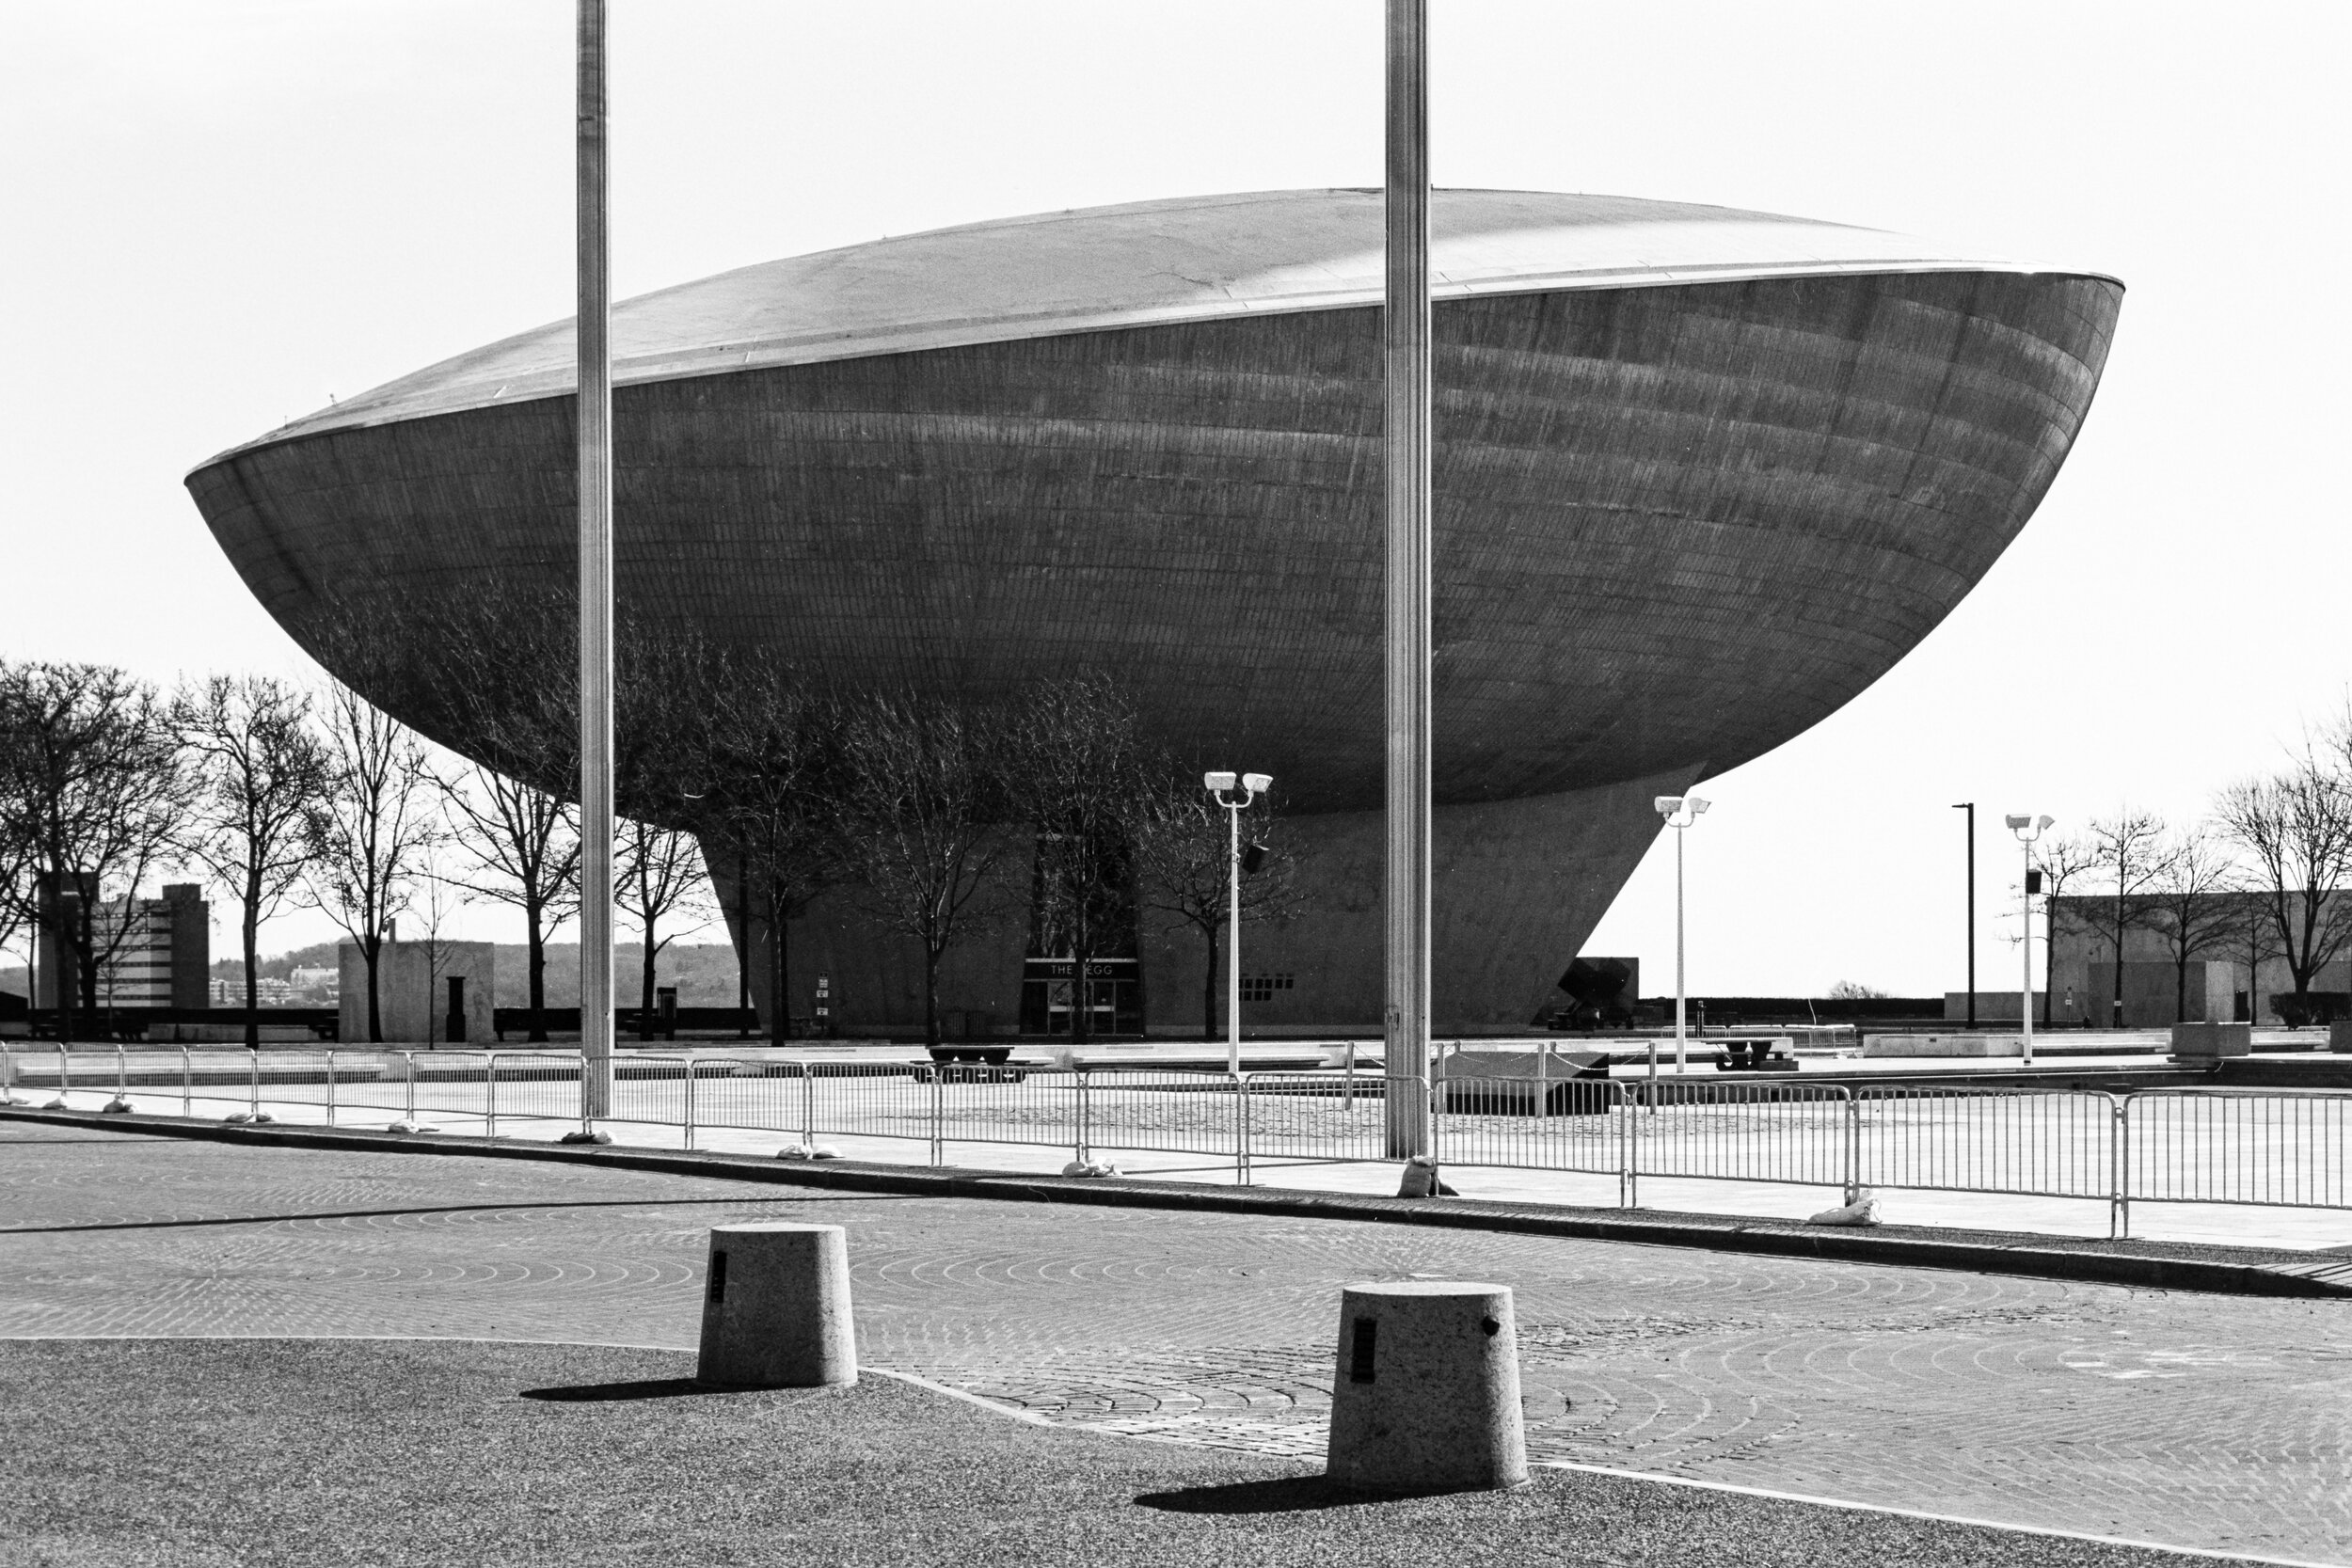
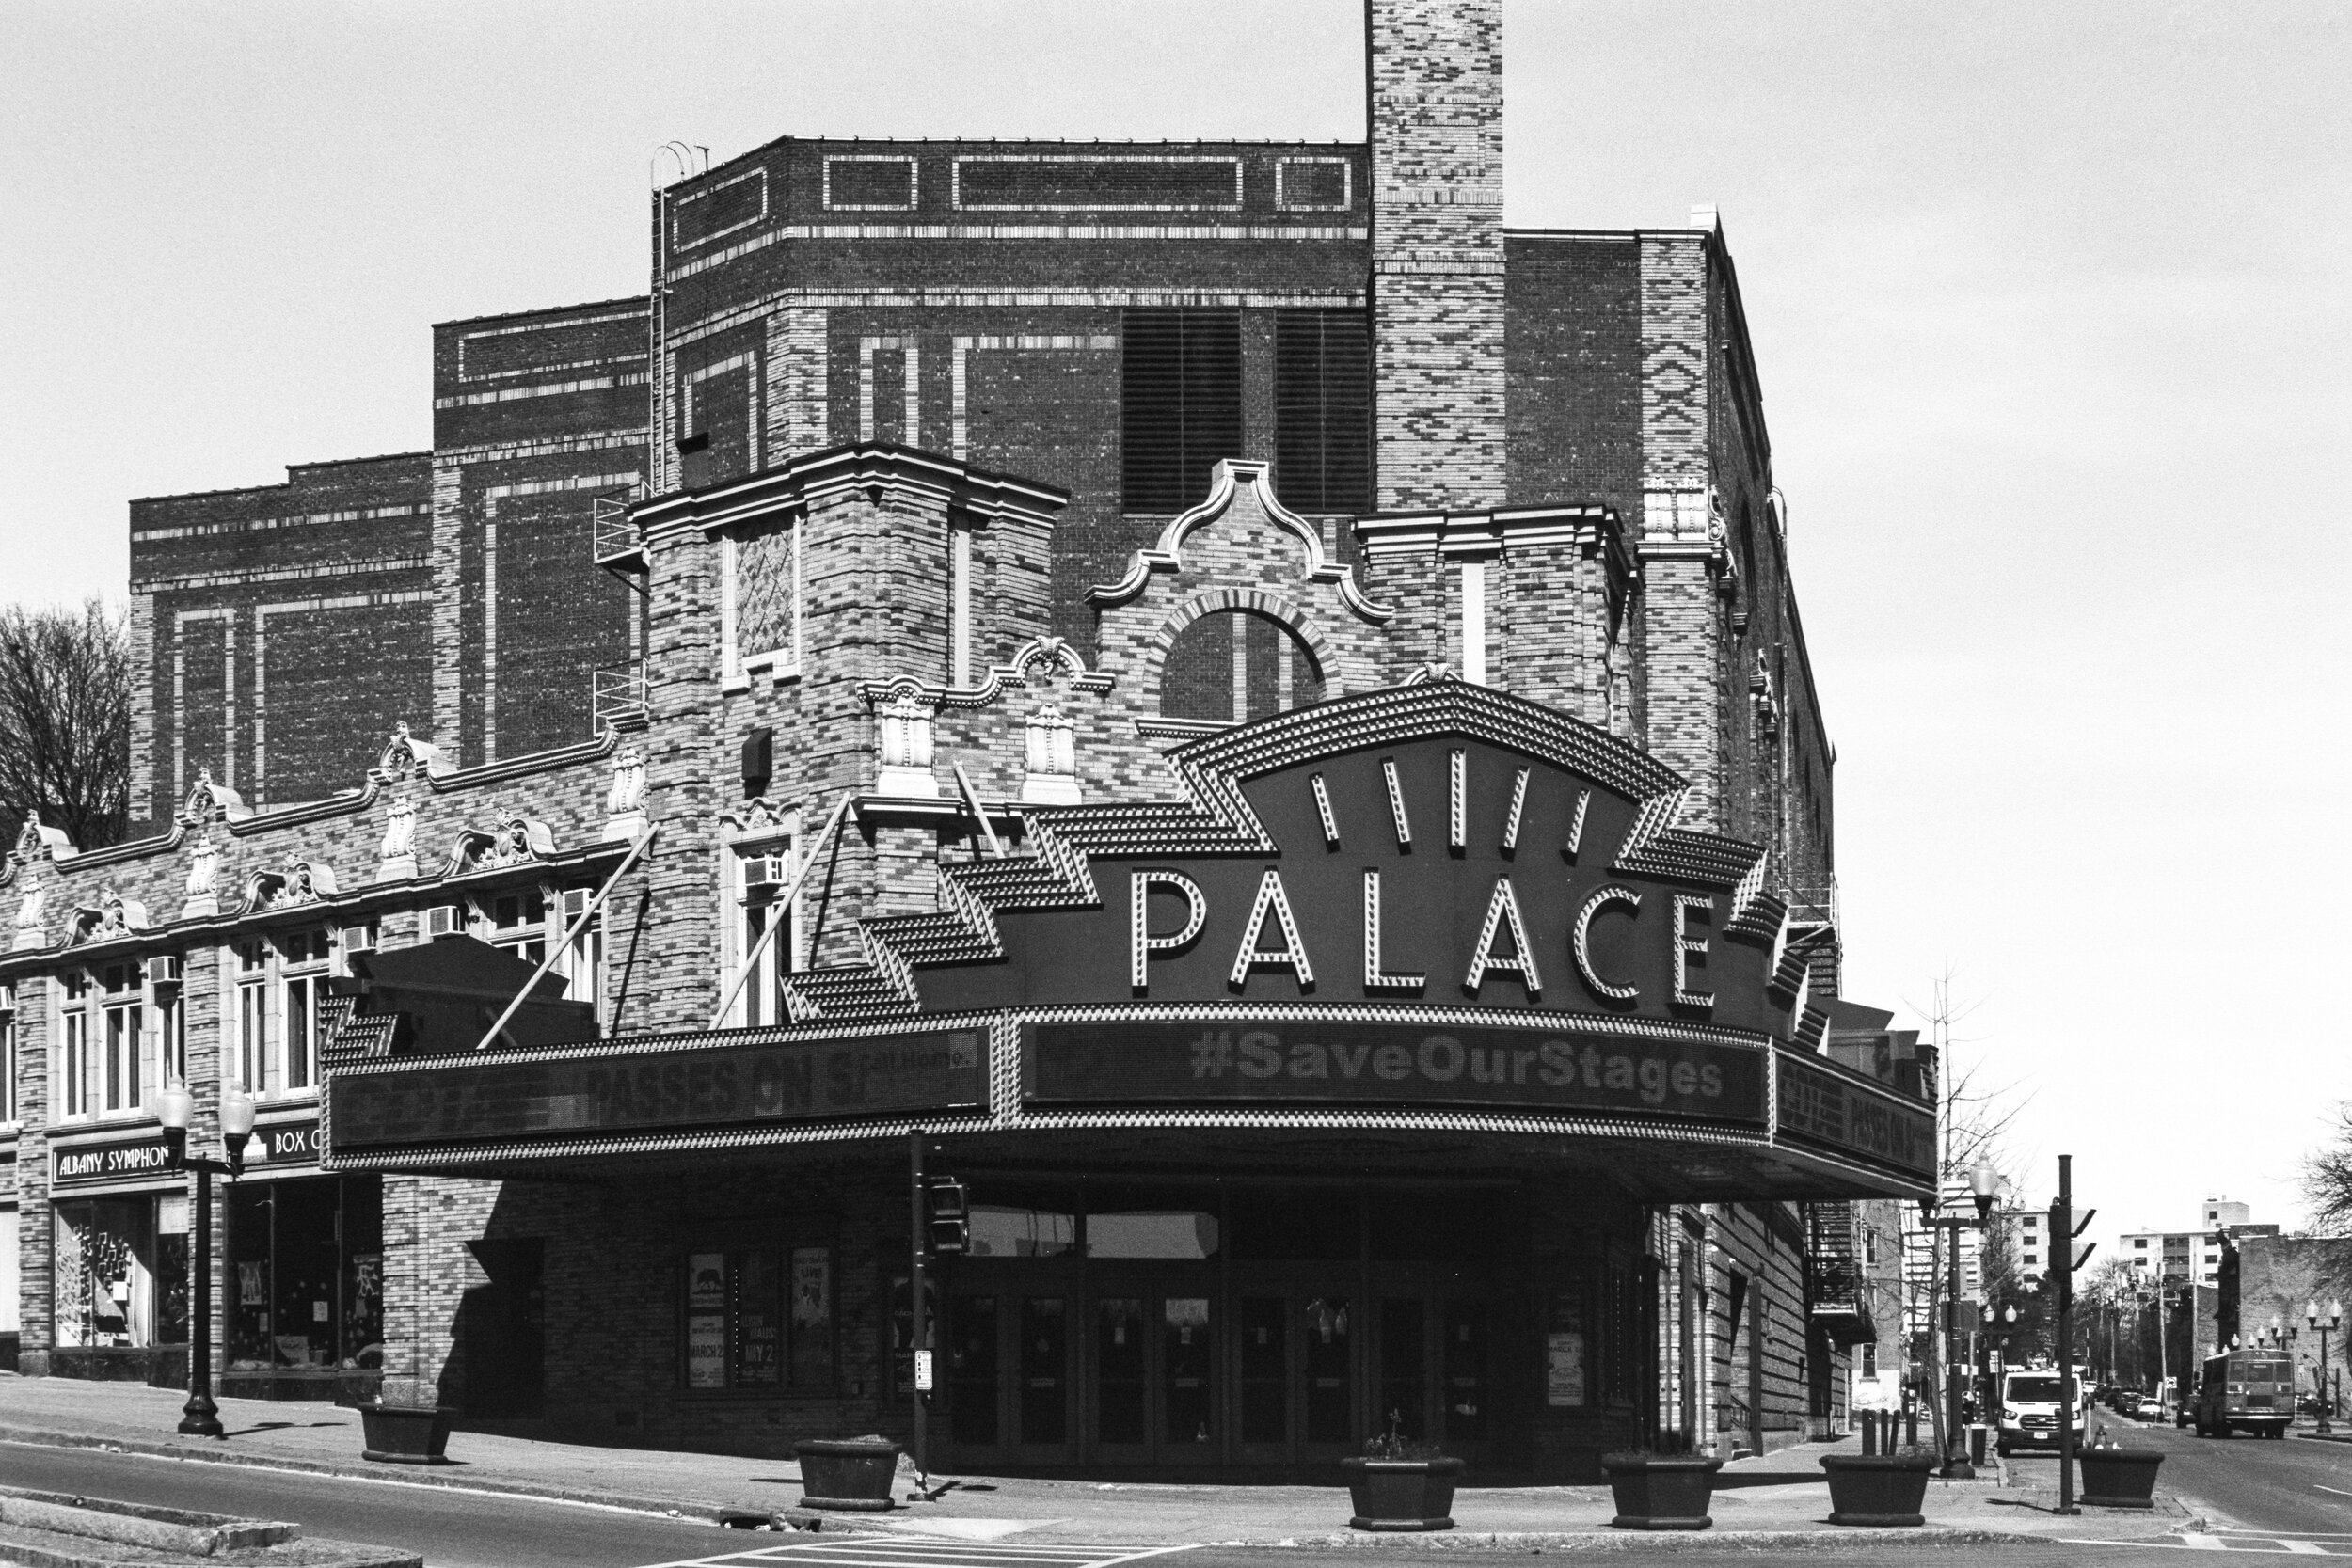
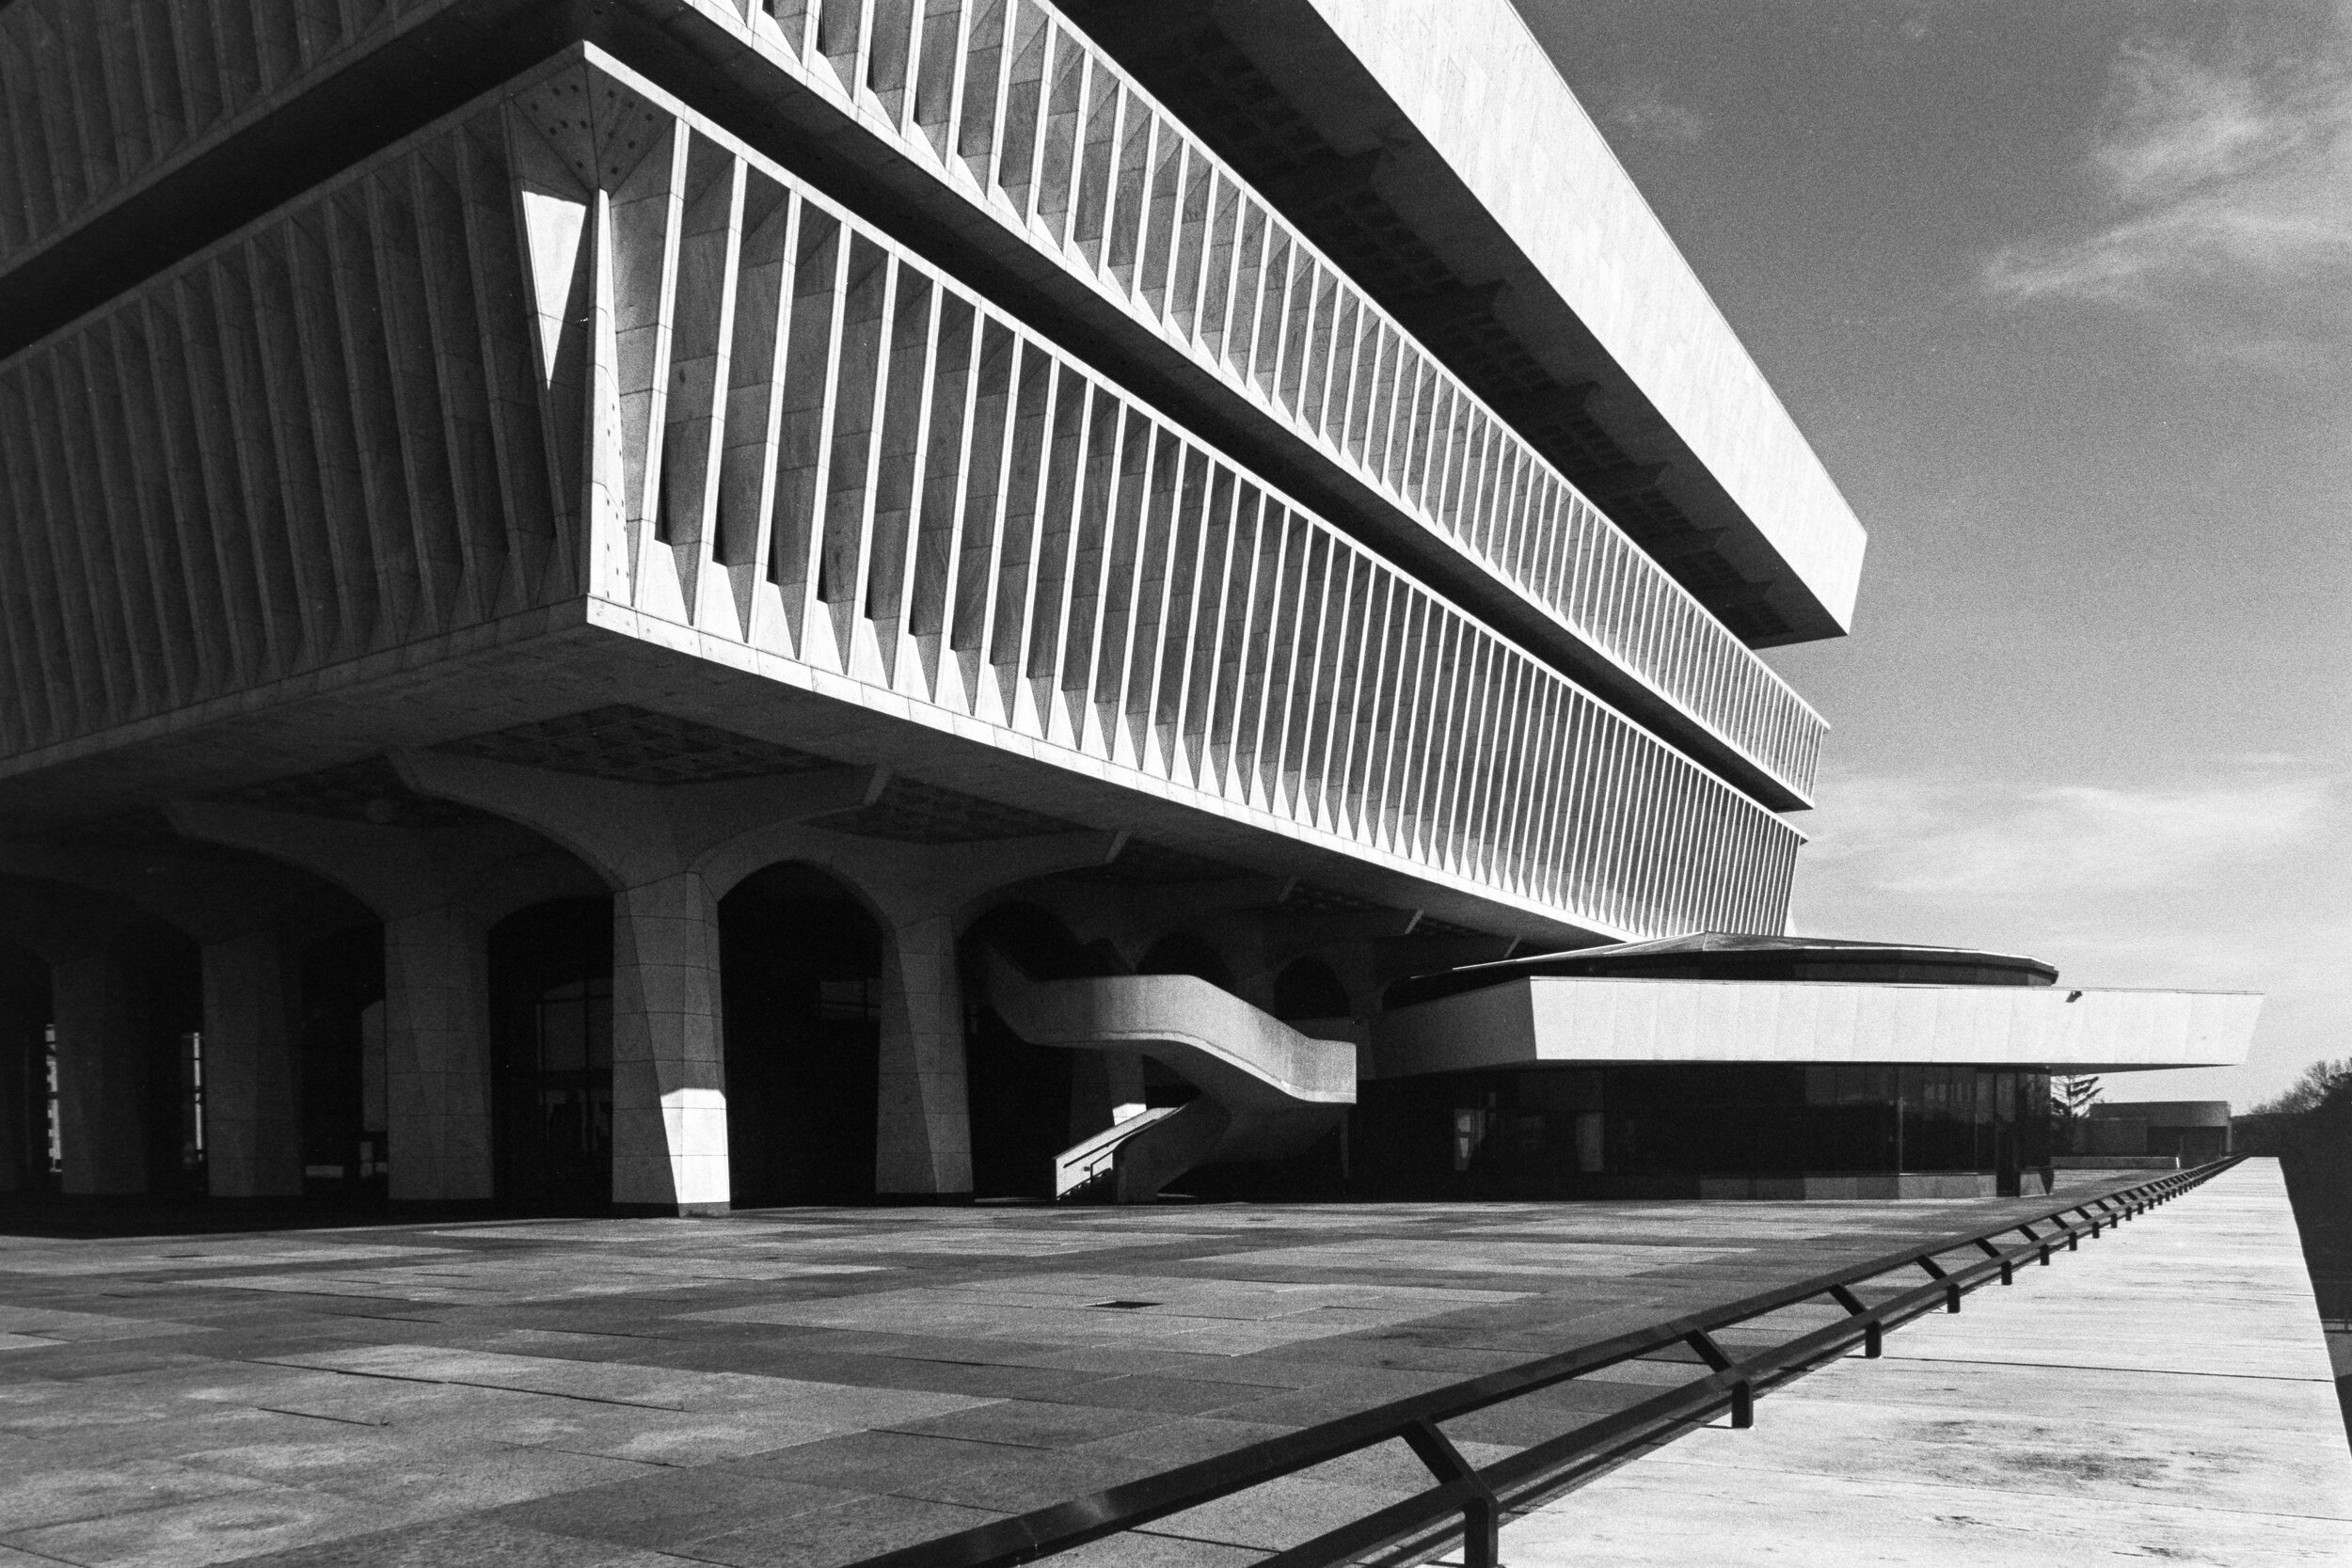
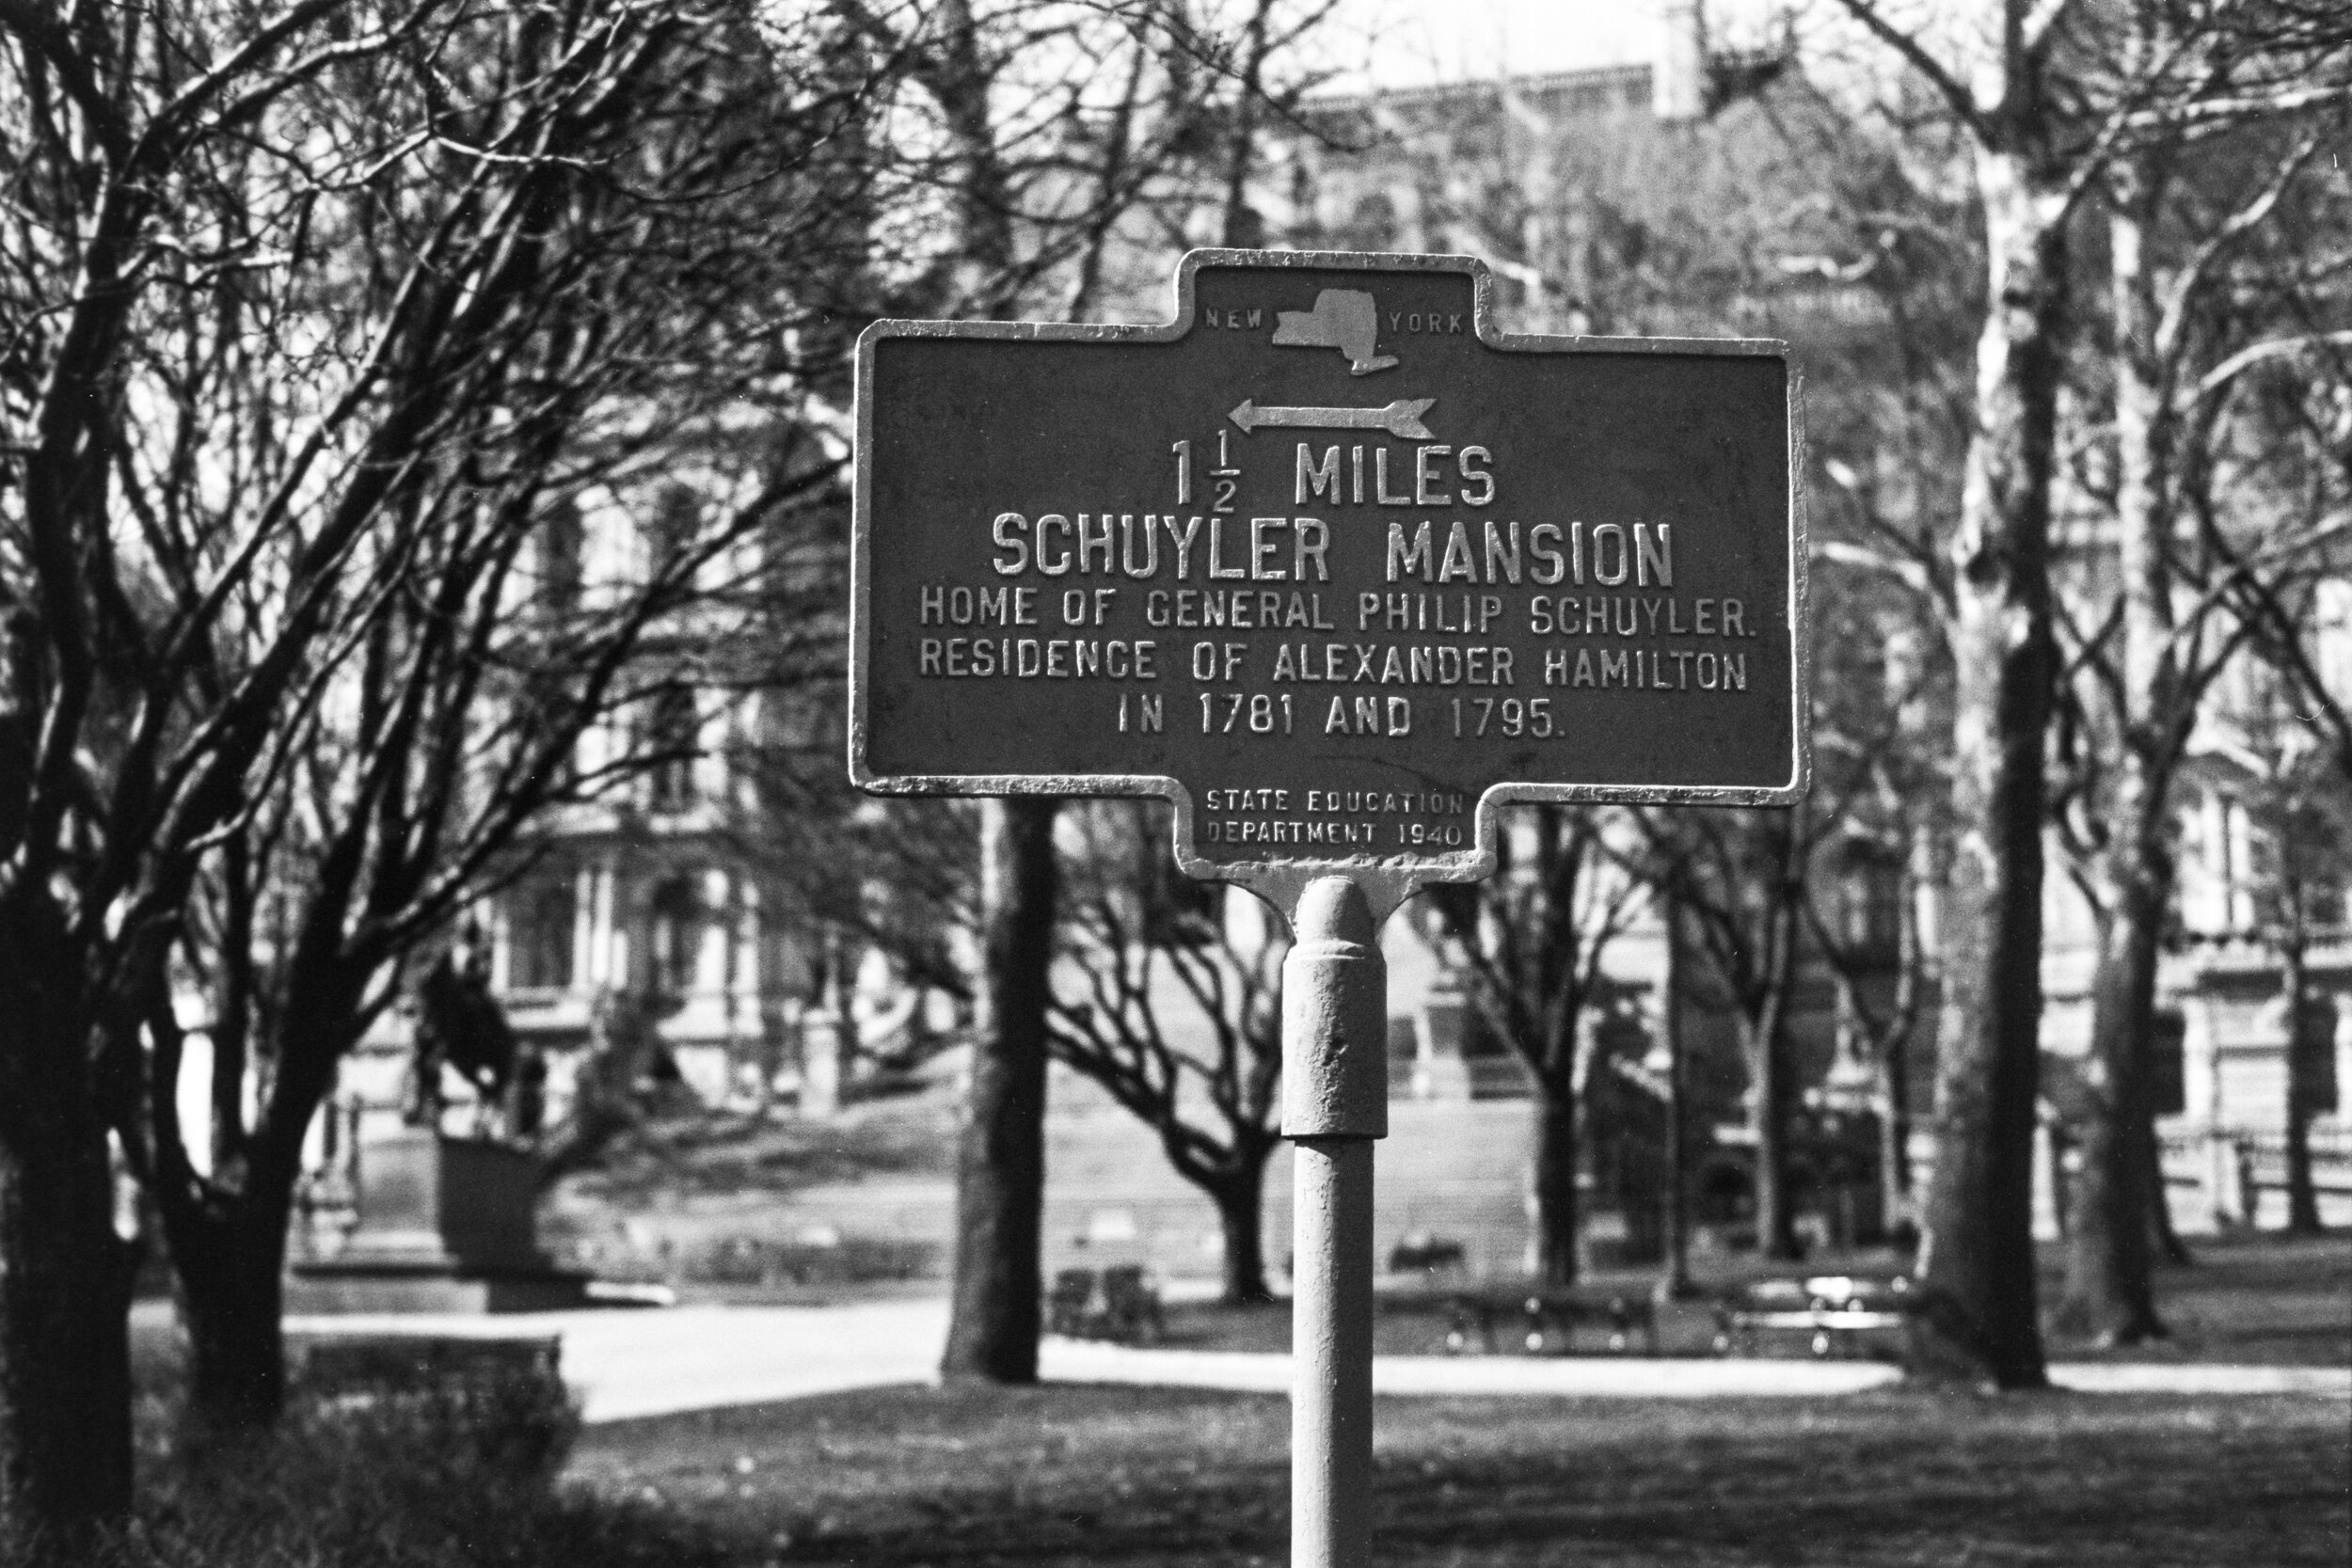
This film behaves unlike any other B&W film I regularly shoot. P30 stays true to its roots as a motion picture film stock. The high-contrast look might not be for everybody, but I’m a fan. The contrast renders industrial and architectural scenes, like Bethlehem Steel and the locations I recently shot in Albany, in a dramatic way that adds to the subject. Unfortunately, I can’t offer any advice on portraiture with P30 but I’d suggest spot metering over matrix metering. You need to be very careful to make sure the shadow detail of your subject isn’t lost.

Development

I’ve done quite a bit of experimentation with film/developer combos, and have had the best results with Rodinal 1:50 @ 14 minutes. Rodinal shines with slow speed films like P30. My tests with HC-110 and ILFOTEC DD-X, my go-to developer, didn’t produce the level of sharpness I was after. No matter what you do, P30 will leave you with a rather thin negative and little shadow detail. There were quite a few shots from Bethlehem Steel which I had to trash because the negatives were just too thin. I learned my lesson though, and the rolls I’ve shot since have had a much higher percentage of keepers. Although the negatives seem thin, they’re full of detail when you scan them. I can’t comment on how they perform when darkroom printing, but I get good results with my Epson V800 and even better results with my Nikon ES-2/D7200 combo.

Image Gallery

GRC_19925-Edit.jpg
GRC_19931-Edit.jpg

Final Thoughts

Ferrania P30 is not a film that will work for everybody in every situation, but it’s a great choice if you’re looking for dramatic, contrasty negatives. The supply of P30 has been sporadic at best, and the COVID-19 pandemic certainly hasn’t helped remedy the issue. While there were initial complaints about Ferrania’s quality control in the early batches of P30, I haven’t seen any issues with the latest batch of five rolls I purchased. This is the type of film that you’ll know the right project for it when you see it, and I’d highly recommend you pick up a roll and give it a try!

Sonnenberg Mansion & Gardens

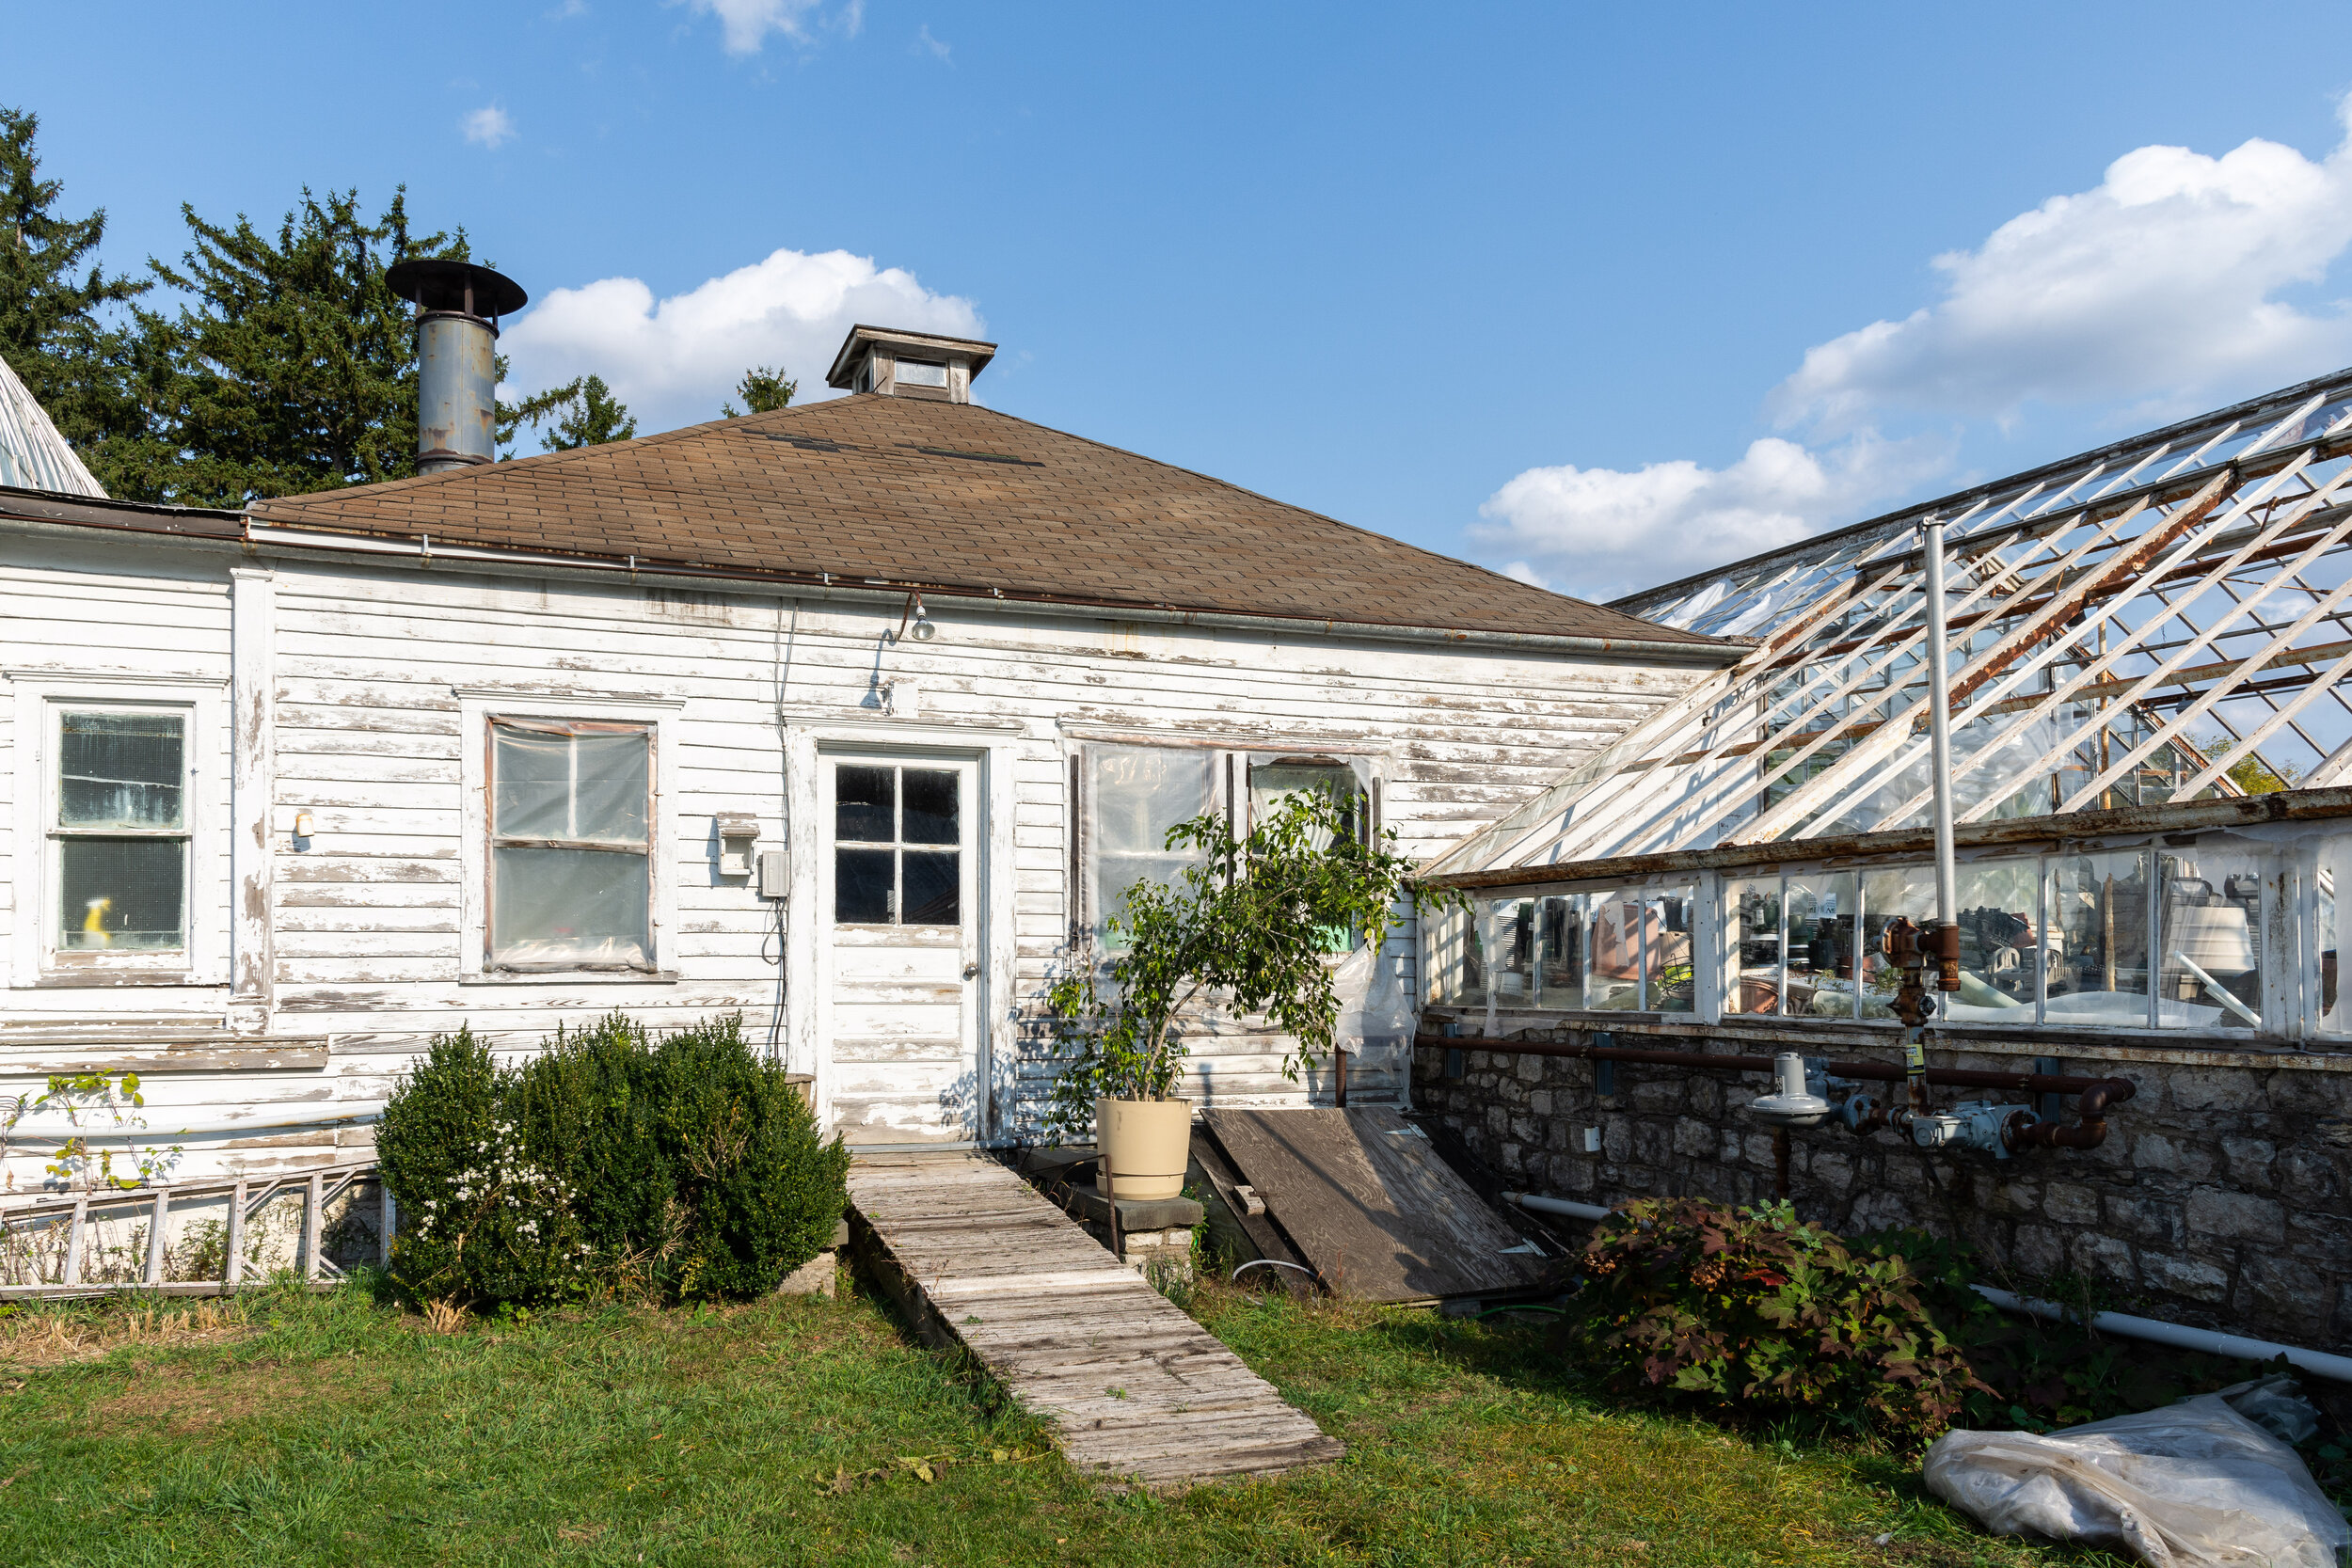
_GRC4220.jpg

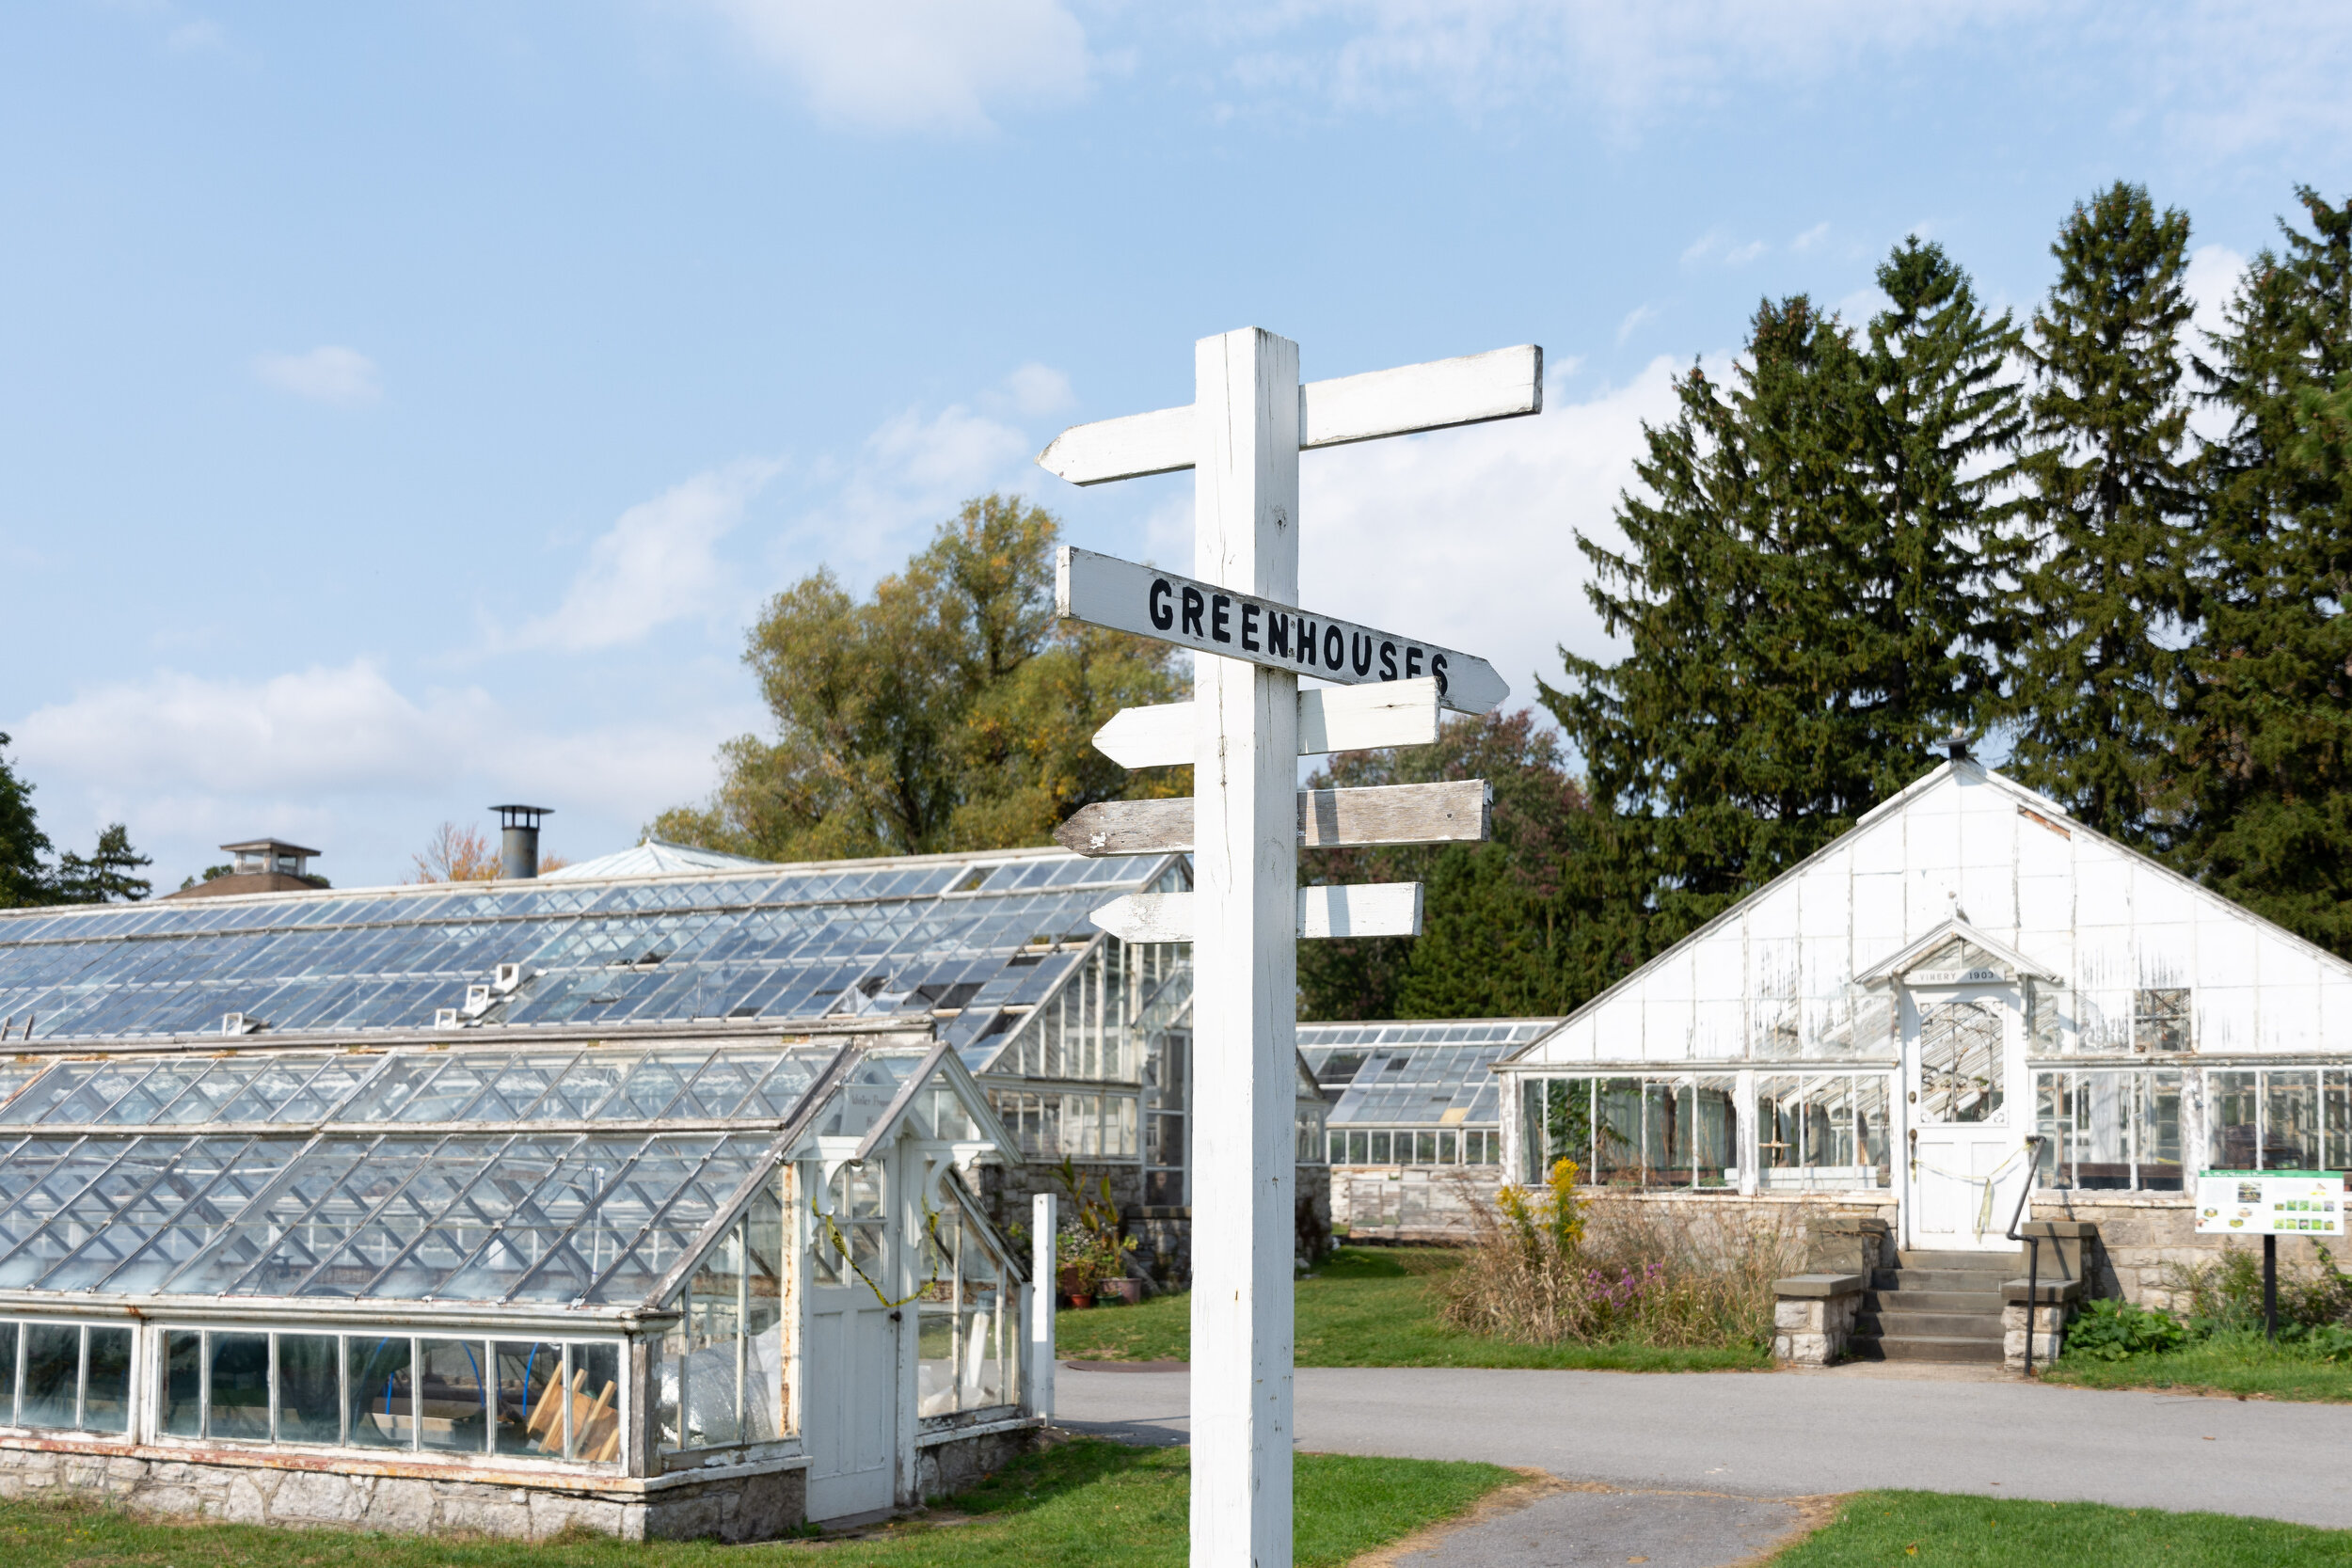
Sonnenberg Mansion and gardens is a New York State Historic Park located in Canandaigua, New York. The property originally encompassed 300 acres and is the former home of Frederick Thompson, a New York City banker. He and his wife developed an extensive network of gardens and greenhouses on the property before Mrs. Thompson died in 1923. The property was sold off to the federal government in 1931 and a Veterans Affairs Hospital was built adjacent to the mansion. The gardens fell into disuse as the federal government was unable to foot the bill for their upkeep. The hospital is still in use but the VA passed the mansion and 50 acres, including the Thompson’s original greenhouses, to a non-profit in 1972. The non-profit sold everything to the state in 2008, which has administered the park ever since. 

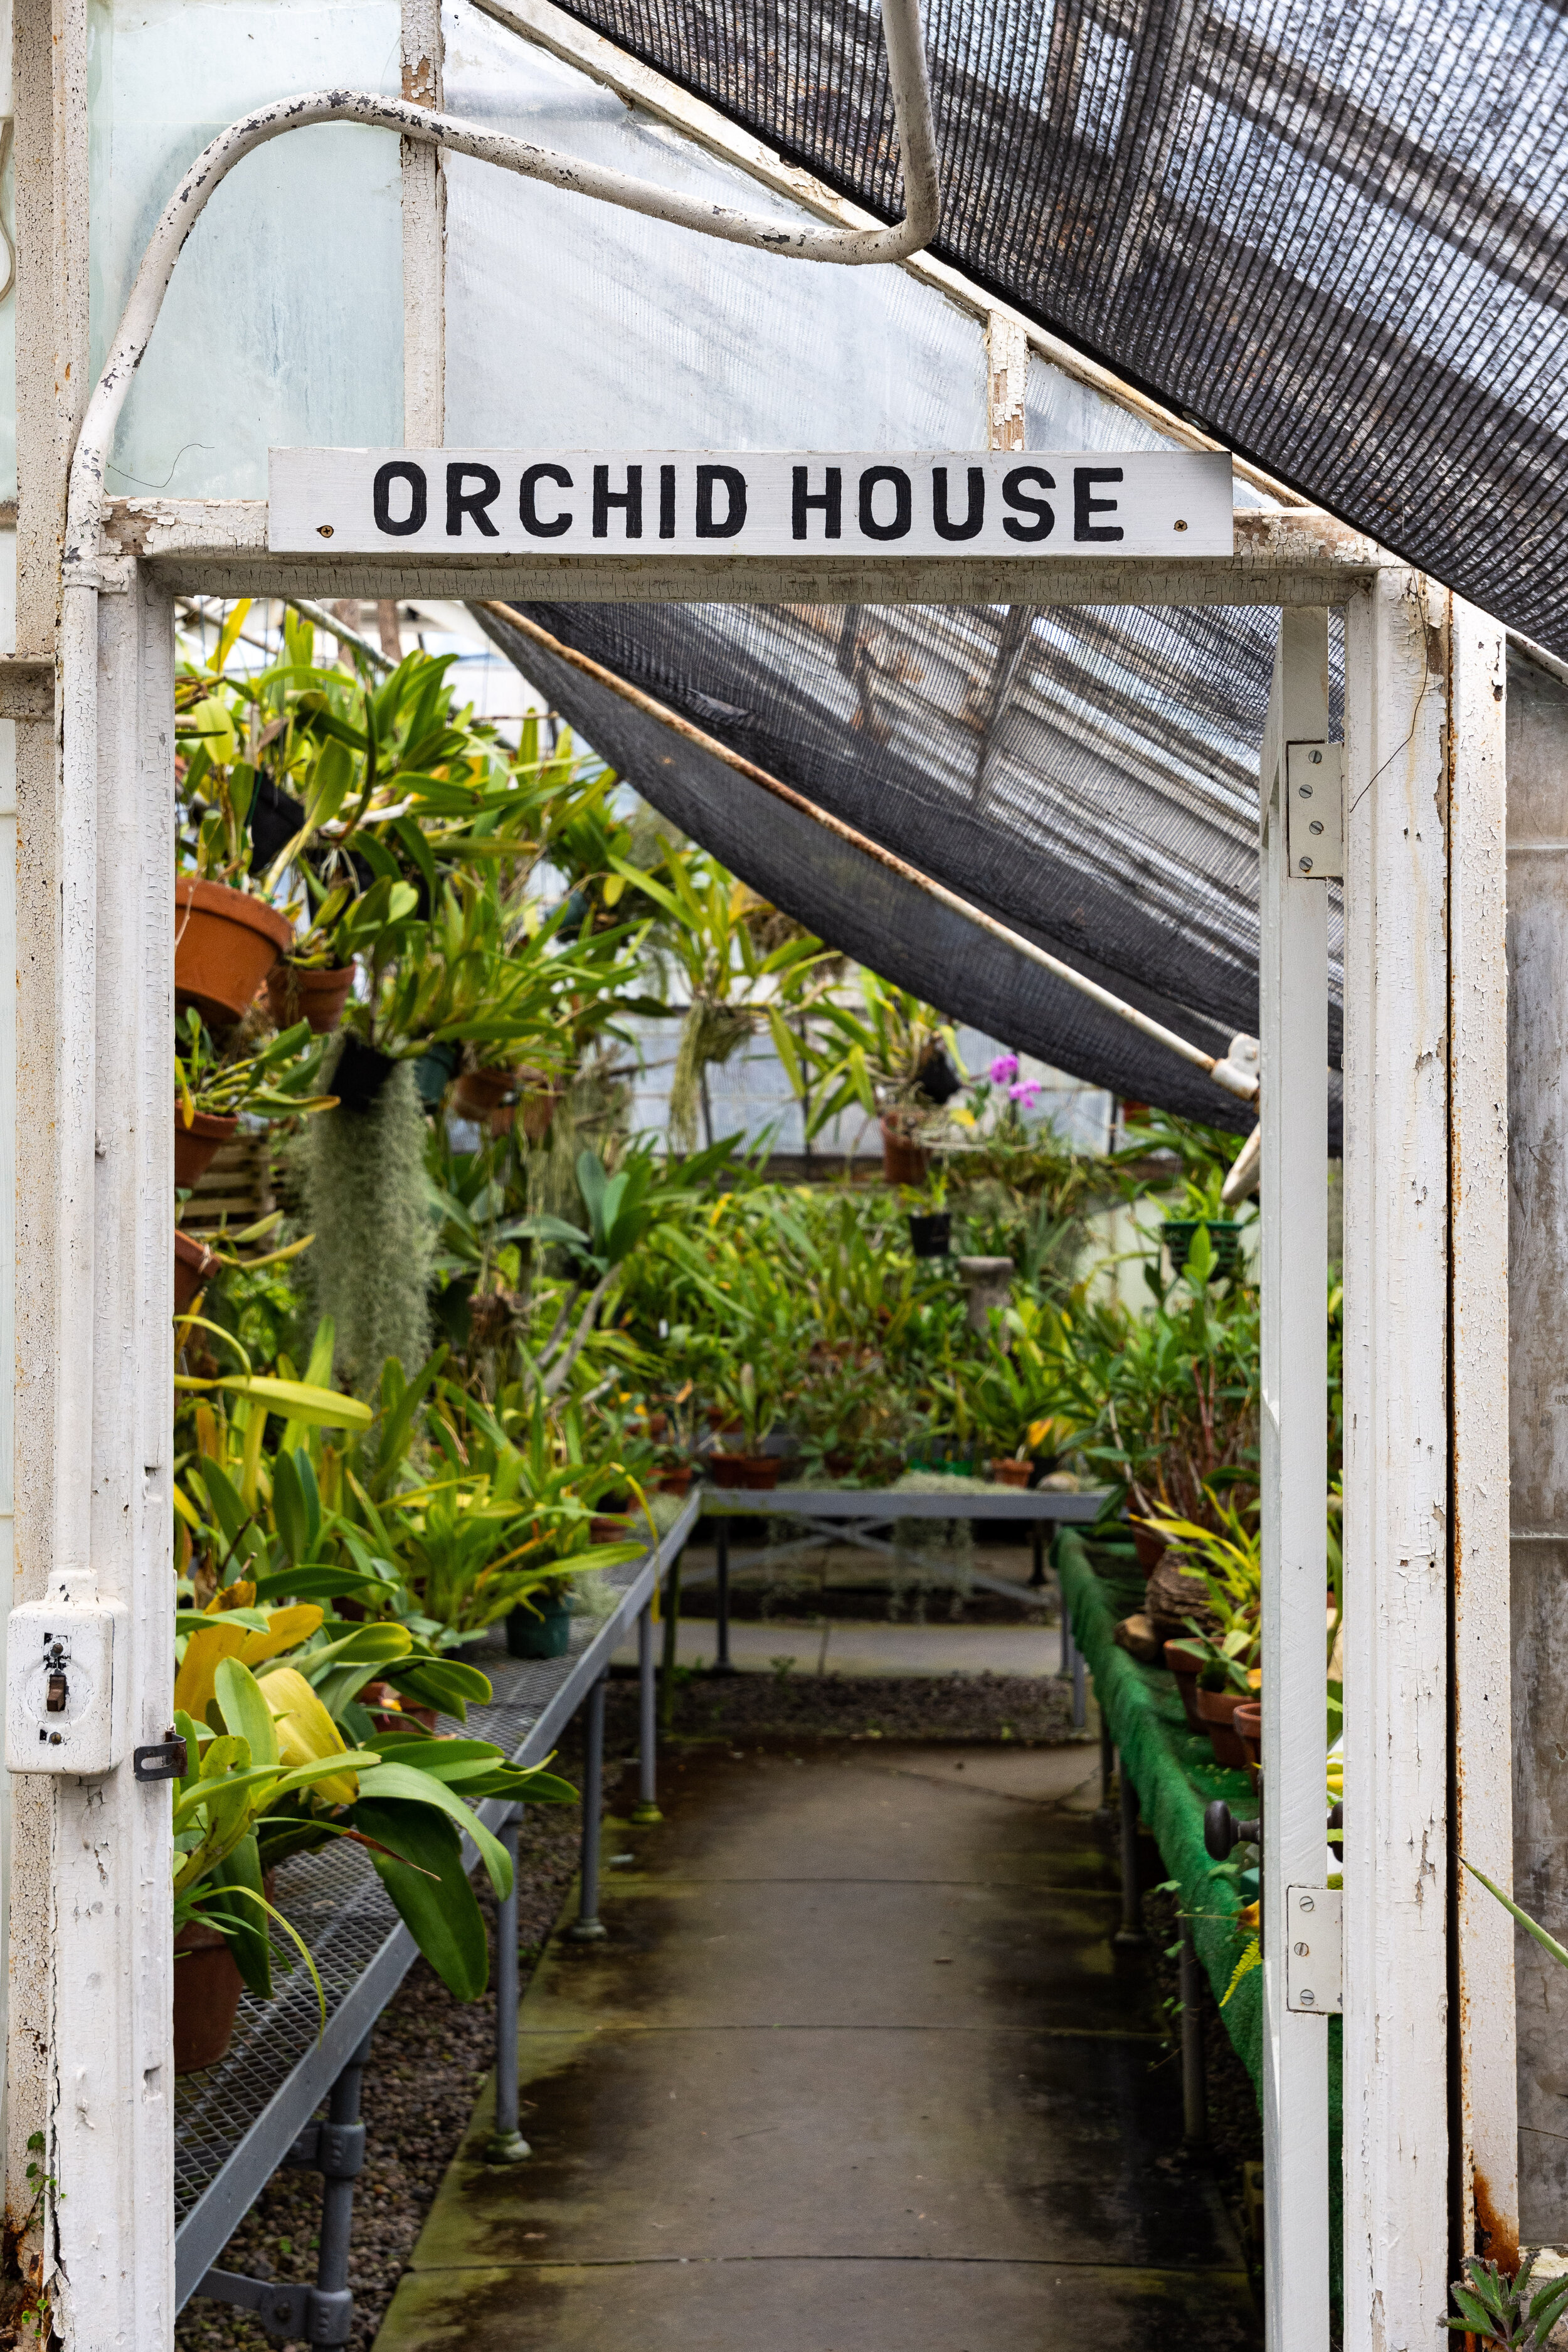
I visited Sonnenberg during a trip upstate to Cornell. I really should’ve gone when the gardens were in bloom, but it seems I just missed them in the early fall. The main feature of the greenhouse complex is a glass domed building divided into multiple sections. There are rooms dedicated to specific plants like orchids and cacti, and a large central room with trees that scrape the glass domed ceiling. The greenhouse reminds me of the National Arboretum in Washington DC, or what the greenhouse at Lyndhurst might’ve looked like back in its heyday. There are also a number of smaller greenhouses in varying states of disuse, many with missing glass paneling. Sonnenberg hopes to restore more of these structures as money becomes available.

Greenhouses

_GRC4136.jpg
_GRC4260.jpg
_GRC4144.jpg
_GRC4249.jpg

The Mansion

_GRC4193.jpg

The mansion interior is beautifully restored, and the exterior is in good shape. I love the slate roof and contrasting color of the stonework against the crimson red siding. The Thompsons were amateur ornithologists and built an aviary to house their exotic bird collection. Many taxidermy birds can be found in the mansion, and an ornate painting of a peacock is a prominent feature near the first-floor entrance. Mr. Thompson was a photographer himself, and I immediately recognized the Kodak 8x10 camera and stereoscope viewer inside the study. I love stereoscopic images, which are shot at slightly different angles and viewed though a special set of glasses. The slight difference in camera angle produce a 3D effect. There were many rooms in the mansion I wasn’t able to visit as we were restricted to touring the first floor. Among the rooms I could see were the billiards hall, dining room, living room, and study. While the mansion was certainly opulent, I didn’t find it as overbearing as the Vanderbilt mansion I visited in Hyde Park while shooting my Hudson Valley Mansions series. I could see personal touches left by the people who lived there, the things they collected on their travels around the world. It felt lived in, which some historic mansions do not. Hopefully, when the world returns to normal post-COVID, I’ll be able to make a return visit to see the gardens in full bloom.

_GRC4208.jpg
_GRC4218.jpg
_GRC4212.jpg

Nikon F100 Metering System Selector Repair

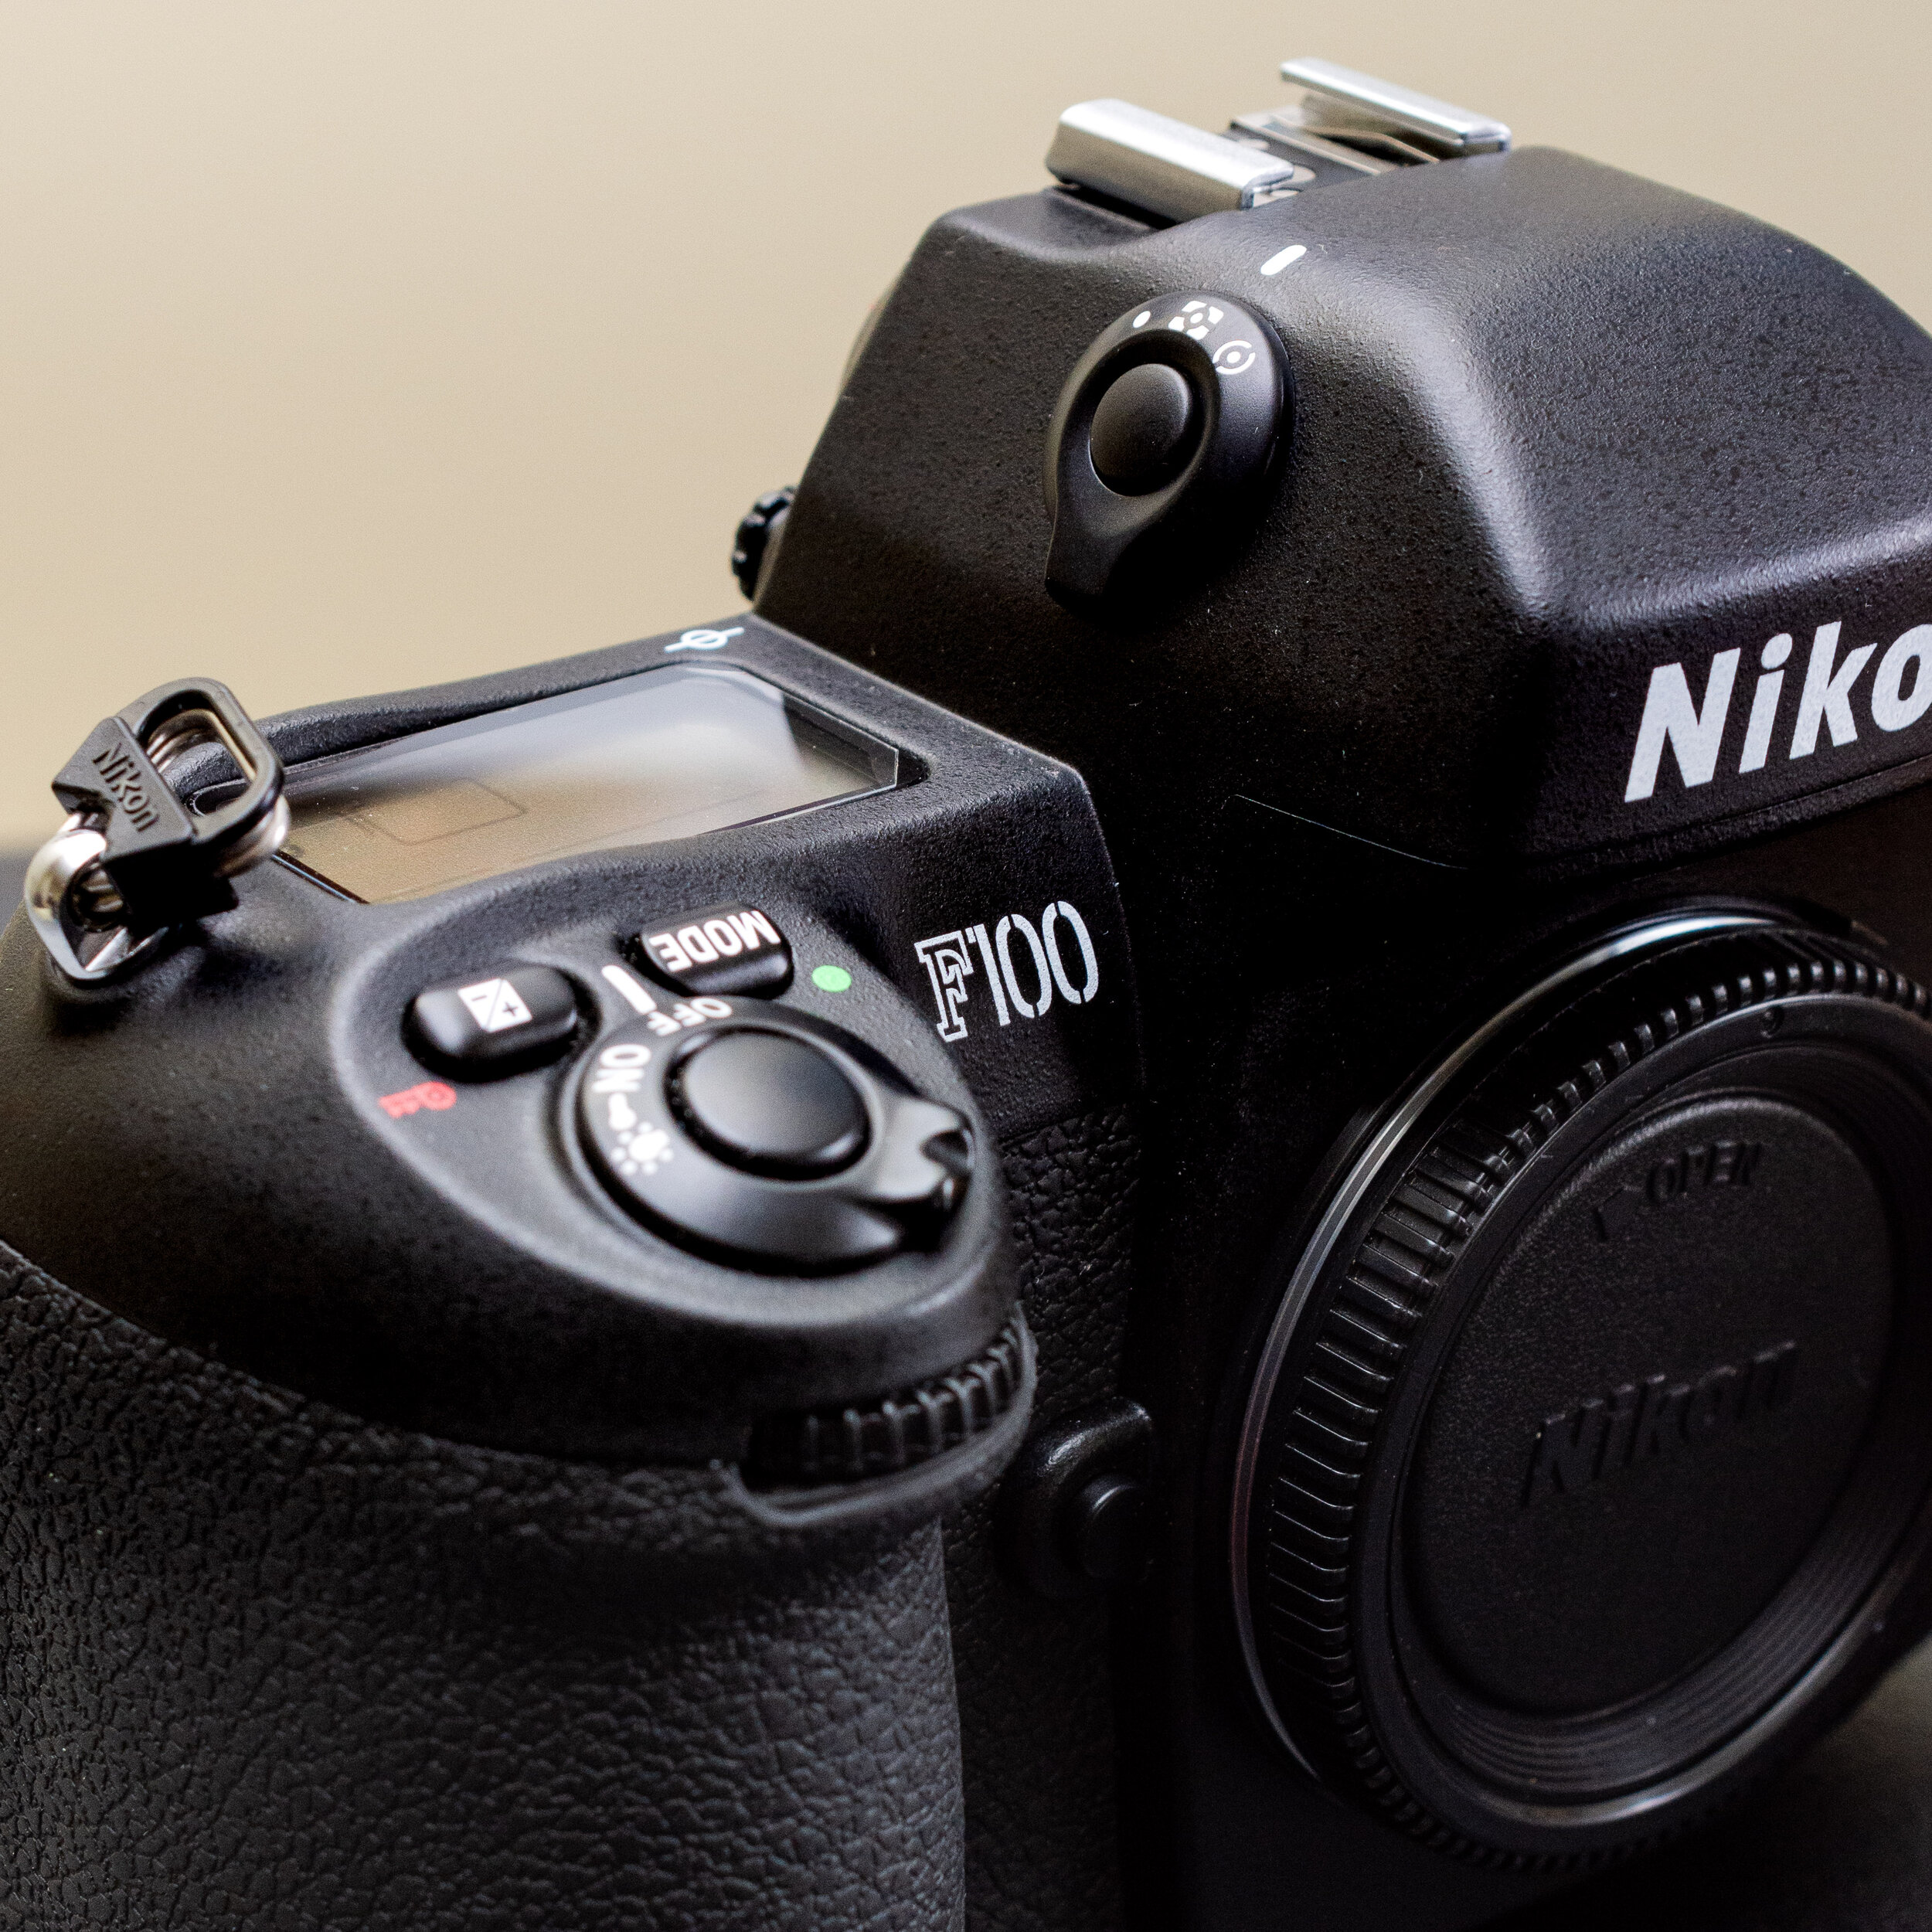
I recently made some big changes to my camera collection including selling some of my least used systems in an effort to cut down on the amount of equipment in my dry cabinet. I sold my Bronica ETRS and Canon F1n, replacing them both with a Nikon F100 for 35mm work. I found the beautiful F100 above on eBay and I couldn’t believe it - the camera looked unused! Excited to see what it could do with my new FX lenses, I shot two rolls of Ferrania P30 during a day trip to Albany. Everything worked flawlessly except for one feature: the “Metering System Selector”. Located on the righthand side of the OFV, this selector is supposed to let you swap between spot, matrix, and center weighted metering. Mine was stuck on matrix, and I figured this out about 1/2 way through my first roll when I needed to spot meter for a backlit shot but didn’t see any movement when I changed modes. I have a pretty good feel for how over/under my meter readings are and made exposure compensation adjustments when necessary, but I spent the rest of the day frantically trying to figure why the F100 was stuck in matrix mode.

Turns out the “Metering System Selector” is the Achilles heel of an otherwise excellent camera. Over time, the contacts behind the selector oxidize and the metering system gets stuck at whatever mode the selector was left in. I did some research and found a few different solutions including sending the camera back to a Nikon service center (probably wouldn’t work in 2021), exercising the selector until it starts responding, and shooting some contact cleaner into the selector. I started with the least invasive option, moving the selector back and forth around 50 times without any signs of improvement. I always keep a can of contact cleaner on hand for general repairs but I was nervous to use it given the selector’s proximity to the pentaprism. Having exhausted my other options, I decided to give it a go.

I stuck some gaffers tape over the LCD screen and viewfinder, flipped the camera upside down, and shot some contact cleaner into the selector. After two rounds of applying contact cleaner and exercising the selector, I could finally get the camera out of matrix mode! I repeated this process six or seven times before all the modes worked reliably. I’ve found it helps to be decisive when changing metering modes because sometimes the camera will default back to matrix. Simply nudge the selector and it should jump back into the mode you selected. A word of warning – a bit of rubber came out from behind the metering system selector lock release button on the fourth shot of contact cleaner. I used some sharp tweezers to remove it. The rubber was clearly perished (another weak spot in the design?) but it hasn’t affected the camera operation thus far. I imagine it had something to do with the weather sealing, so it might not be wise to attempt this fix if you plan on taking your F100 into extreme environments. I’m not one to be hard on my equipment, so this wasn’t a concern for me.

And there you have it – how to fix an unresponsive Nikon F100 Metering System Selector!

USS Ling

_GRC4545.jpg

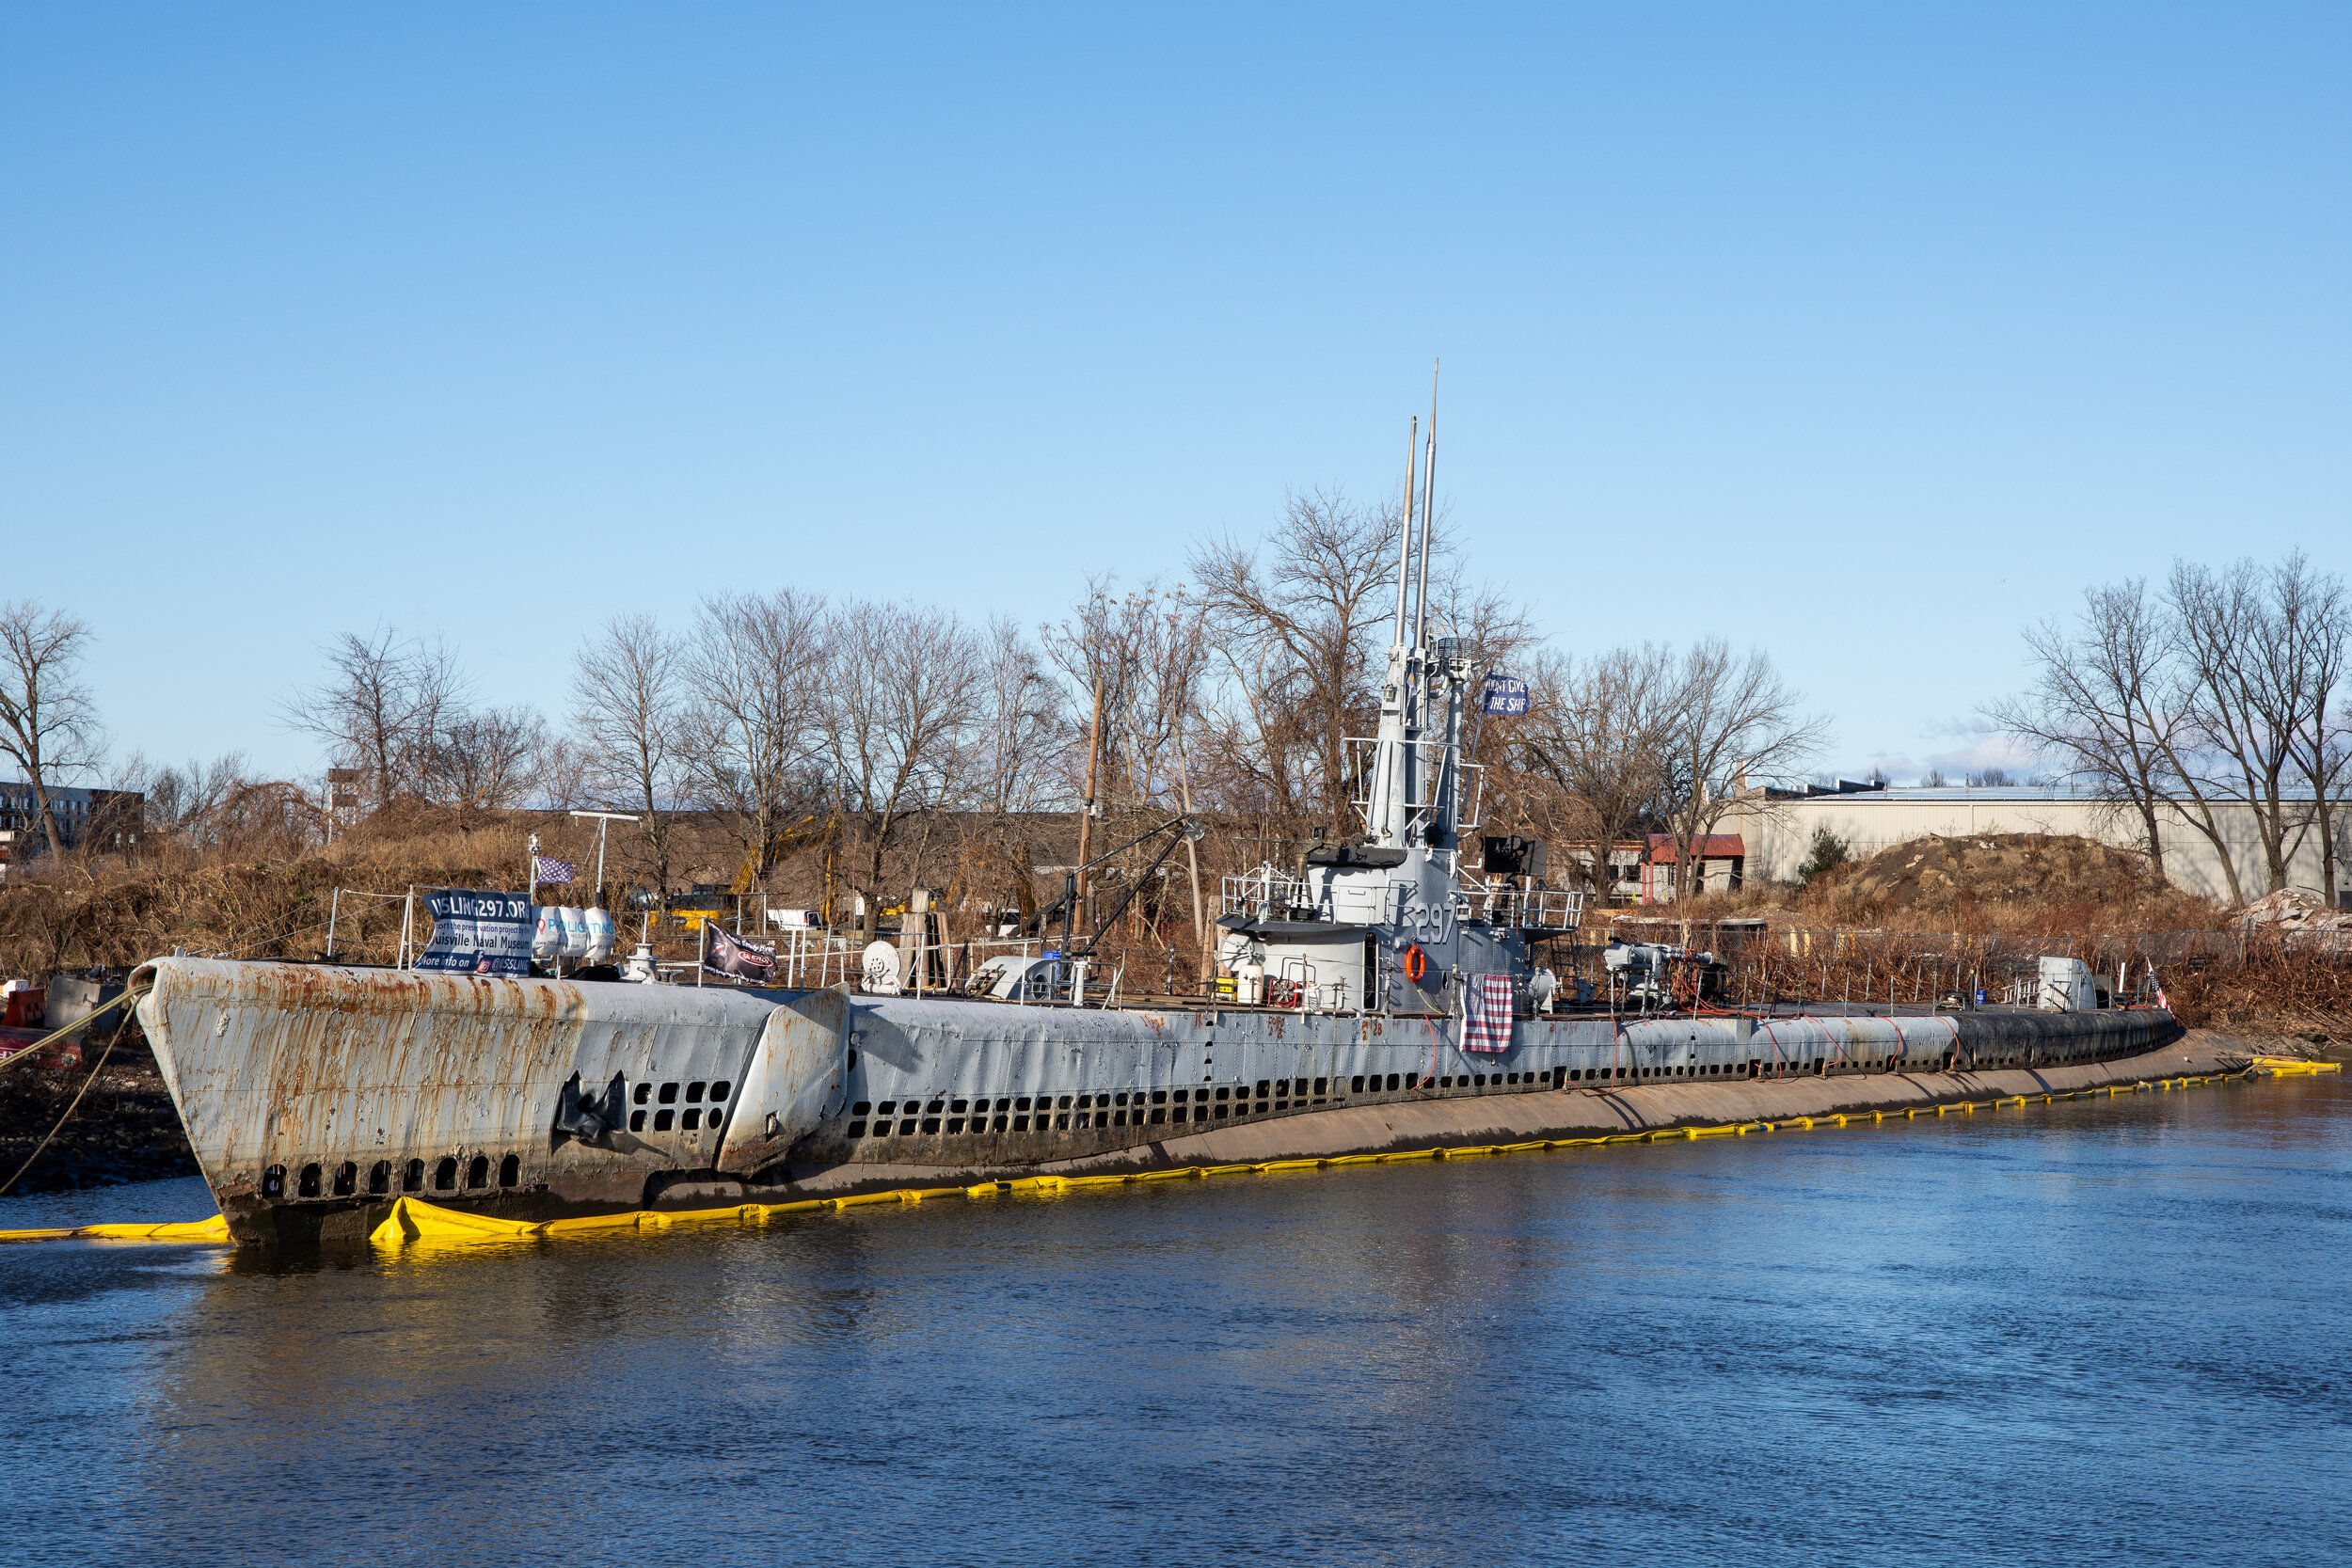
The story of the USS Ling is a sad case study of what happens to historic ships when the money and momentum to fund their upkeep runs out. Settled into the bed of the Hackensack River in Hackensack NJ, the USS Ling is trapped and in worse shape than she ever was during WWII. The ship is a Balao-Class submarine which spent a little over a year in commission between 1945 and 1946 without seeing any real action. Later converted to a training ship at the Brooklyn Naval Yard, she was donated to the Submarine Memorial Association in the 1970s and reverted back to the interior of a typical WWII submarine. A string of bad luck including vandalism and Hurricane Sandy caused expansive damage to the ship through flooding, leaving it in the state we see today.

There’s a movement to bring the ship to a new home in Louisville KY, but a few obstacles stand in the way between the USS Ling and its journey to the Atlantic - for one, her ballast tanks haven’t been serviced in years which leaves the ship unable float let alone move under her own power. Additionally, large boat traffic and the regular dredging that accompanies it has been absent from the Hackensack River for many years. Even if the submarine could float, it’s unlikely the Hackensack River would be navigable for a vessel her size. The most practical solution is to load the submarine onto a barge and tow it to dry dock for a complete overhaul. With any luck, the folks at the Louisville Naval Museum will be able to figure out a way to patch the submarine and get it into dry dock. Whatever happens, it’ll take a herculean effort to restore the USS Ling to her former glory.

It’s been freezing cold here in New York for the past few weeks, but I’m glad I stopped in to see the USS Ling this winter before it’s gone for good. I just wish that I was able to take a tour before things fell apart. Thankfully we still have the USS New Jersey in Camden and a host of other ships nearby in Battleship Cove. It’s funny - I’ve never been onboard a US WWII submarine, but I have visited the only U-Boat in the United States, U-505. Sounds like I have some post-COVID travel planning to do…

_GRC4526.jpg

Fort Stark

One of Battery David Hunter’s empty 12-inch disappearing gun mount, Harbor Entrance Control Post (HECP) in background.

One of Battery David Hunter’s empty 12-inch disappearing gun mount, Harbor Entrance Control Post (HECP) in background.

I’m always on the lookout for abandoned sites to explore, and I discovered Fort Start while looking for things to shoot in the Portsmouth NH area. This fort was part of a greater network of seven forts that protected Portsmouth Harbor, home to the Portsmouth Naval Shipyard. The port played a vital role throughout WWI and WWII, servicing the Navy’s submarine fleet. The shipyard continues to be the primary location for the overhaul, repair, and modernization of the active duty submarines.

The fort was first established during the Revolutionary War, with armaments secured from the nearby Fort William and Mary after capture from British forces. The fort continued to serve a role in harbor defense up until 1983 when it was turned over to the State of New Hampshire. As it stood during WWII, there were 4 batteries: Alexander Hays, Edward Kirk, David Hunter, and William Lytle. A mix of 3-inch guns and two 12-inch guns (long since removed) made up the primary firepower and were eventually outclassed by the 16-inch guns of nearby Fort Dearborn. The main feature of the fort was the Harbor Entrance Control Post (HECP) which directed harbor defenses from Biddeford, ME to Cape Ann, MA. A collection of other buildings, none of which remain, surrounded the parade field to serve the needs of soldiers stationed there during WWII. Only the concrete bunkers and machine shop still stand, the latter converted to a small museum.

12-inch Gun Mount at Battery Hunter, showing the rails upon which the gun carriage would ride.

12-inch Gun Mount at Battery Hunter, showing the rails upon which the gun carriage would ride.

Walking through the remaining concrete bunkers, it’s easy to get a sense of the sheer scale of the 12-inch guns that once sat atop Battery David Hunter. These guns were never fired at the enemy, but were primarily a deterrent to minesweepers that might try to clear the main protective measure in place at Portsmouth Harbor – a vast minefield that was controlled from Fort Stark. The HPEC still sits atop Battery Kirk, which was painted “battleship gray” during WWII to disguise it from enemy observation. Other buildings at the fort were masked by camouflage netting supported by telephone poles.

While I was unable to visit the museum at the park due to COVID-19 restrictions, I was able to pop my head inside and take a brief look around. The one remaining 3-inch gun, an original search light, and other artifacts from the fort can be found inside. It doesn’t take much time to lap the entire park, but it’s fun to climb around the concrete bunkers and imagine what life was like for the soldiers stationed there. The park has limited hours and parking is only available past the entrance gate, but is worth a visit if you’re in the area.

A 3-inch gun mount added during WWII slides toward the ocean.

A 3-inch gun mount added during WWII slides toward the ocean.