Art Color Printing Company

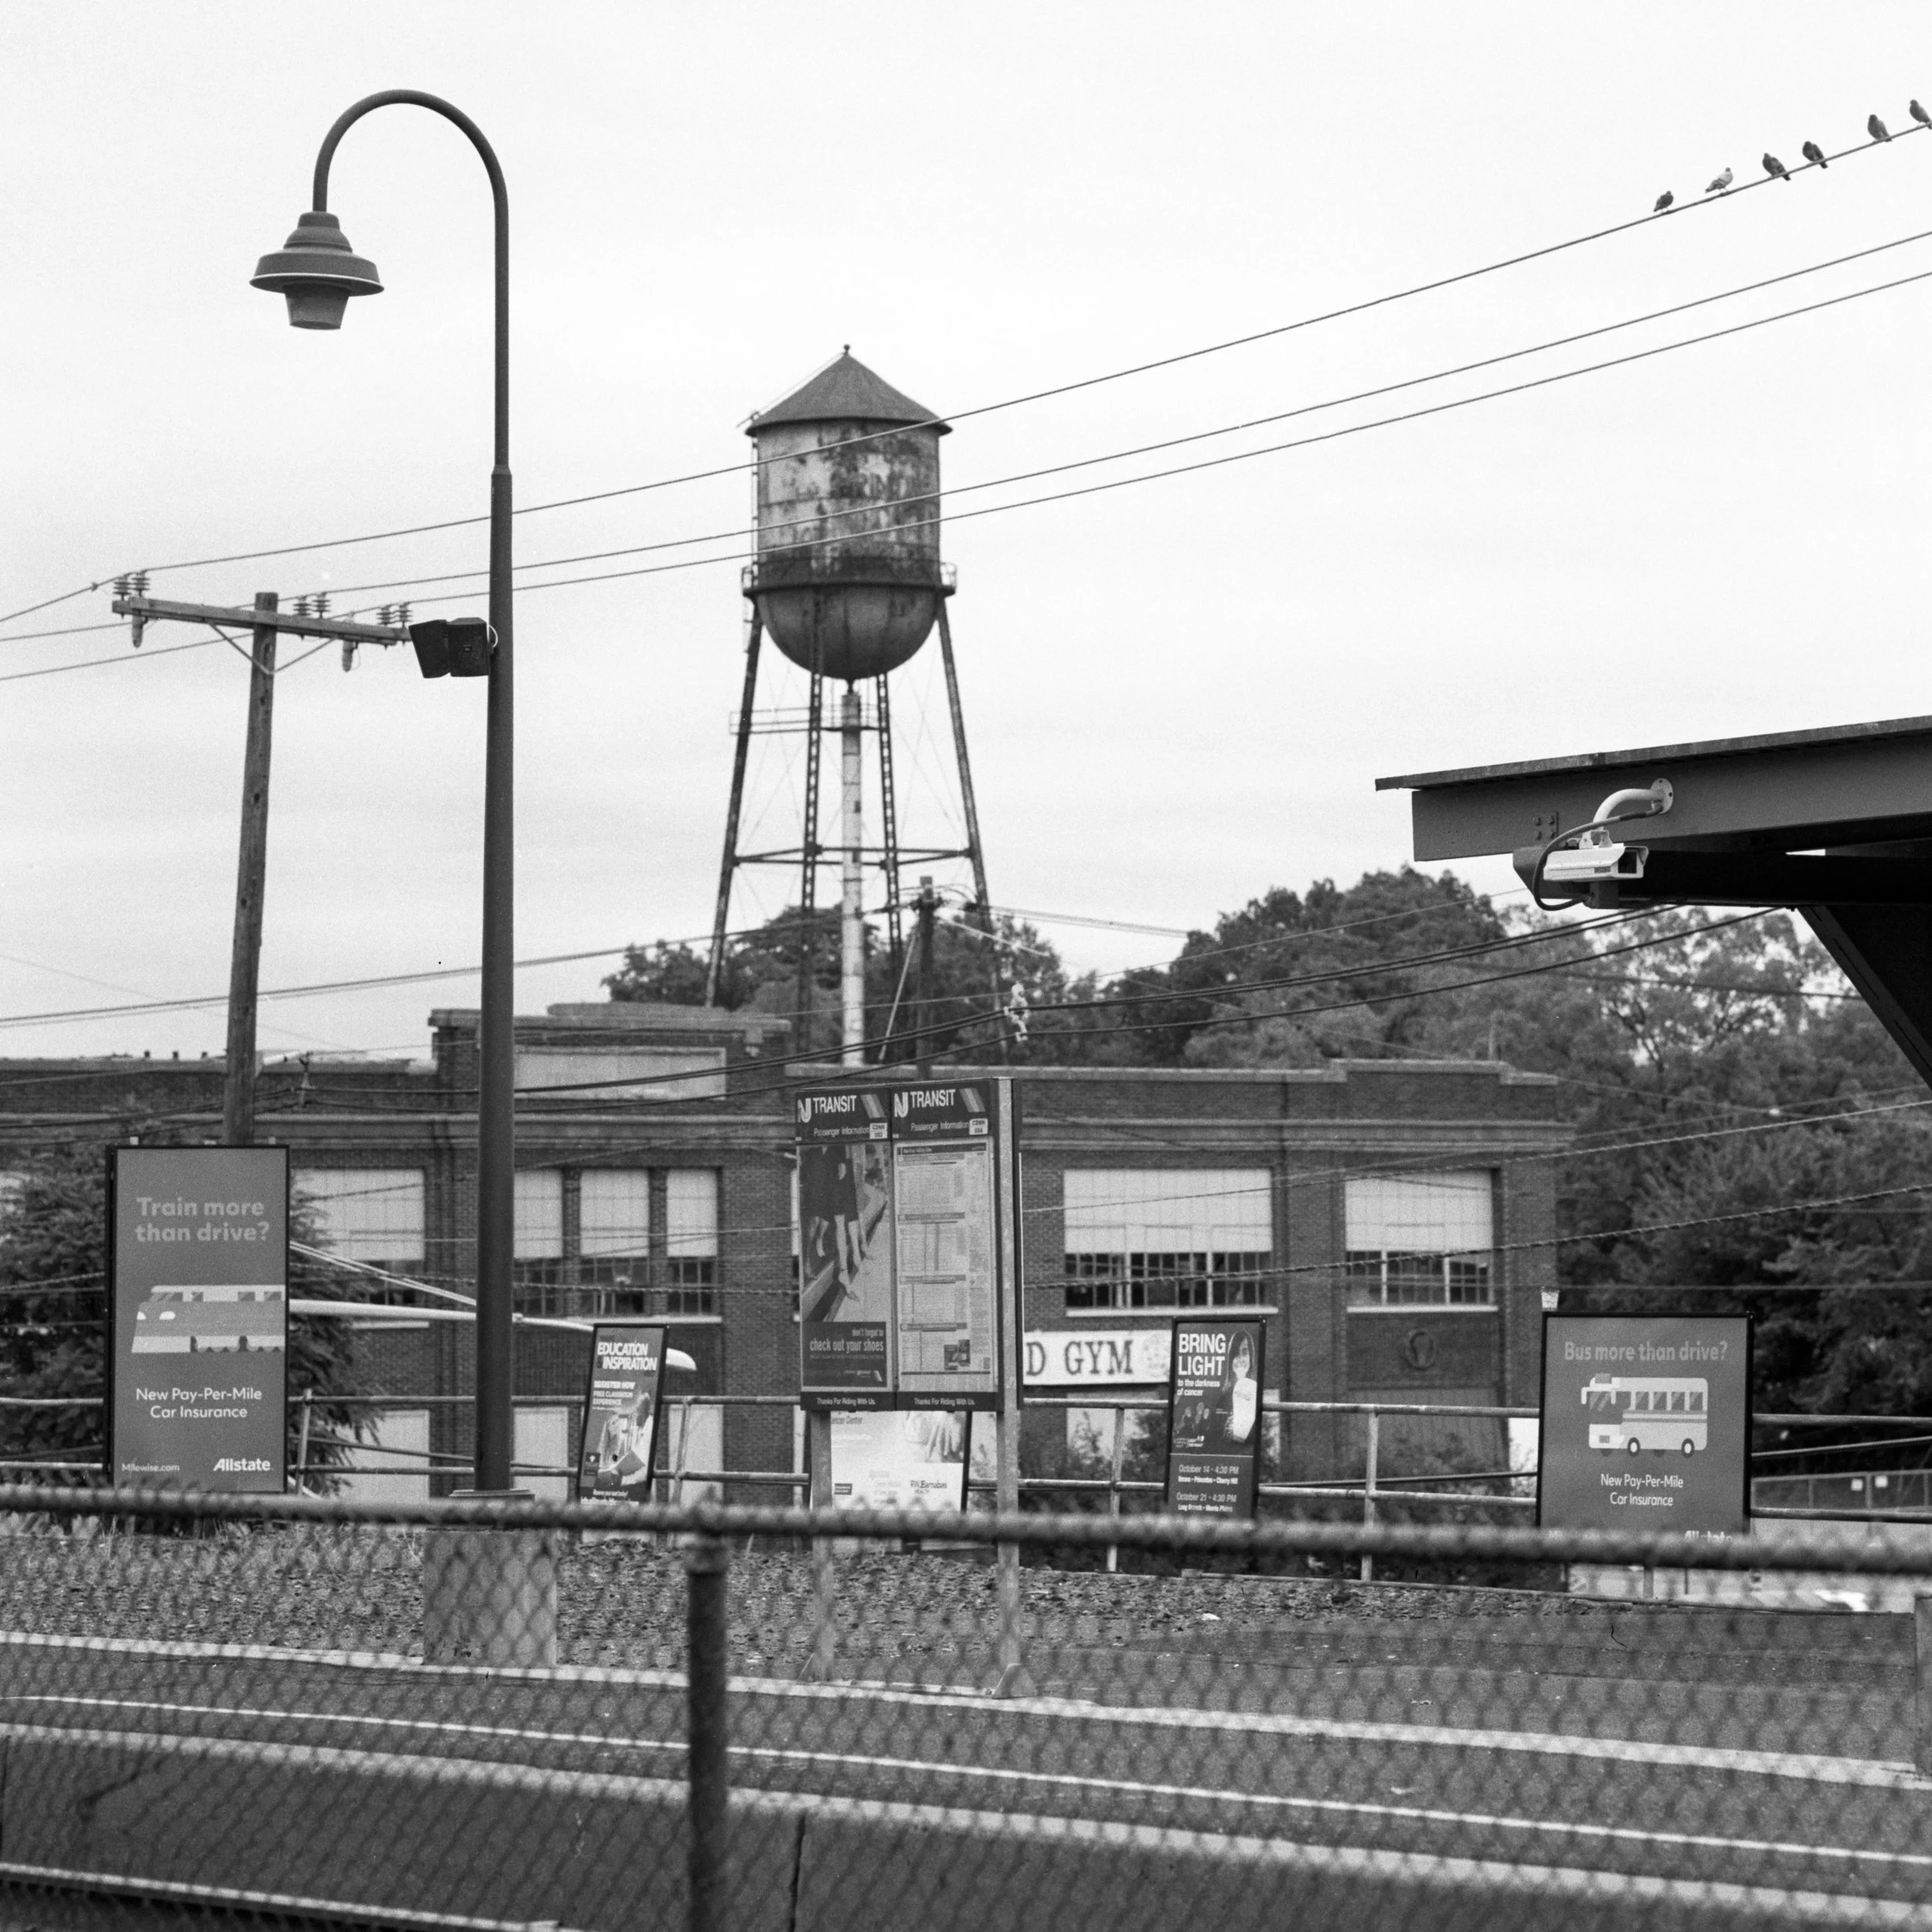
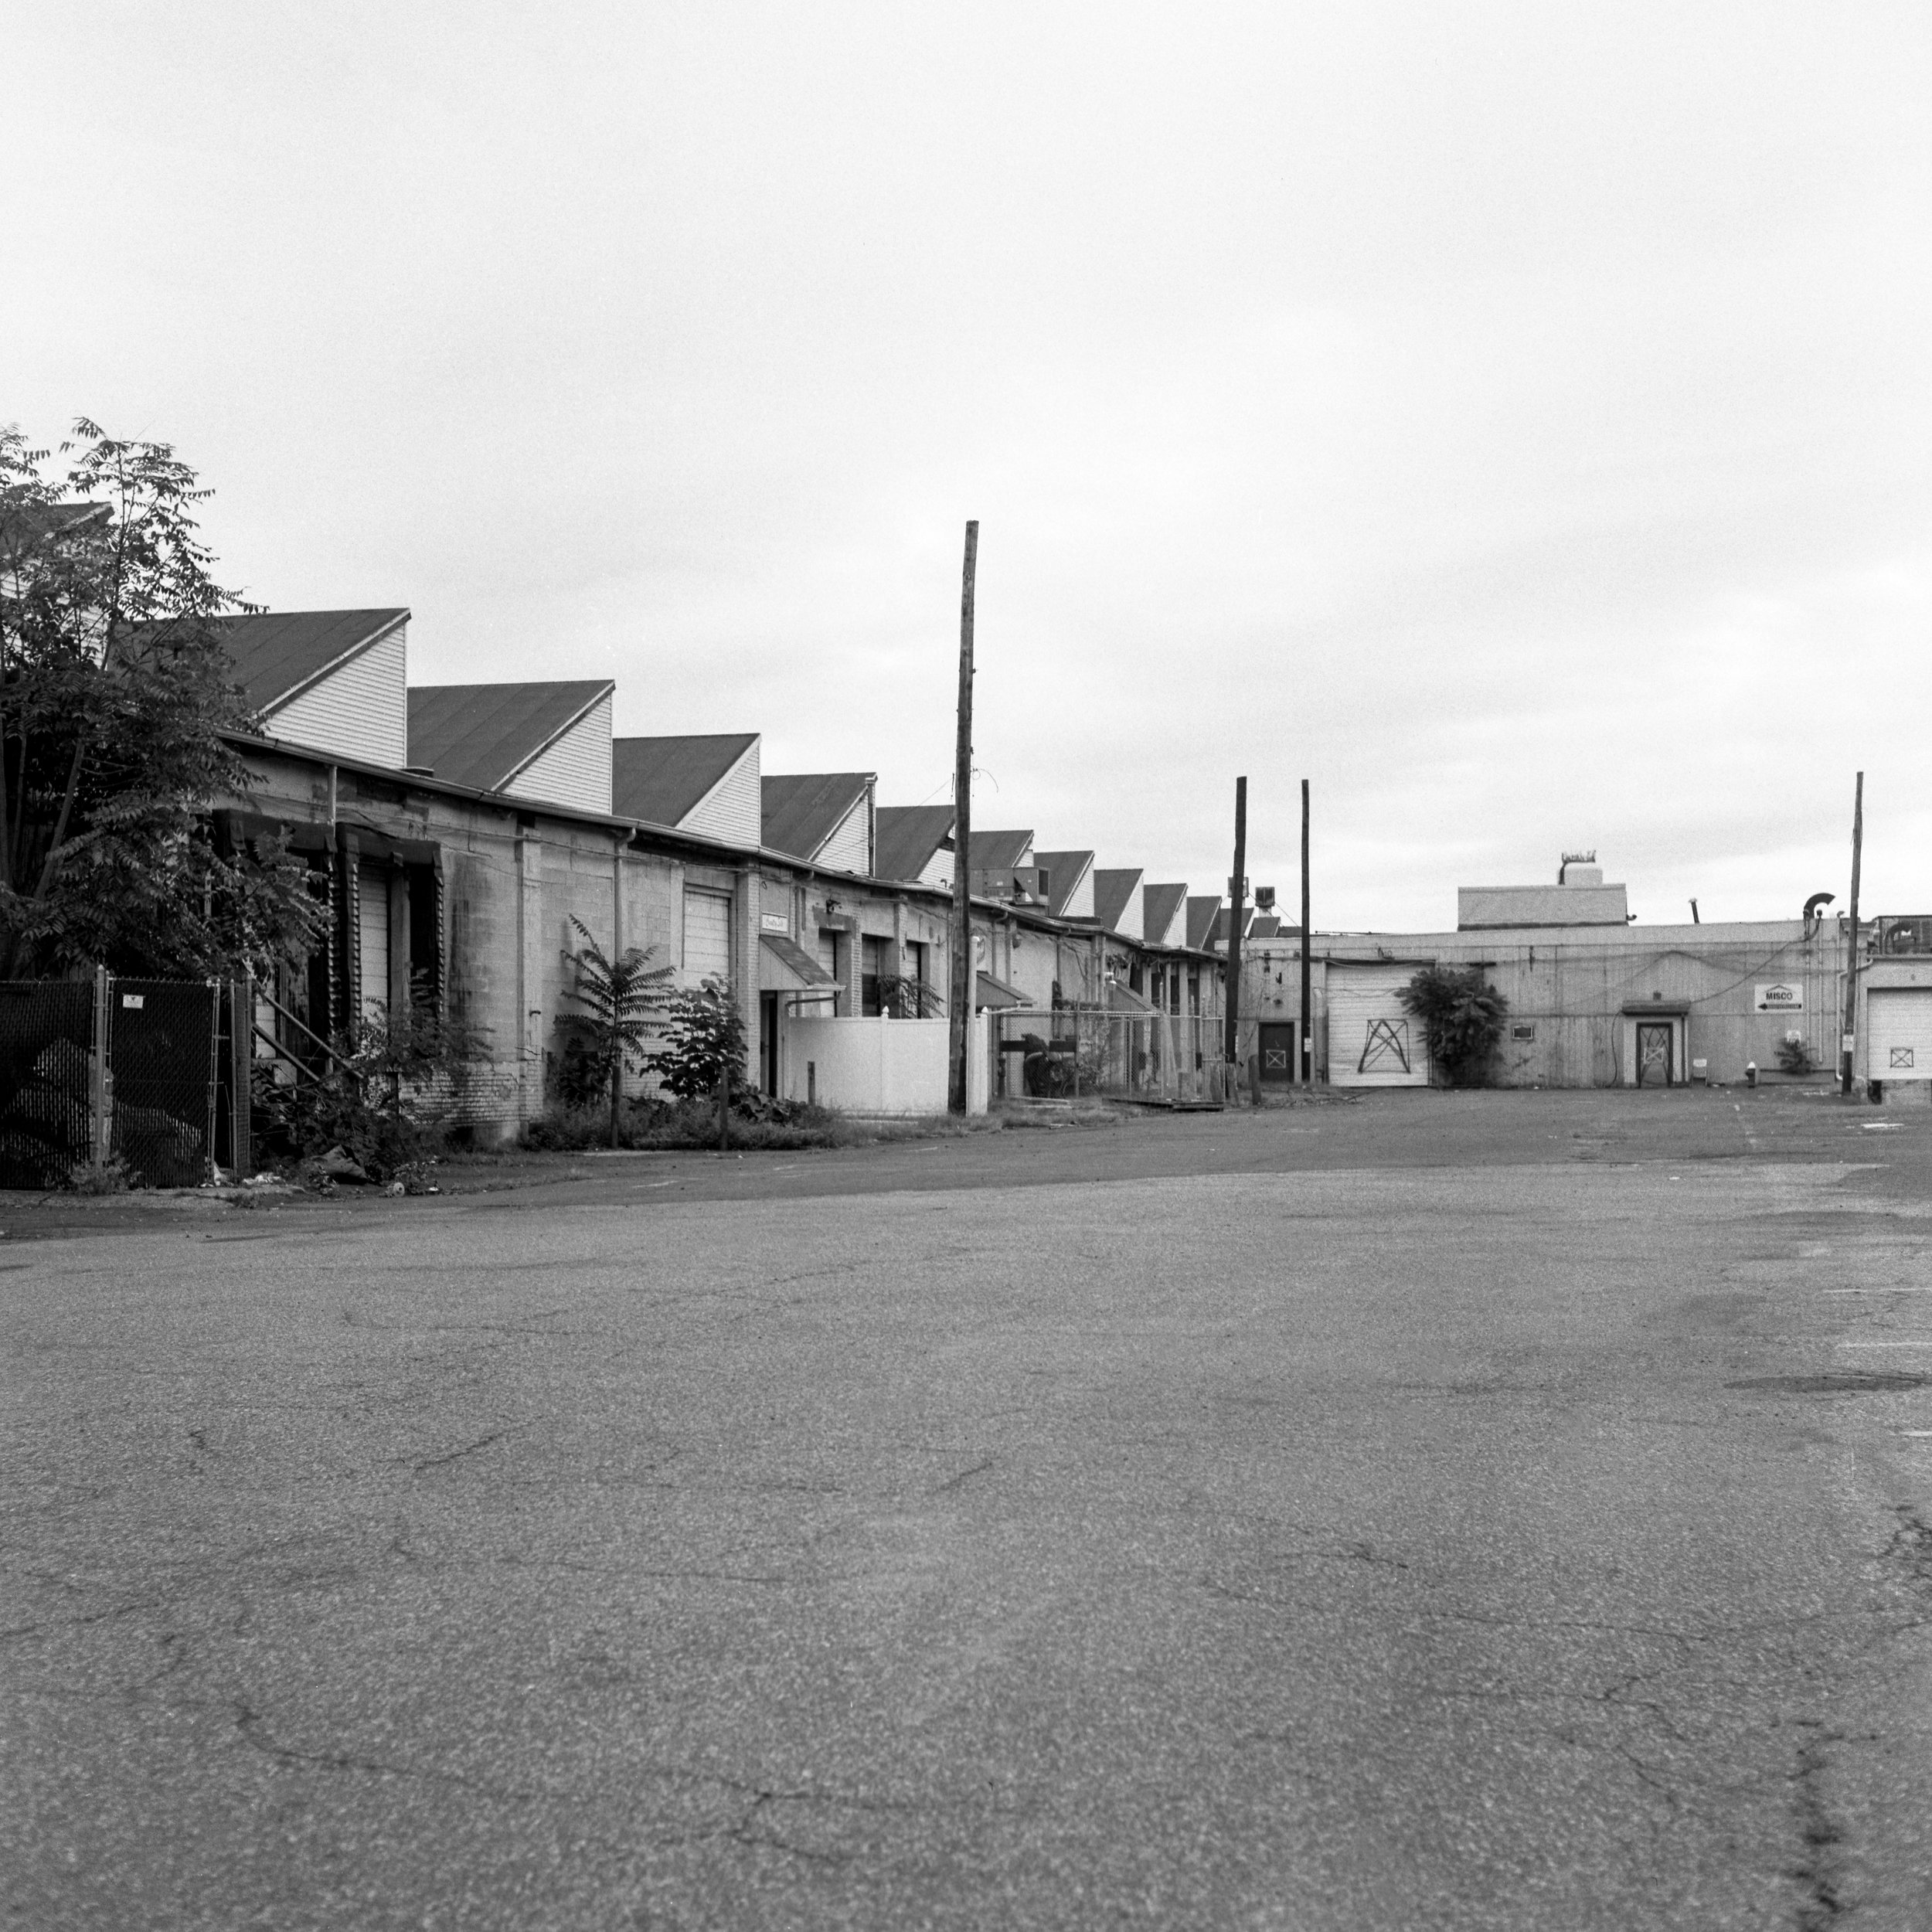
I wasn’t around when the Art Color Printing Company was in its heyday but I did grow up in the shadow of what was left behind. The factory building sprawls out along the present day NJ Transit right-of-way which is situated in downtown Dunellen. At peak production, the factory printed 10,000,000 copies of popular magazines per month. The company was once the biggest employer in Dunellen and the present day library and station parking lot were built on the old employee lots. The landmark water tower, disused since the factory closed in 1968, still has the faint outline of the previous owner’s name stenciled on its side.

Import 19112.jpg

This was one of those locations close to my house that I always planned to shoot but never got around to. I can think of quite a few places in Athens OH where I went to college that I simply ran out of time to visit before graduation. Having flown back this past weekend to visit I was reminded of all those photos that just never happened because I was always chasing better light, better skies, etc. I try to photograph places with some history behind them where there’s story to tell. Photography has a unique ability to freeze time in a single frame, and the Art Color Printing Company building’s impending demolition was enough to convince me to actually get out and expose some film before everything disappeared in a cloud of dust. A real-estate developer is demolishing the old factory to make way for new new apartment complexes but I wanted to capture the areas I remembered it.

The Stasi Museum | Berlin, Germany

How did I end up at the former headquarters of the notorious East German secret police, the Stasi? It all started with a German drama film titled The Lives of Others by Florian Henckel von Donnersmarck. The main plot line follows a Stasi agent tasked with tracking the every move of a playwright conspiring to leak information to West Germany. Operating from the attic above his apartment, the agent slowly has a change of heart despite his commitment to the Stasi. Some scenes from the movie were shot in the building I photographed which still stands frozen in time today. Most of my time in Germany was spent in overcast conditions, but the weather was spectacularly clear for this shoot.

Document safes, like the one seen in the back wall, could be found in almost every room.
Switchboard outside Mielke’s office.

The Stasi, or Ministry for State Security, was established to be the sword and shield of the Socialist Unity Party of Germany. Orchestrating kidnappings, reading personal correspondence for incriminating evidence, and wiretapping telephone lines were all in a days work for the agency. They would even go so far as to wire entire houses with microphones in the hopes of catching those suspected of inappropriate behavior. The Stasi focused on psychological harassment rather than physical punishment at a time when your own husband or wife could be spying on you for the agency.

The architecture of the building itself is what I like to call Soviet drab, consisting of prefabricated concrete structures not unlike you’d find in a frigid Siberian prison. Despite the sunny weather I couldn’t help but feel a sense of dread wash over me as I passed through a narrow alley into the square complex. The grounds haven’t aged well, though someone is clearly trying to keep up with them. The museum itself has many great exhibits covering Stasi surveillance technology, techniques, and the history of the GDR. Some would hope that this piece of East German history might be forgotten, but I for one am glad that the offices of the Stasi were preserved. Walking through the offices of Erich Mielke, Col. Heinz Volpert, and the other upper management of the Stasi is like taking a step back in time, or maybe a step into The Lives of Others. I’m glad I got the chance to photograph and experience the headquarters of the most widespread state security operations in history.

Cafeteria/lounge area near the leader’s offices.

Kodak A2-K Dust And Static Removal Unit

Identification plate on front of unit.

Here's an odd piece of darkroom history: The Kodak A2-K Dust And Static Removal Unit. There isn't much information about them available online, but from what I can gather Kodak made a few variations of this unit for professional darkrooms. My model is the standard configuration: a 10-in. tall tower with horse camelhair bristles attached to an air ionizer unit in the base. The ionized air is blown through the tower and film is passed through the gate to remove dust. The unit was designed to eliminate dust on negatives before making enlargements. I was in the market for a film drying cabinet when I came across this and figured it'd be useful for all the film scanning I do. After a quick blast of canned air to clean out the camelhair bristles I could watch the dust fall right off as my negatives passed through the gate.

Import 13132.jpg
Import 13151.jpg

The other accessory for the A2-K was a camelhair brush that attached to the black terminal seen in the photo above. The tower can accommodate up to 8x10 negatives (a format I don't shoot... yet) but the brush was designed to spot clean film. These machines are pretty rare so I doubt I'll be able to find the brush accessory but I've had great results from the tower alone. I'd like to have the entrance gates on the other side of the unit refinished as they've become pitted over the years and could potentially scratch the film. I don't want to tear it apart without some guidance so this might be a project for another day, but in the meantime I'll appreciate having less dust on my scans to deal with.

35MM & 120 film with EPSON Scan

In the world of flatbed scanners, there are a lot of options for the software that runs the show. Some popular software options for the most common flatbed scanners are EPSON Scan, ViewScan, and SilverFast. I use EPSON Scan for my film on MacOS with a V600. I decided to write this post as a way to help out analog shooters getting started with film scanning since the options can be pretty daunting. Many photographers start scanning with the V600 because it's a great mix of convenience, quality, and cost. Look at the following screenshots; the numbers in this post correspond with what you need to click.

Using epson scan for 35mm & 120 film

To scan film, you'll need to remove the reflective document backing on the lid of the scanner. Open the scanner and pull up on the white cover under the top lid. It'll slide off and you'll see a clear strip of glass. This is needed to light your negative so the scanner can see the film. Run some compressed air over the scanner bed and load your film into the tray. The emulsion (opaque) side of your film should be facing up for both 35mm and 120 film.

Dust and curling film are the biggest threats in the scanning process. Flat film will always makes better scans, and extremely curly film can cause unsightly marks on the finished product. If you have the chance, pick up an antistatic cloth from Ilford to help control dust. Gently wipe the negatives with the cloth and remove any dust left over with compressed air before putting the film holder on the scanning bed. Dust on 120 film isn't terrible but it can ruin 35mm scans.

Place your loaded film holder on the scanning glass and line up the "A" tab with the corresponding spot for 35mm film or the "B" tab for 120 film . This tells the scanner what film holder you have and what size negative it should look for. Open the EPSON Scan software and select "Professional Mode" (1) from the dropdown in the top right of the window. Use the following settings (not saying these are the best, but it's what I use):

- (2) Document Type: Film
- (3) Film Type: Color Negative Film (or B&W Negative Film)
- (4) Image Type: 48-bit Color (16-bit Grayscale for B&W)
- (5) Resolution: 3200 dpi
- (6) Unsharp Mask: On

The unsharp mask is subjective, but I find scans without it can't be salvaged in Lightroom. Digital ICE is something you might want to consider using (this only works on color negatives) but it'll increase scan time. It works by using an infrared light to find and fix scratches on the negative, but I prefer to do that myself in Photoshop.

Look at the bottom of the EPSON Scan window and click "Configuration" (7). There's some things you'll want to change for a better preview scan to work with. Go to the "Preview" tab and set these options:

- Quality Preview (check this box)
- Thumbnail Cropping Area (move slider to "Small")

Quality Preview gives you a better idea of what your scans will look like in the next step, and setting the thumbnail cropping to "Small" will make the program trim the least amount of your image when scanning. You don't have to do this every time as your settings will save.

gCSQoh9.jpg

Click "Preview" (8). This will give you an overview of the negatives you put on the scanner. Go frame by frame and look at the images. Under the "Frame" (9) heading there's tools to rotate and flip your images if some of them aren't oriented correctly. You can also do this in Lightroom/Photoshop, but I usually just do it in the Preview window.

Next, you'll want to check the exposure of your images. Under the "Size" (10) heading, change the preview to show individual images. In the EPSON Scan panel, find the button that looks like a histogram (11). Click through your images and use the histogram tool to set the white and black points if they need adjustment. The button to the left of the histogram resets the automatic exposure, in case you need to undo your settings. Now that your images are loaded, correctly exposed, and free from dust it's time to scan. Go back to the multiple images view and click "Scan" (12). Change the file type to TIFF (*.tif), select your output destination, and click "OK". Let the scanner work its magic and soon you'll have high quality images to work with in Lightroom/Photoshop.