The George Eastman House

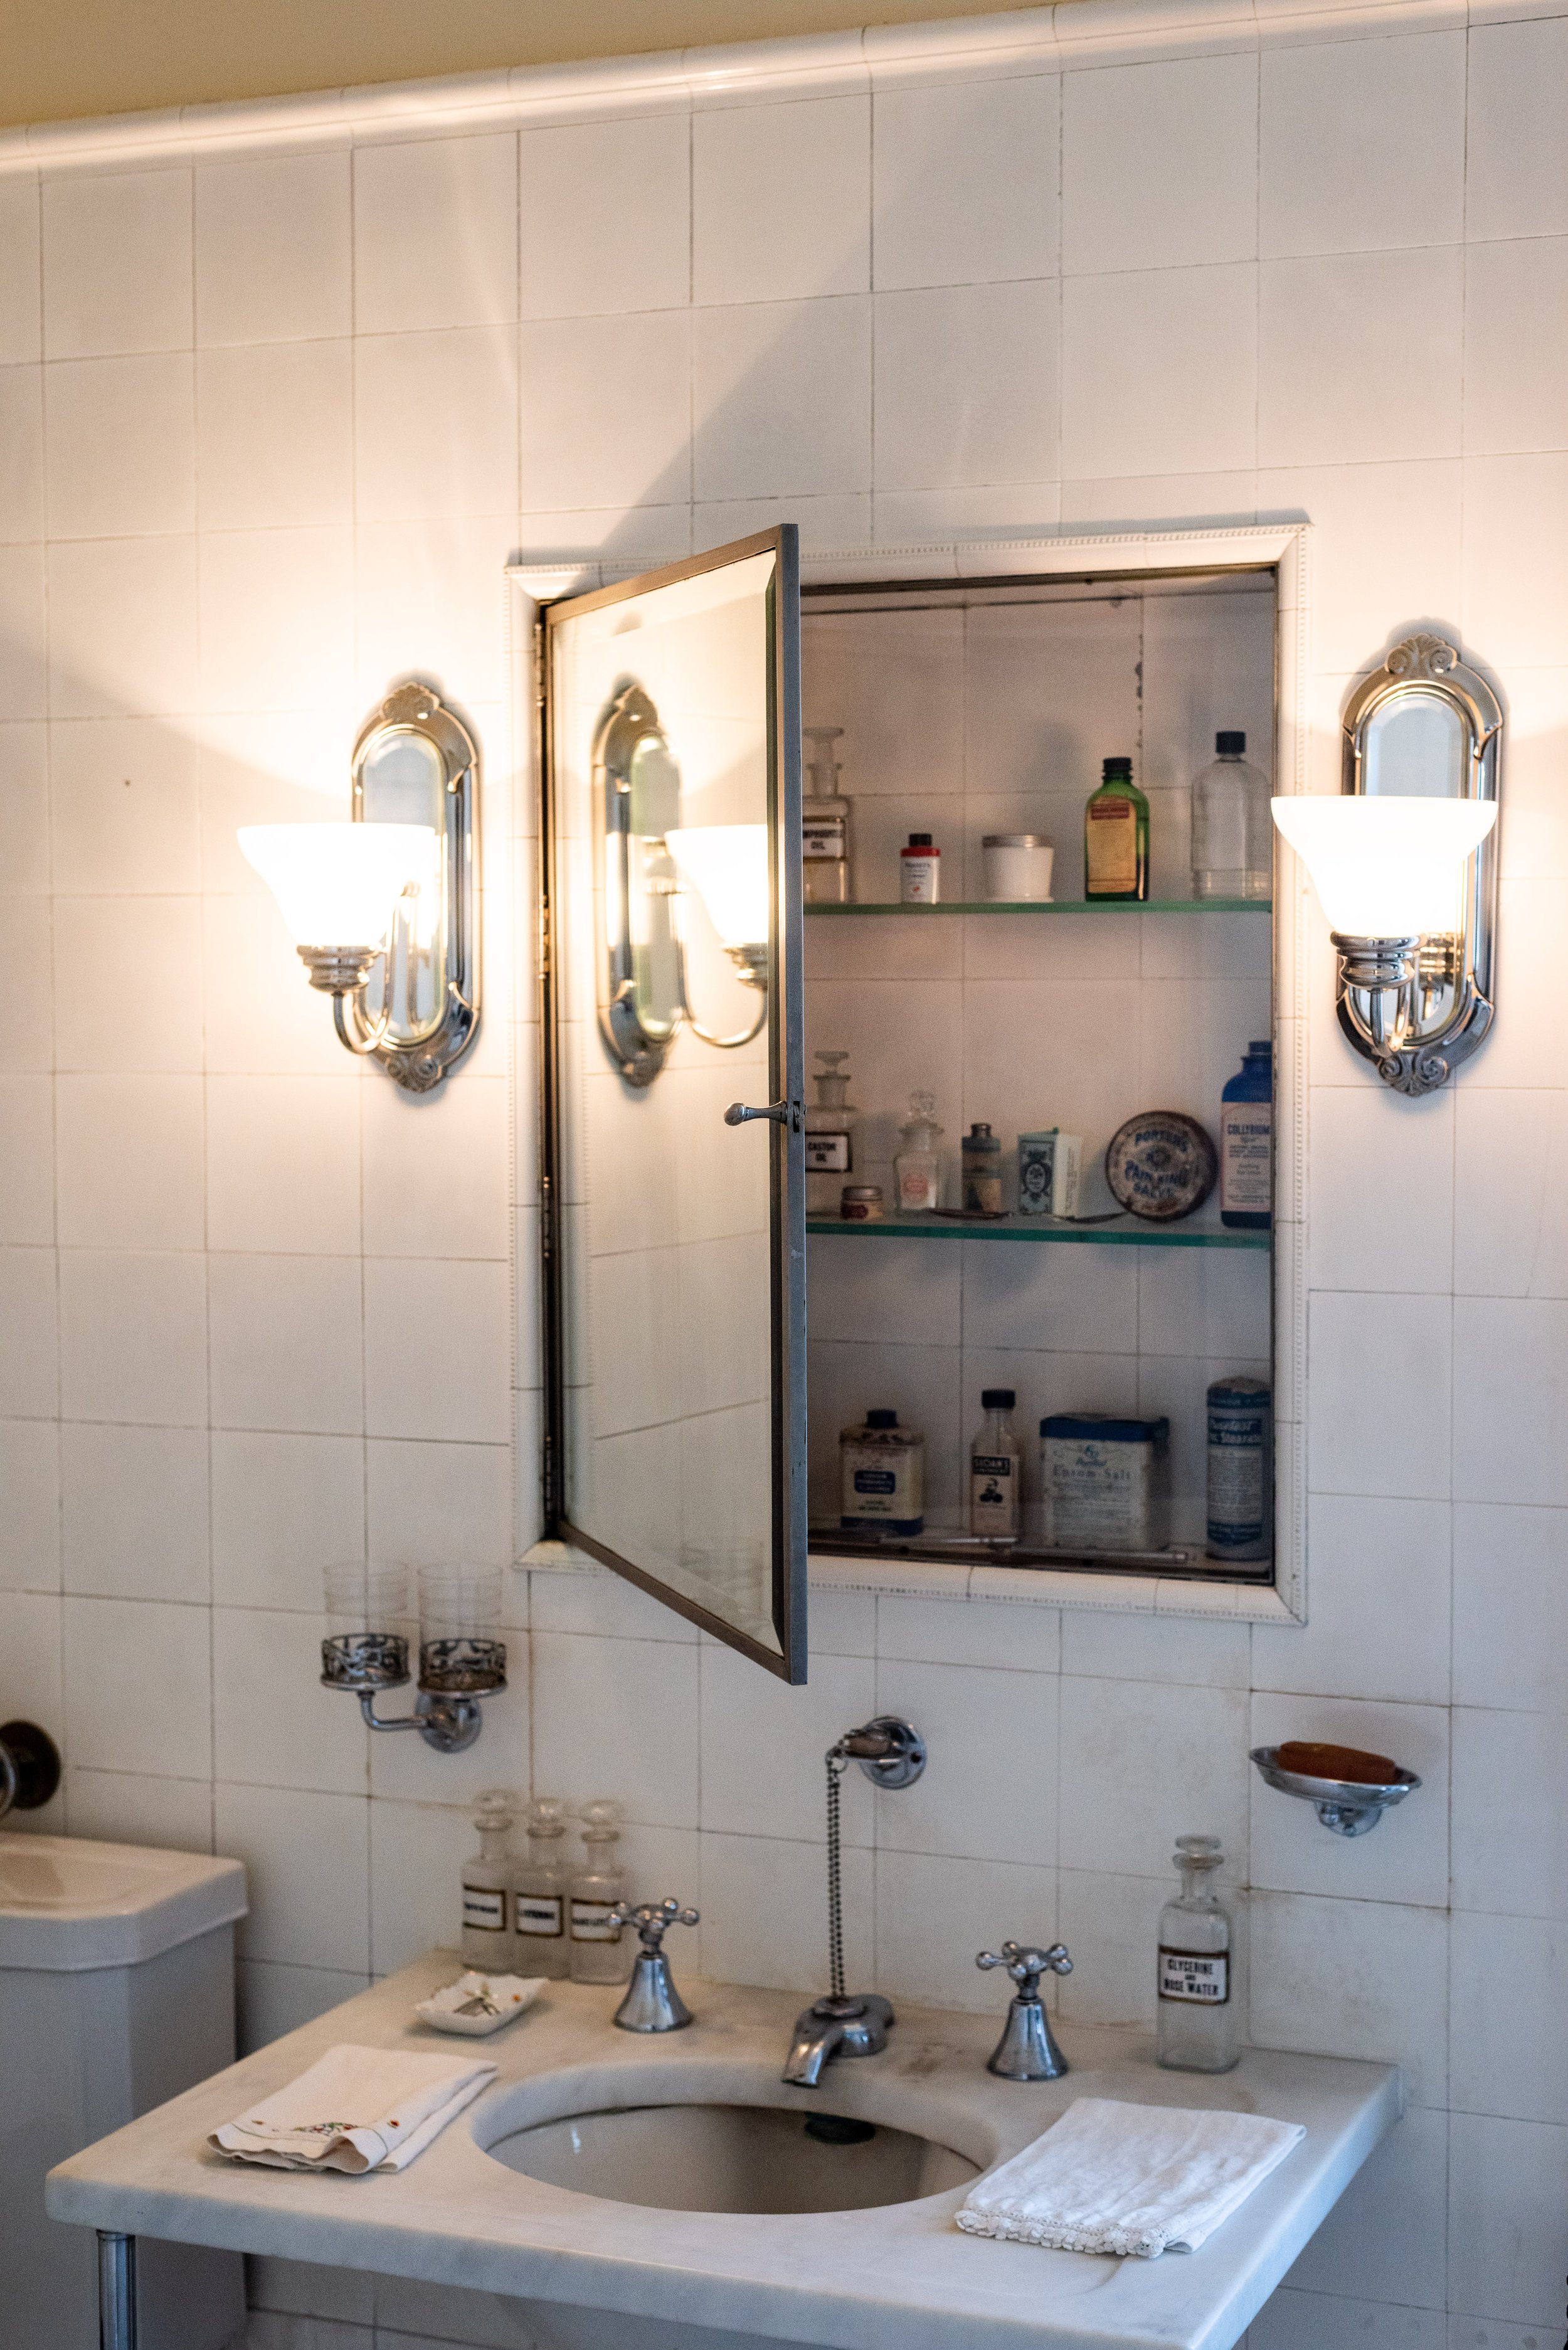
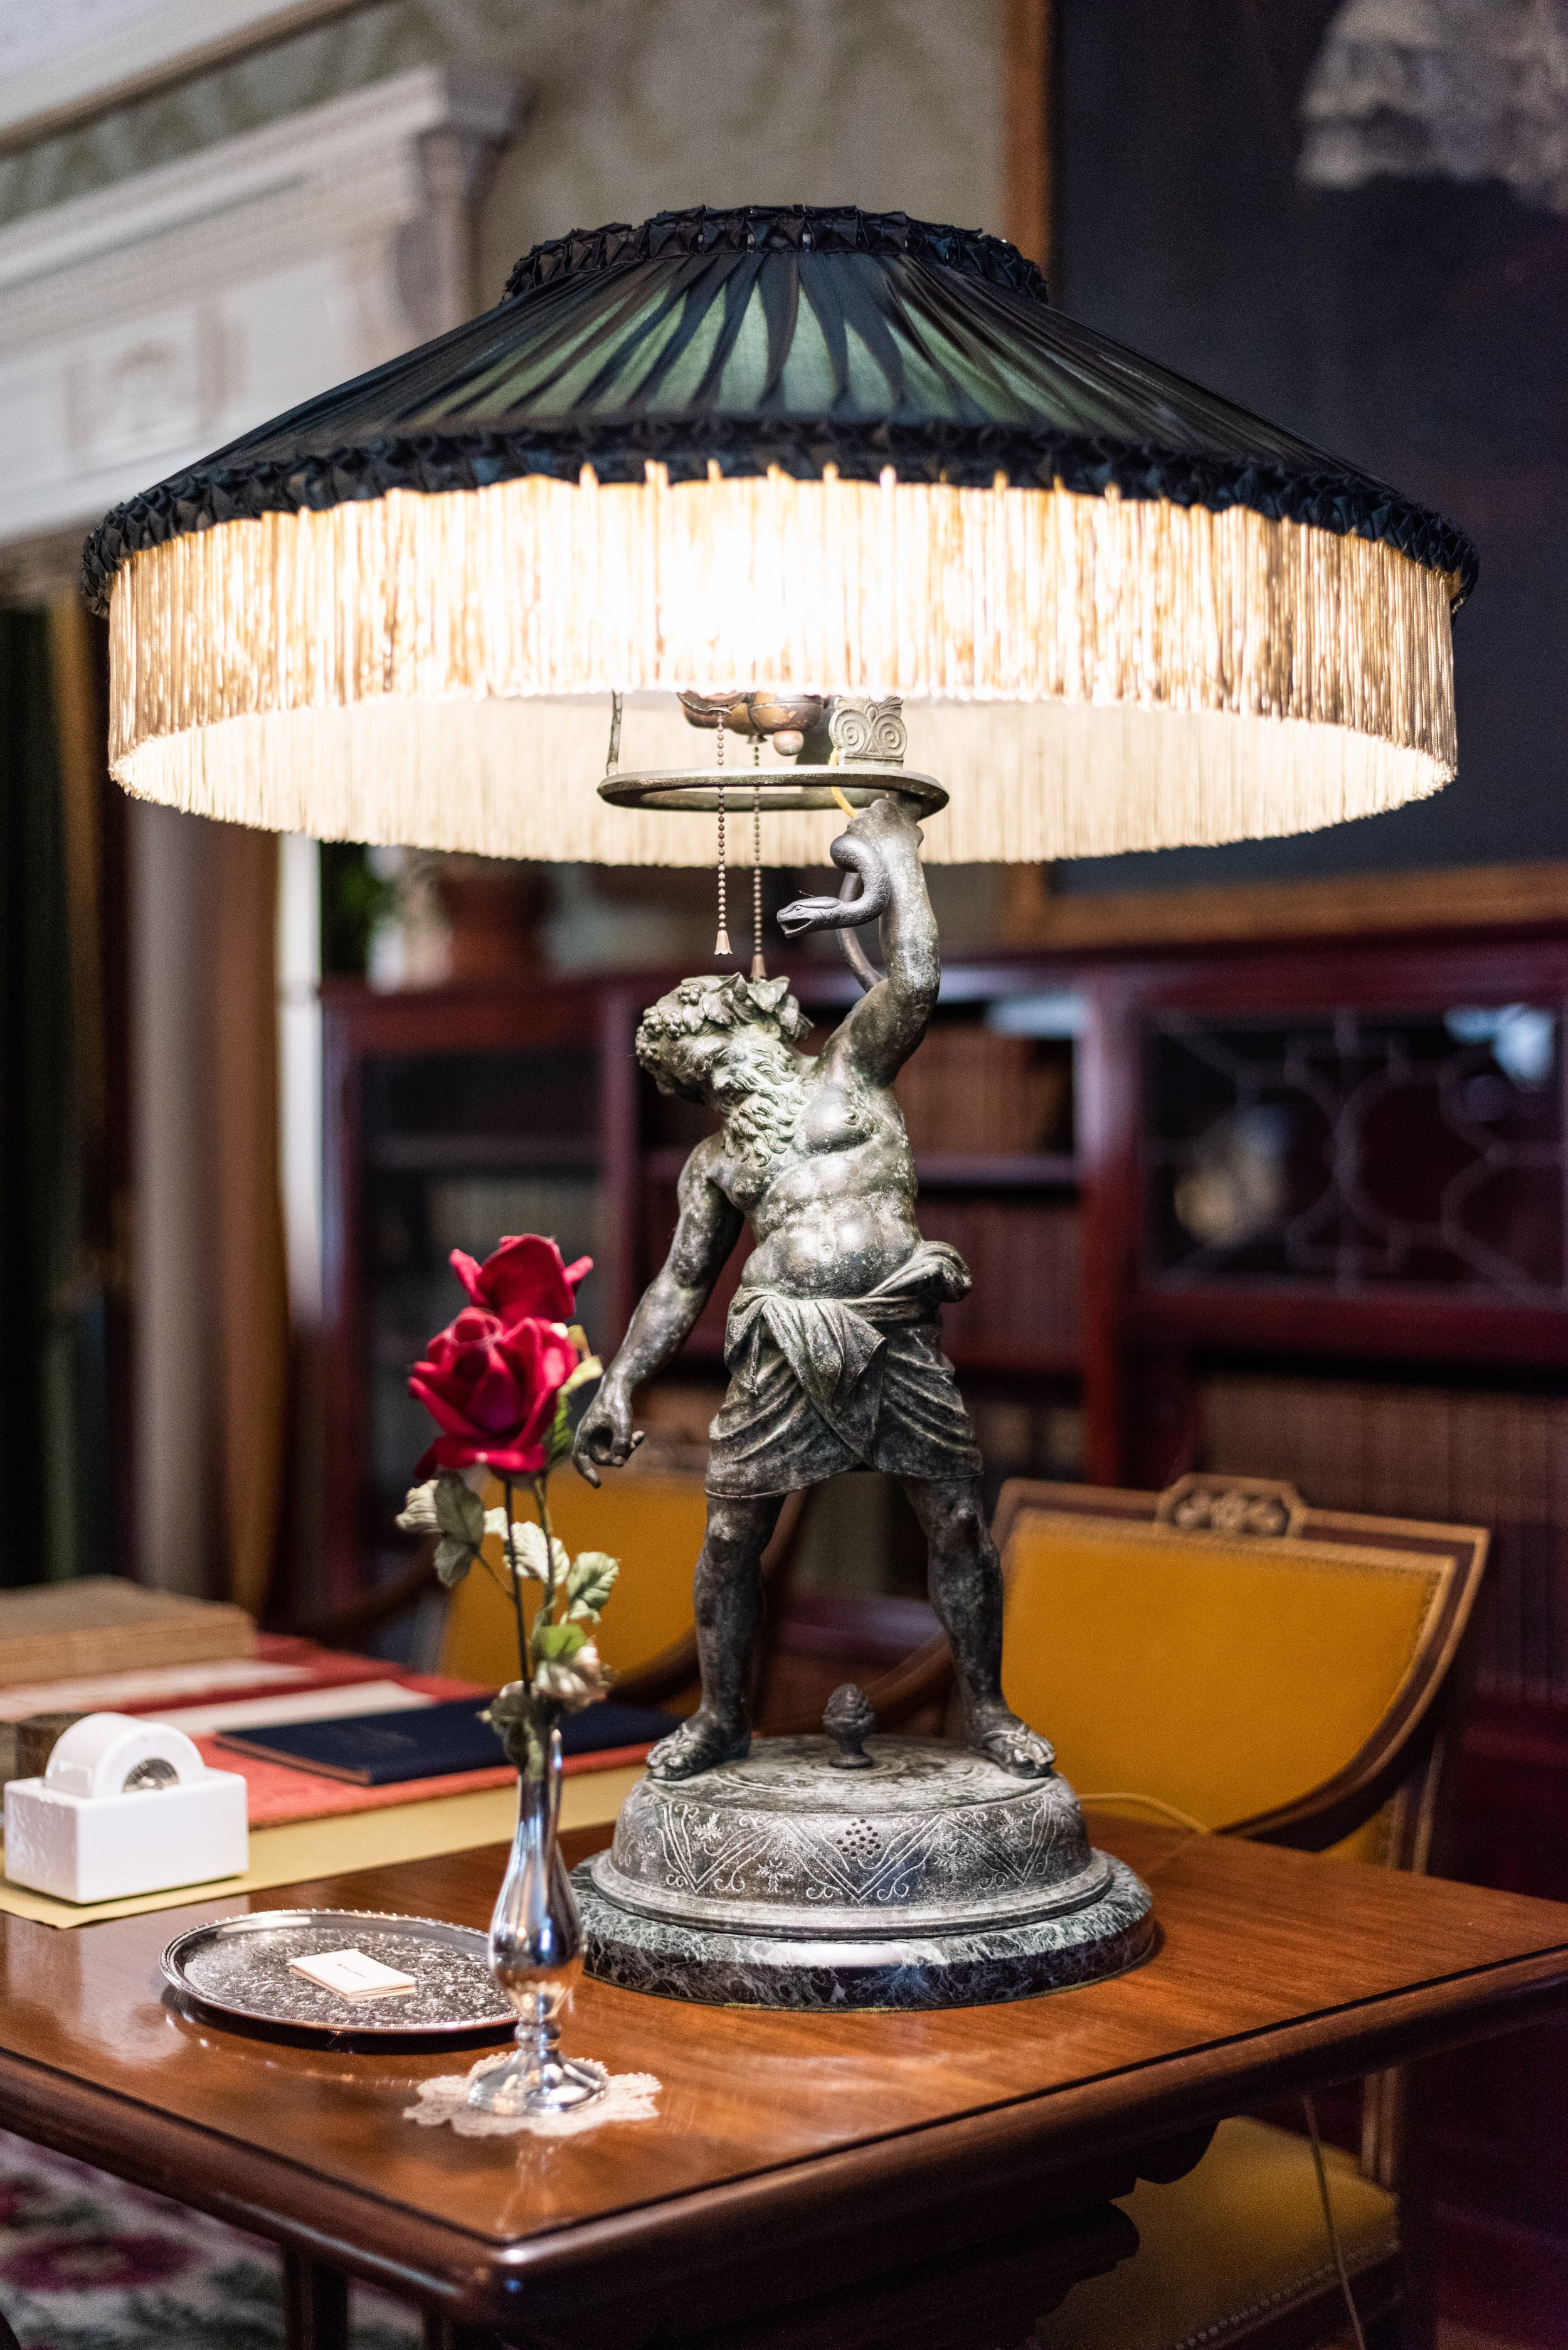
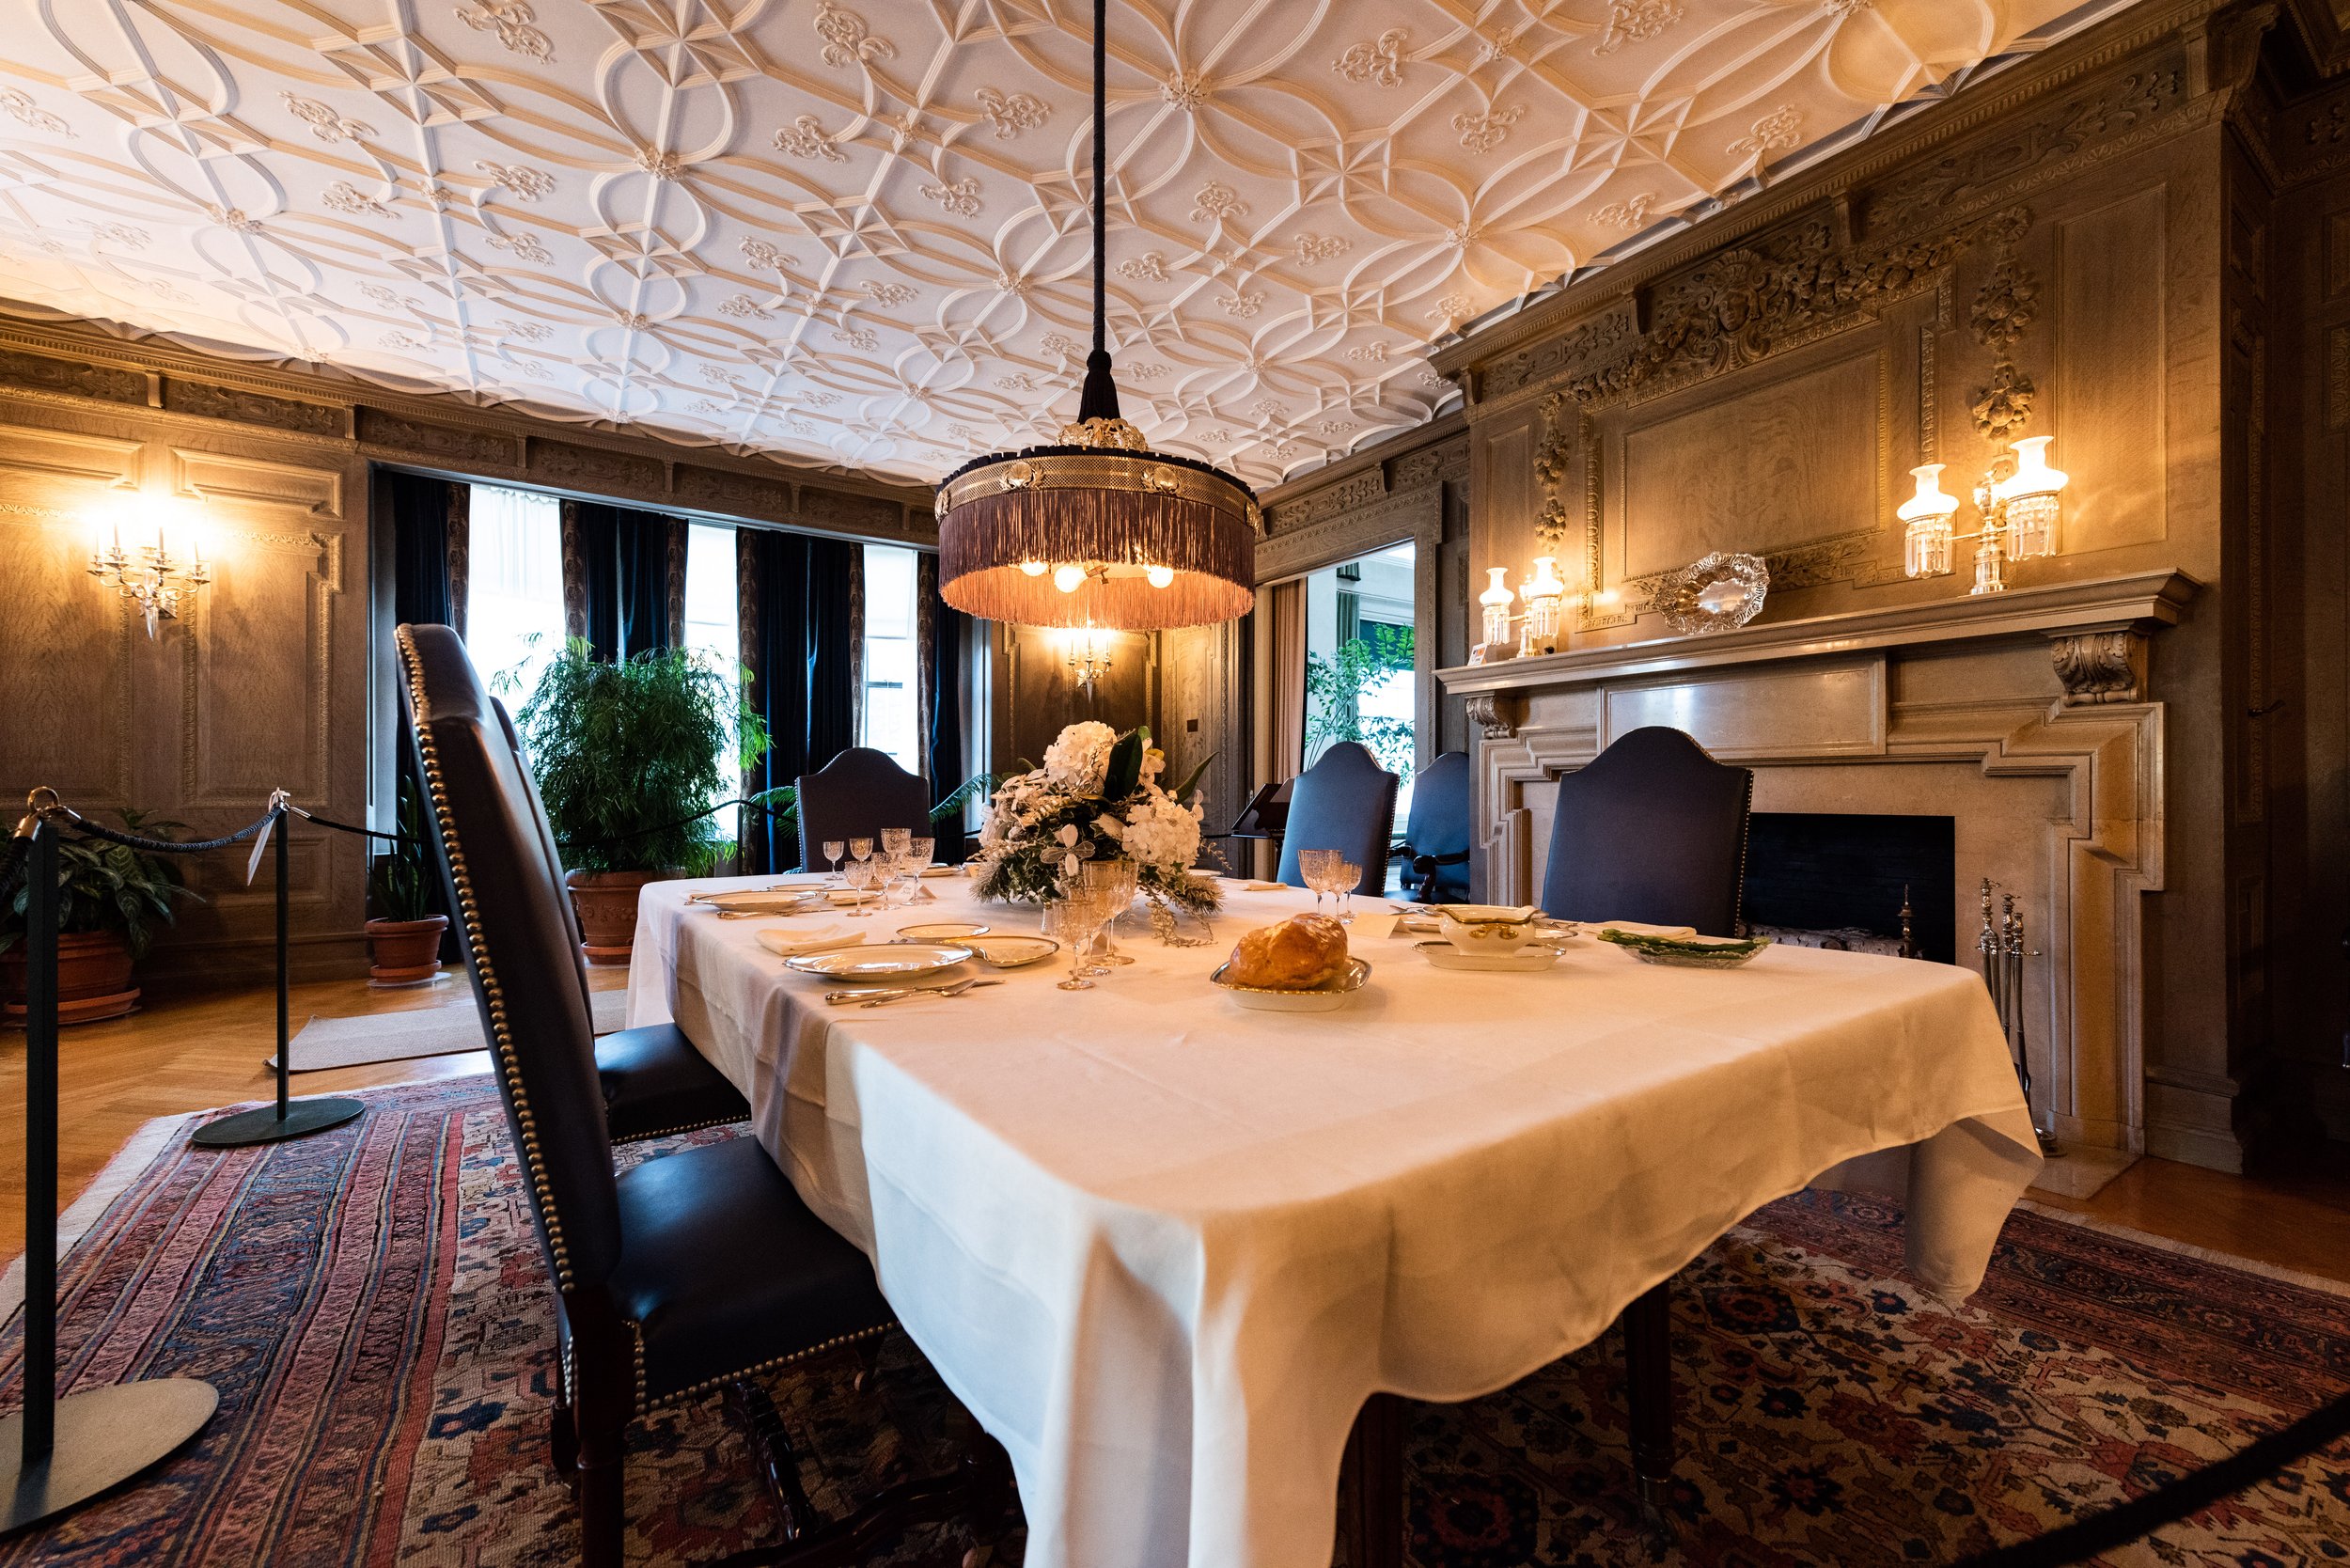
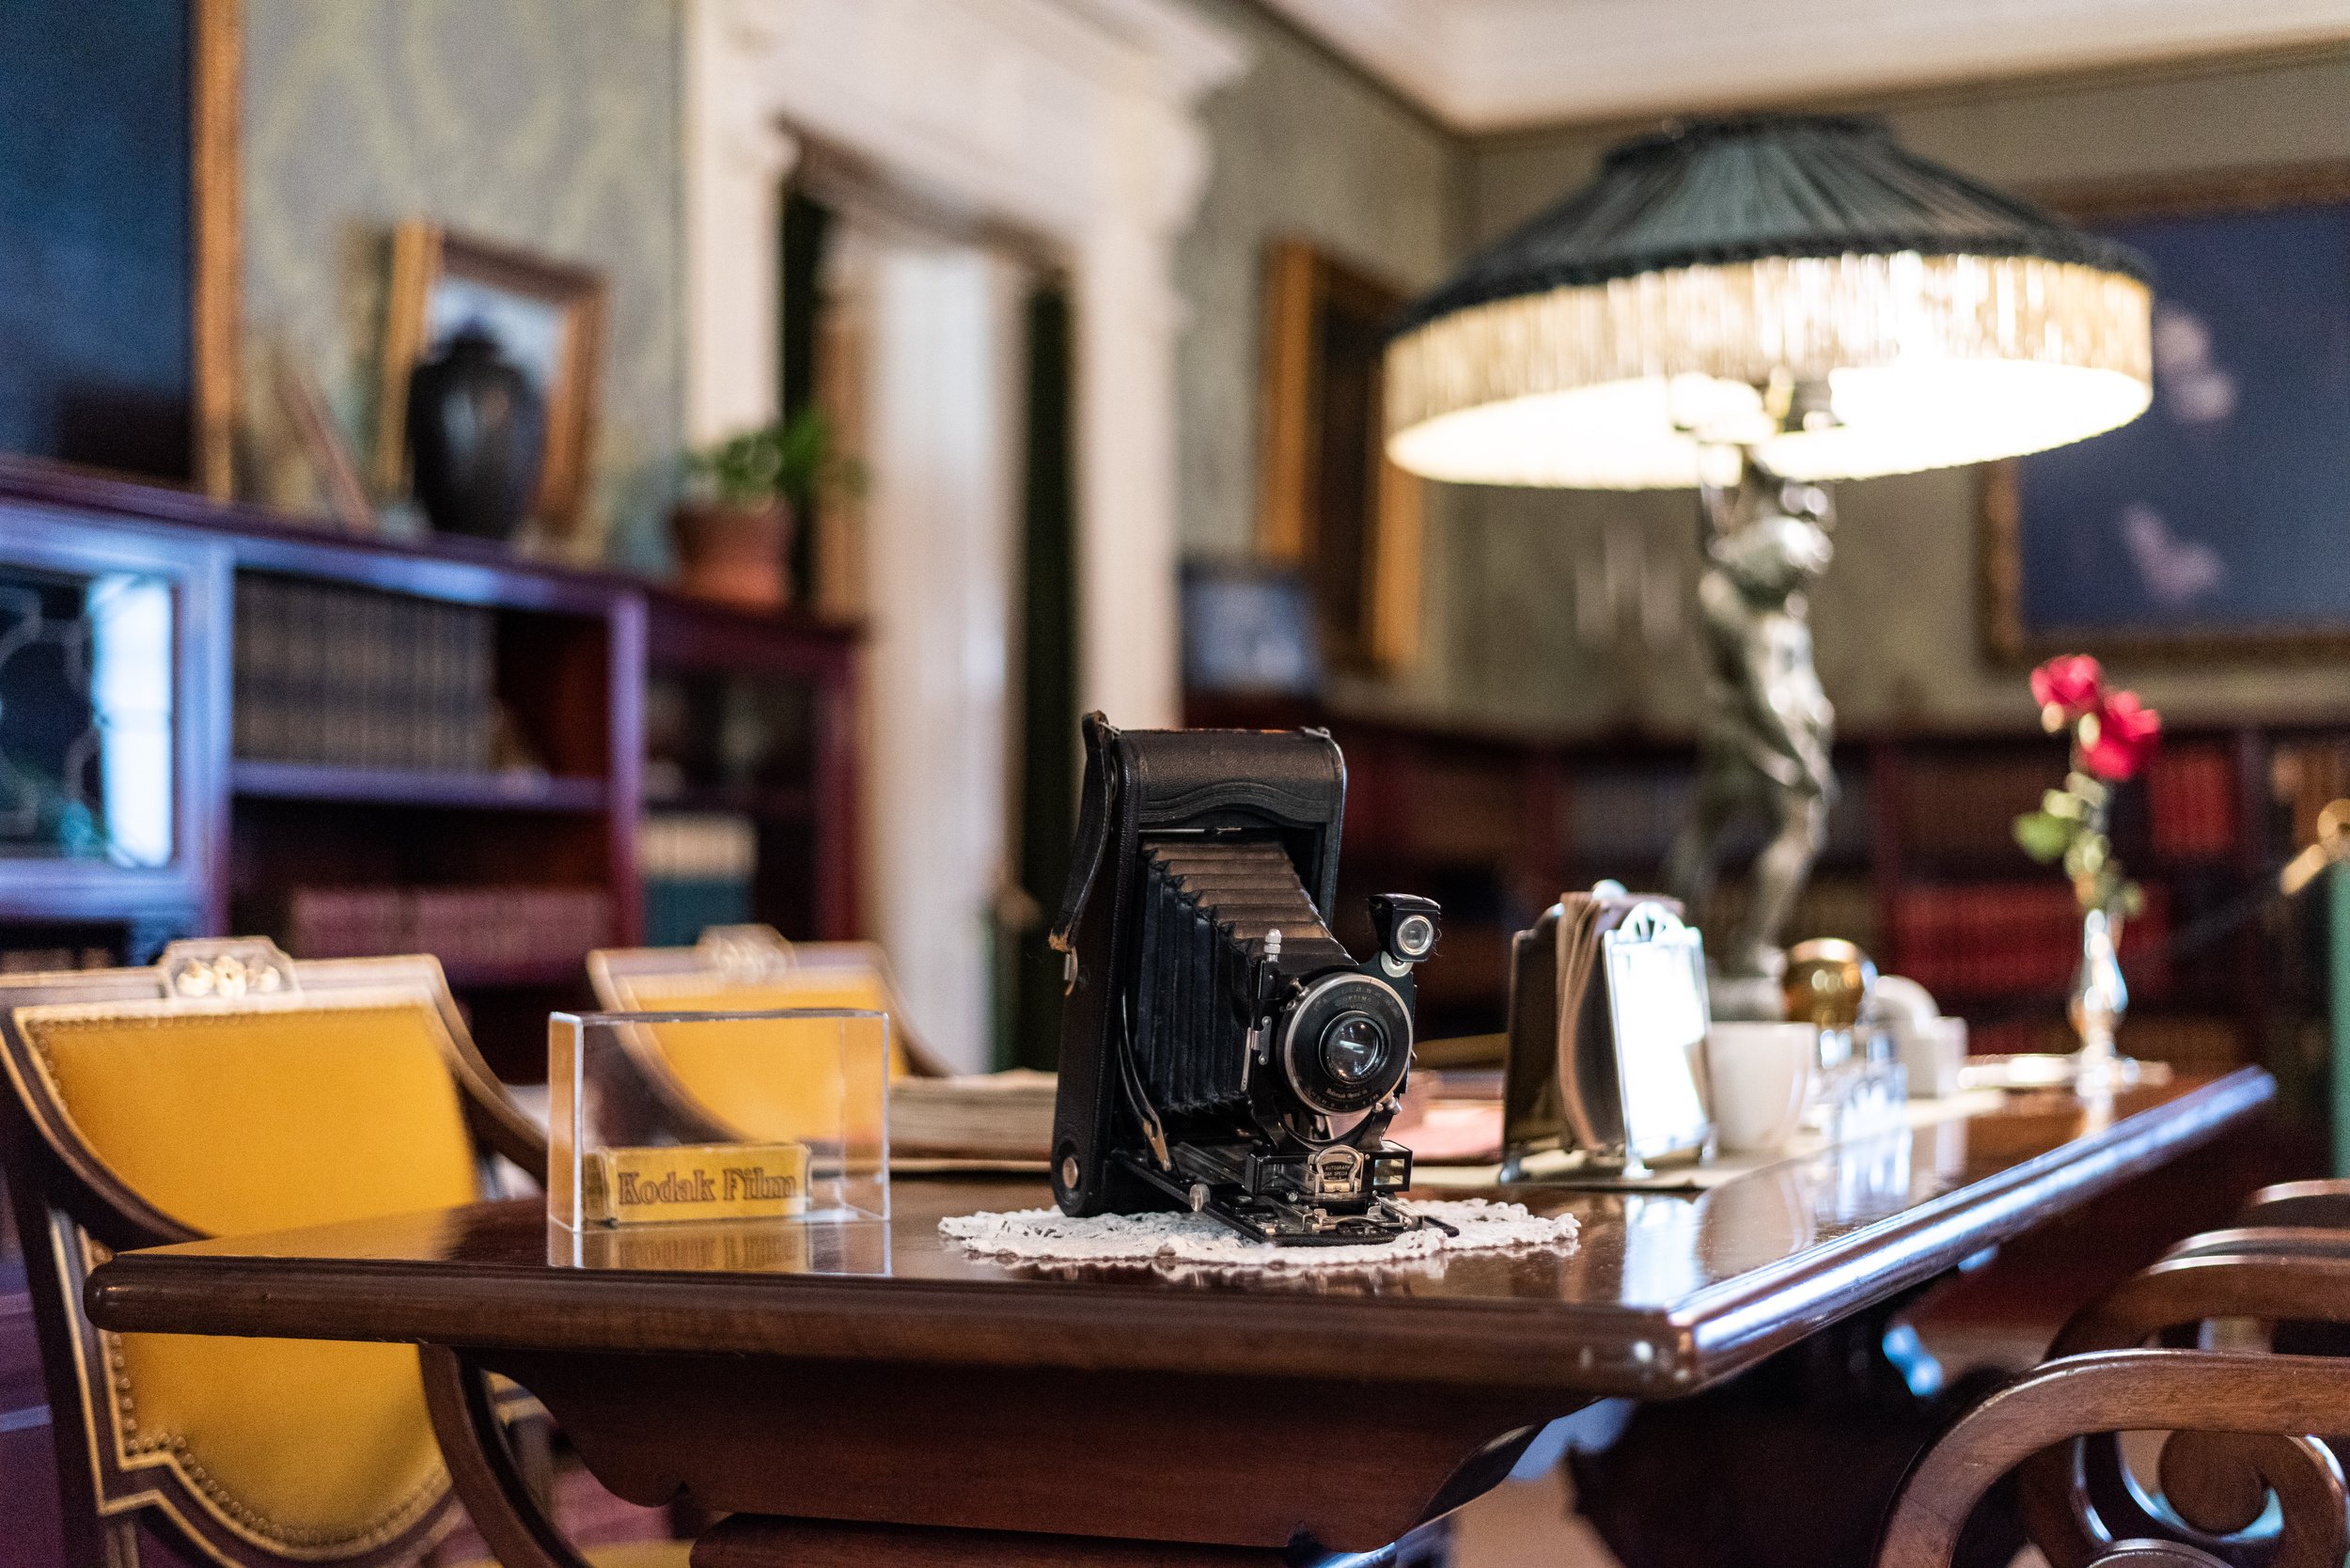
I’ve been spending an increasing amount of time in Rochester between visiting the George Eastman Museum, working on my upcoming Kodak series, and exploring the city in general. The George Eastman Museum occupies the original mansion George Eastman lived in until his death in 1932 and is one of my favorite places to visit in Rochester. The mansion was bequeathed to the University of Rochester but was turned over to the George Eastman House museum and became it’s permanent home in 1949. The mansion was built in the Georgian Revival style by Mr. Eastman with all the modern conveniences of the day: electricity, telephones, a central vacuum system, an elevator, and a massive Aeolian pipe organ. Fun fact about the organ - the Aeolian Organ Company’s manufacturing plant was just down the rail line from where I grew up. Located in Garwood, NJ, it was torn down recently for apartments as part of the building craze that seems to be impacting all towns along NJ Transit’s Raritan Valley line. The castle-like facade with the carved stone “Aeolian Organ Company” signage looks to be preserved though, while the apartments themselves haven’t made much progress.

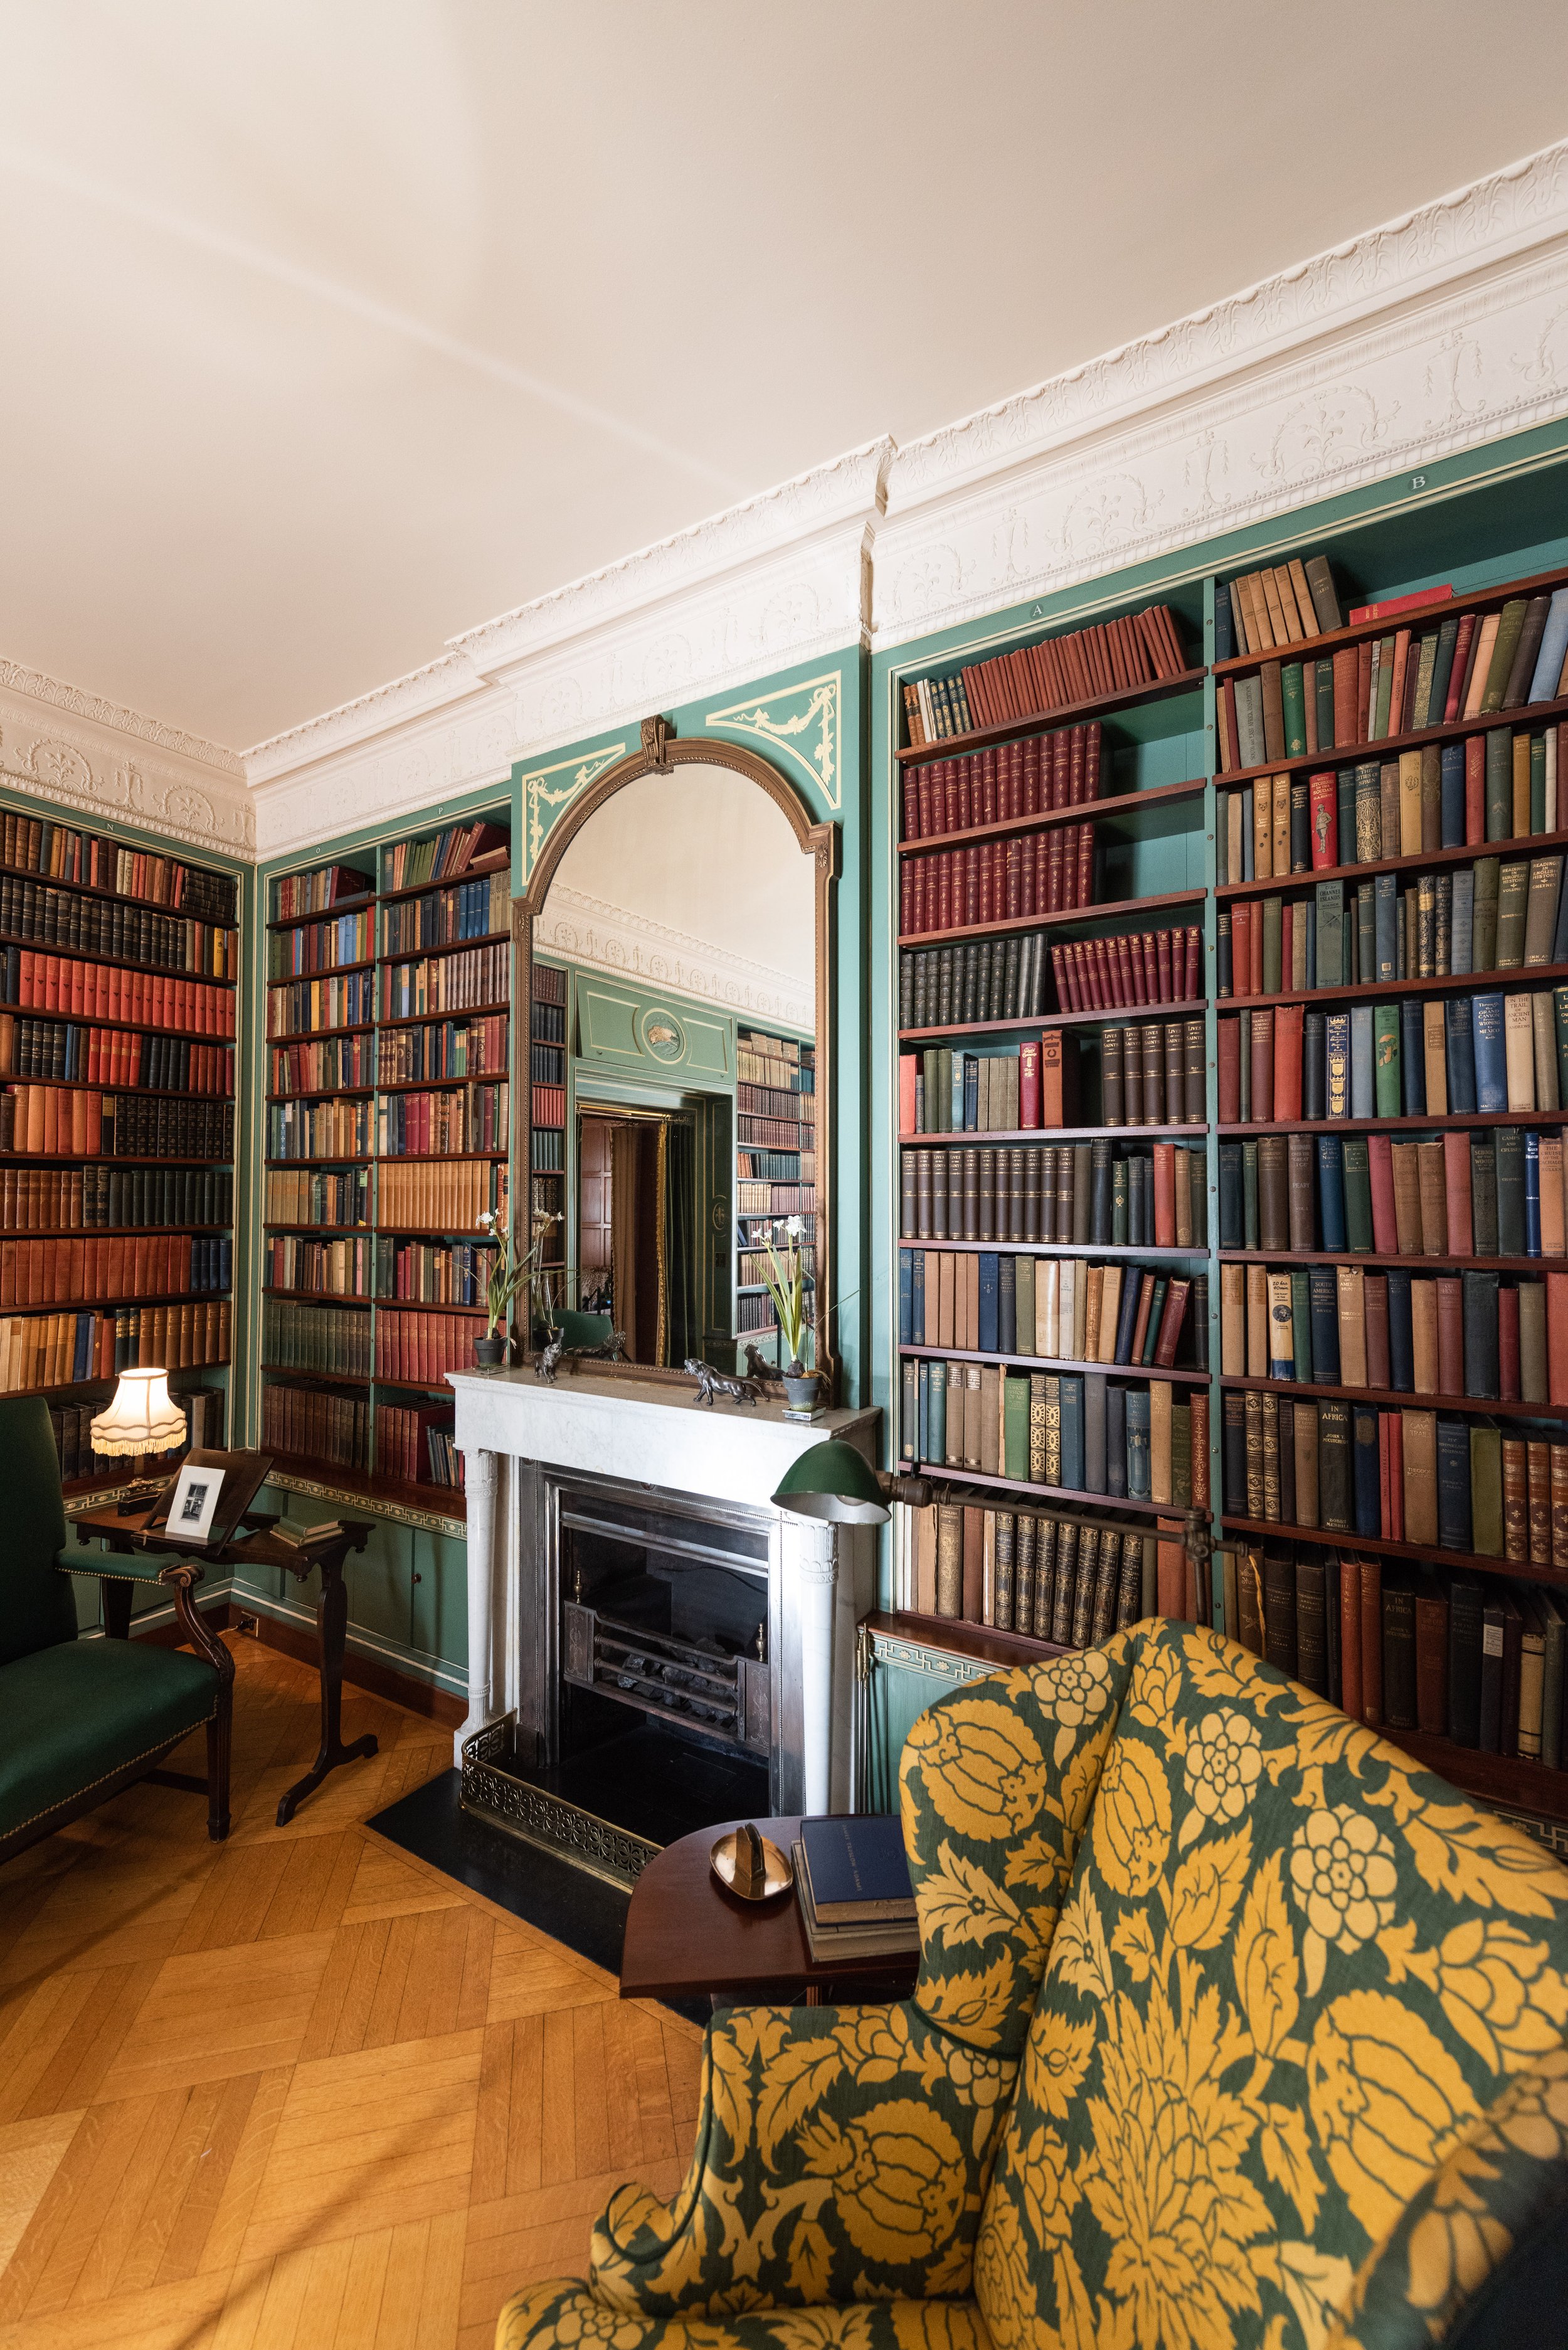
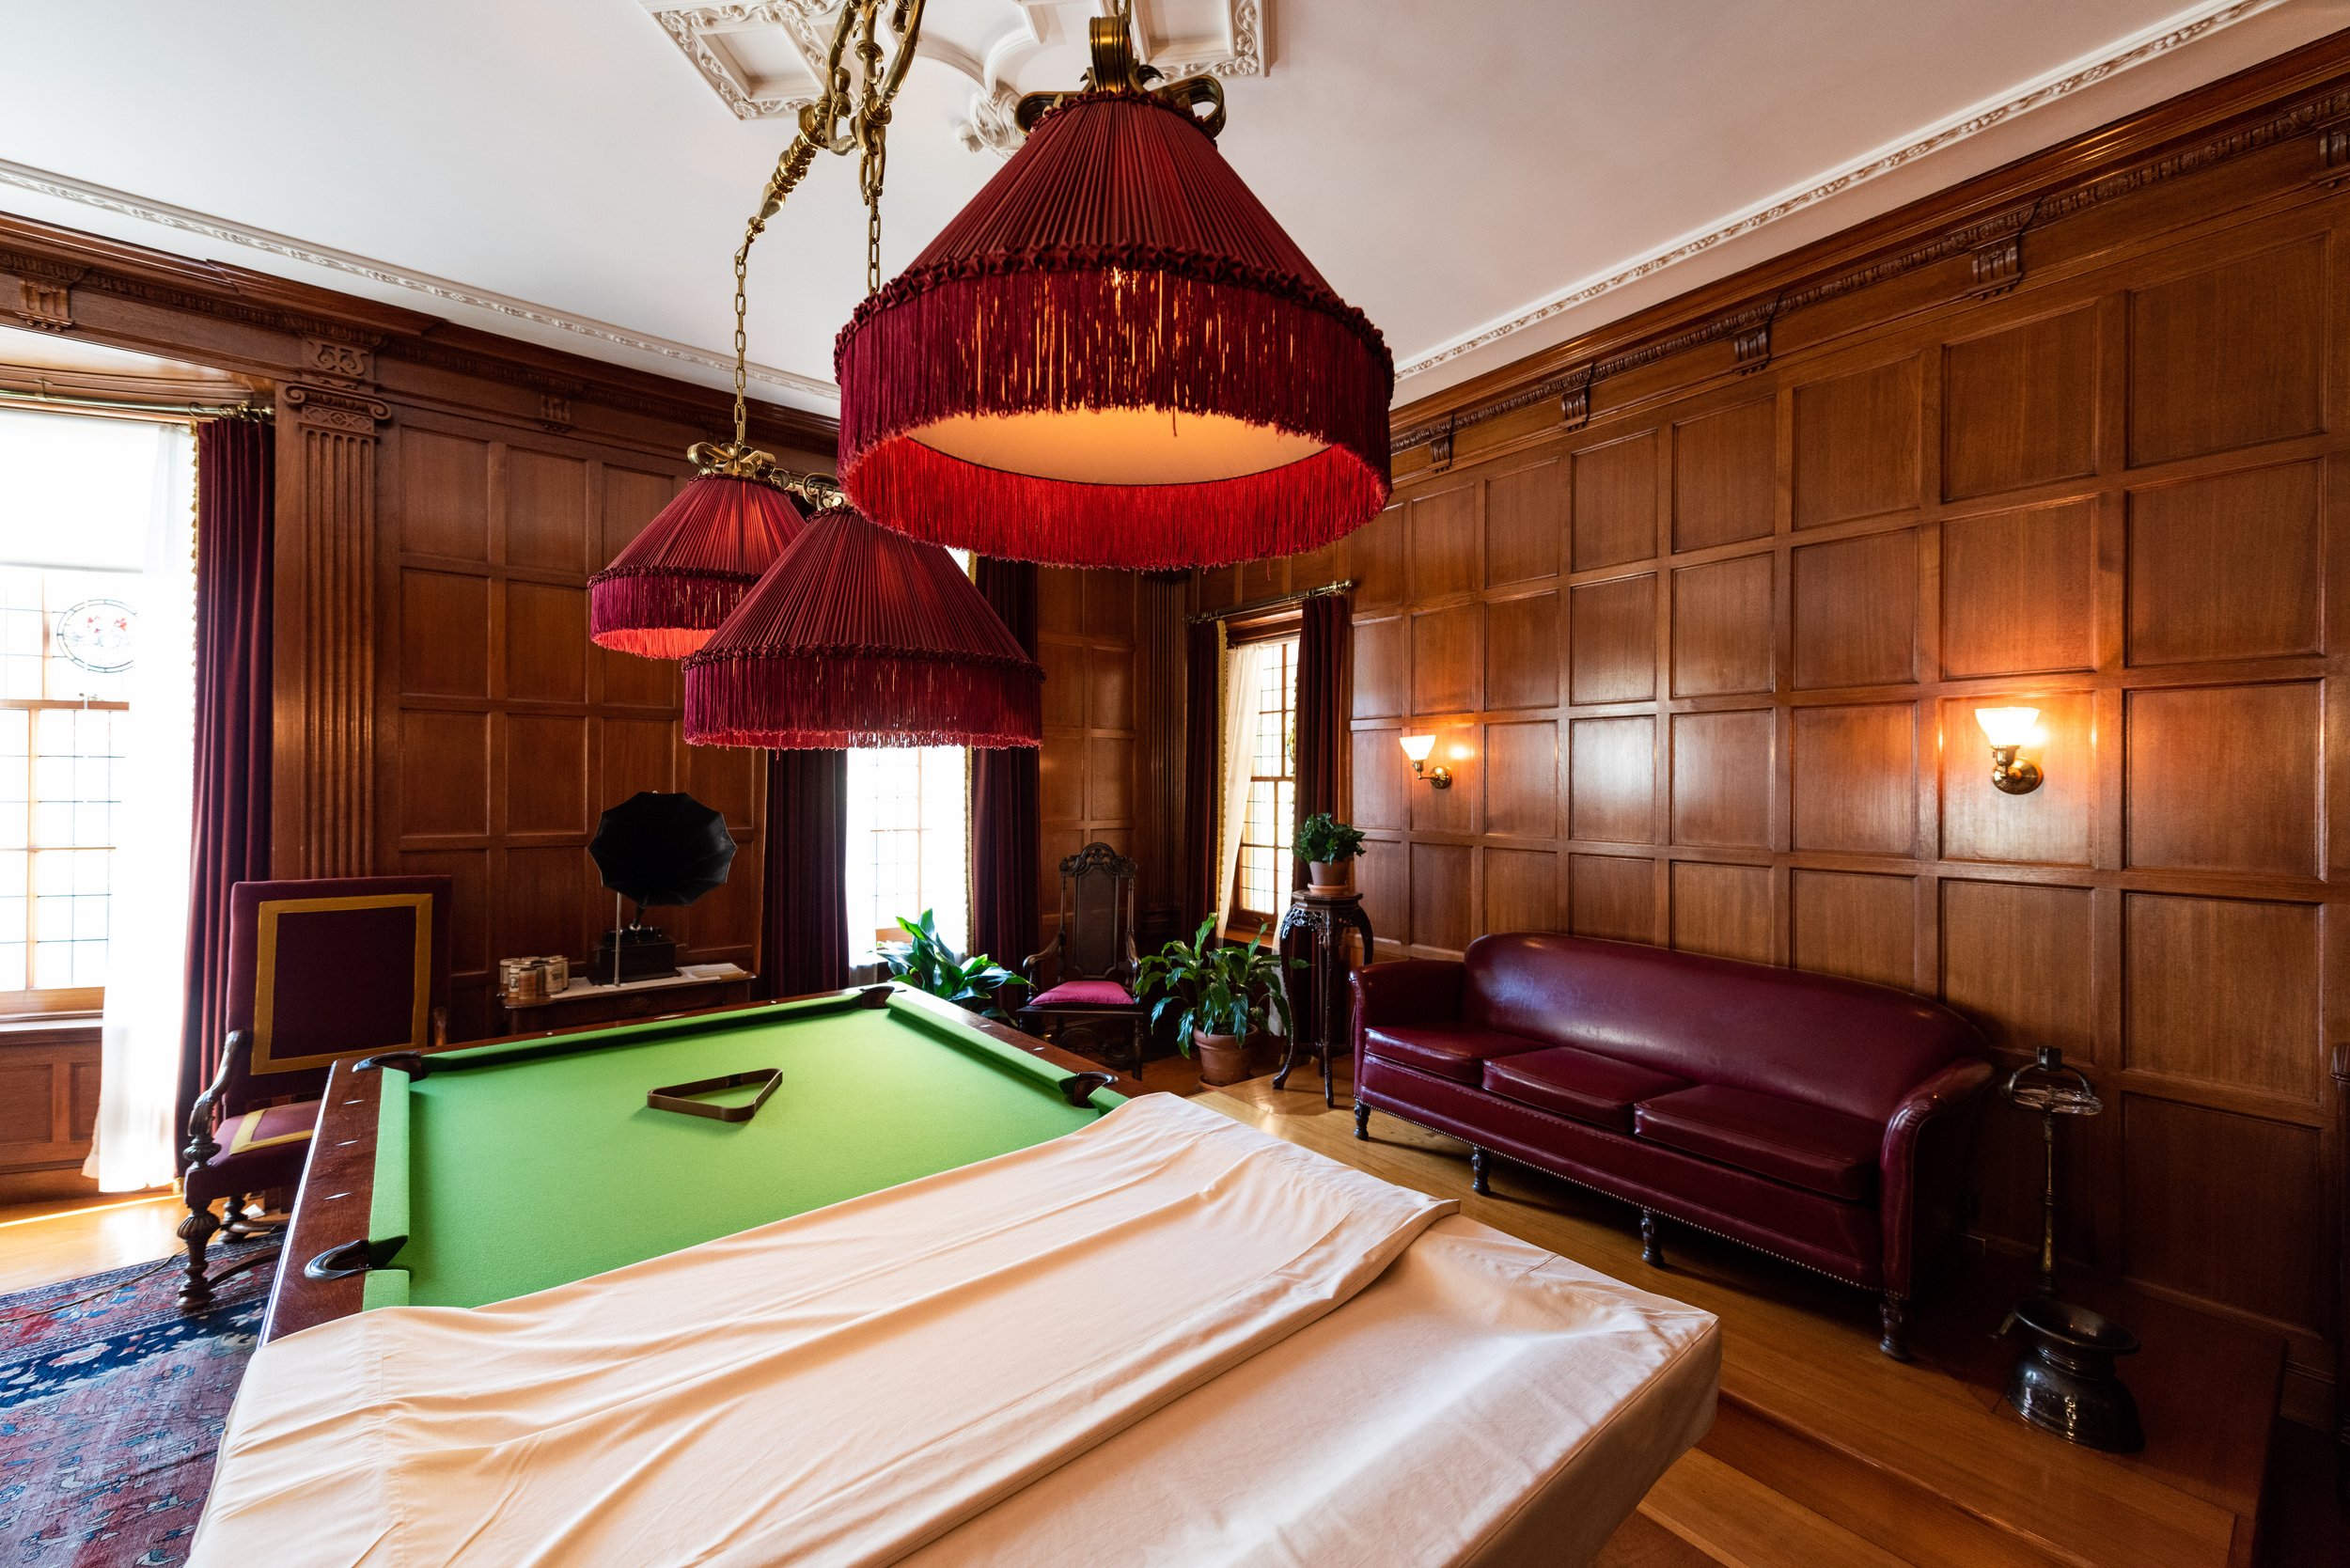
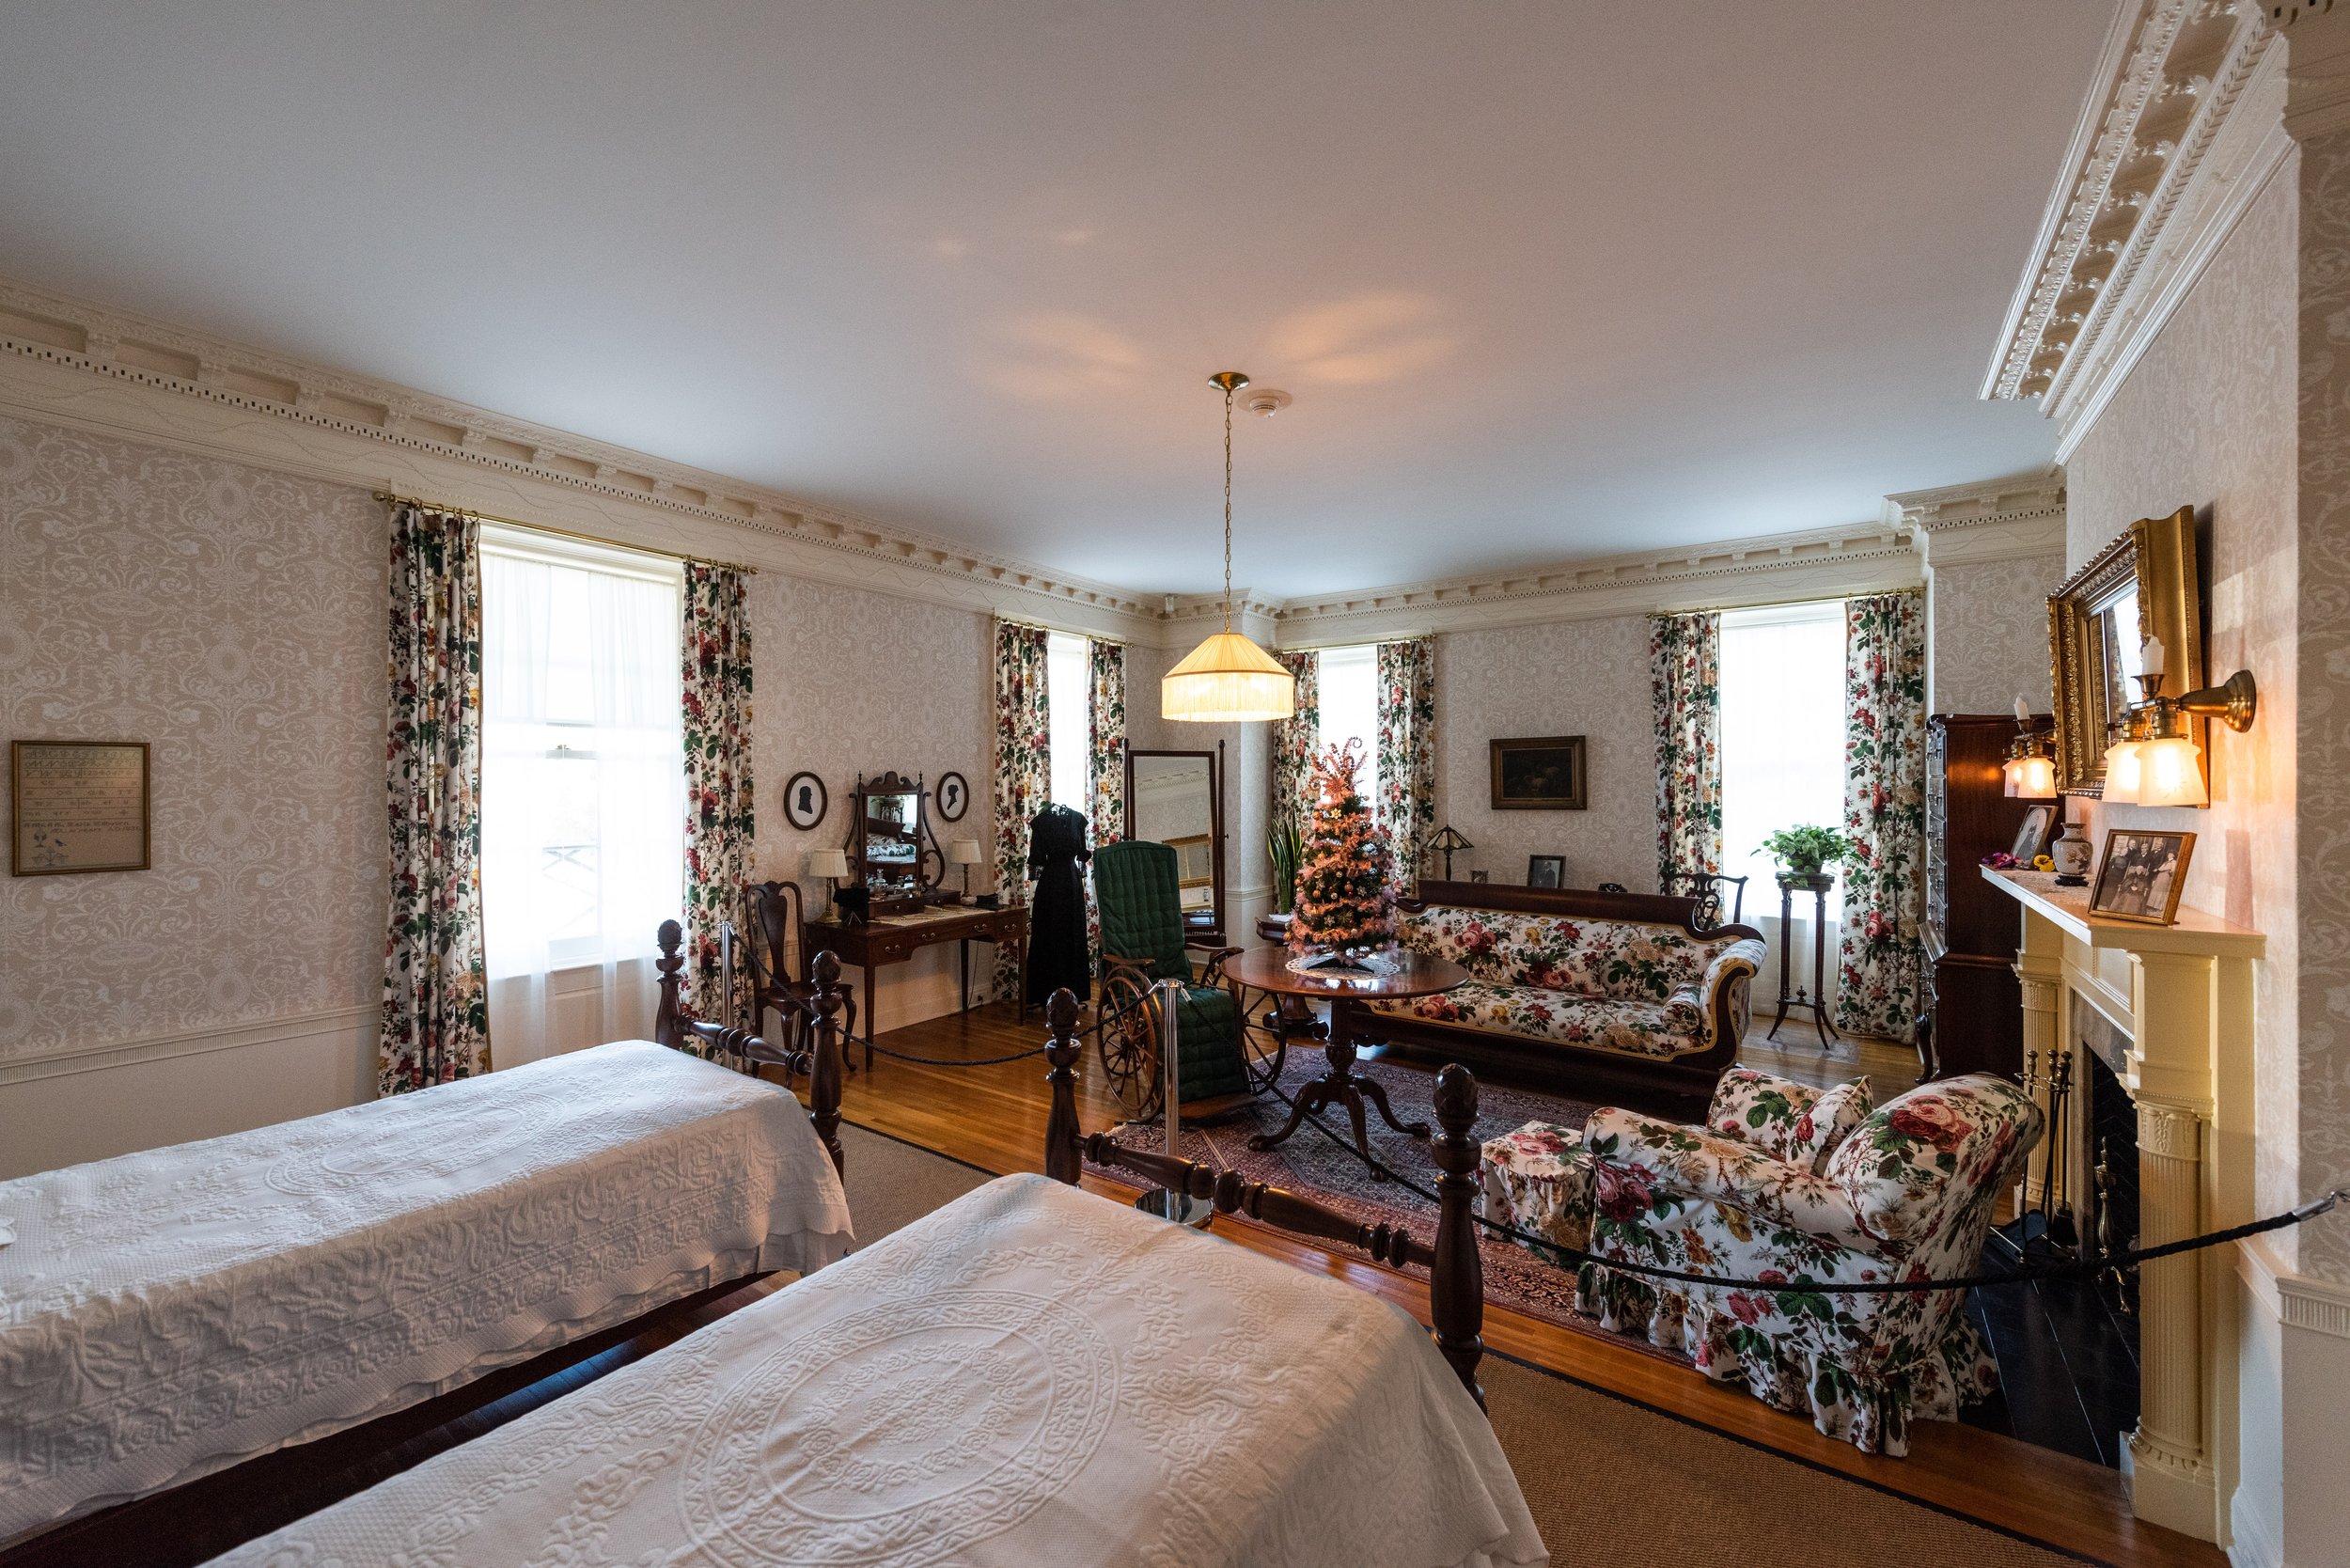
George Eastman, worth millions at the time of his death, spared no expense in the construction of his estate. While he never married, he was incredibly close with his mother Maria and she lived with him until her death in 1907. Given she spend the last two years of her life in a wheelchair and Eastman himself suffered from debilitating pain late in life, the elevator was an undoubtedly useful feature. Small details like the ornate inlaid stained glass depicting different modes of transportation including cars, steam ships, and hot air balloons adorn the windows of the billiard room. Painted murals of animals seen on Eastman’s exotic hunting expeditions trim the built-in bookcases of the library. I found the conservatory, flooded with natural light, particularly spectacular. The space consumes both floors of the building and is notable for a mounted elephant head, likely a trophy acquired by Eastman’s himself. Outside the mansion are multiple gardens, which I hope to visit when the plants are in bloom and the renovation of the east lawn are completed.

Review | Sony RX100VA

I’ve been toying with the idea of a more compact alternative to my D810 for about a year, and over the summer I found this used Sony RX100VA for a good price at B&H. Broadly, there are two categories of compact cameras available today for the prosumer market: full-frame fixed lens cameras and 1” compact cameras, the latter category including the RX100 series. There’s a lot to like about this little camera, but I’d describe my experience so far with the RX100VA as love-hate. A common saying in photography goes “the best camera is the one that’s with you”, which was one of the primary drivers behind picking this thing up. While I appreciate everything this camera can do, I think the #1 lesson I’ve learned is to temper my expectations - it’s not my D810 after all!

Lens & METERING

With a 24-70mm equivalent lens and a wide f/1.8-2.8 aperture, the camera encompasses focal lengths that I use most often. I specifically chose the VA variant because it’s the most recent model with the 24-70mm lens included - all models since the VA have a longer 24-200mm f/2.8-4.5 lens. The extra reach might be great for other photographers, but given my use case I chose the wider aperture for the benefit of lower ISO in difficult shooting conditions. Given the 1” sensor, you’re unlikely to notice much of a difference in DoF regardless of which lens you choose.

Coming from my D810, chromatic aberration is an issue with this camera which Lightroom struggles to correct automatically. I often have to manually tweak the defringing settings in Lightroom as the eye dropper fails to sample what I’m seeing. The built-in lens profile does a good job of correcting distortion, however I automatically add +10 vignetting on import to Lightroom as the corners tend to come out a bit dark across all focal lengths.

In terms of autofocus, I find myself using Wide or Expand Flexible Spot modes most often depending on what I’m shooting. Quick trip out with the family? Wide more for fast focus. Shooting a blog post? Expand Flexible Spot for accuracy. I’m a proponent of focus and recompose, which I’ve accomplish by disabling AE Lock on the 1/2 shutter press. I focus on my subject with a 1/2 shutter press, recompose, and take the shot (I have AE Lock mapped to another button on the off-chance I need it). It’s EXTREMELY easy to miss focus at infinity for some reason, and I stopped using Center mode because it would often grab the foreground vs the building off in the distance I was aiming for. If you think you’ve missed focus, use the zoom toggle to quickly zoom in 100% and check critical focus. This feature is also handy if you think there might be some camera shake in your picture.

Information on the RX100VA’s lens is sparse online, but through my own testing I’ve been able to nail down the sharpest apertures and focal lengths.

One quirk of the RX100VA is it’s minimum shutter speed calculation. The old adage “1 / focal length is the minimum shutter speed to avoid camera shake induced blur” holds true, however I’ve found the minimum shutter speed calculated by Sony to be optimistic at times. Don’t try shooting one handed with the EVF as you’re bound to get some camera shake in the resultant image. You can always adjust the ISO AUTO Min. SS from Standard to Fast if you want to be safe. I first did this when I realized 1/4 of my shots were blurry from camera shake and have since improved my technique enough to revert back to Standard.

Not specifically lens related, but the RX100VA has a handy built-in flash that I’ve used a few time for pictures of the family in not-so-great lighting conditions. It works well and isn’t too harsh when set to “Fill Flash”. I’ve certainly appreciated it when there just wasn’t enough light for the ISO/Aperture combination I needed.

Ergenomics

For a compact camera, the RX100VA has some great quality of life features I’d expect coming from a DSLR. For one, the pop-up EVF is ingenious. It retracts into the camera body when not in use and allows you to get into that classic camera shooting position, which affords extra stability for longer shutter speeds. There’s also a tilting LCD (not a touch screen, which I think is a drawback given Sony’s atrocious menu structure) which makes getting low angle, high angle, or selfie style shots a breeze. I don’t love EFVs in general as someone who stares at a screen for a living and shoots lots of film, however I have nothing but praise for the Sony engineers who managed to fit one into this tiny camera!

Another great feature is that you can assign the ring around the front lens to act as a stepped zoom, offering the focal lengths of 24, 28, 35, 50, and 70mm. One of the first things I learned in photography is to treat your zoom lens as a collection of primes. I like to zoom with my feet, and the stepper zoom makes it easy to quickly select the focal length I need. There’s a menu setting which allows you to change the zoom speed from normal to fast - while you might hear the mechanical zoom with the onboard mics when recording video, you’ll appreciate the faster speed if you primarily shoot stills like me.

The one thing this camera should’ve come packaged with is the optional accessory grip. It’ll run you an extra $15 but will make this tiny camera a bit easier to hold. For a simple adhesive grip that you slap on the front of the camera, it really made a difference in handling to me.

Image Quality

In terms of image quality, this camera packs a punch with its 1” ~20 megapixel sensor and surprisingly flexible ISO range. Unlike my D810 where I use dedicated command dials to control ISO and aperture, I leave the RX100VA on Auto ISO (lower limit 125, upper limit 3200). In really dark situations I can find a nice ledge to set the camera on, adjust my settings manually, and take longer exposures with the self-timer to get a clean image. I also like that the high megapixel count leaves plenty of room to crop without sacrificing resolution. I’ve found the sensor to struggle most with highlights and the meter to tend toward overexposure. I have a permanent -1/6 exposure adjustment programmed into the camera which has mostly solved my issues. Areas around highlights (think bright sky or windows) are prone to wash out. Lightroom’s Auto White Balance function doesn’t seem to work well with this camera either. I usually adjust the tint slightly by hand or use the eye dropper to get things looking natural.

There was a STEEP learning curve in Lightroom to produce final images that hold up against my D810, but with a good amount of editing it can be done. I’ve been a Nikon shooter since my first camera, a D5500, and I’m used to the way Lightroom renders my Nikon’s .NEF RAW files. After lots of tweaking, I finally created a Lightroom import preset that I’m happy with. I’ve found the .ARW files my RX100VA produces have a slightly green tint (I’ve tried everything to fix it), need a ton more sharpening, and need a hint of clarity and dehaze to look good. You can see my default import settings below:

  • Develop Module

    • Clarity | +10

    • Dehaze | +8

  • Lens Correction

    • Vignetting | +10

  • Detail

    • Sharpening | +40

    • Radius | 1.3

    • Detail | 25

    • Masking | 15

Calibration (I used this to get rid of the terrible green cast I was seeing):

  • Shadows

    • Tint | +10

  • Red Primary

    • Hue | -10

    • Saturation | +5

  • Green Primary

    • Hue | +15

    • Saturation | -5

  • Blue Primary

    • Hue | 0

    • Saturation | +9

My Travel Kit

The RX100VA is a camera I aim to always have with me when traveling, and as such I have a go-bag with everything I need for a day of shooting. Here’s a list of what I carry:

  • Sony LCS-CSJ Carrying Case

    • Op-Tech USA Strap | I keep a set of clips on my RX100VA and the case itself so I always have the strap with me. The camera won’t fit in the case with a neck strap attached.

    • 2-3x NP-BX1 Batteries | This camera absolutely eats batteries. You can expect about 220 shots per battery, in my experience. Expect less shots if you extensively use the EVF.

    • Sandisk Extreme Pro 64 GB SD Card | This will get you a ton of shots - 1,761 in RAW + JPG (fine) to be exact. No need for a bigger card unless you plan to shoot lots of 4k video.

    • Microfiber Cloth & LensPen Micro

    • Lens Cleaning Wipe (for LCD)

    • WhiBal G7 Keychain Card | Like I mentioned above, getting the white balance right can be tricky. This little card fits neatly within the carrying case and comes in handy when I want to shoot an 18% gray target in tricky lighting situations. I leave my RX100VA on Auto White Balance: White.

  • Tom Bihn Zipper Pouch

    • Sony BC-DX2 Charger + USB Wall Adapter | While you can charge batteries in the camera itself, this handy little charger comes dirt cheap in a kit from B&H. Worth it for charging batteries on the go while leaving your camera safe and sound in it’s case.

    • Apple Lightning to SD Card Reader | I often leave my heavy 2021 MacBook Pro at home when traveling, so this adapter allows me to browse a day’s work from my iPhone or iPad.

Test Shots

I purchased the RX100VA to have a camera that could easily travel with me on my trips downstate, to be used for blog posts when I didn’t have time to haul my D810 with me, and to capture more moments with my family. The RX100 series also excels at video but I haven’t had much experience with that aspect of the camera. I’ll be sure to update here if I ever dive into it. You can see some of the blog posts I’ve made which were shot on the RX100VA linked below:

The Verdict

In an age where content is increasingly being consumed on the small screen and iPhone photography prevails, I think there’s still a place for a compact camera in the photographer’s pocket. The main benefit I find with the RX100VA is it’s ergonomics which make it such an enjoyable little camera to use. While I’ve repeatedly considered fixed lens alternatives like the Sony RX1 and Fujifilm X100 series, I think the flexibility of the RX100VA’s zoom lens is too valuable to pass up. What probably matters most is I now have a high quality camera with me when I would’ve been empty handed, enabling me to shoot more blog posts, get out in the field, and live up to the tagline of my site: History | Exploration | Photography.

Fort Stanwix

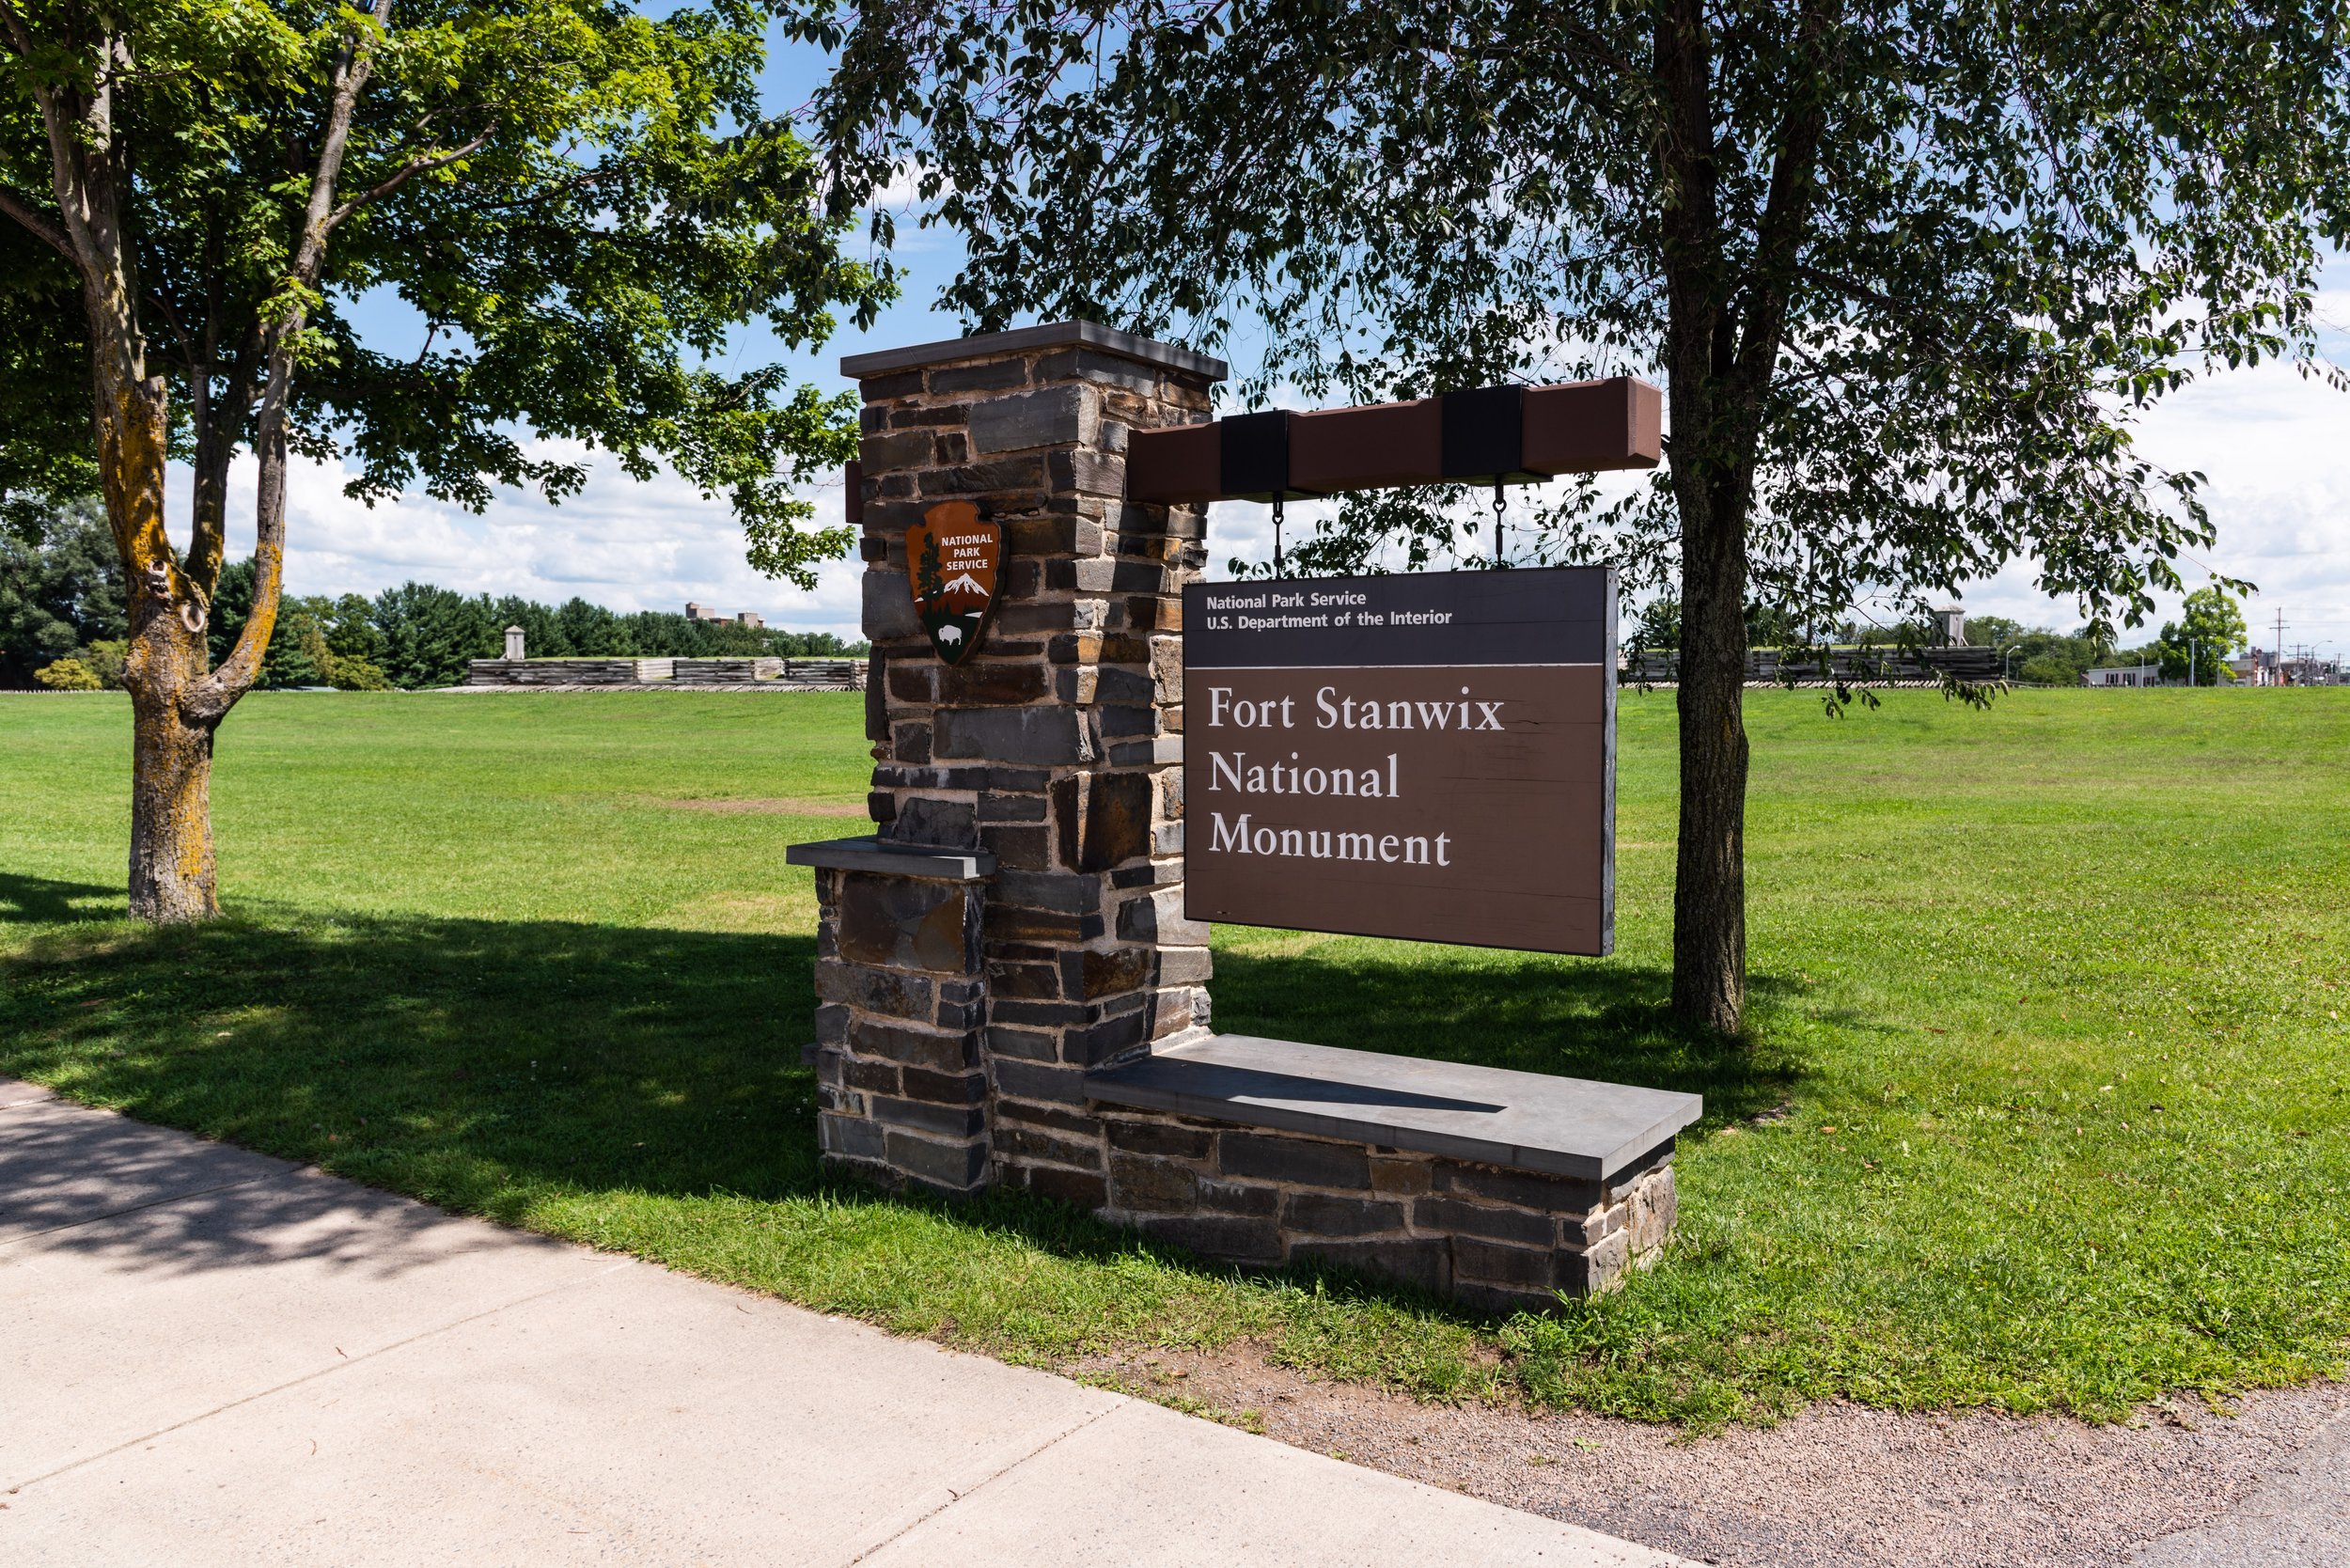
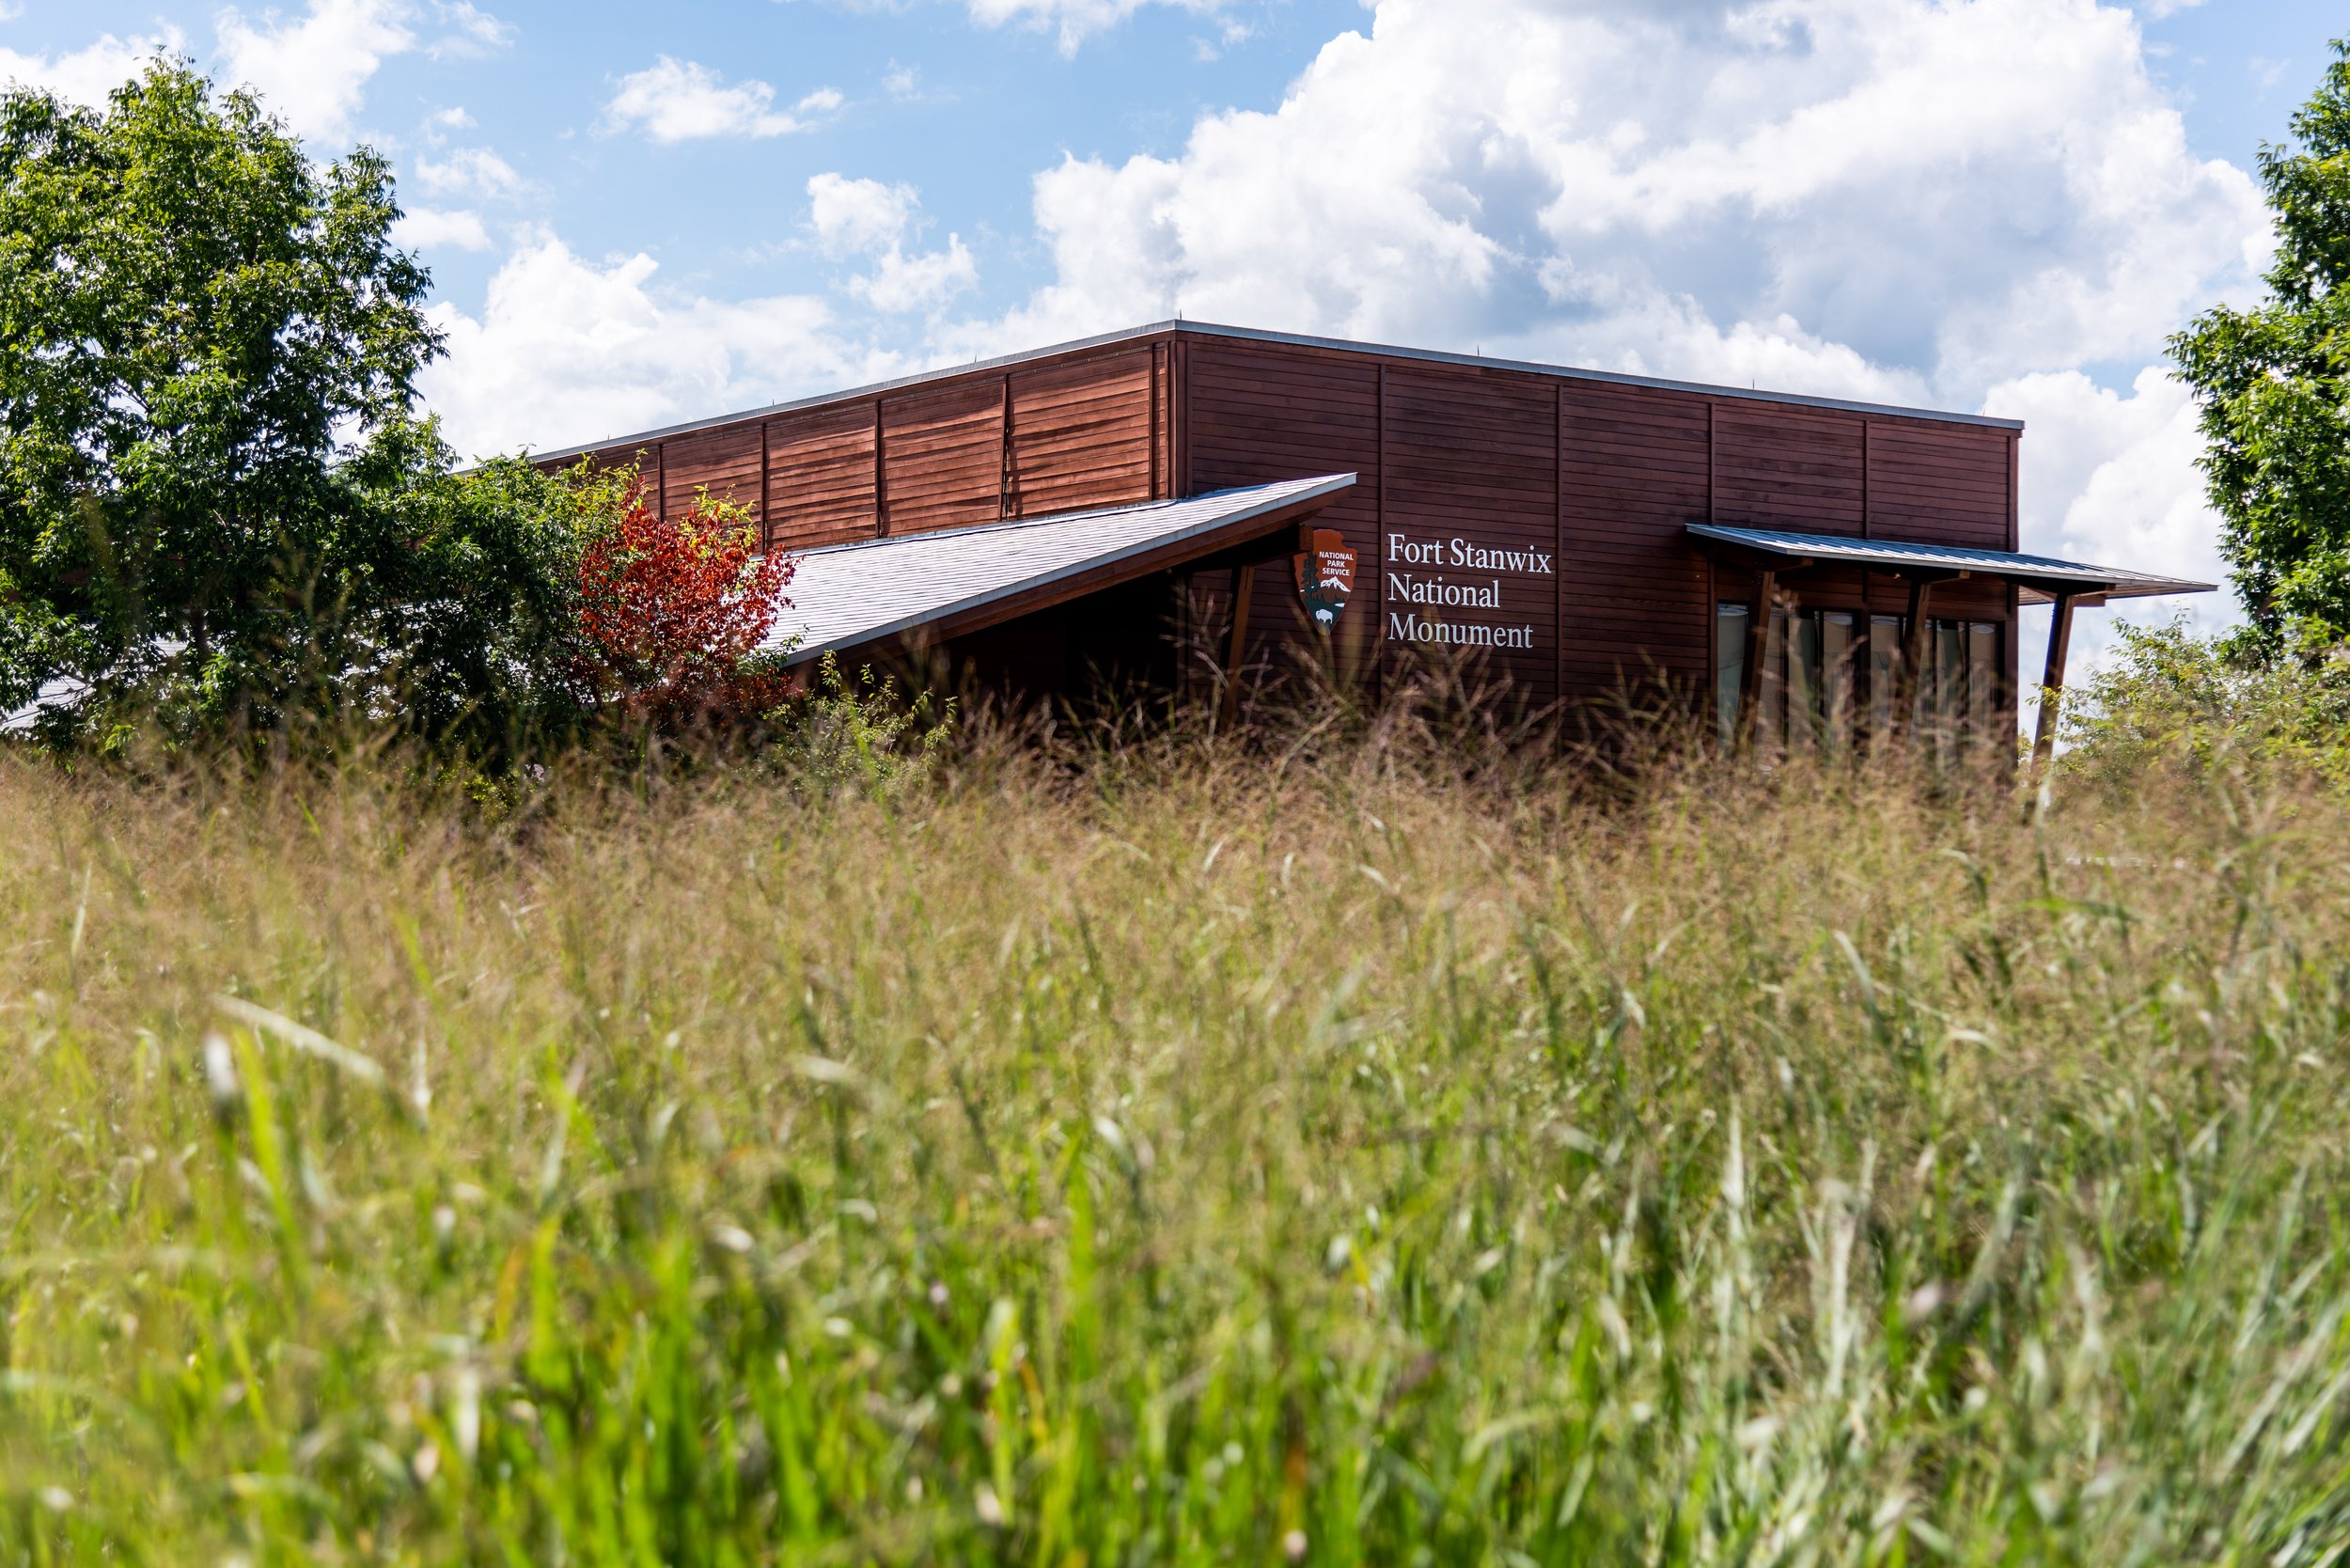
Fort Stanwix National Monument, managed by the National Park Service, is a modern day recreation of the circa 1762 Revolutionary War fort. The reconstruction was completed as part of urban revitalization efforts in 1974 atop the original fort’s location, then the historic downtown section of Rome, NY. It was a unseasonably hot day in early fall when I visited, and there were few people at the fort. I had the opportunity to speak with a ranger about the fort’s construction, and she explained how the city of Rome, NY asked the NPS to come in and reconstruct the fort. Congress authorized the National Monument in 1935, but the real push for its construction came with the Revolutionary War fervor of the bicentennial. The National Parks Service, not in the business of bulldozing historic structures (of which downtown Rome had many examples), politely declined the city’s initial request to bulldoze the site and reconstruct the fort. The city used eminent domain to demolish the dilapidated downtown section anyway, and a 3 year archeological survey of the property commenced before construction began. The fort was opened in 1976 for the bicentennial and construction was wrapped up in 1978.

So why is Fort Stanwix a National Monument? The story begins back in 1777 when Continental forces occupied the fort and repelled the British, earning the nickname of “the fort that never surrendered” after enduring a prolonged siege. The fort was eventually abandoned after the war and razed as the city of Rome expanded with the success of the Eerie Canal. While I was only able to poke my head inside recreated areas of the fort like the barracks and officers quarters due to COVID-19 precautions, I was impressed by the craftsmanship put into the reconstruction. I wonder if there will be another resurgence of interest in the Revolutionary War when the tricentennial rolls around. I’ll be 80 in 2076, so hopefully I’ll still be around to experience it. With so many historic sites from that time period in the tri-state area, I’d be curious to see what other projects might gain traction if there is a resurgence in Revolutionary War interest.

The Holmdel Horn Antenna

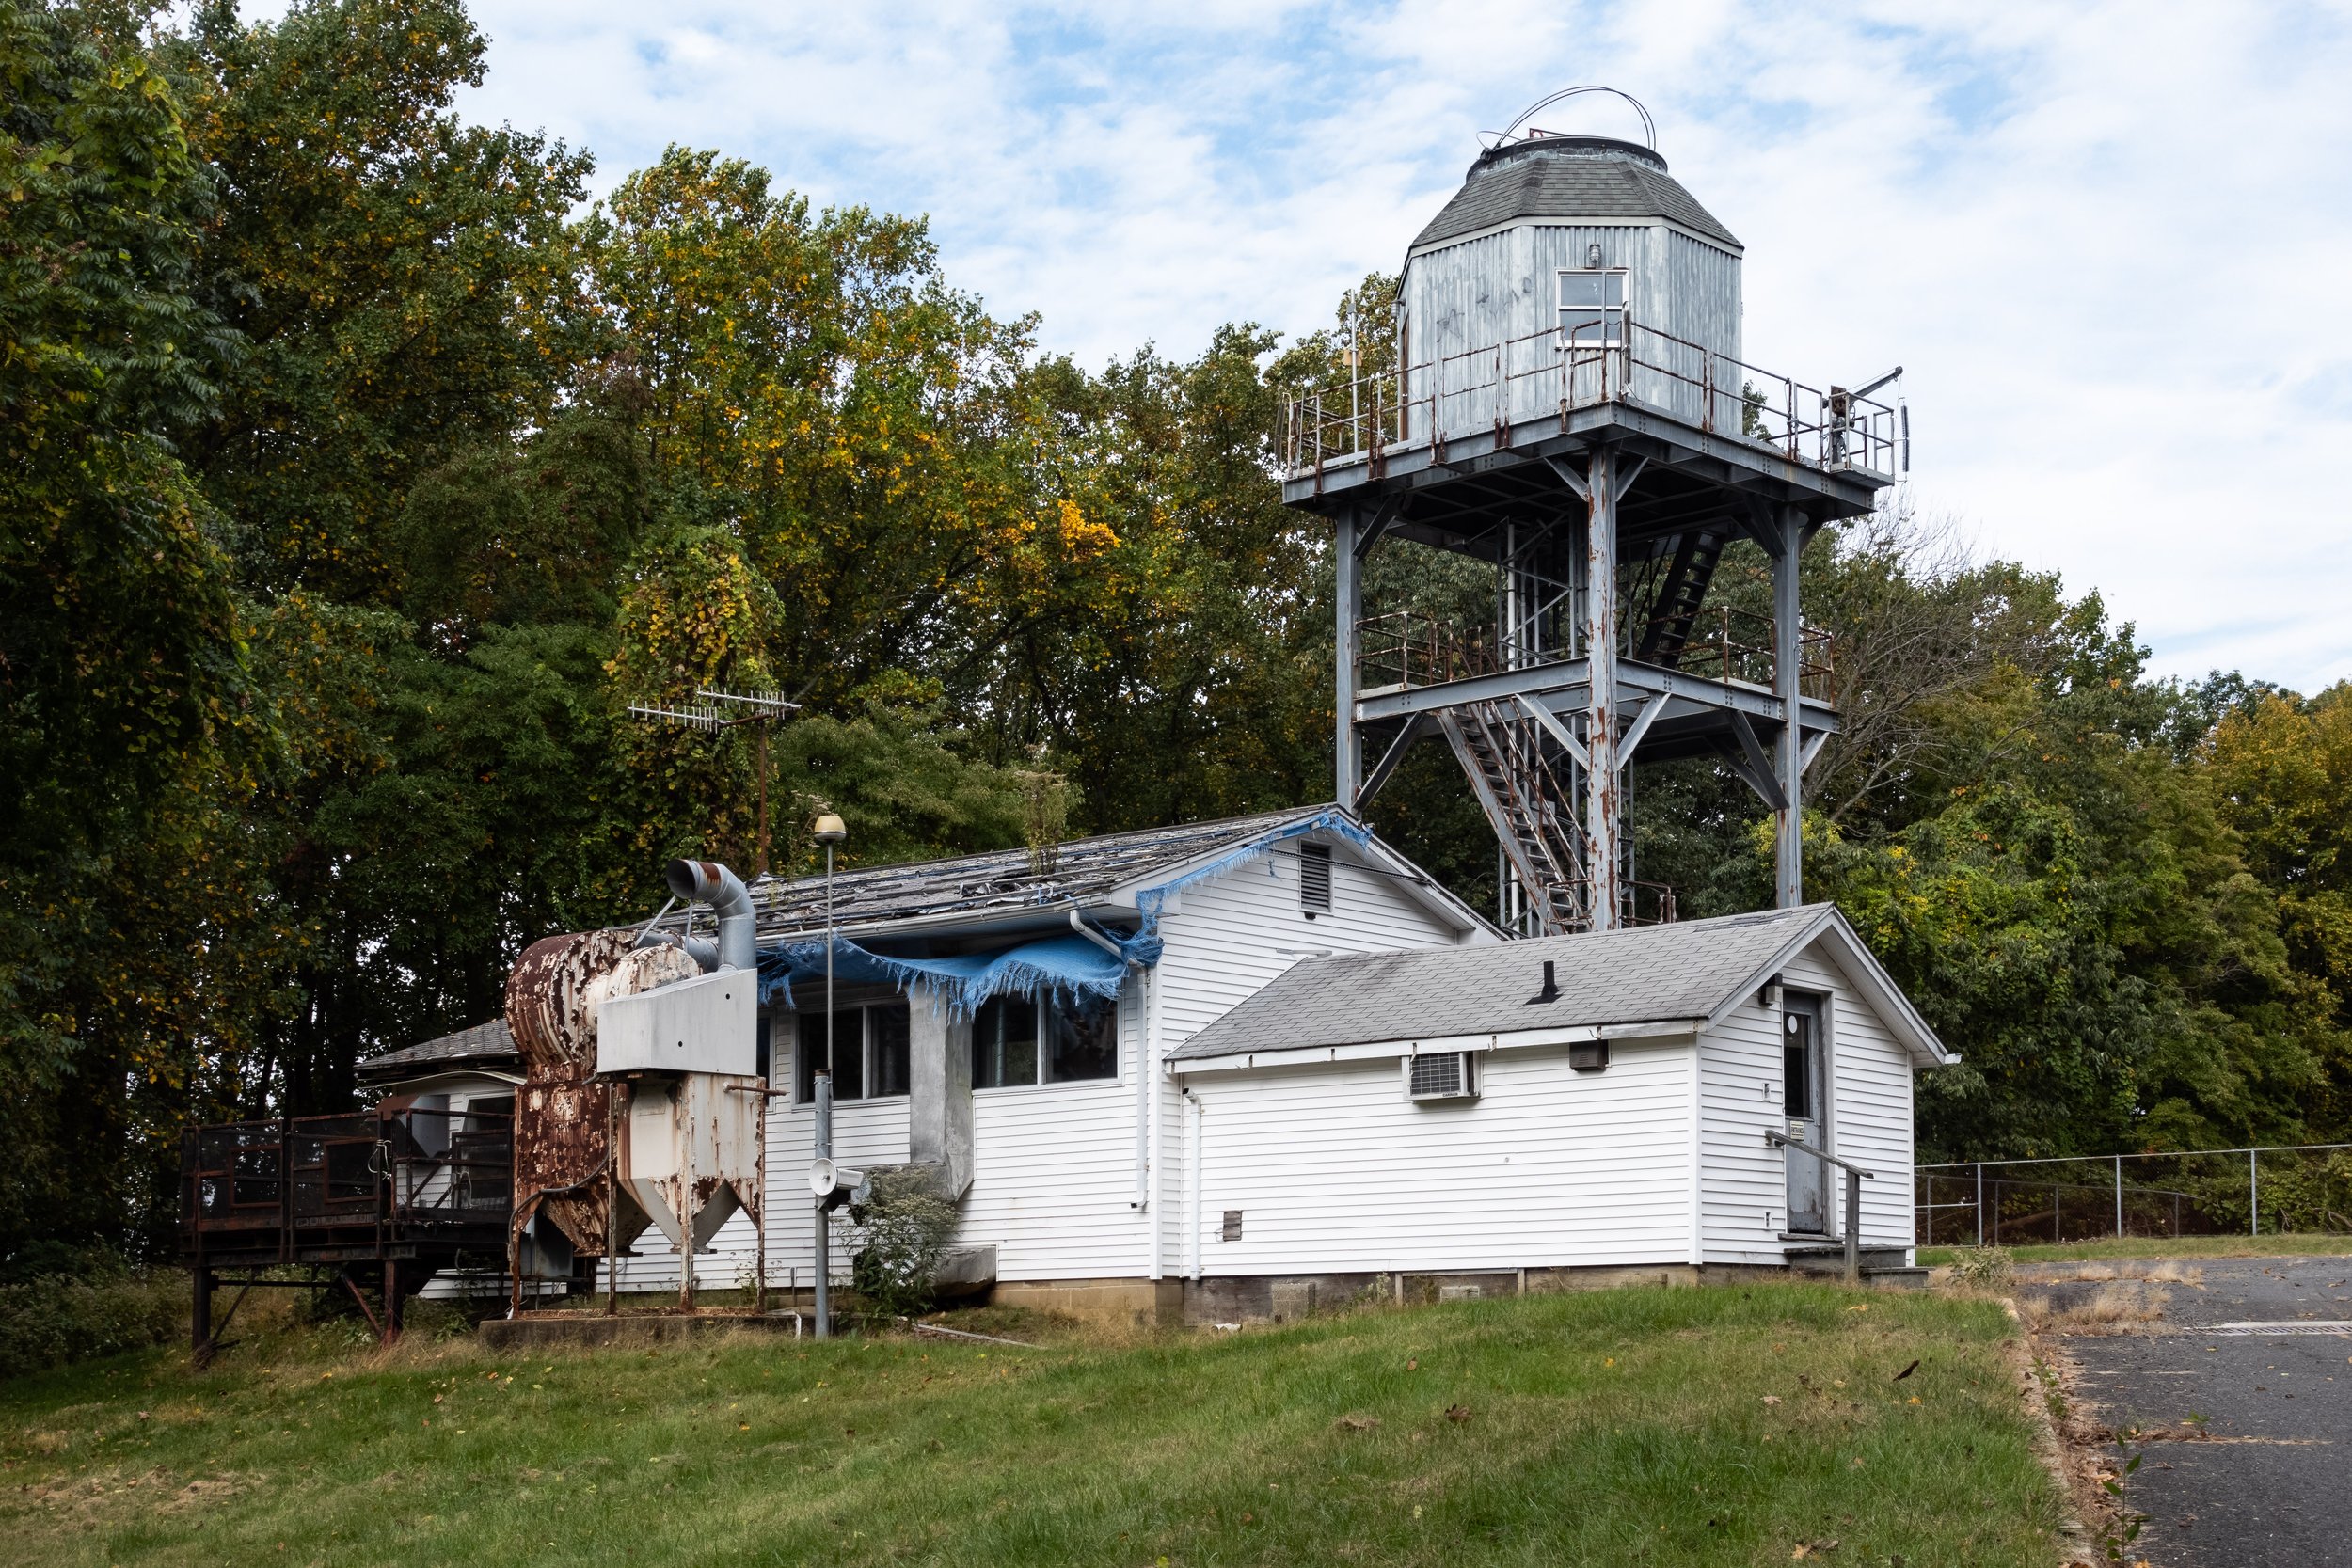
One of the many ways that I research new locations to shoot is by combing through properties listed on the National Register. These properties have a level of historical significance and are often nominated through the hard work of history loving folks like myself. I was sifting through sites listed in Monmouth County, NJ when I saw something odd that immediately caught my attention - a property listed as the “Horn Antenna”. Nestled atop a hill overlooking the Garden State Parkway, the Horn Antenna sits in a mothballed state on the former Bell Telephone Laboratories (Crawford Hill) Facility in Holmdel, NJ. I decided to take a trip this past fall to Holmdel and document what was left of the site.

Fabricated mostly on-site by Bell engineers under the direction of Mr. A. B. Crawford, the giant radio telescope was designed by astronomers to detect radio waves bounced off Echo balloon satellites. In 1965, Dr. Arno Penzias and Dr. Robert Wilson were conducting research with the antenna when they stumbled across the residual microwave background radiation that resulted from what we now know as the Big Bang. Publishing their research alongside three astrophysicists from Princeton University, Penzias and Wilson were able to detect the tremendous blast of radiation released by the Big Bang which the astrophysicists had theorized. They were awarded the Nobel Prize for Physics for their joint discovery in 1978.

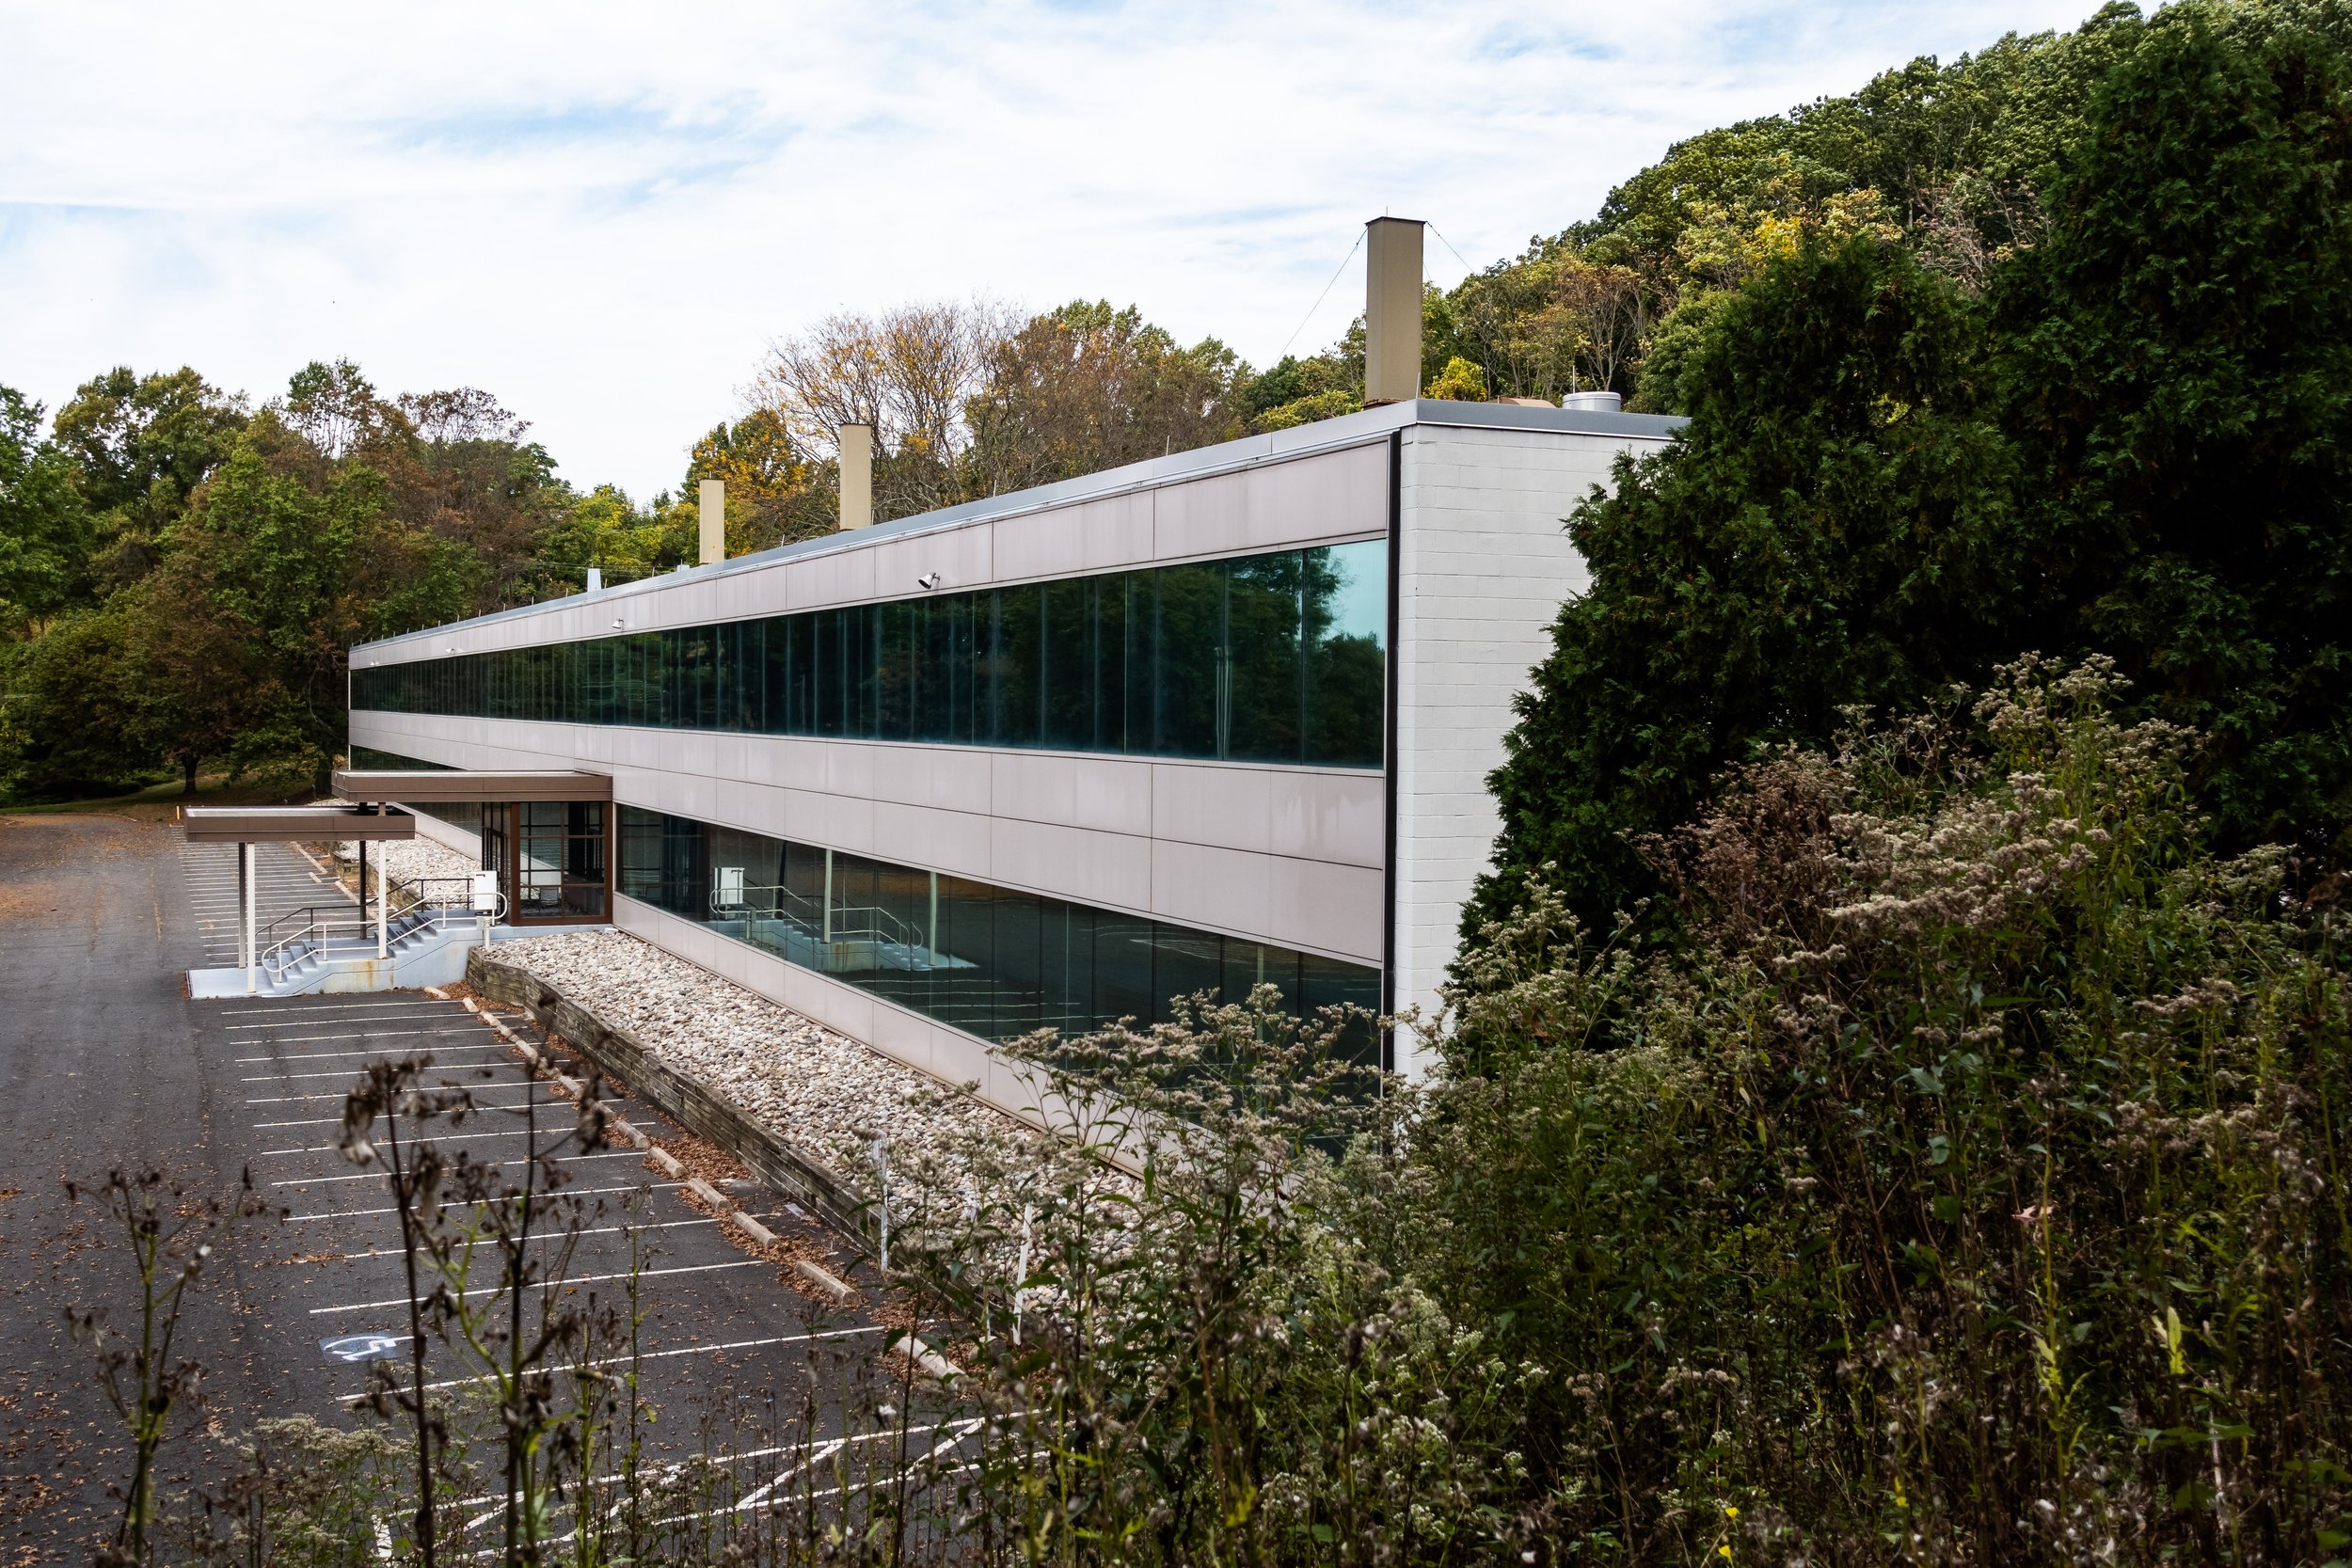
The Horn Antenna and the Crawford Hill Facility itself were mothballed when research operations were consolidated to the global headquarters of Nokia Bell Labs in Murray Hill, NJ. Crawford Hill was an annex of the larger Bell Labs Holmdel Complex located a short drive away, known today as Bell Works. I’ve also visited this behemoth of an office building, which you can read about in my Bell Works blog post. Researching the history of the antenna gave me the inspiration for some ongoing projects I’m working on around other former American titans of industry like General Electric, Westinghouse, Kodak, Xerox, and more.

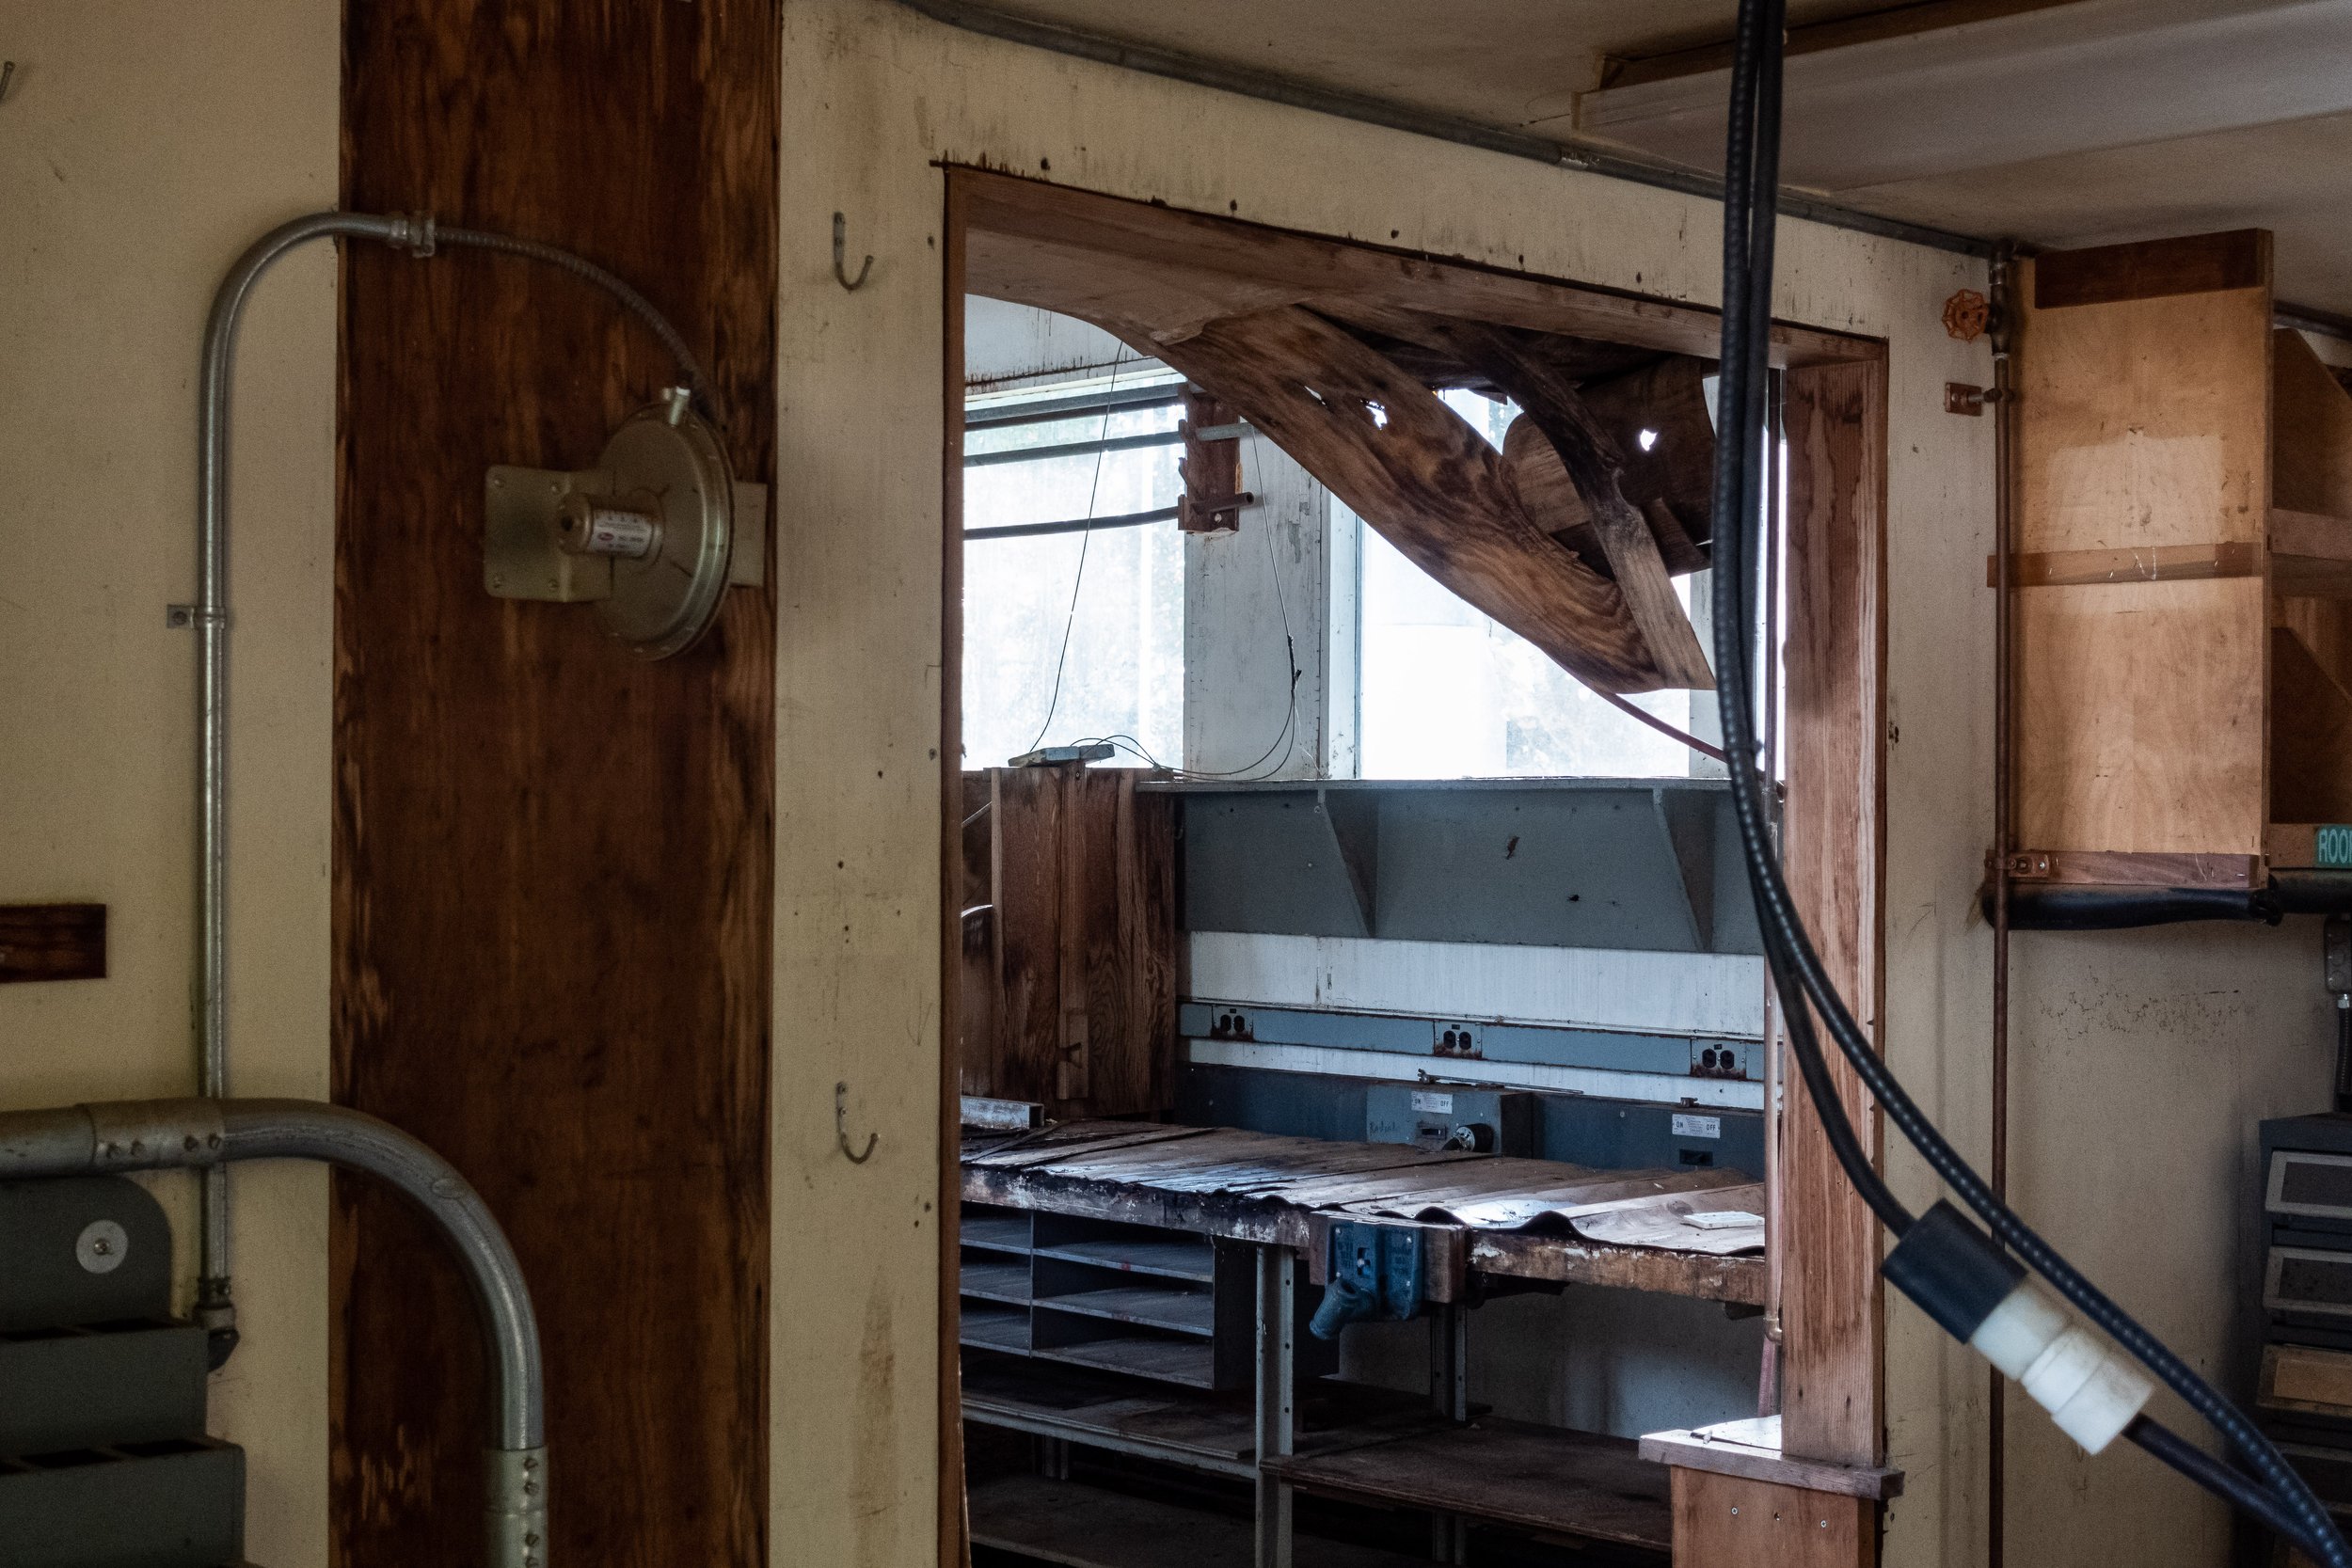
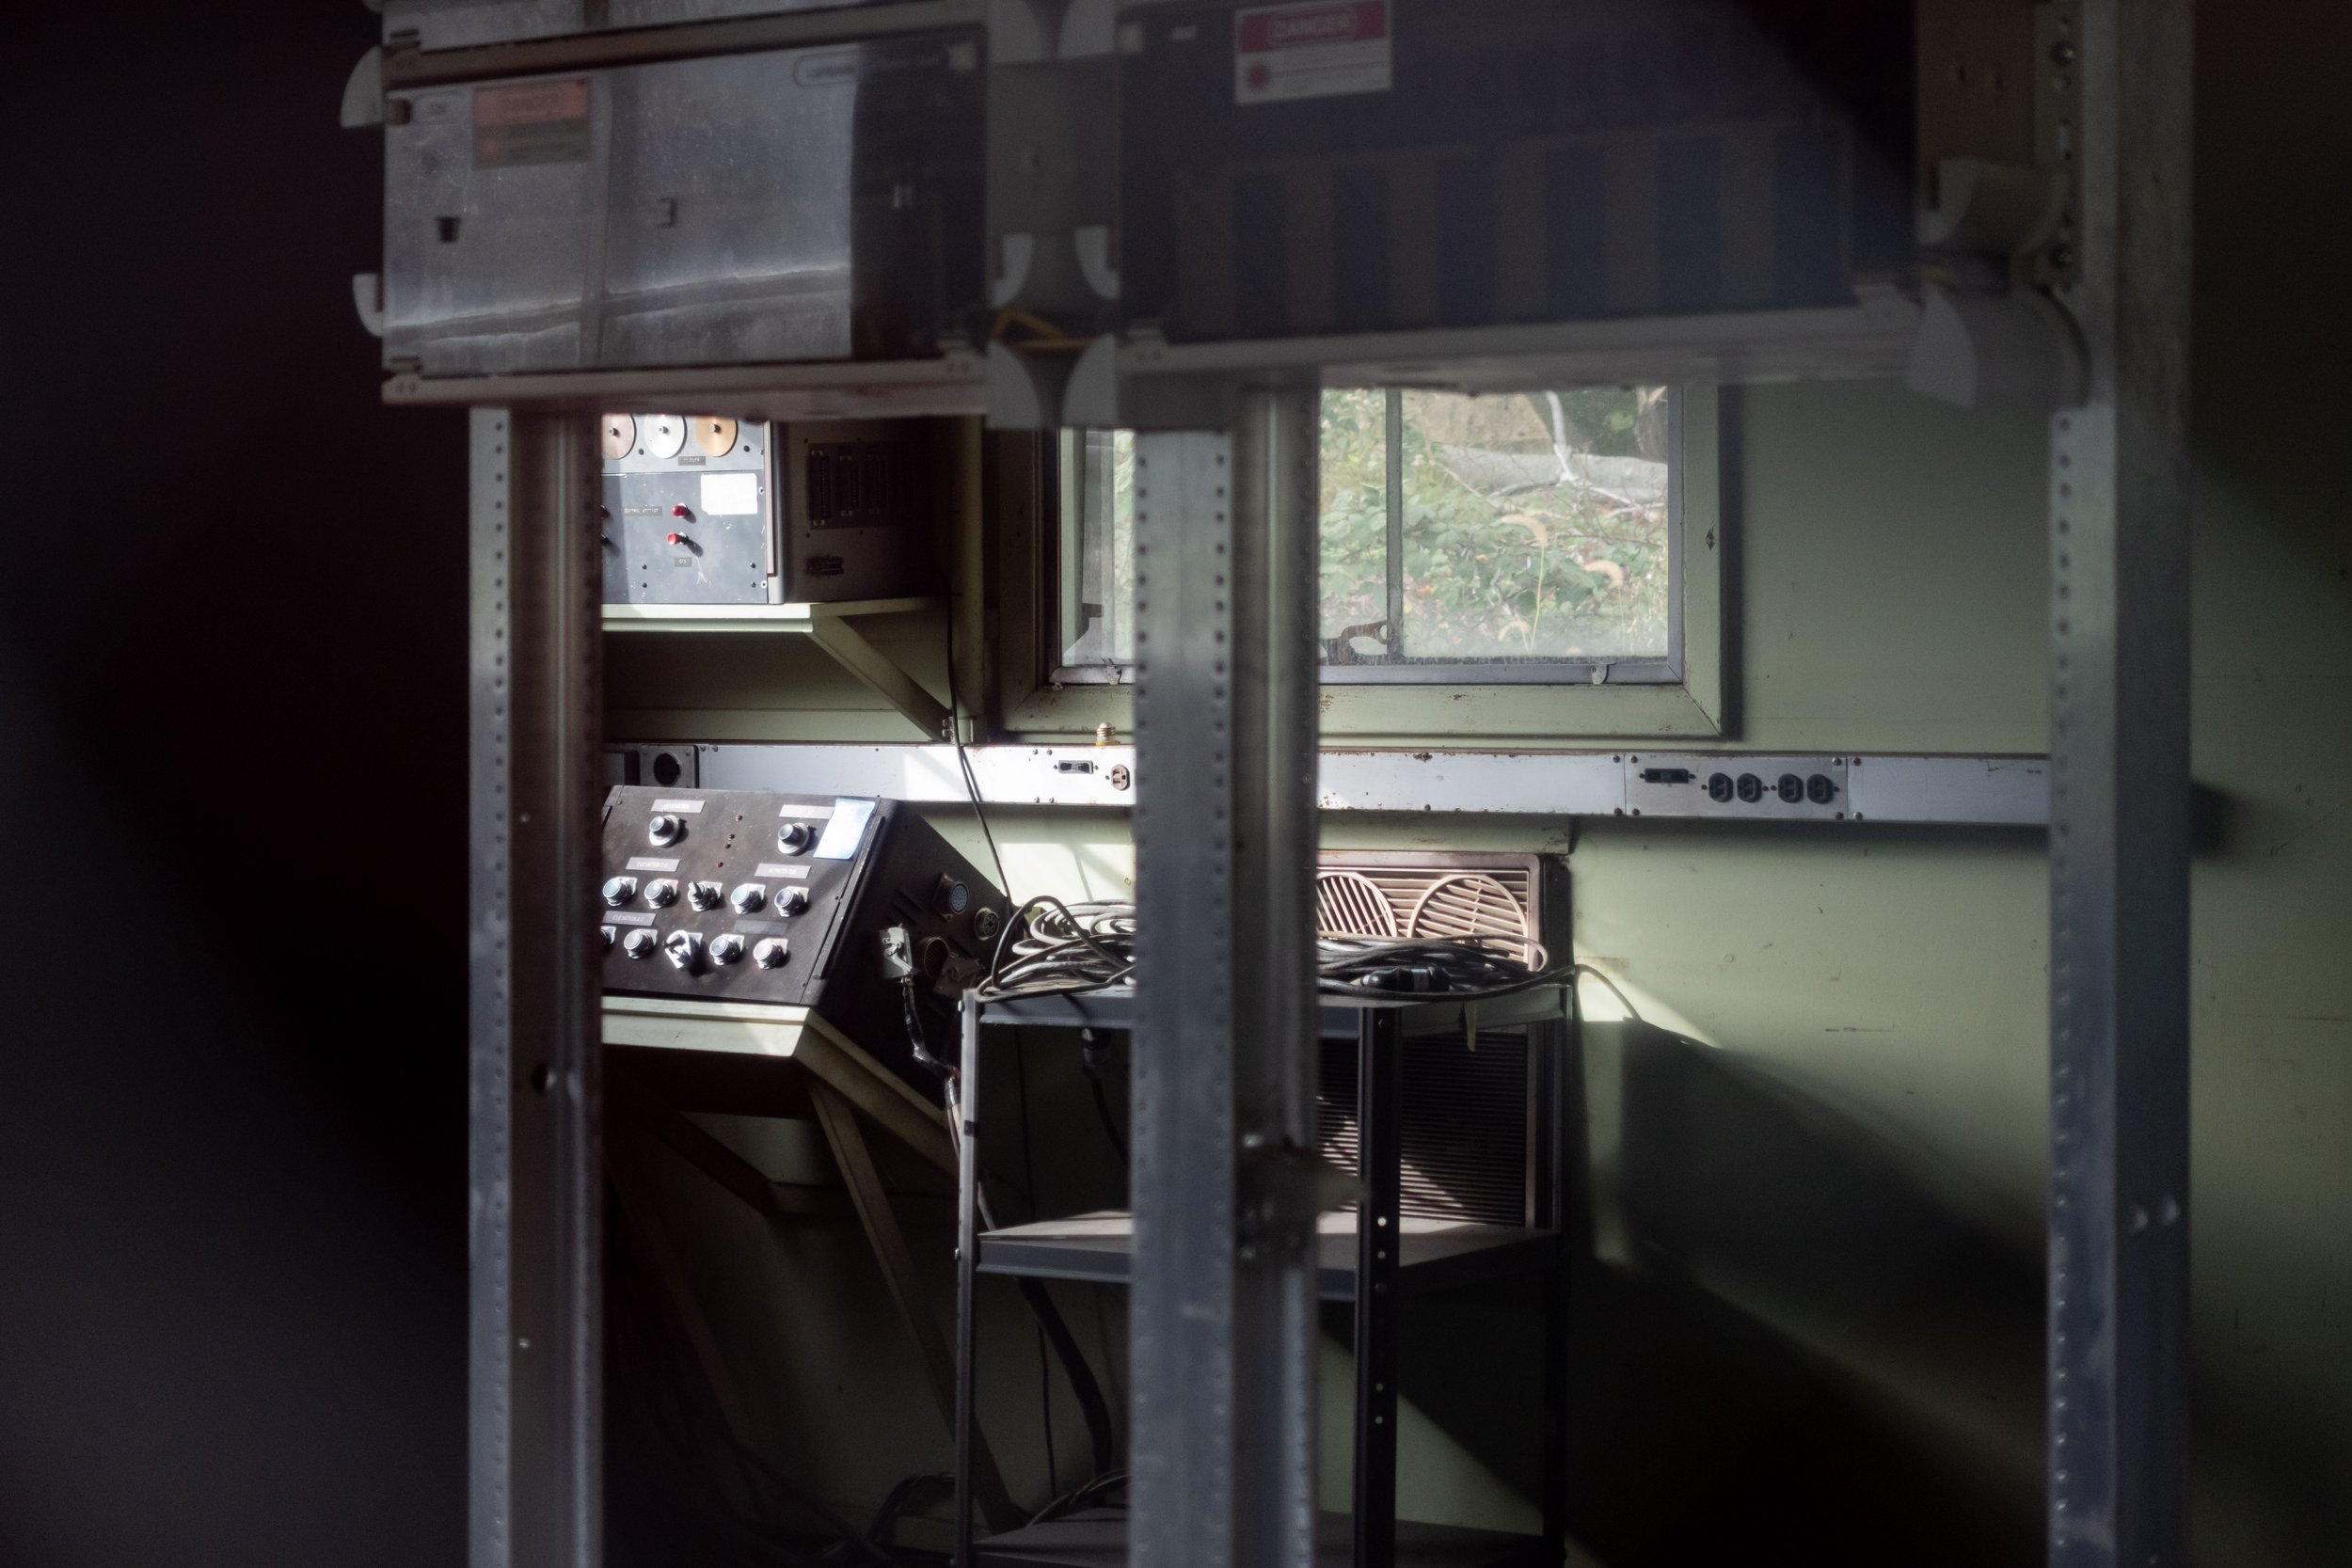
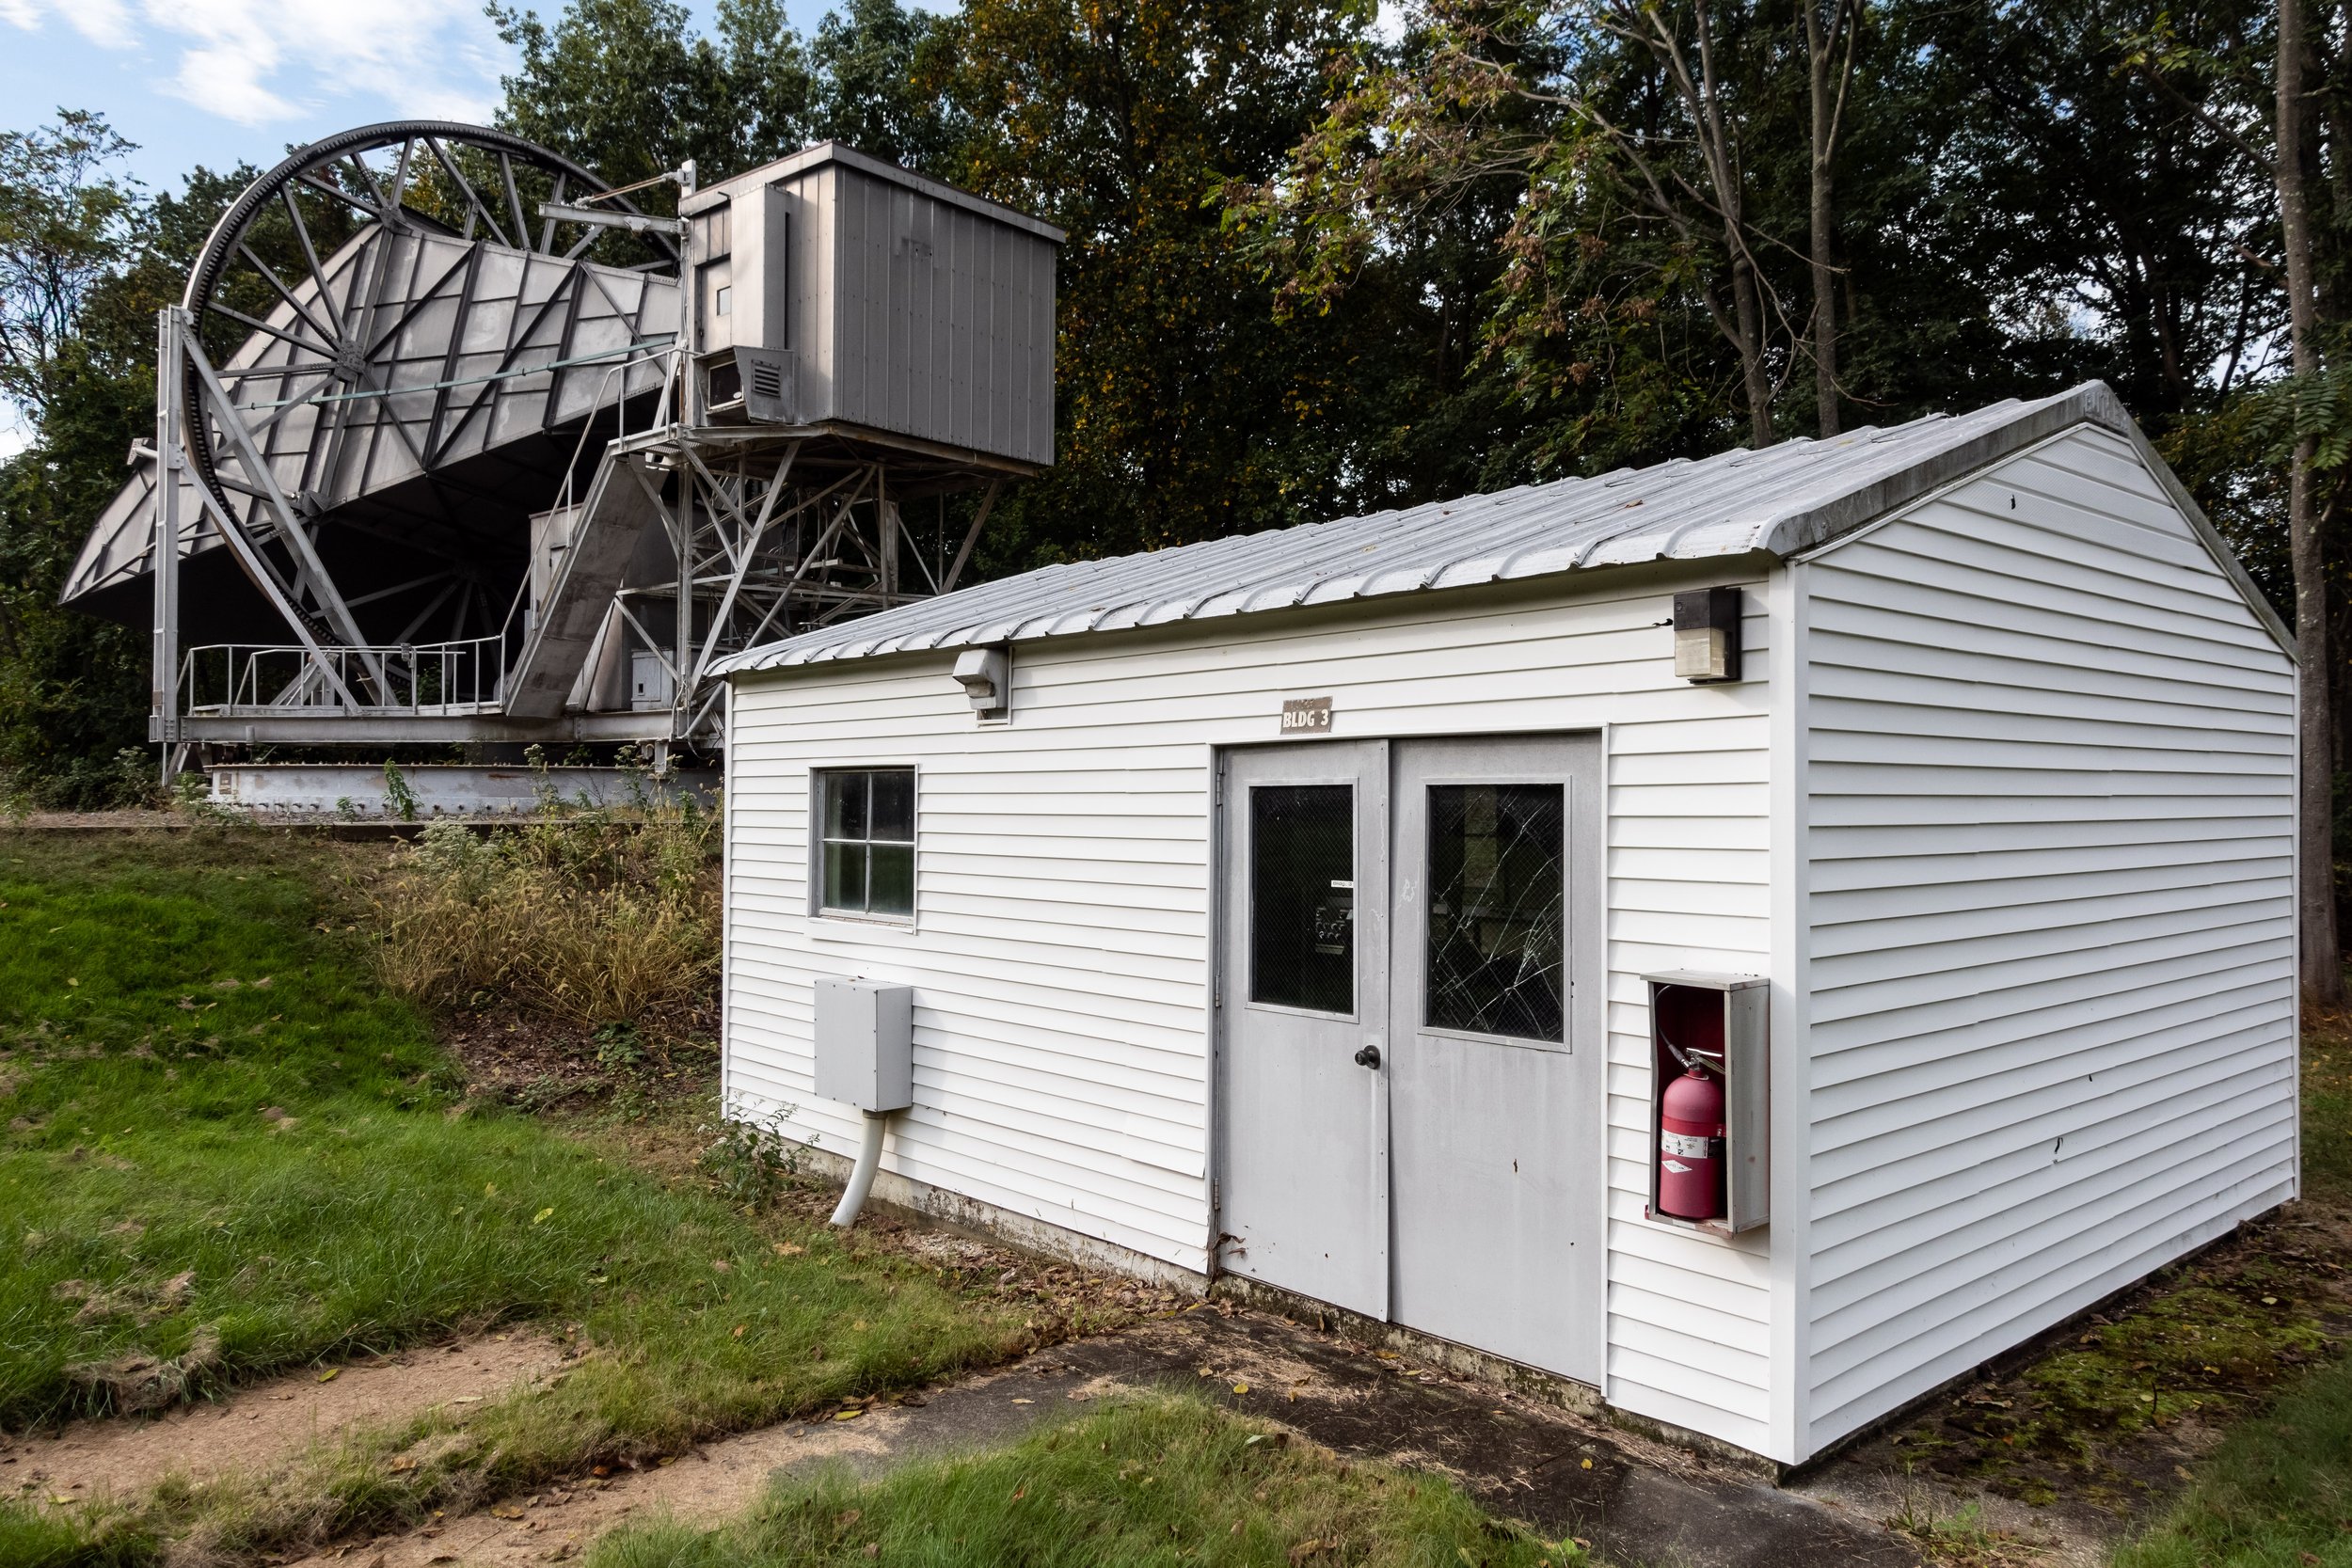
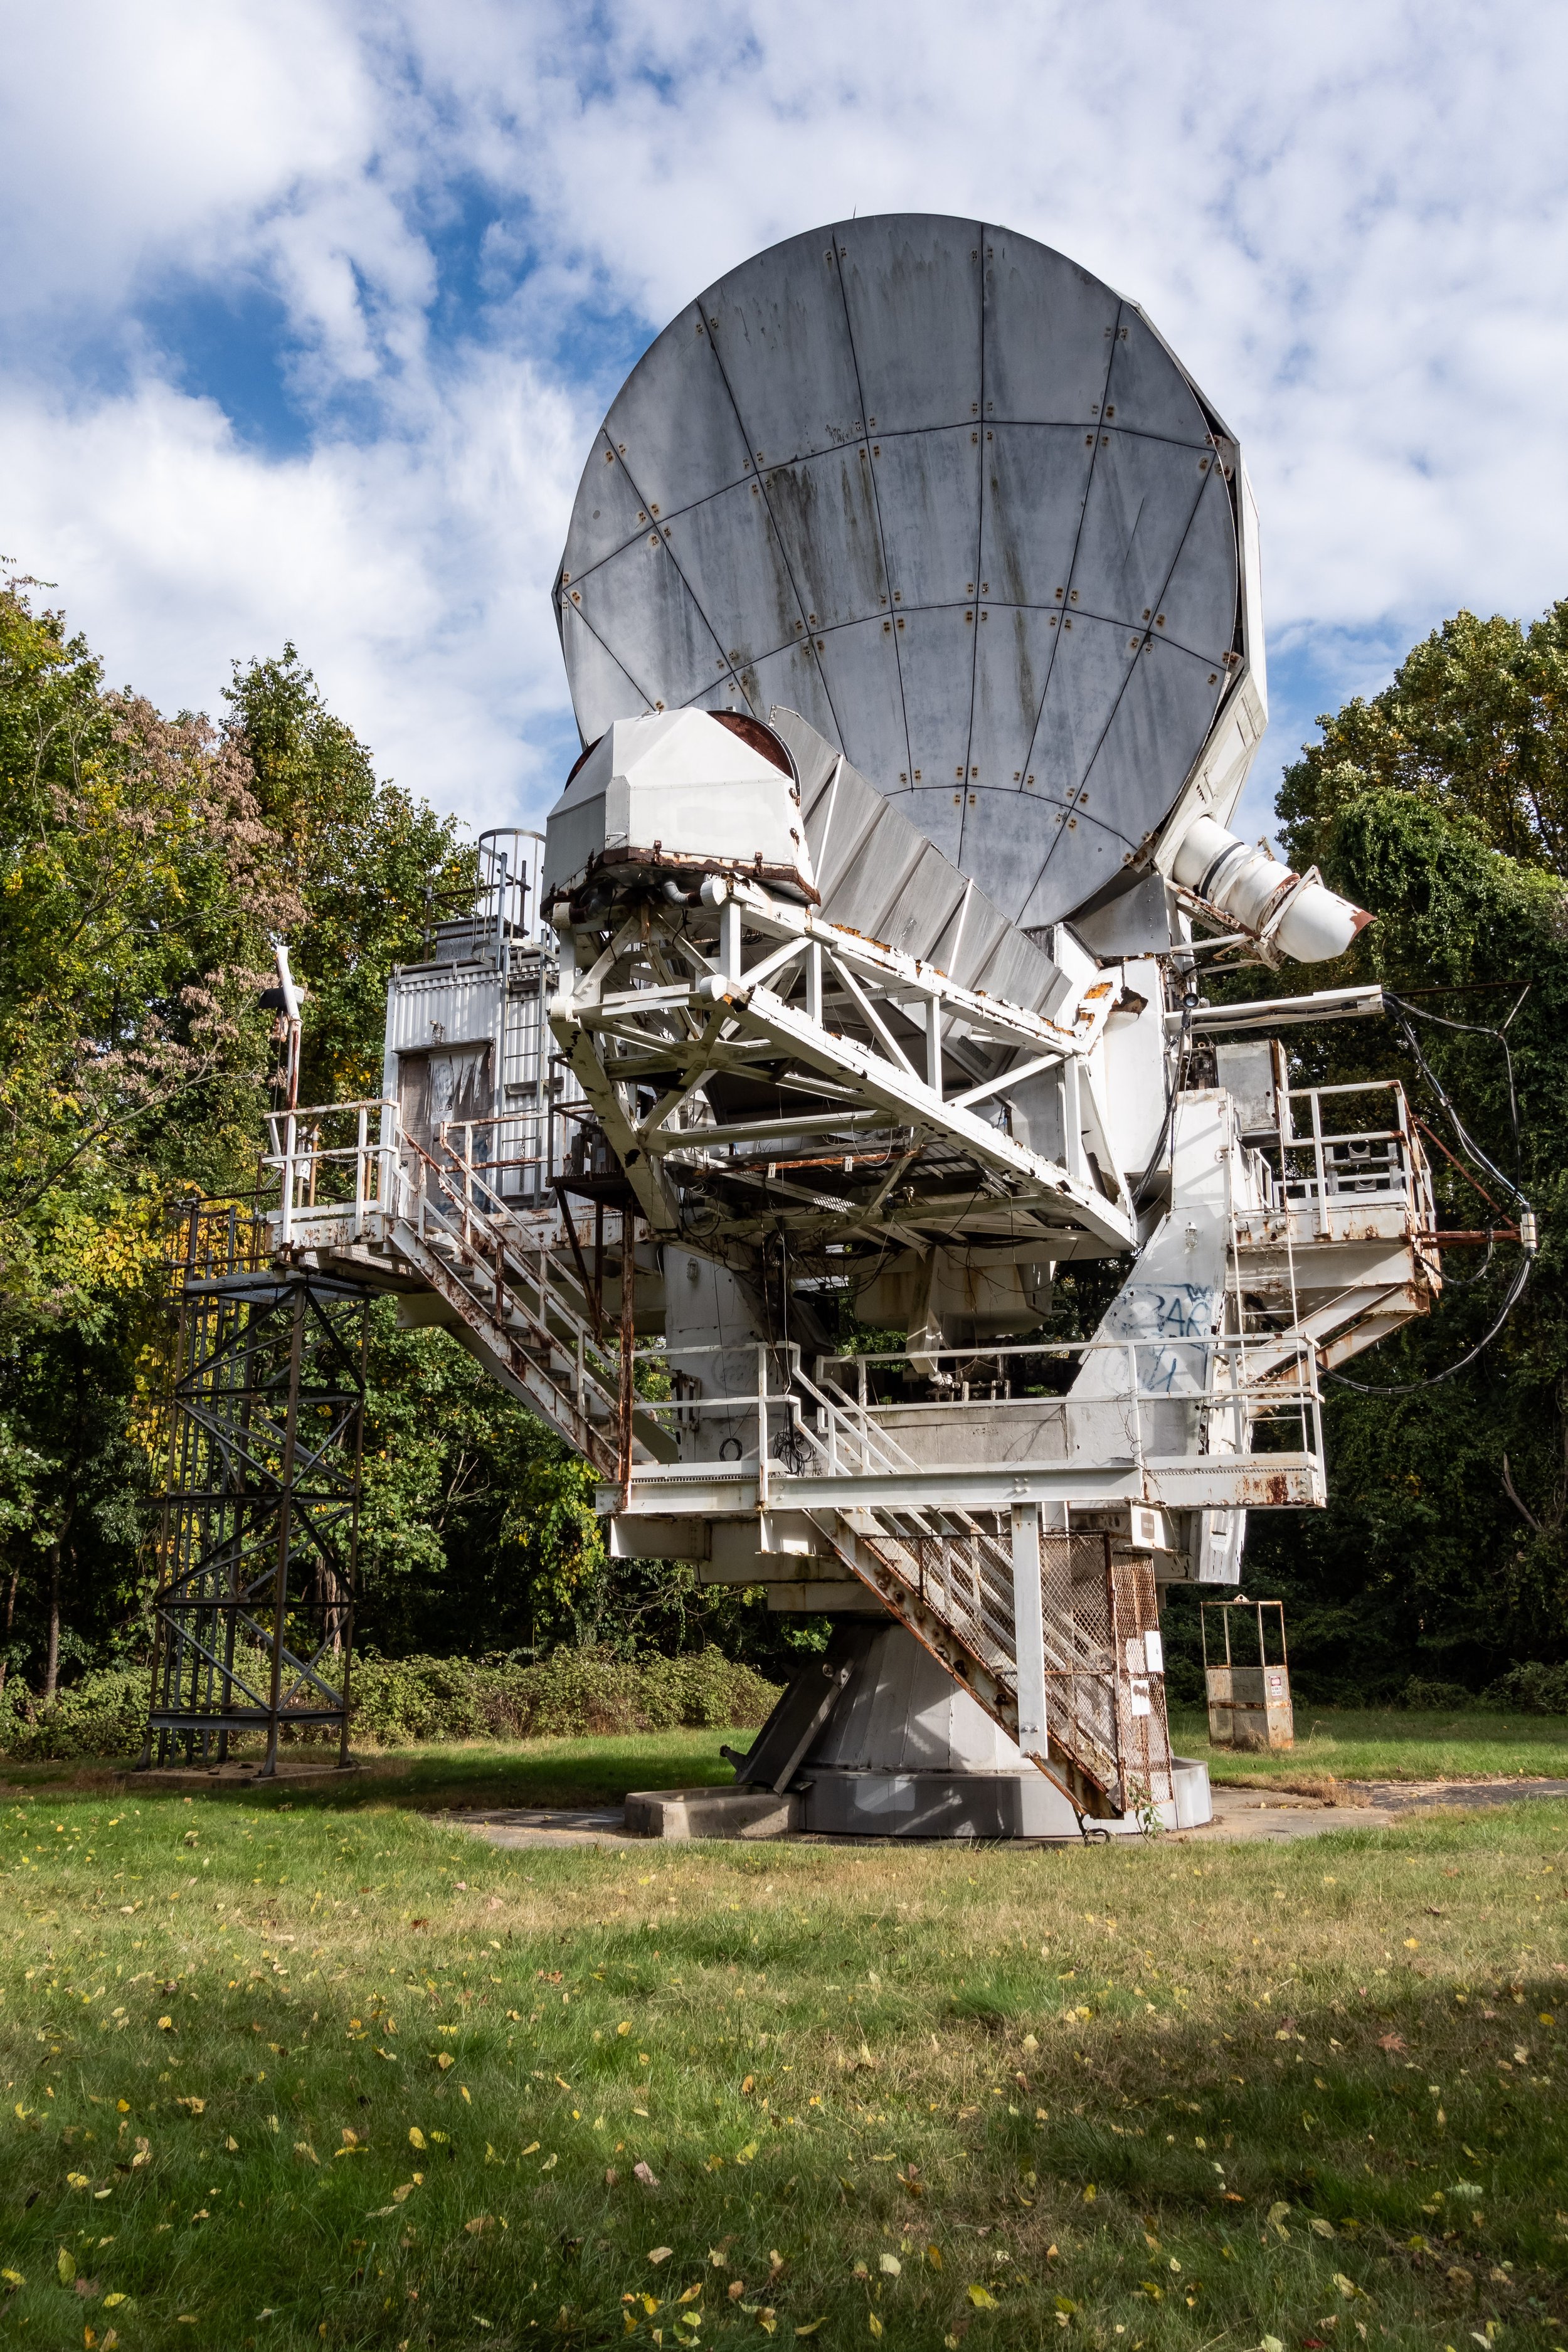
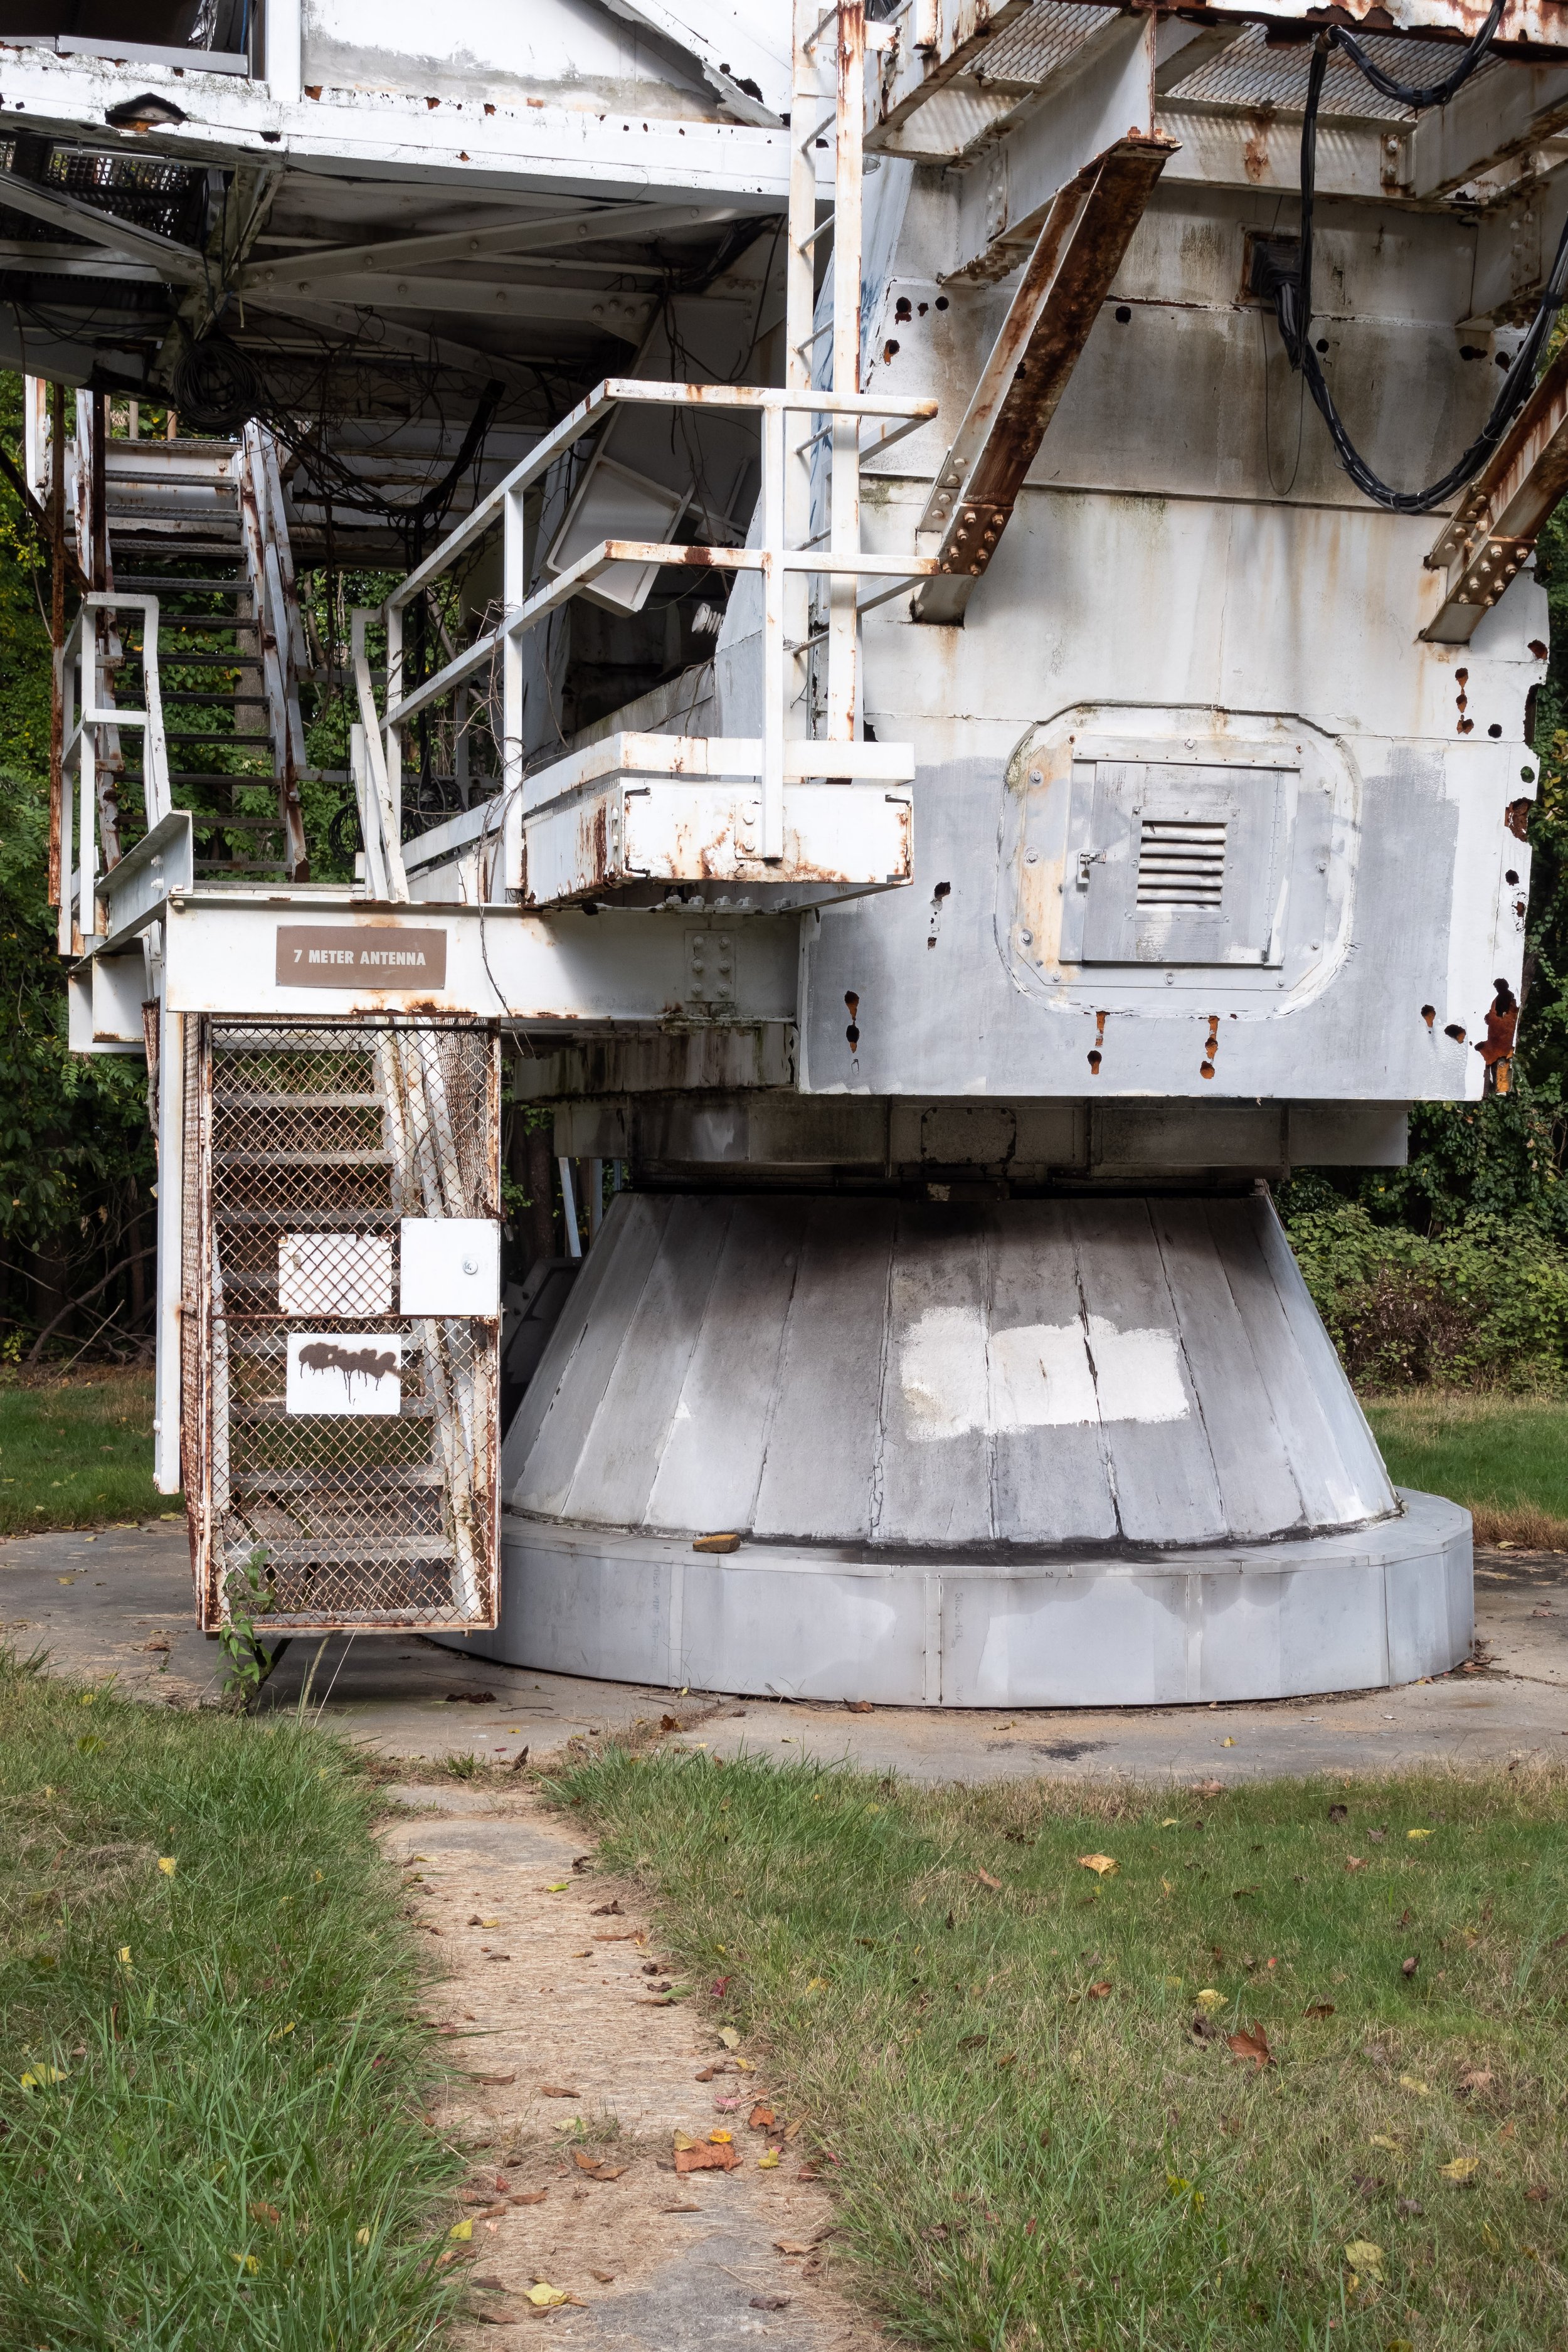
All equipment from inside the antenna and the nearby utility shed which housed the controls has been stripped out. The facility was sold by Nokia Bell Labs in early 2020, and the site’s future remains uncertain. A decaying 7 meter dish antenna, workshops, and towers for communications and radar equipment dot the landscape as reminders of the research once conducted at Crawford Hill. I’m not sure when exactly Nokia Bell Labs abandoned the site, but I did find a laminated sign warning that the locker rooms for the volleyball pits were closed due to COVID-19. This mean that somebody occasionally visited the facilities until 2020 at the latest, but both visits I made in 2021 showed the complex abandoned. The Horn Antenna represents the heyday of communications research and design in America, a victim of the mergers and acquisitions that have whittled away at Bell Labs and shuttered the Crawford Hill Facility. I’m just glad I was able to document things before any significant redevelopment erased what is left of this important piece of scientific history.

Bell Laboratories - Holmdel

I somehow completely overlooked the former research campus of Bell Labs, known today as Bell Works, on my last visit to the Holmdel, NJ area. I was researching another relic of the company for a blog post, the Holmdel Horn Antenna, when I realized this place was a mere 3 miles down the road. After kicking myself for not stopping in when I was so close by, I made a dedicated trip there while home for Thanksgiving.

To understand the history behind the Bell Labs Holmdel Complex, you first need to know a little background on Bell Labs itself. Founded in 1925 by AT&T and Western Electric, a combined 4,000 engineers from the two companies formed Bell Telephone Laboratories to study communications technology. Different groundbreaking discoveries like CCD technology, residual microwave background radiation (proof of the Big Bang), the Unix operating system, and the C programming language can be attributed to Bell Labs researchers. The research organization changed hands as acquisitions and divestiture took hold in the 1990s, leaving Bell Labs in the hands of Lucent Technologies, Alcatel-Lucent, and finally Nokia.

This complex was left disused in the early 2000s and sold to Somerset Development LLC in 2012 after Nokia Bell Labs consolidated their operations in Murray Hill, NJ. Construction started on the building in 1959 and later expansions totaled 2 million + sq ft of laboratory space. The architect, Eero Saarinen, also designed other notable modernist landmarks like the St. Louis Arch and the Dulles International Terminal in Washington, D.C.

Unlike most historic places I visit which are abandoned and decaying, Bell Works has a new lease on life. Some of the surrounding land has been leveled for housing developments, but the trademark transistor water tower and central office building remain. Inside is a mixed-use development which contains a branch of the county library, co-working spaces, and various eateries open to the public. There was some sort of Christmas party going on when I visited and a 5k run happening outside. Despite the redevelopment, key architectural features of the building remain unaltered - namely the cavernous courtyard covered in skylights which runs the length of the building. All 5 floors open on this courtyard, the scale of which is an incredible sight to behold. If you ever make a visit to Bell Works, try Booskerdoo Coffee & Baking Co. I had a sesame bagel and iced coffee and would happily eat there again.

I came across some traces of the original AT&T Bell Labs research activities while taking a drive around the elliptical perimeter road that rings the central office building. The AT&T Global Product Compliance Laboratory and nearby Ocean Simulation Facility have been repurposed as a landscaping company’s garage. A transistor shaped water tower stands guard near the main entrance on Crawfords Corner Road, paying homage to the Bell Labs researchers who invented the transistor itself back in 1947. While I’m a bit disheartened to see those dreaded Toll Brothers developments encroaching on the sweeping fields of grass that lead into Bell Works, it’s far too often that I find out about a place like this long after it’s been torn down. I’m glad that the township was able to find another use for such an interesting piece of architecture and instituted a redevelopment plan that seems to be working.

1939 & 1964 New York World's Fair

The 1939 and 1964 Worlds Fair found a home in Flushing Meadows-Corona Park, situated a short subway ride away from Manhattan on what was then the IRT Flushing line. The park was built atop reclaimed land, similar to what would be done years later in the construction of Freshkills Park on Staten Island. Starting in 1907, coal ash and other street debris from Brooklyn were delivered via rail to the Corona Dump. This material was used to fill in the pre-existing salt marsh that was a haven for mosquitoes during the summer months. While the original plans for the site were to convert the reclaimed land into another Long Island City-esque port, the scarcity of materials brought on by the demands of WWI put those plans on hold. The Parks Department stepped in when the Brooklyn Ash Removal Company’s contract expired in 1933, and the site was selected in 1935 to host the 1939 Worlds Fair.

Flushing Meadows-Corona Park is still one of the largest parks by land area in the New York City Parks system, taking the 4th spot behind Pelham Bay, Green Belt, and Van Cortlandt Park. Worlds Fairs were temporary in nature, and the construction methods used for the various structures that sprung from the ash in 1939 and 1964 largely reflected this. The Trylon and Perisphere, centerpieces of the 1939 Worlds Fair, were built of plaster board. Only two buildings survived the 1939 Worlds Fair - the New York City pavilion (now the Queens Museum), and the Belgium exhibition building (moved by Virginia Union University to Richmond, Virginia). The New York City pavilion was repurposed for the 1969 Worlds Fair and sits behind the Unisphere, the large steel centerpiece that replaced the Perisphere of 1939.

I found myself in a Long Island City hotel back in October with my shiny new Sony RX100VA, wondering what I could shoot before paying a visit to the Museum of the Moving Image in Astoria. I’d always planned visit to Flushing Meadows-Corona Park, but it was just so out of the way that I couldn’t justify the trip. Beyond a few obvious landmarks in the park, you have to look closely to find remnants of the Worlds Fairs that were the impetus behind its construction. The New York State pavilion, with it’s towering observation decks overshadowing the pavilion below, still stands where it did in 1964. The brightly colored roof panels that made up the canopy shielding the “Tent of Tomorrow” are long gone, but the entire structure has received a fresh coat of paint within the past few years. The New York City pavilion, bearing a cornerstone dating it to 1939, is now the Queens Museum. The museum also operates the Theaterama, a third component of the New York State pavilion.

I can only imagine how spectacular it must’ve been to see either of these fairs in action, before the proverbial death of the American industrial giants who sponsored it like RCA, Kodak, General Motors, Bell Systems, Westinghouse, and others. While I doubt we’ll ever see another Worlds Fair or similar exhibition of this scale in the United States, I hope that maybe one day Flushing Meadows-Corona Park will once again have the chance to show us a sparkling view of the future as it did in 1939 and 1964.