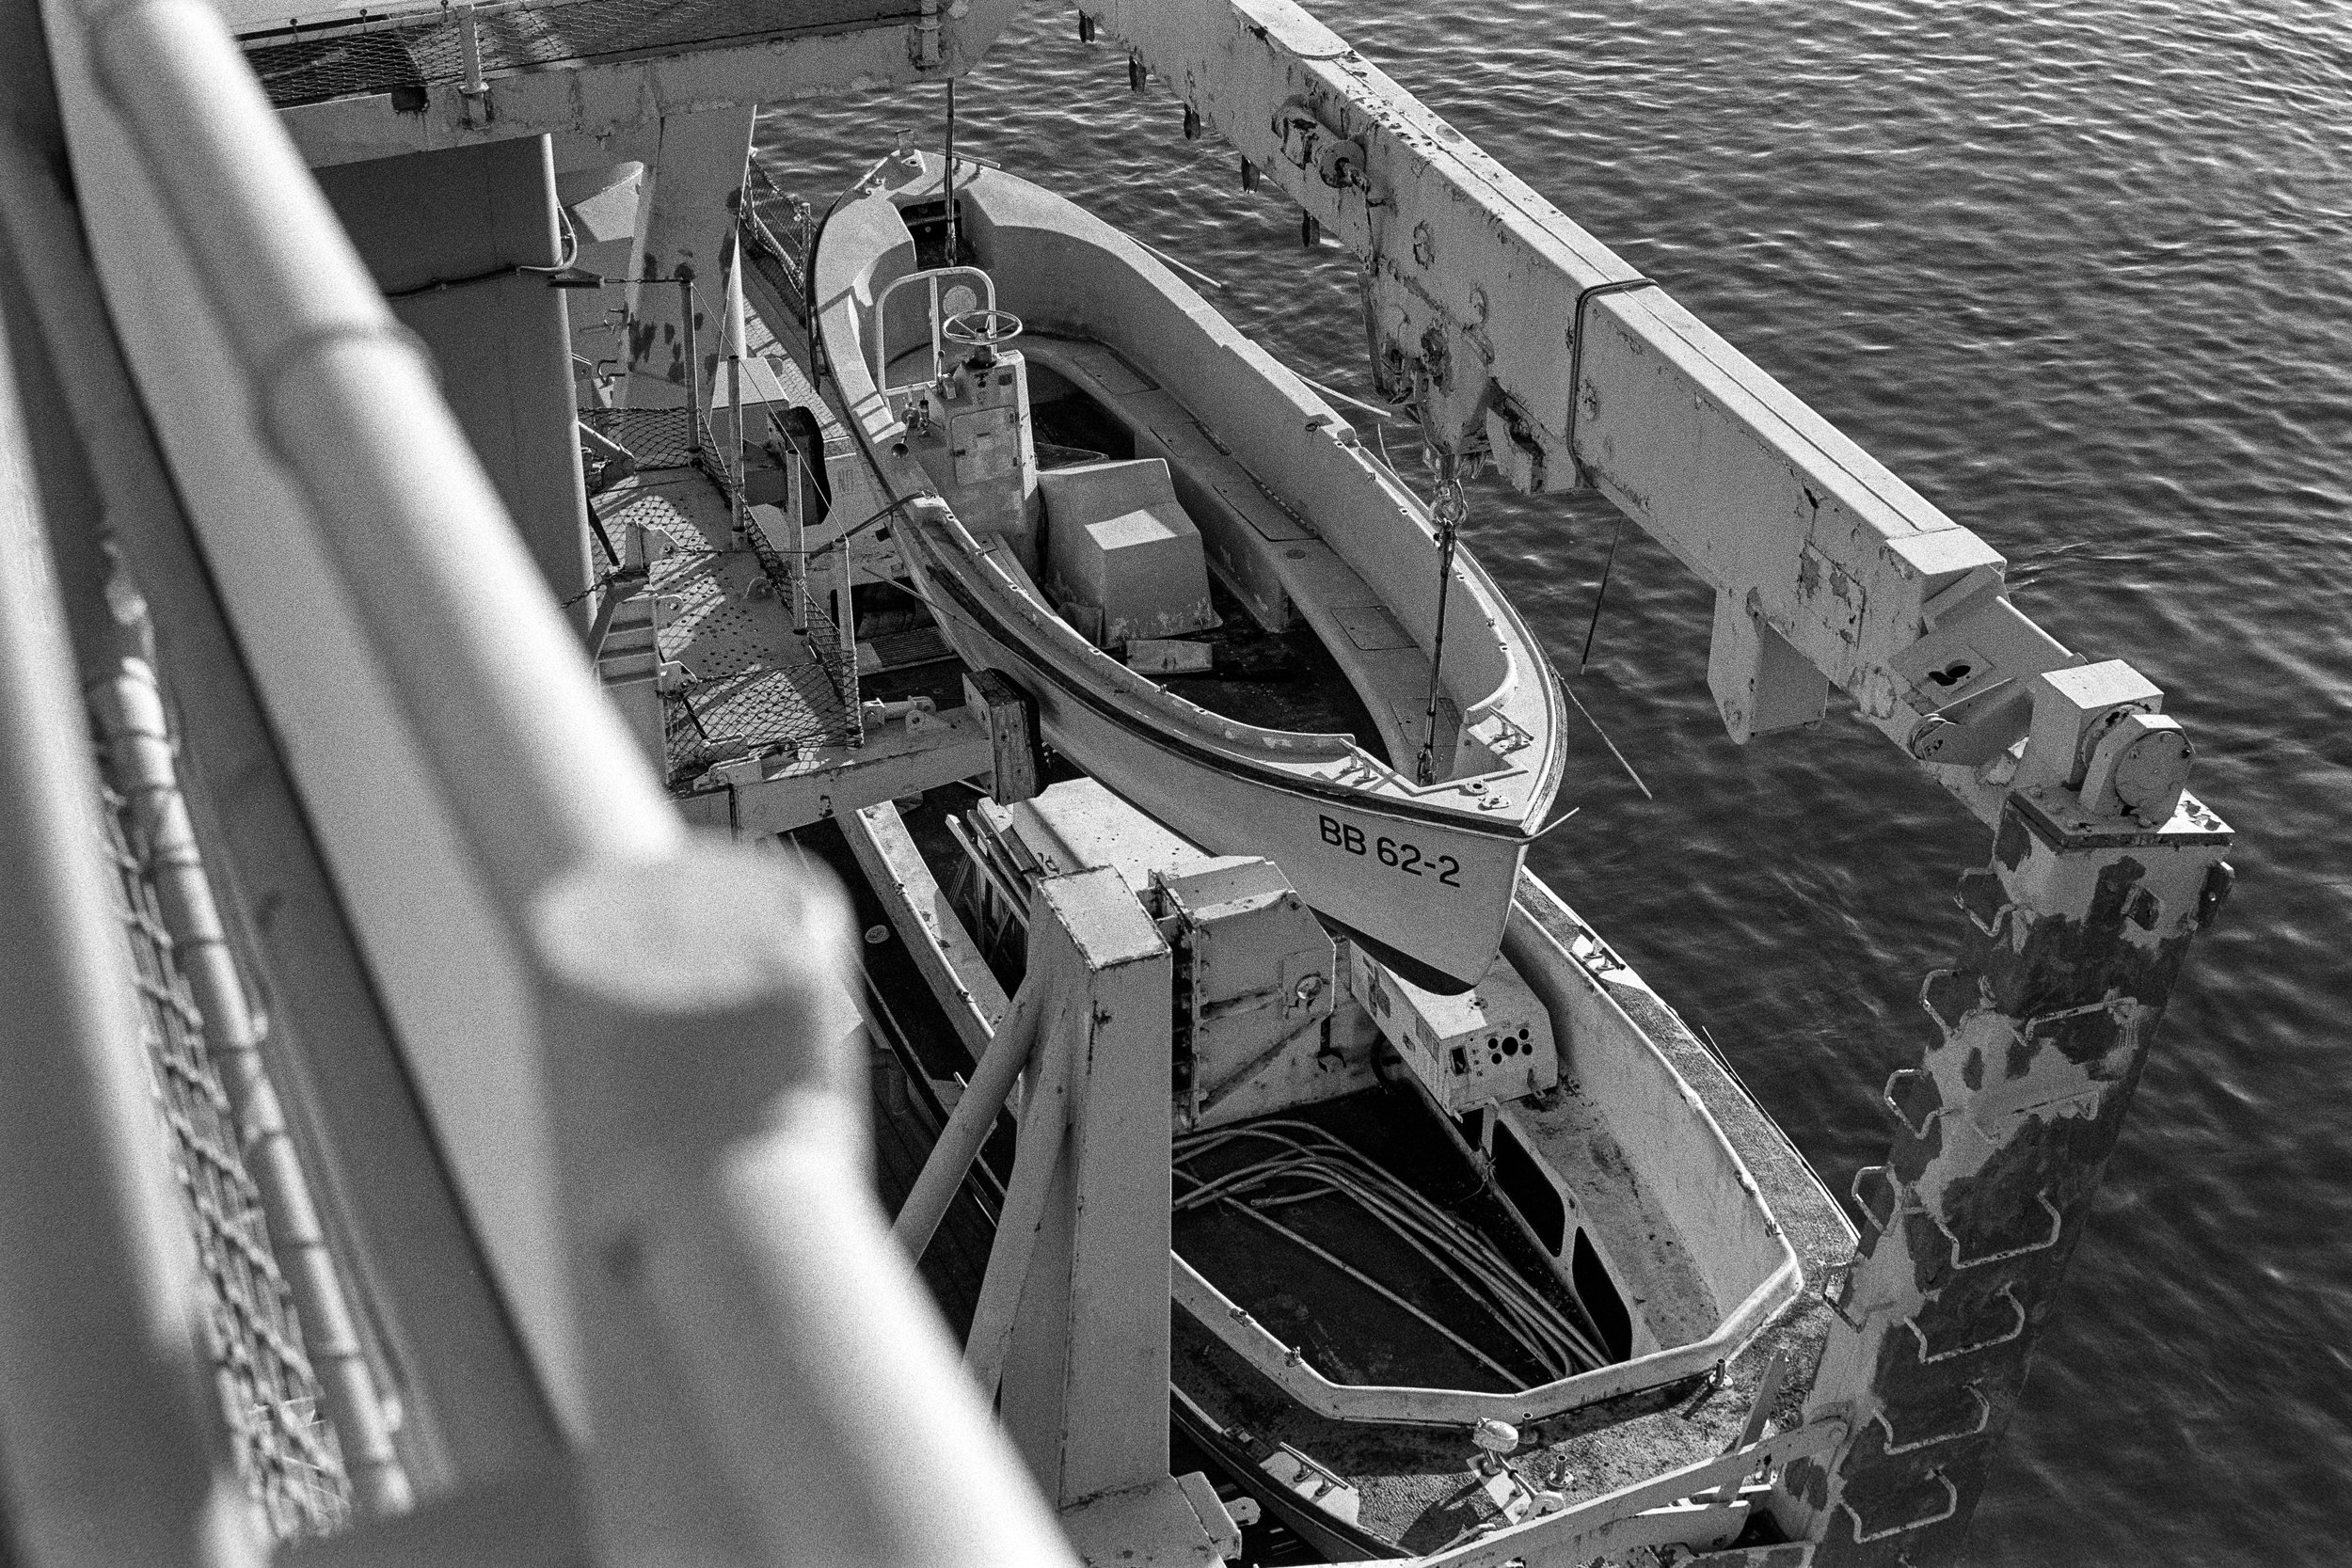
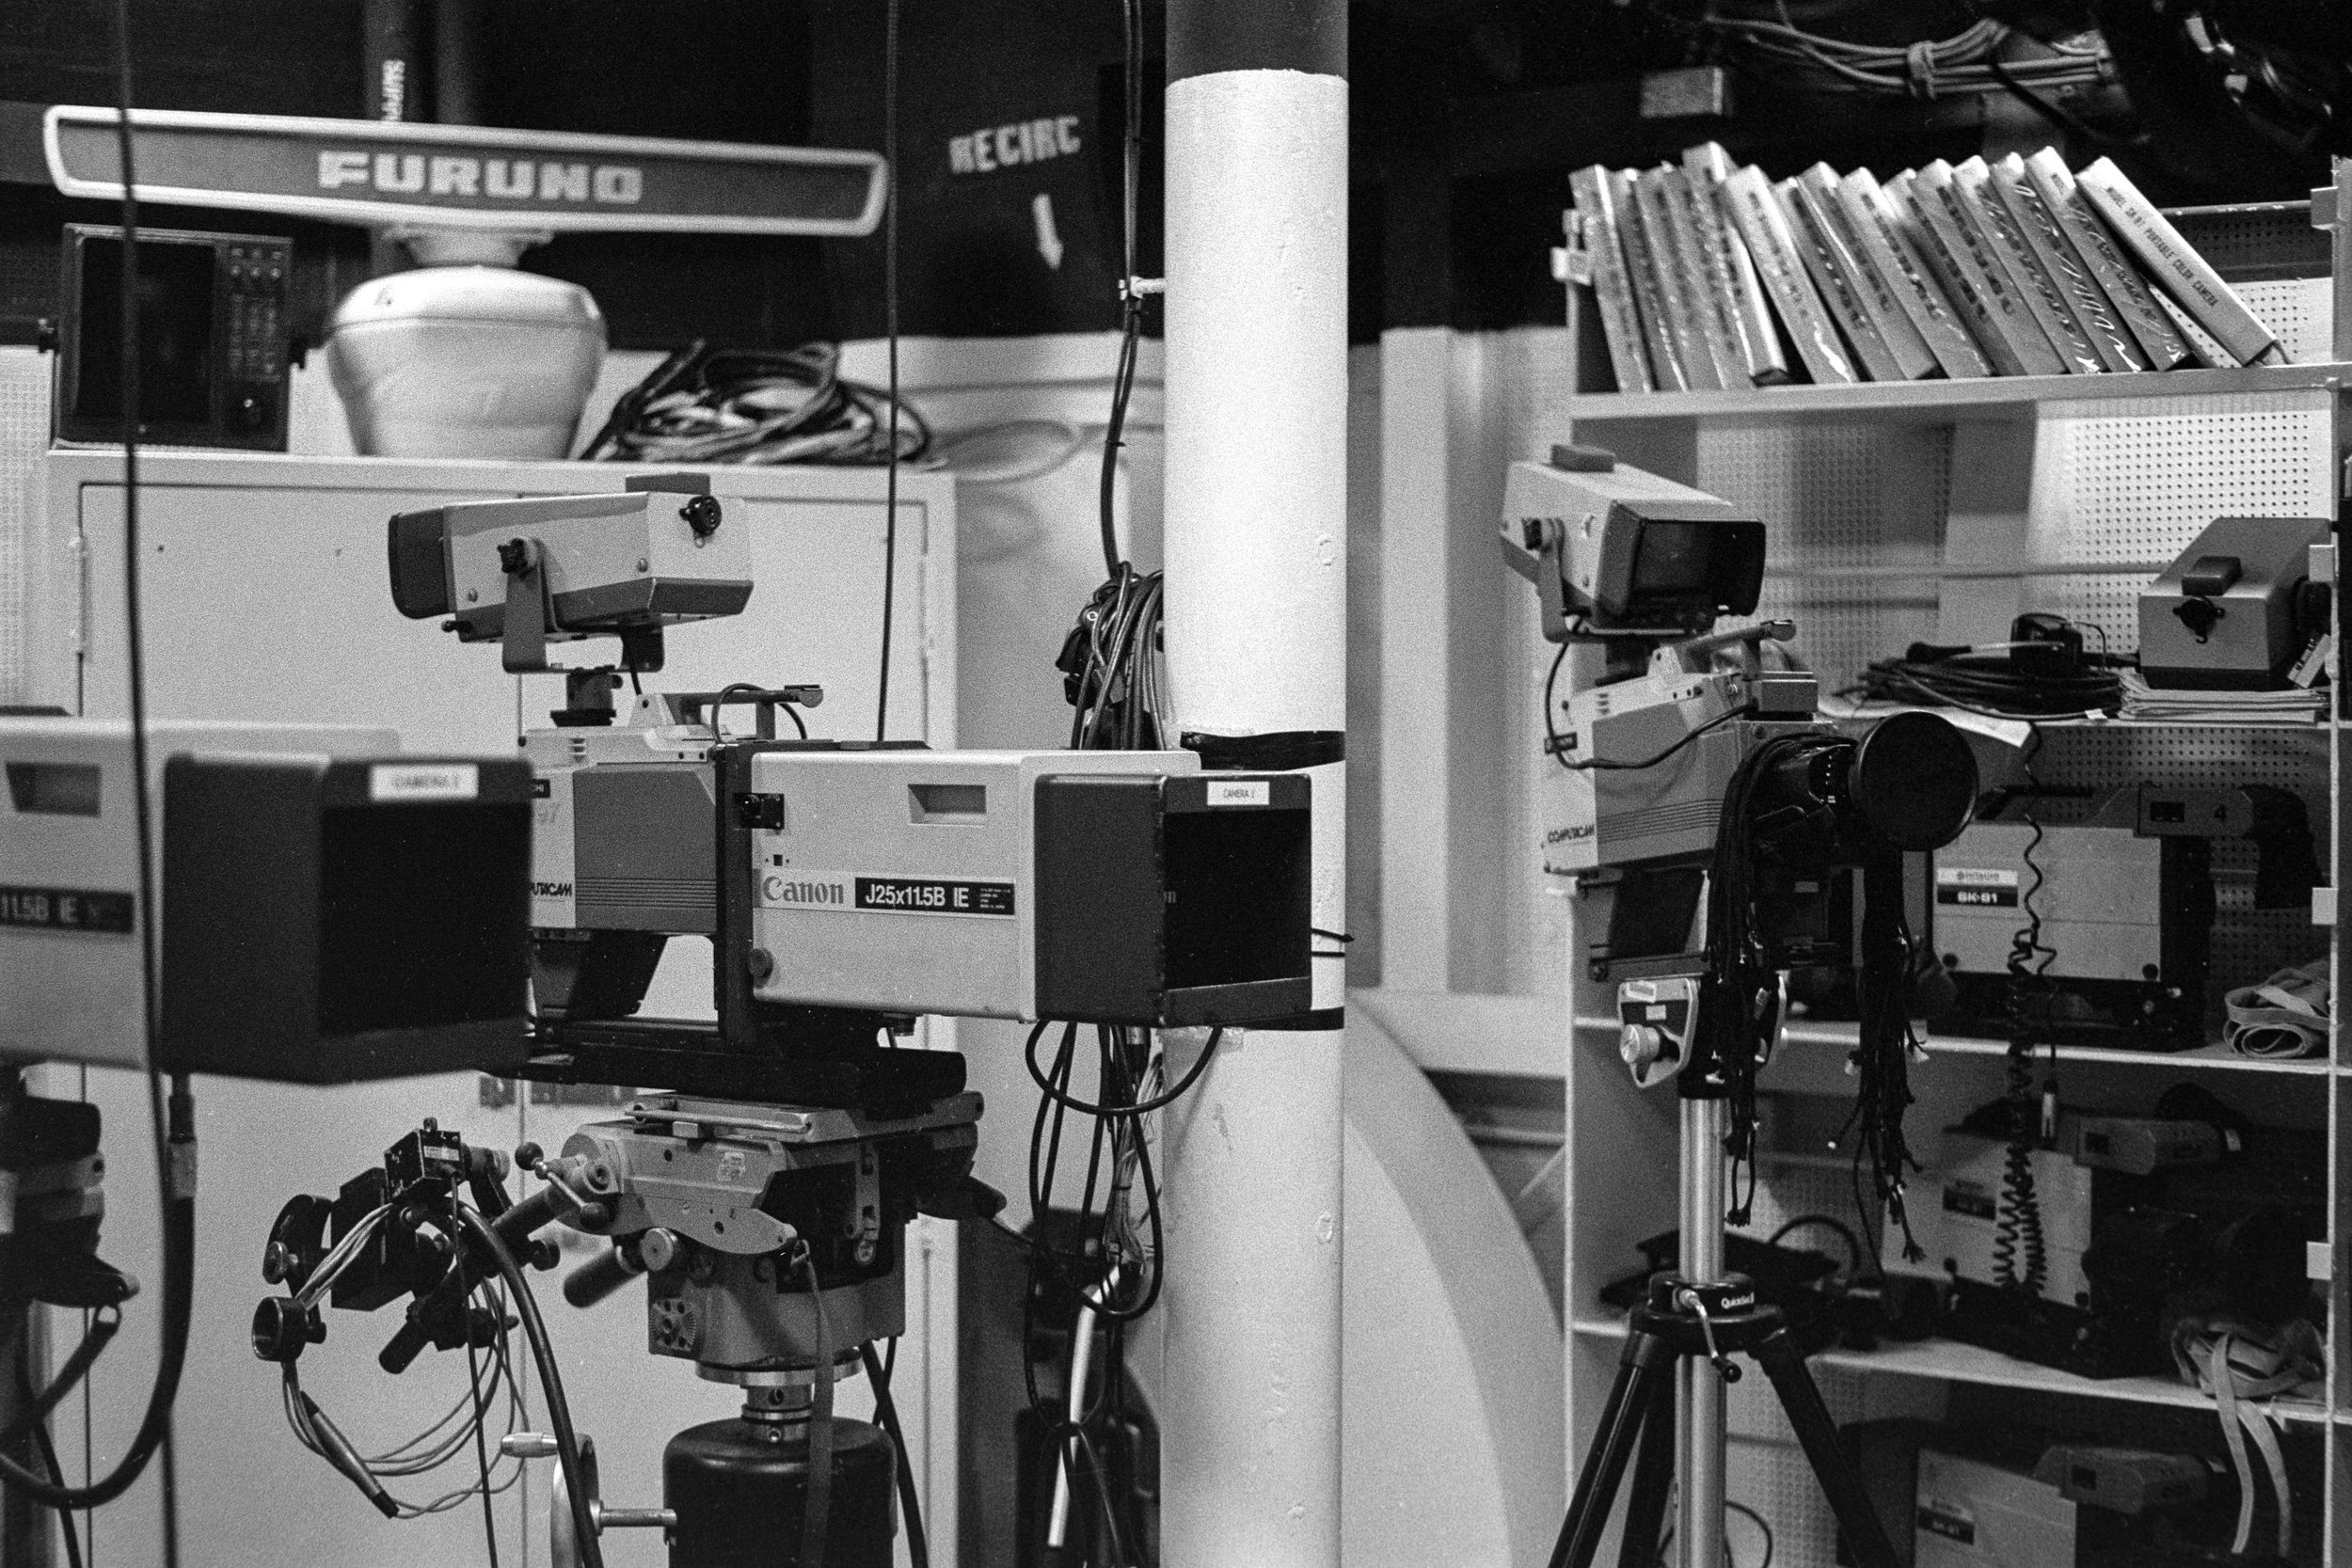
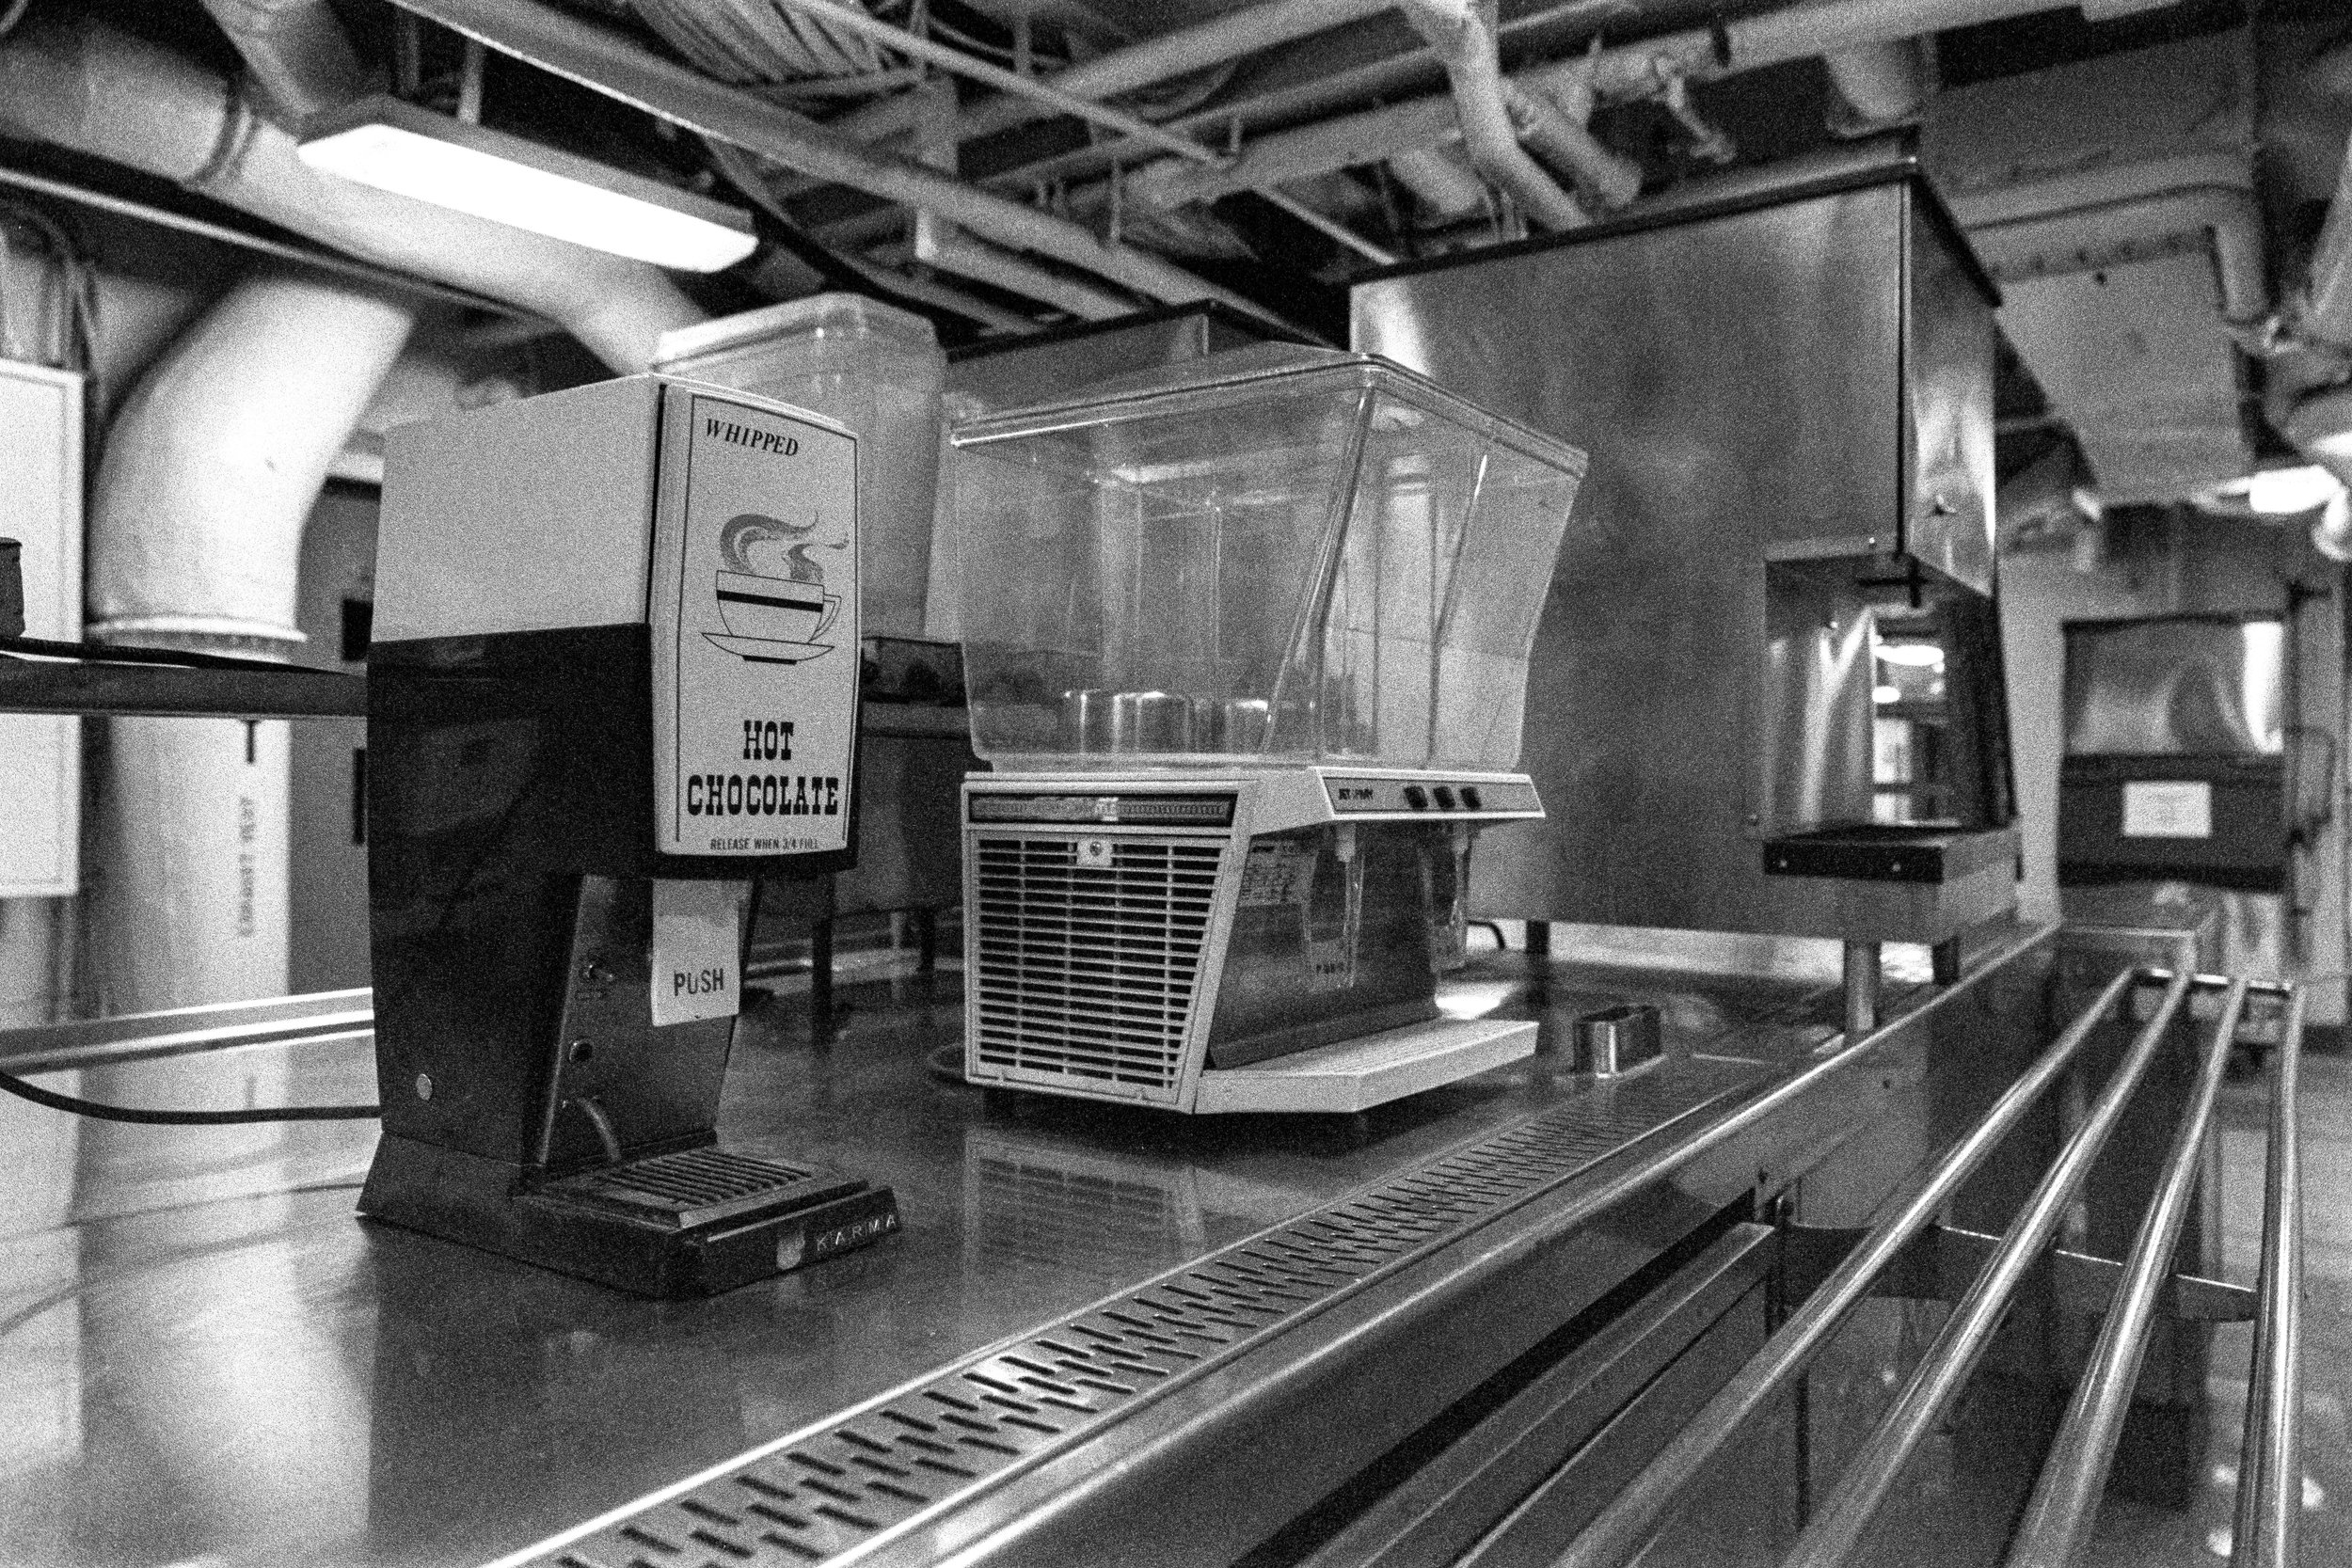
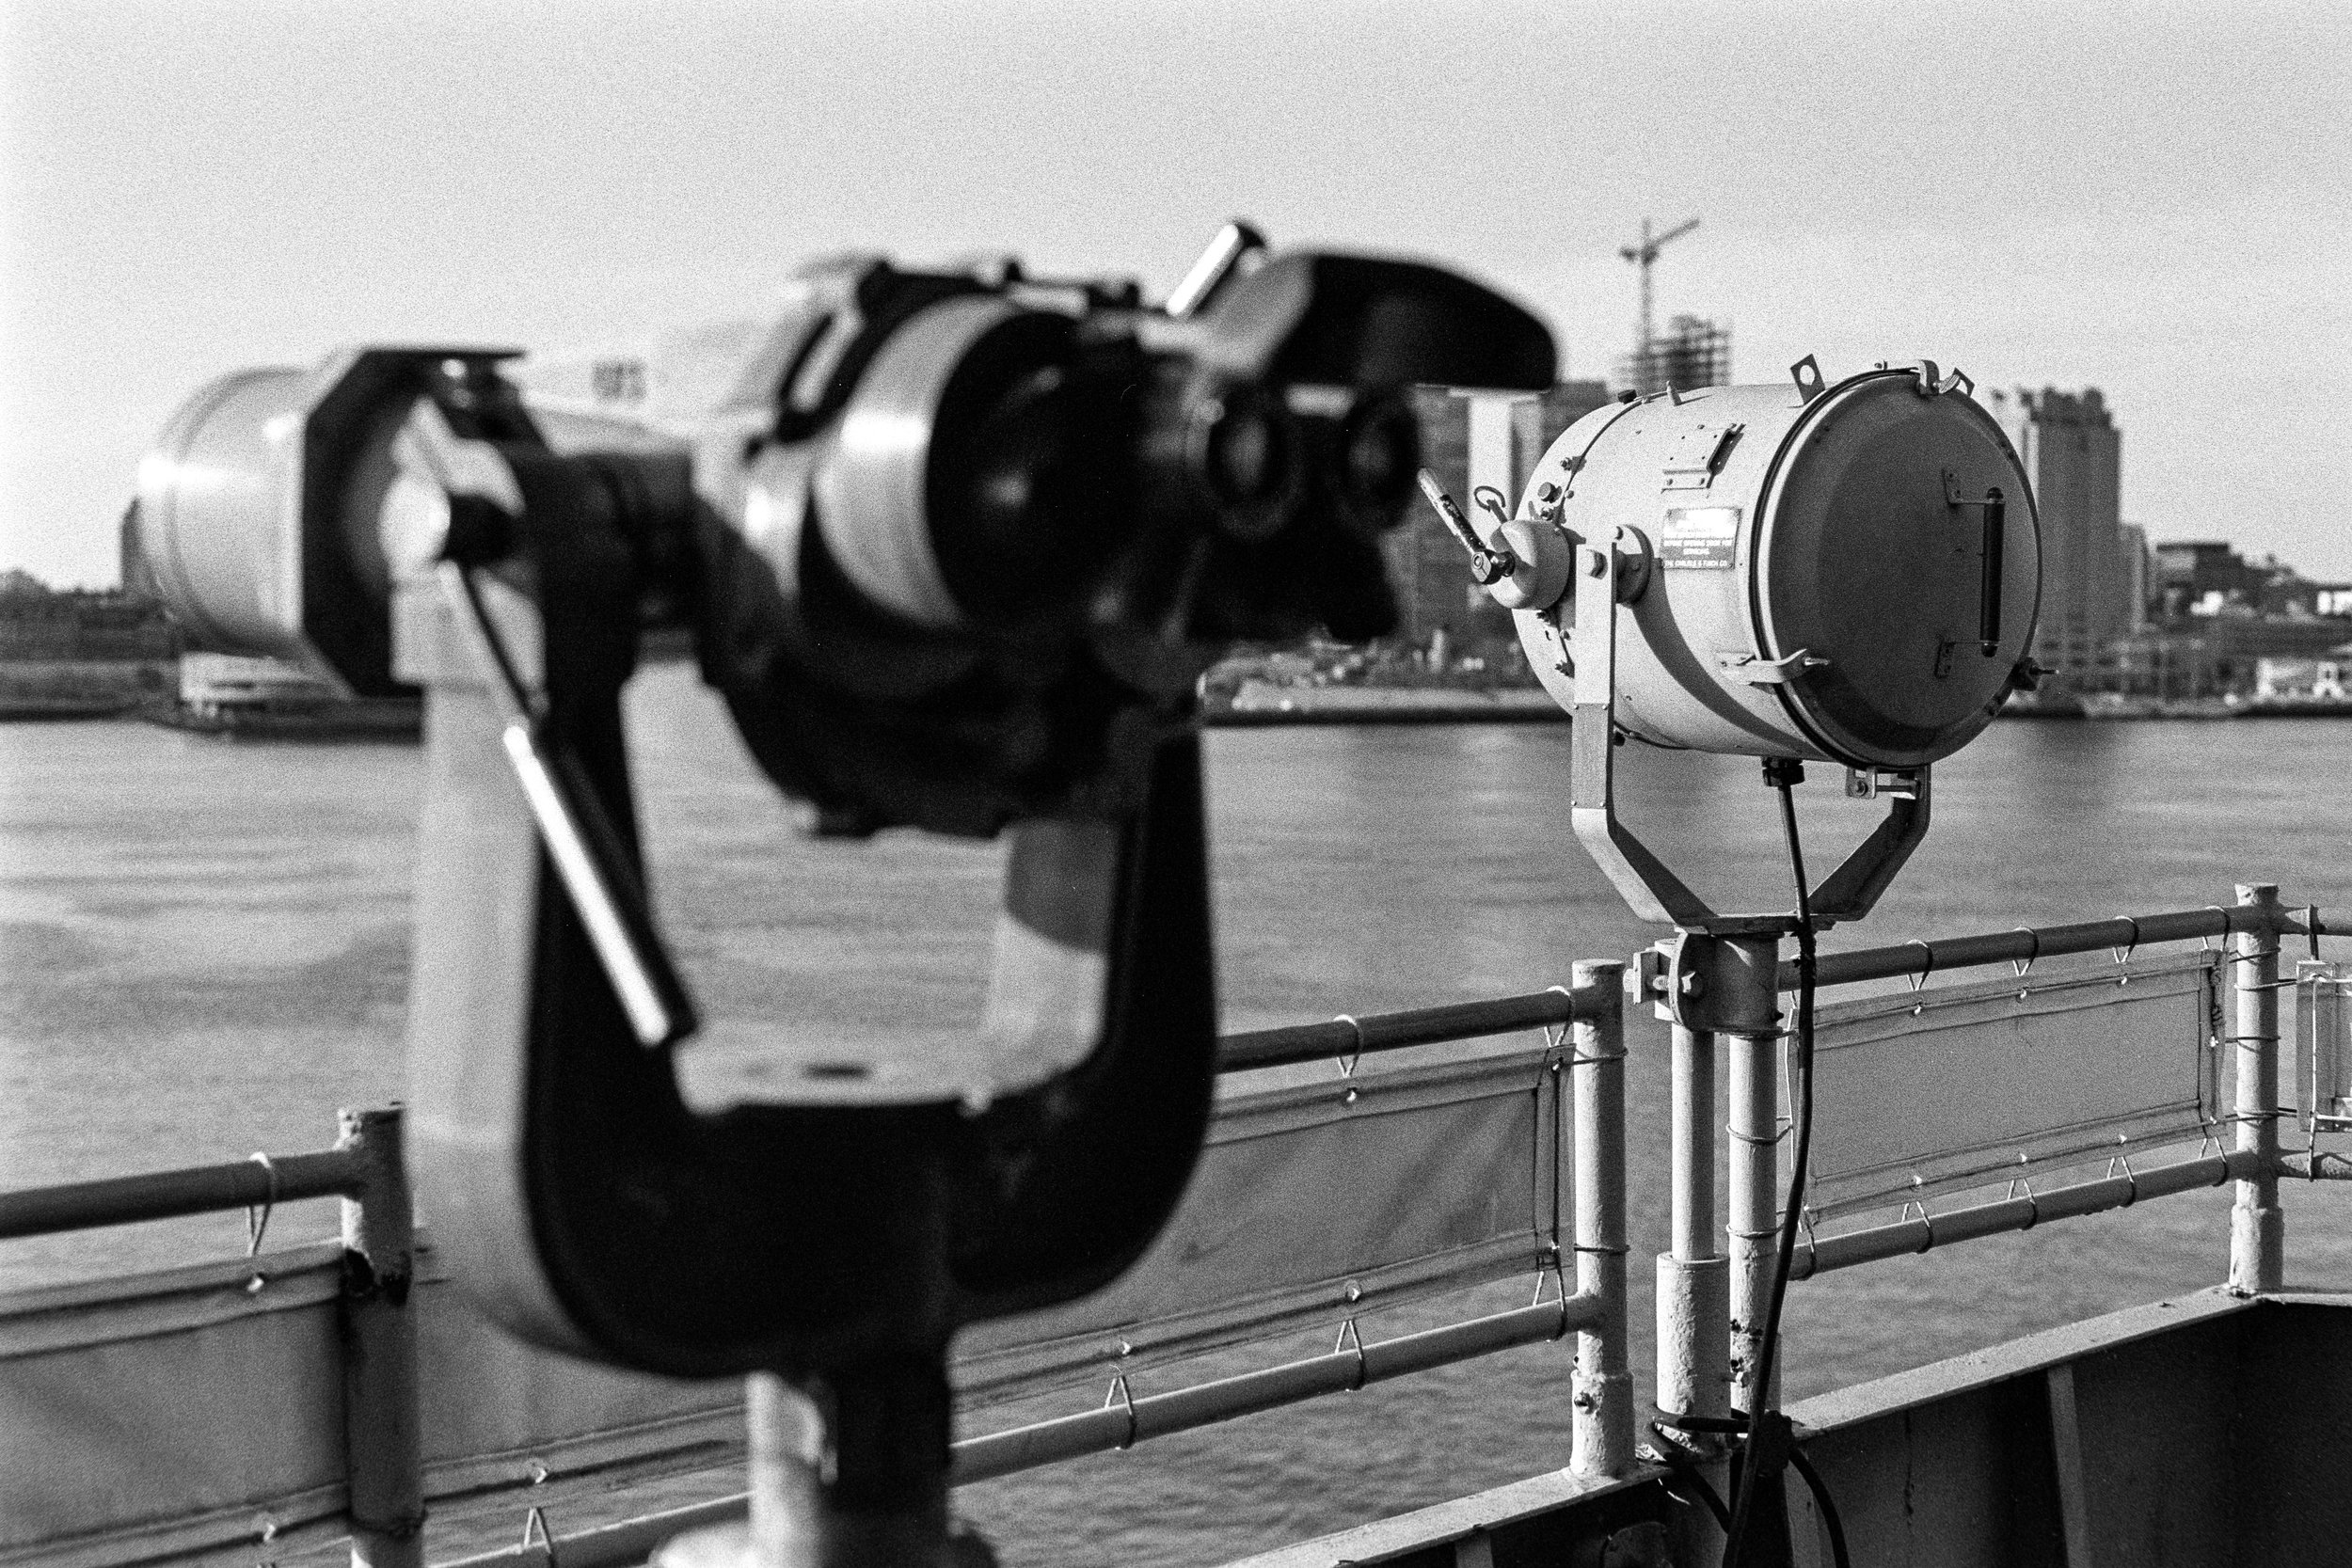
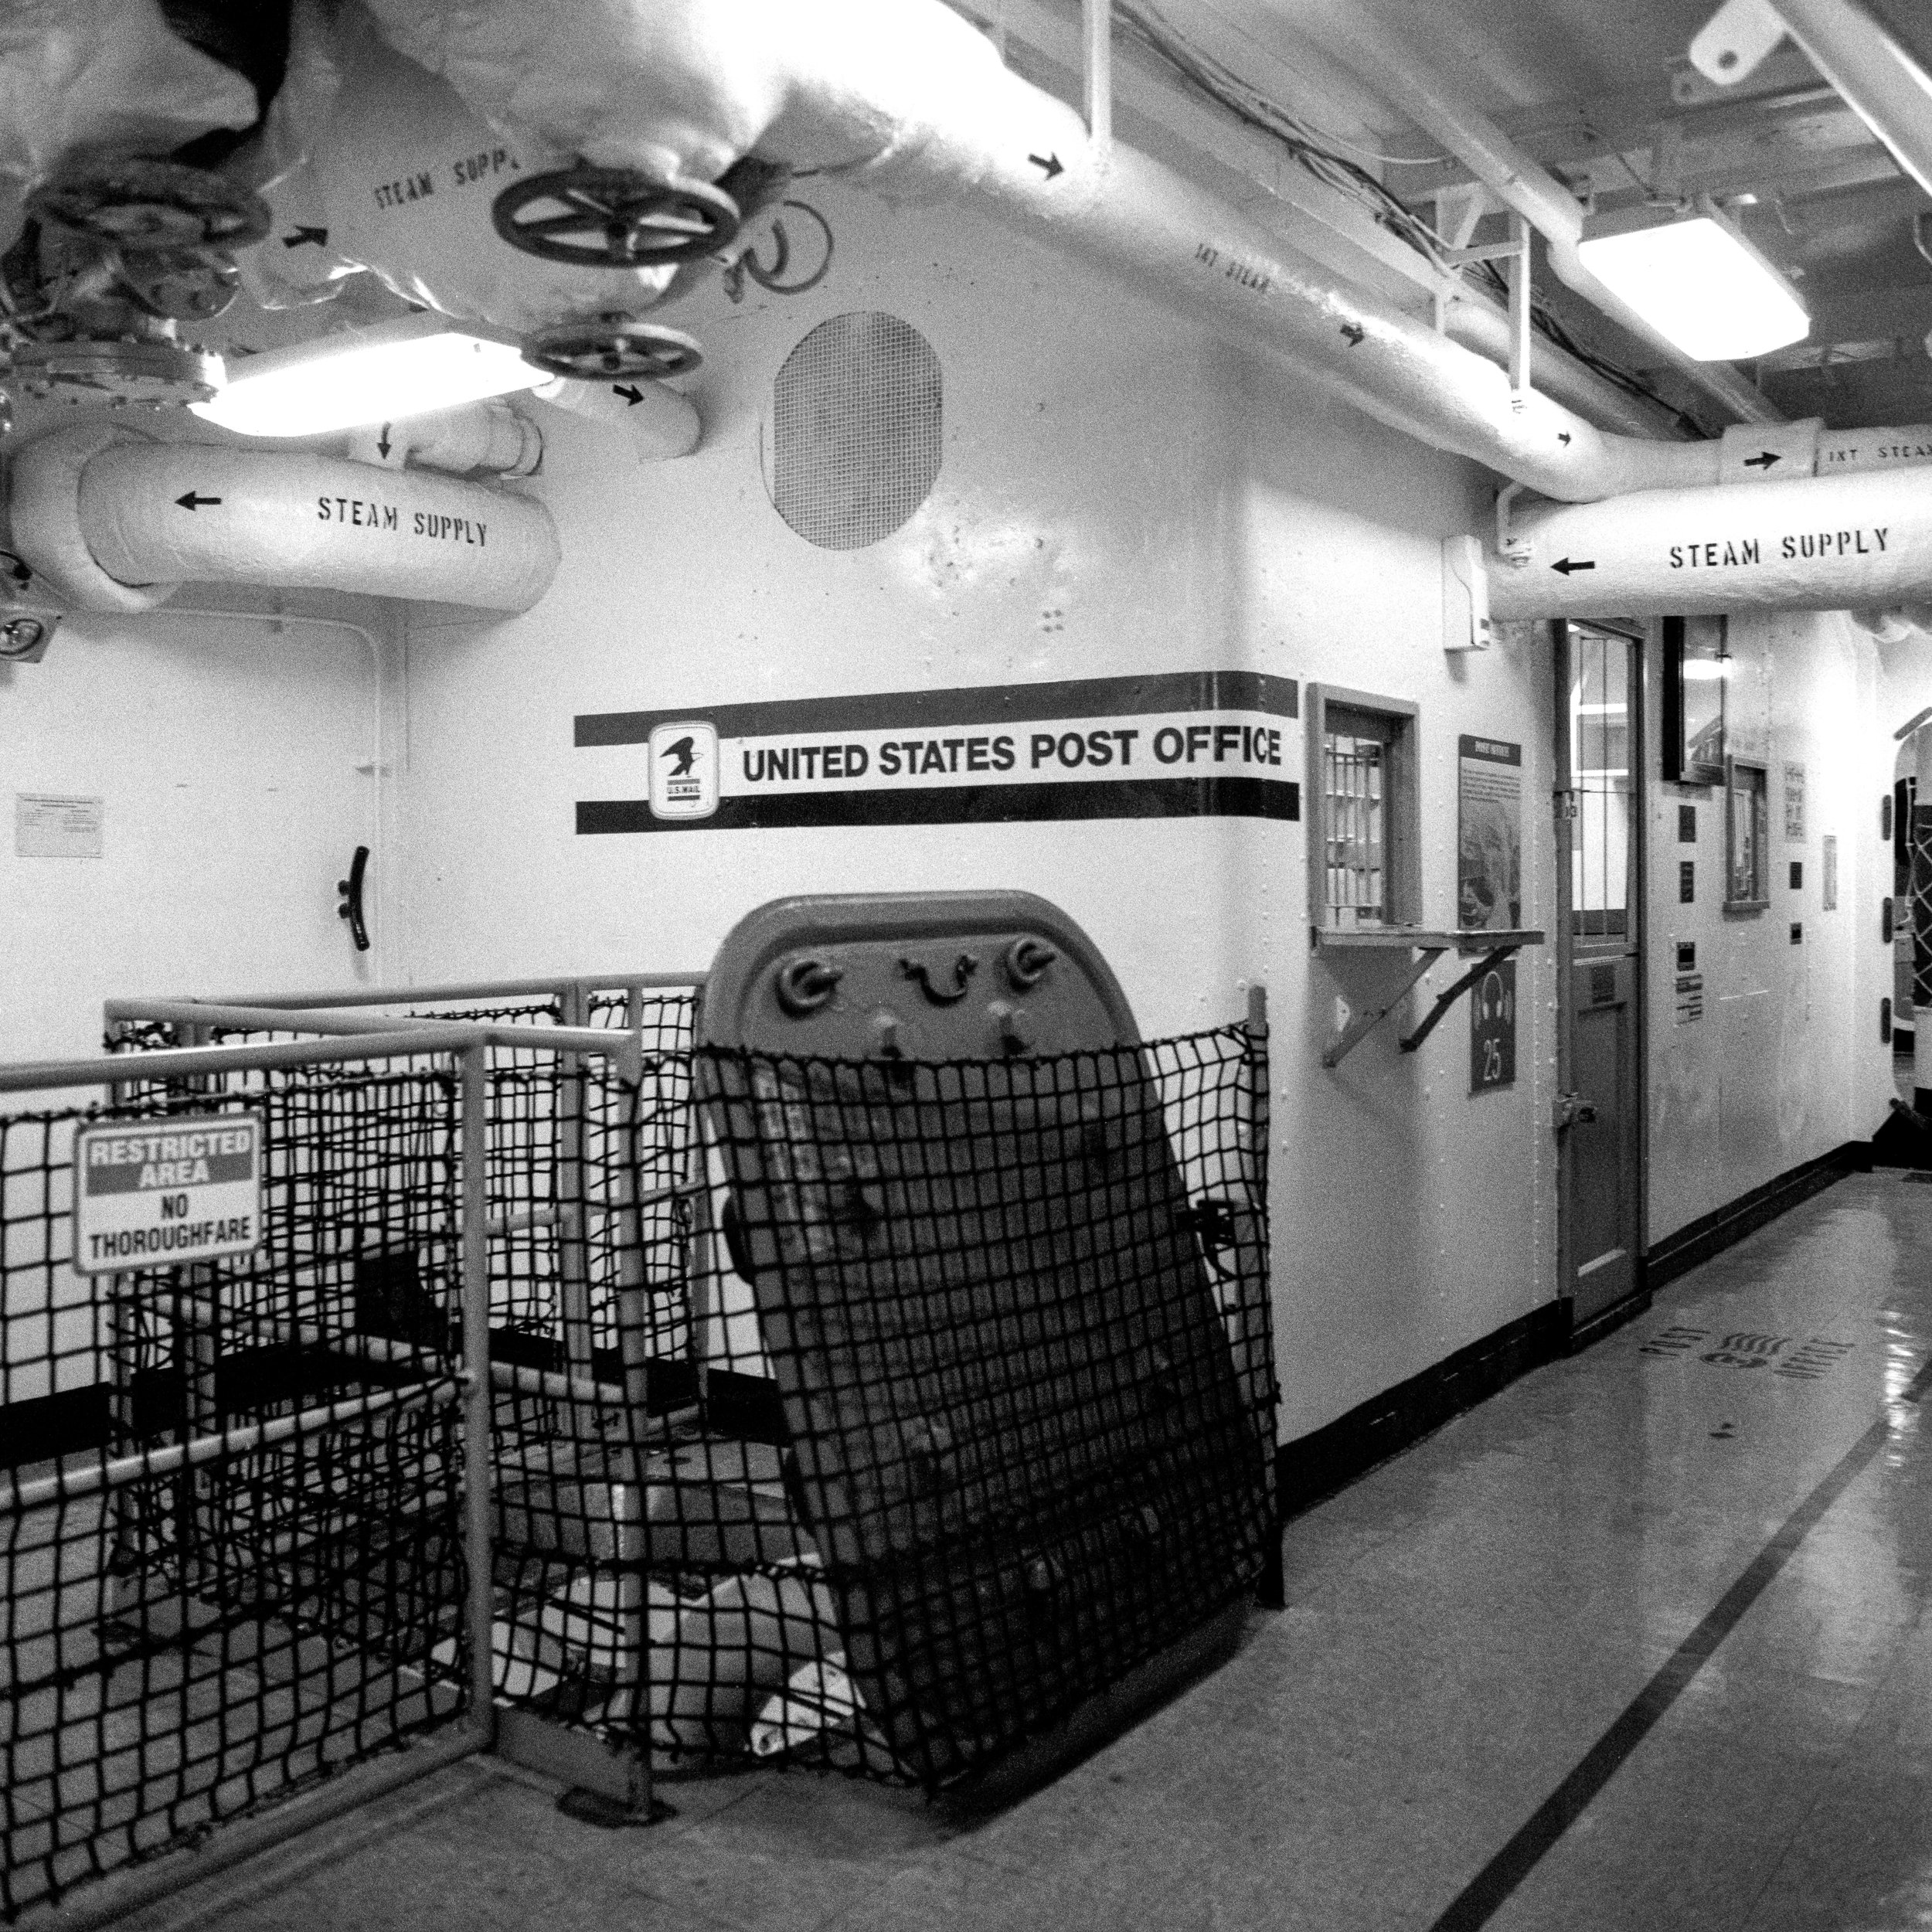
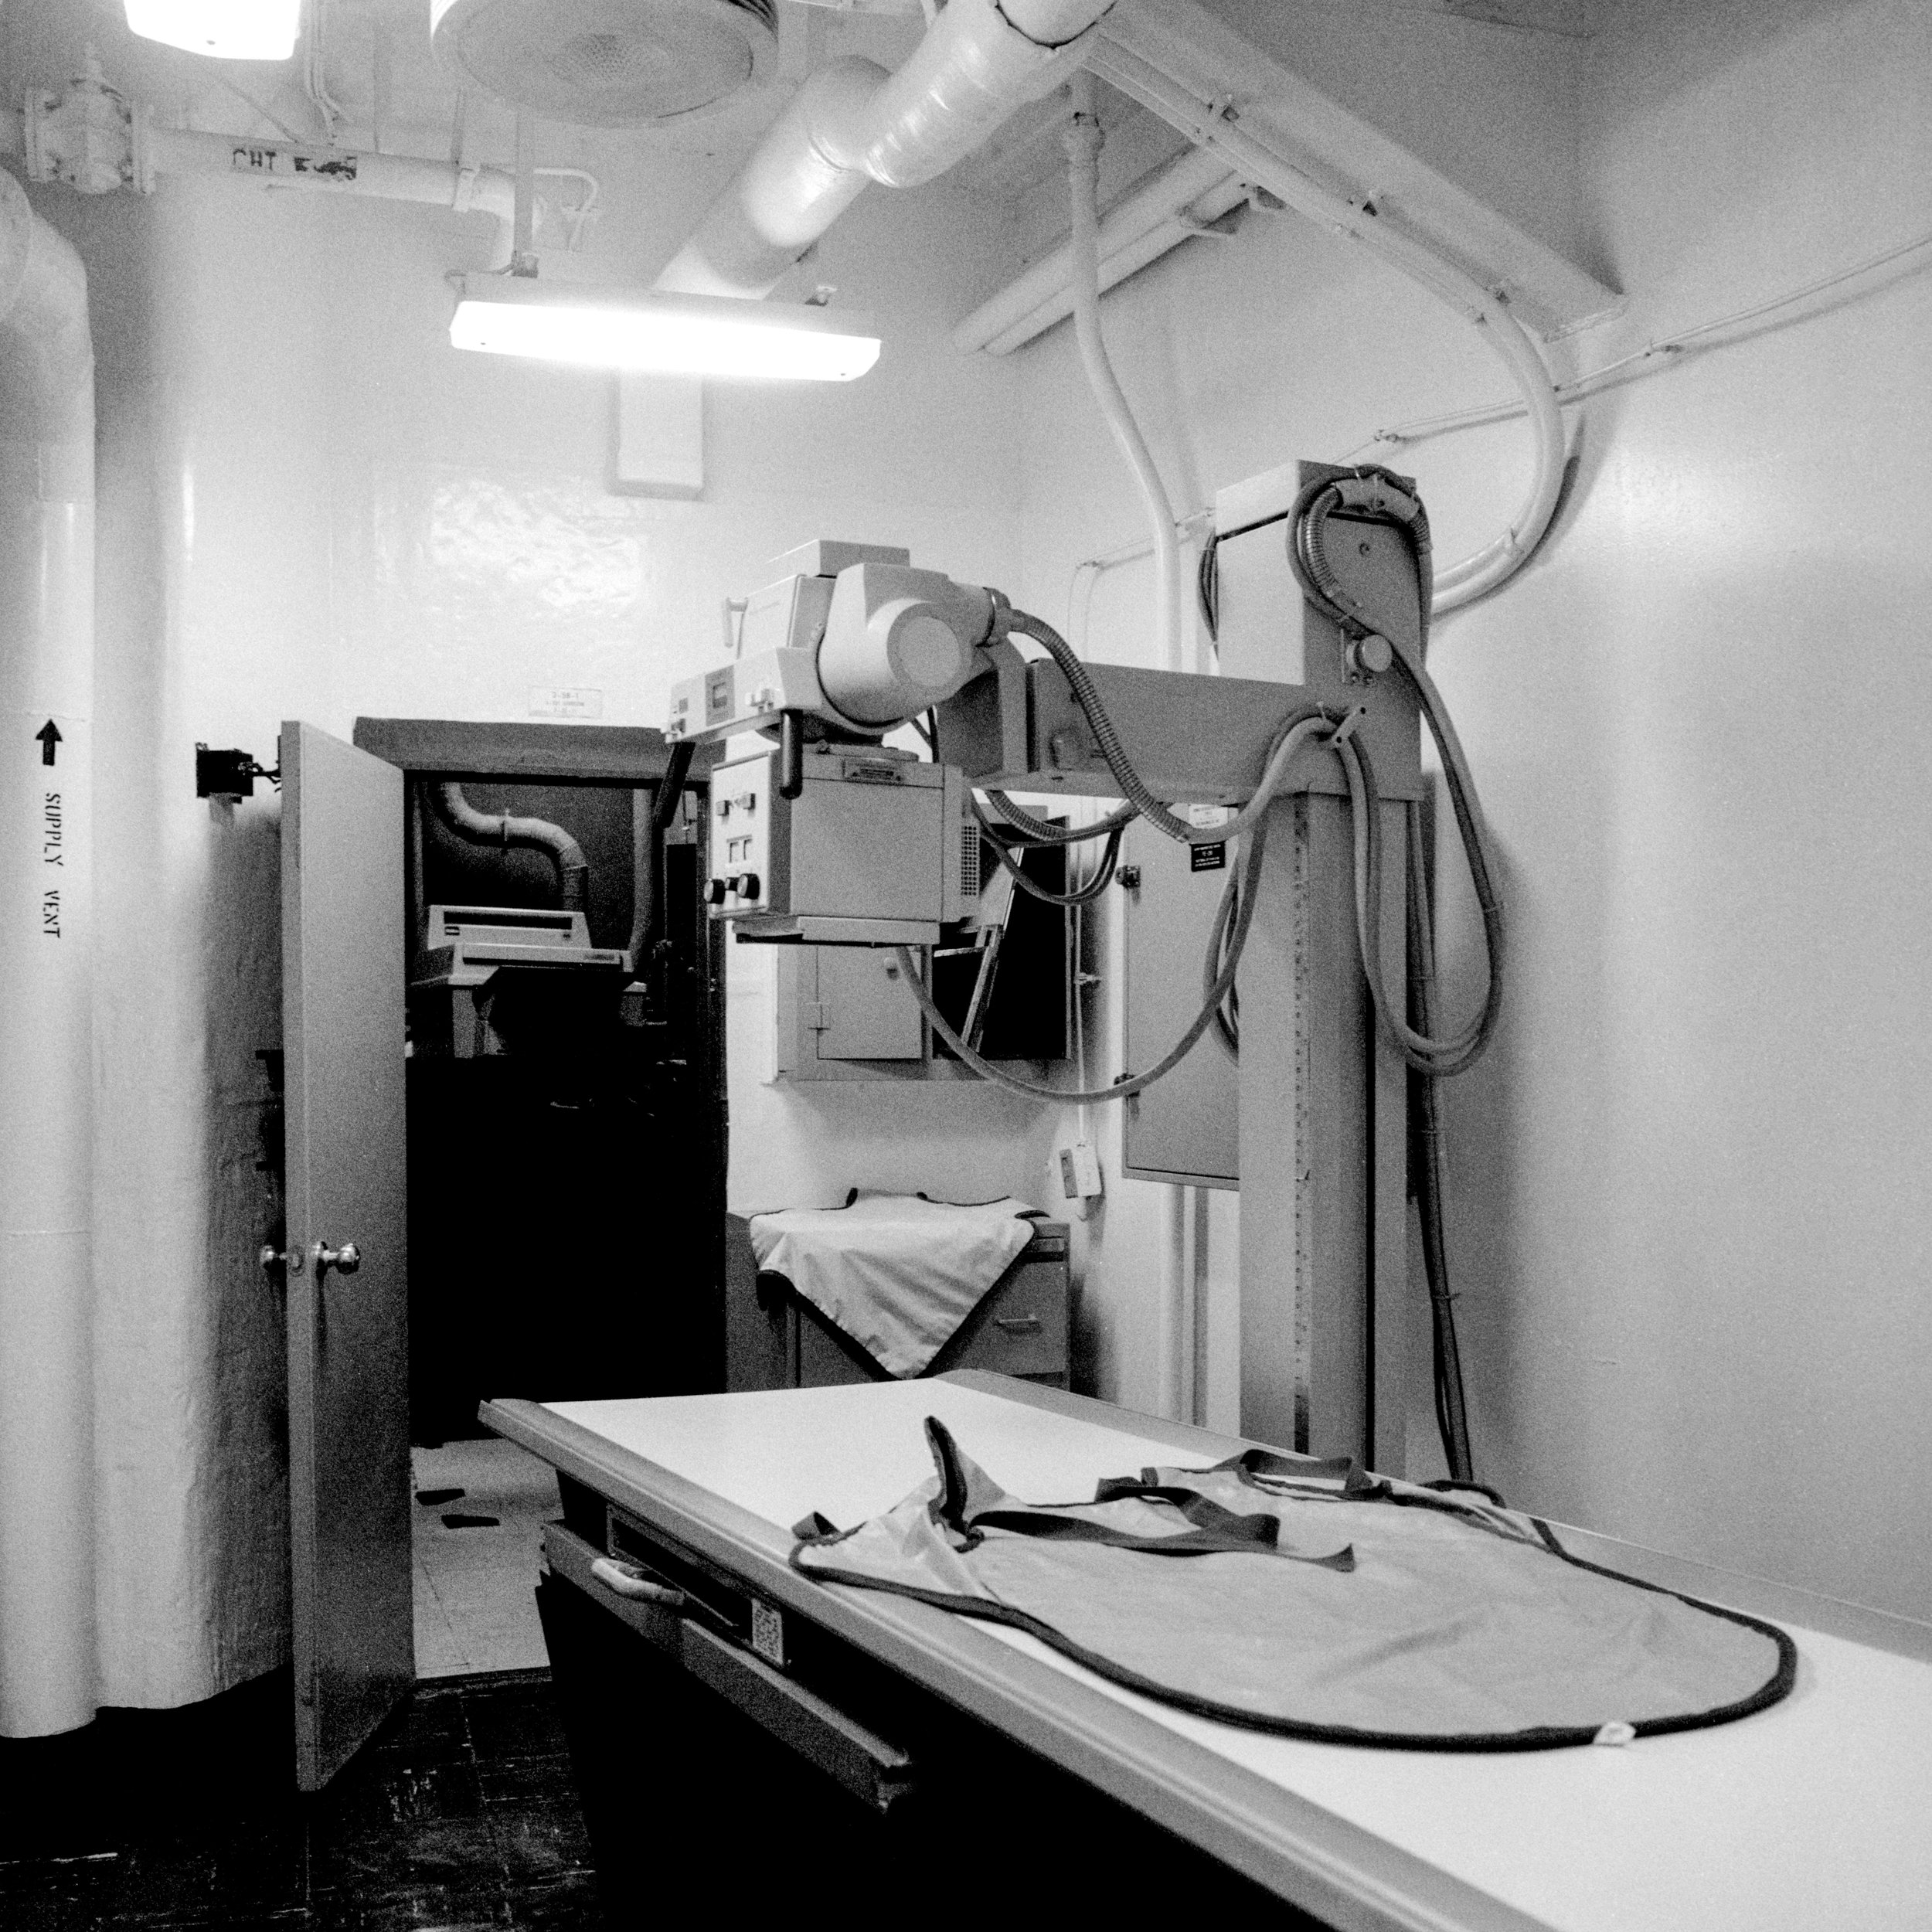
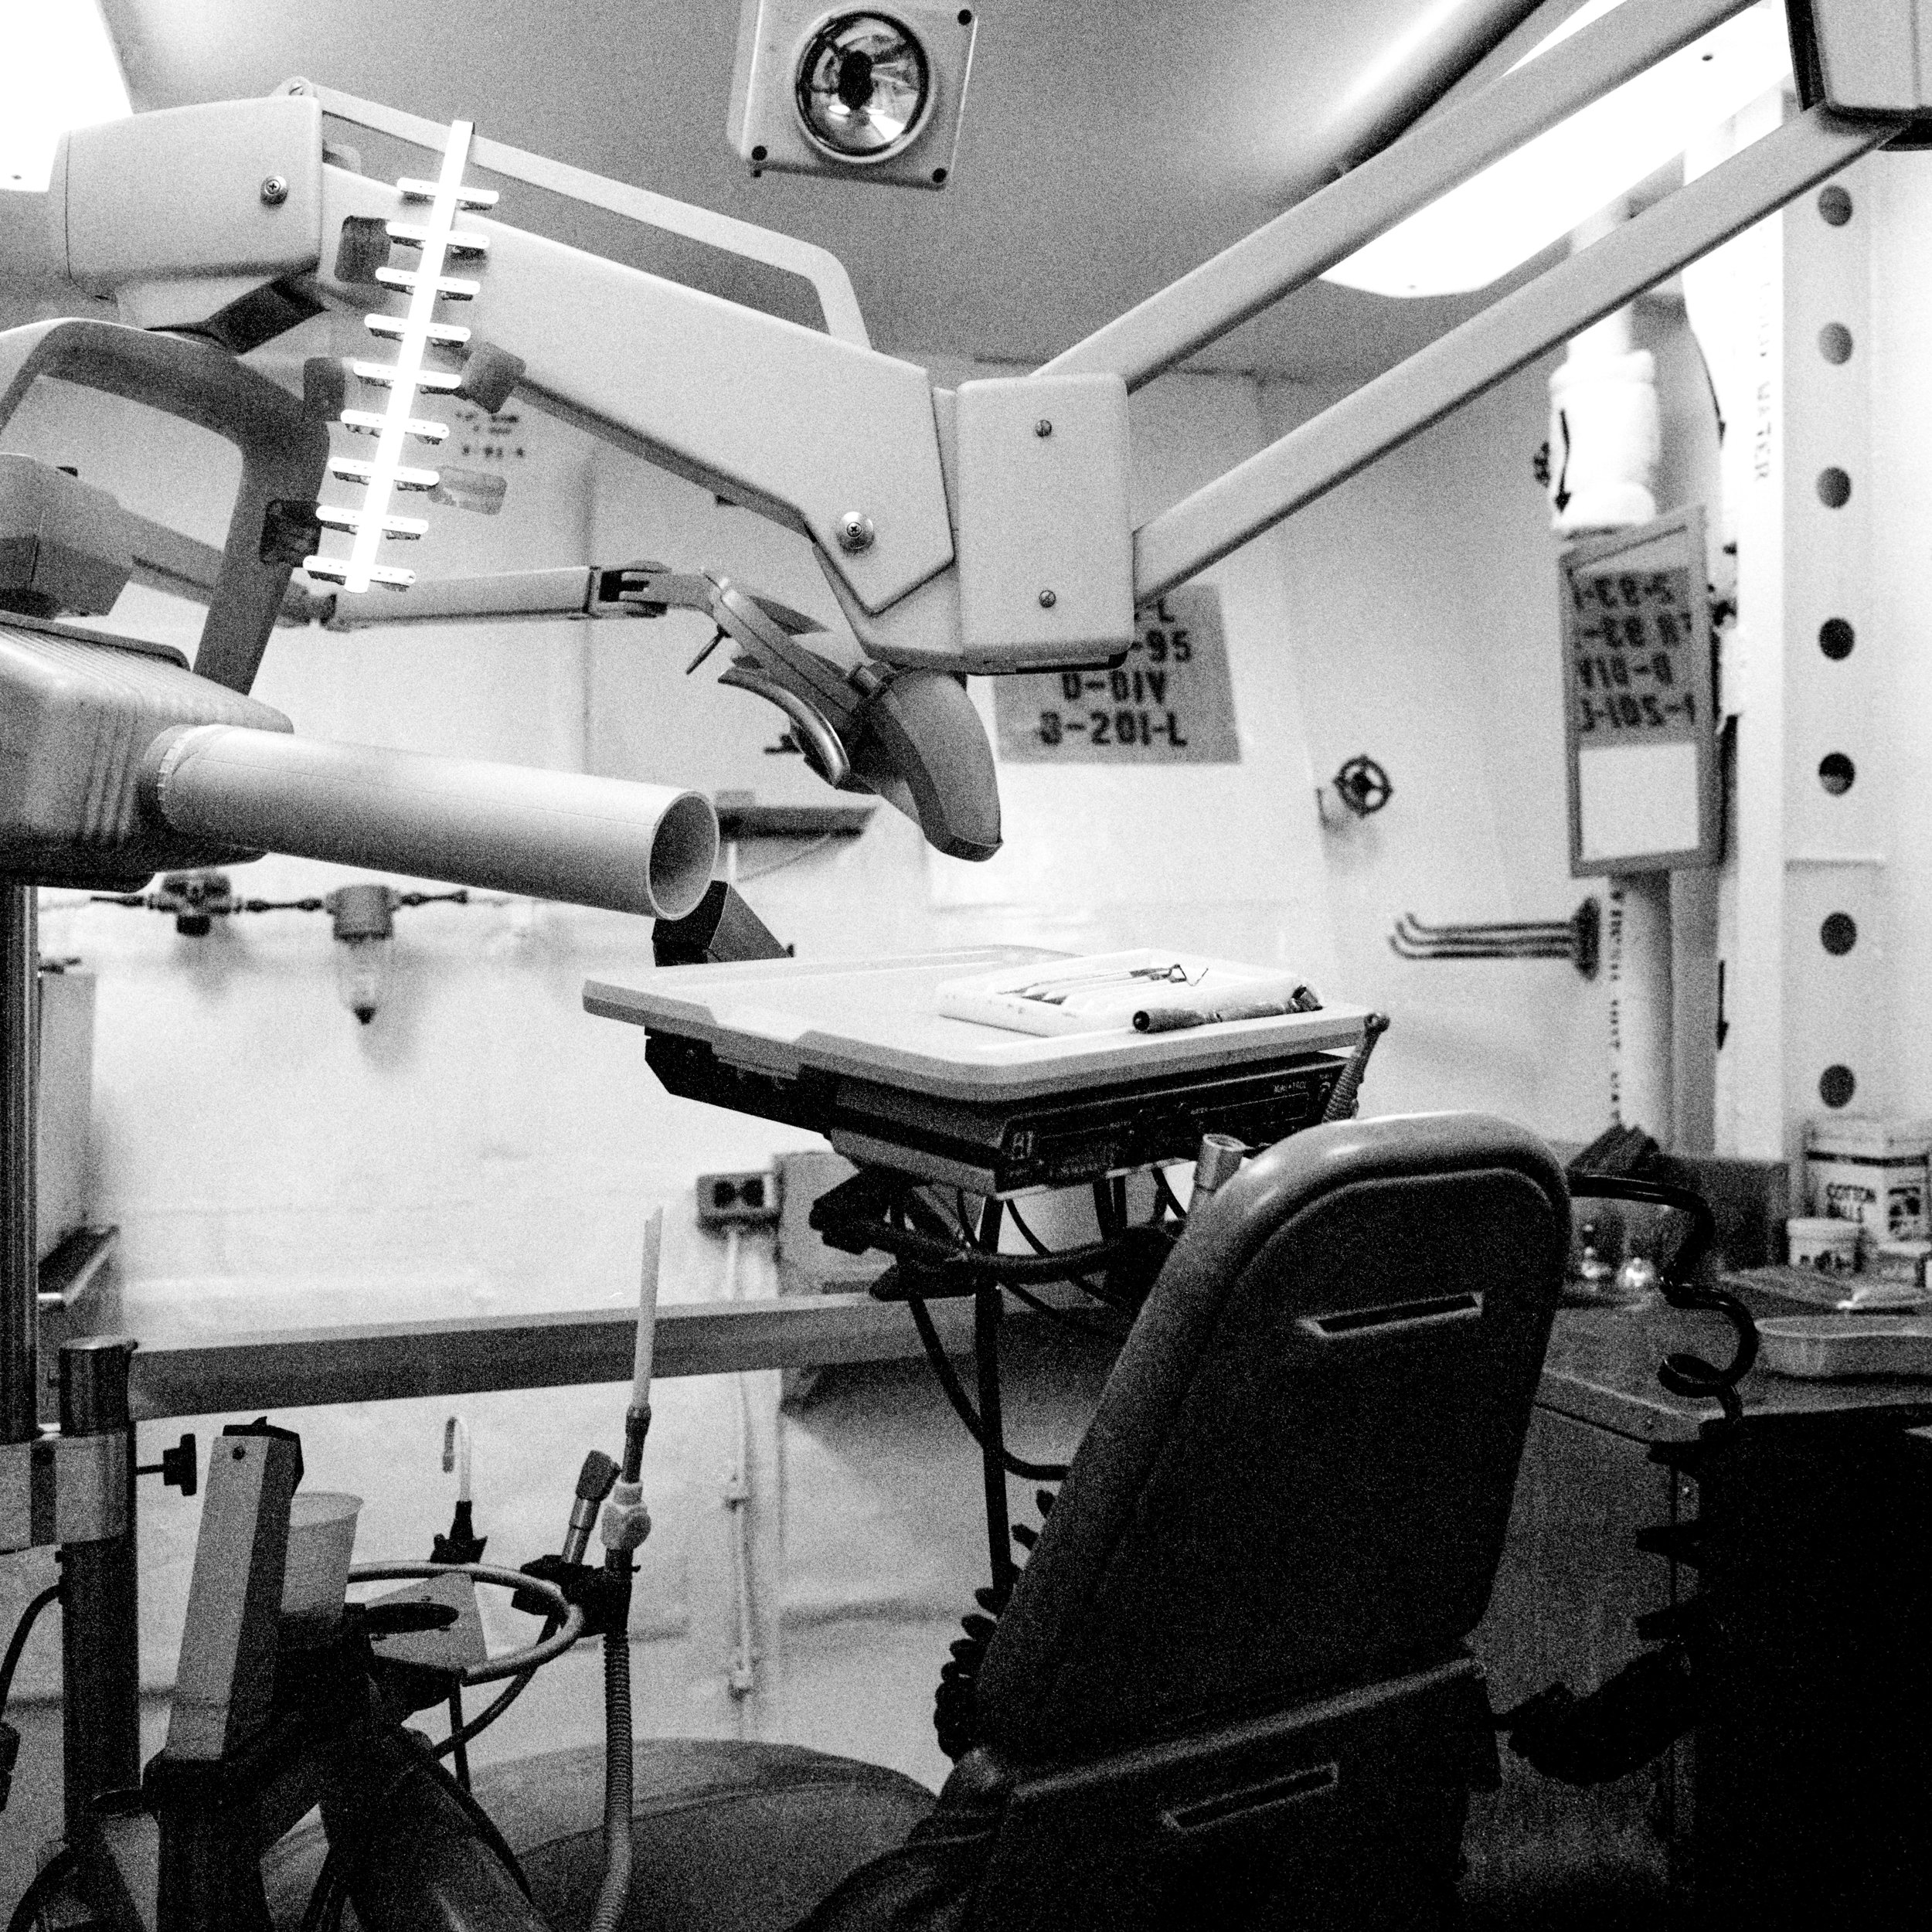
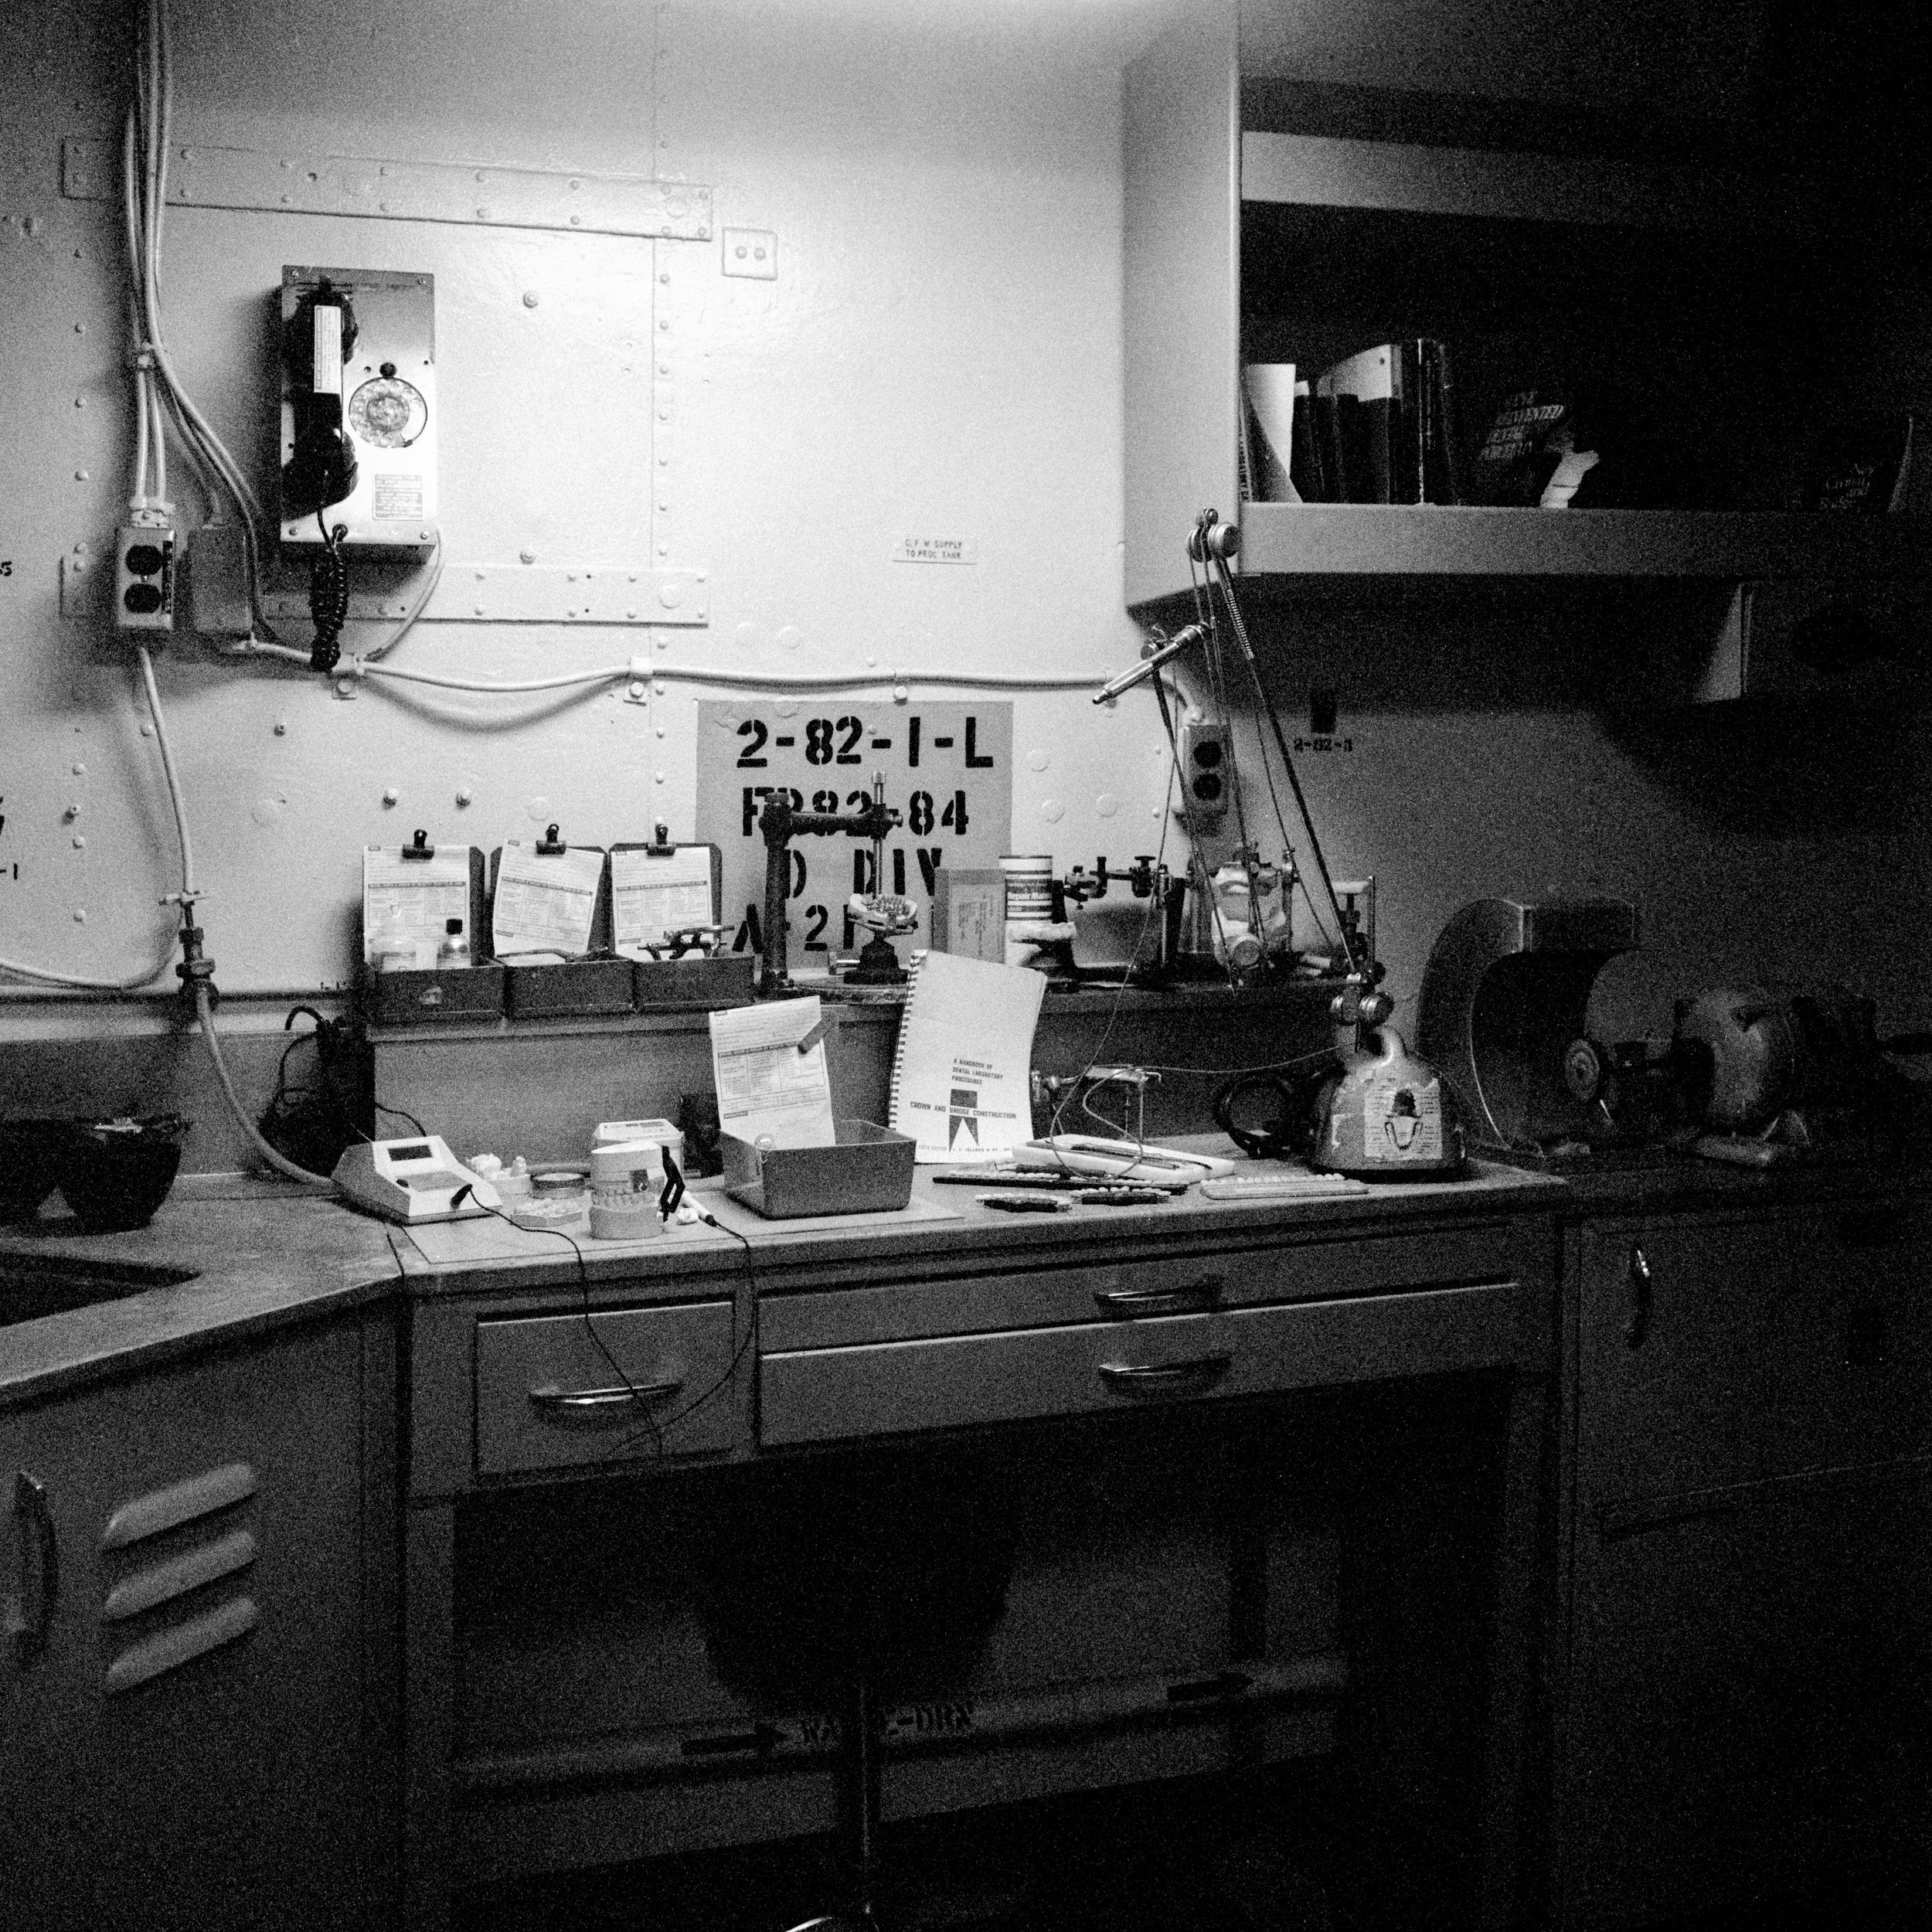
USS New Jersey BB-62

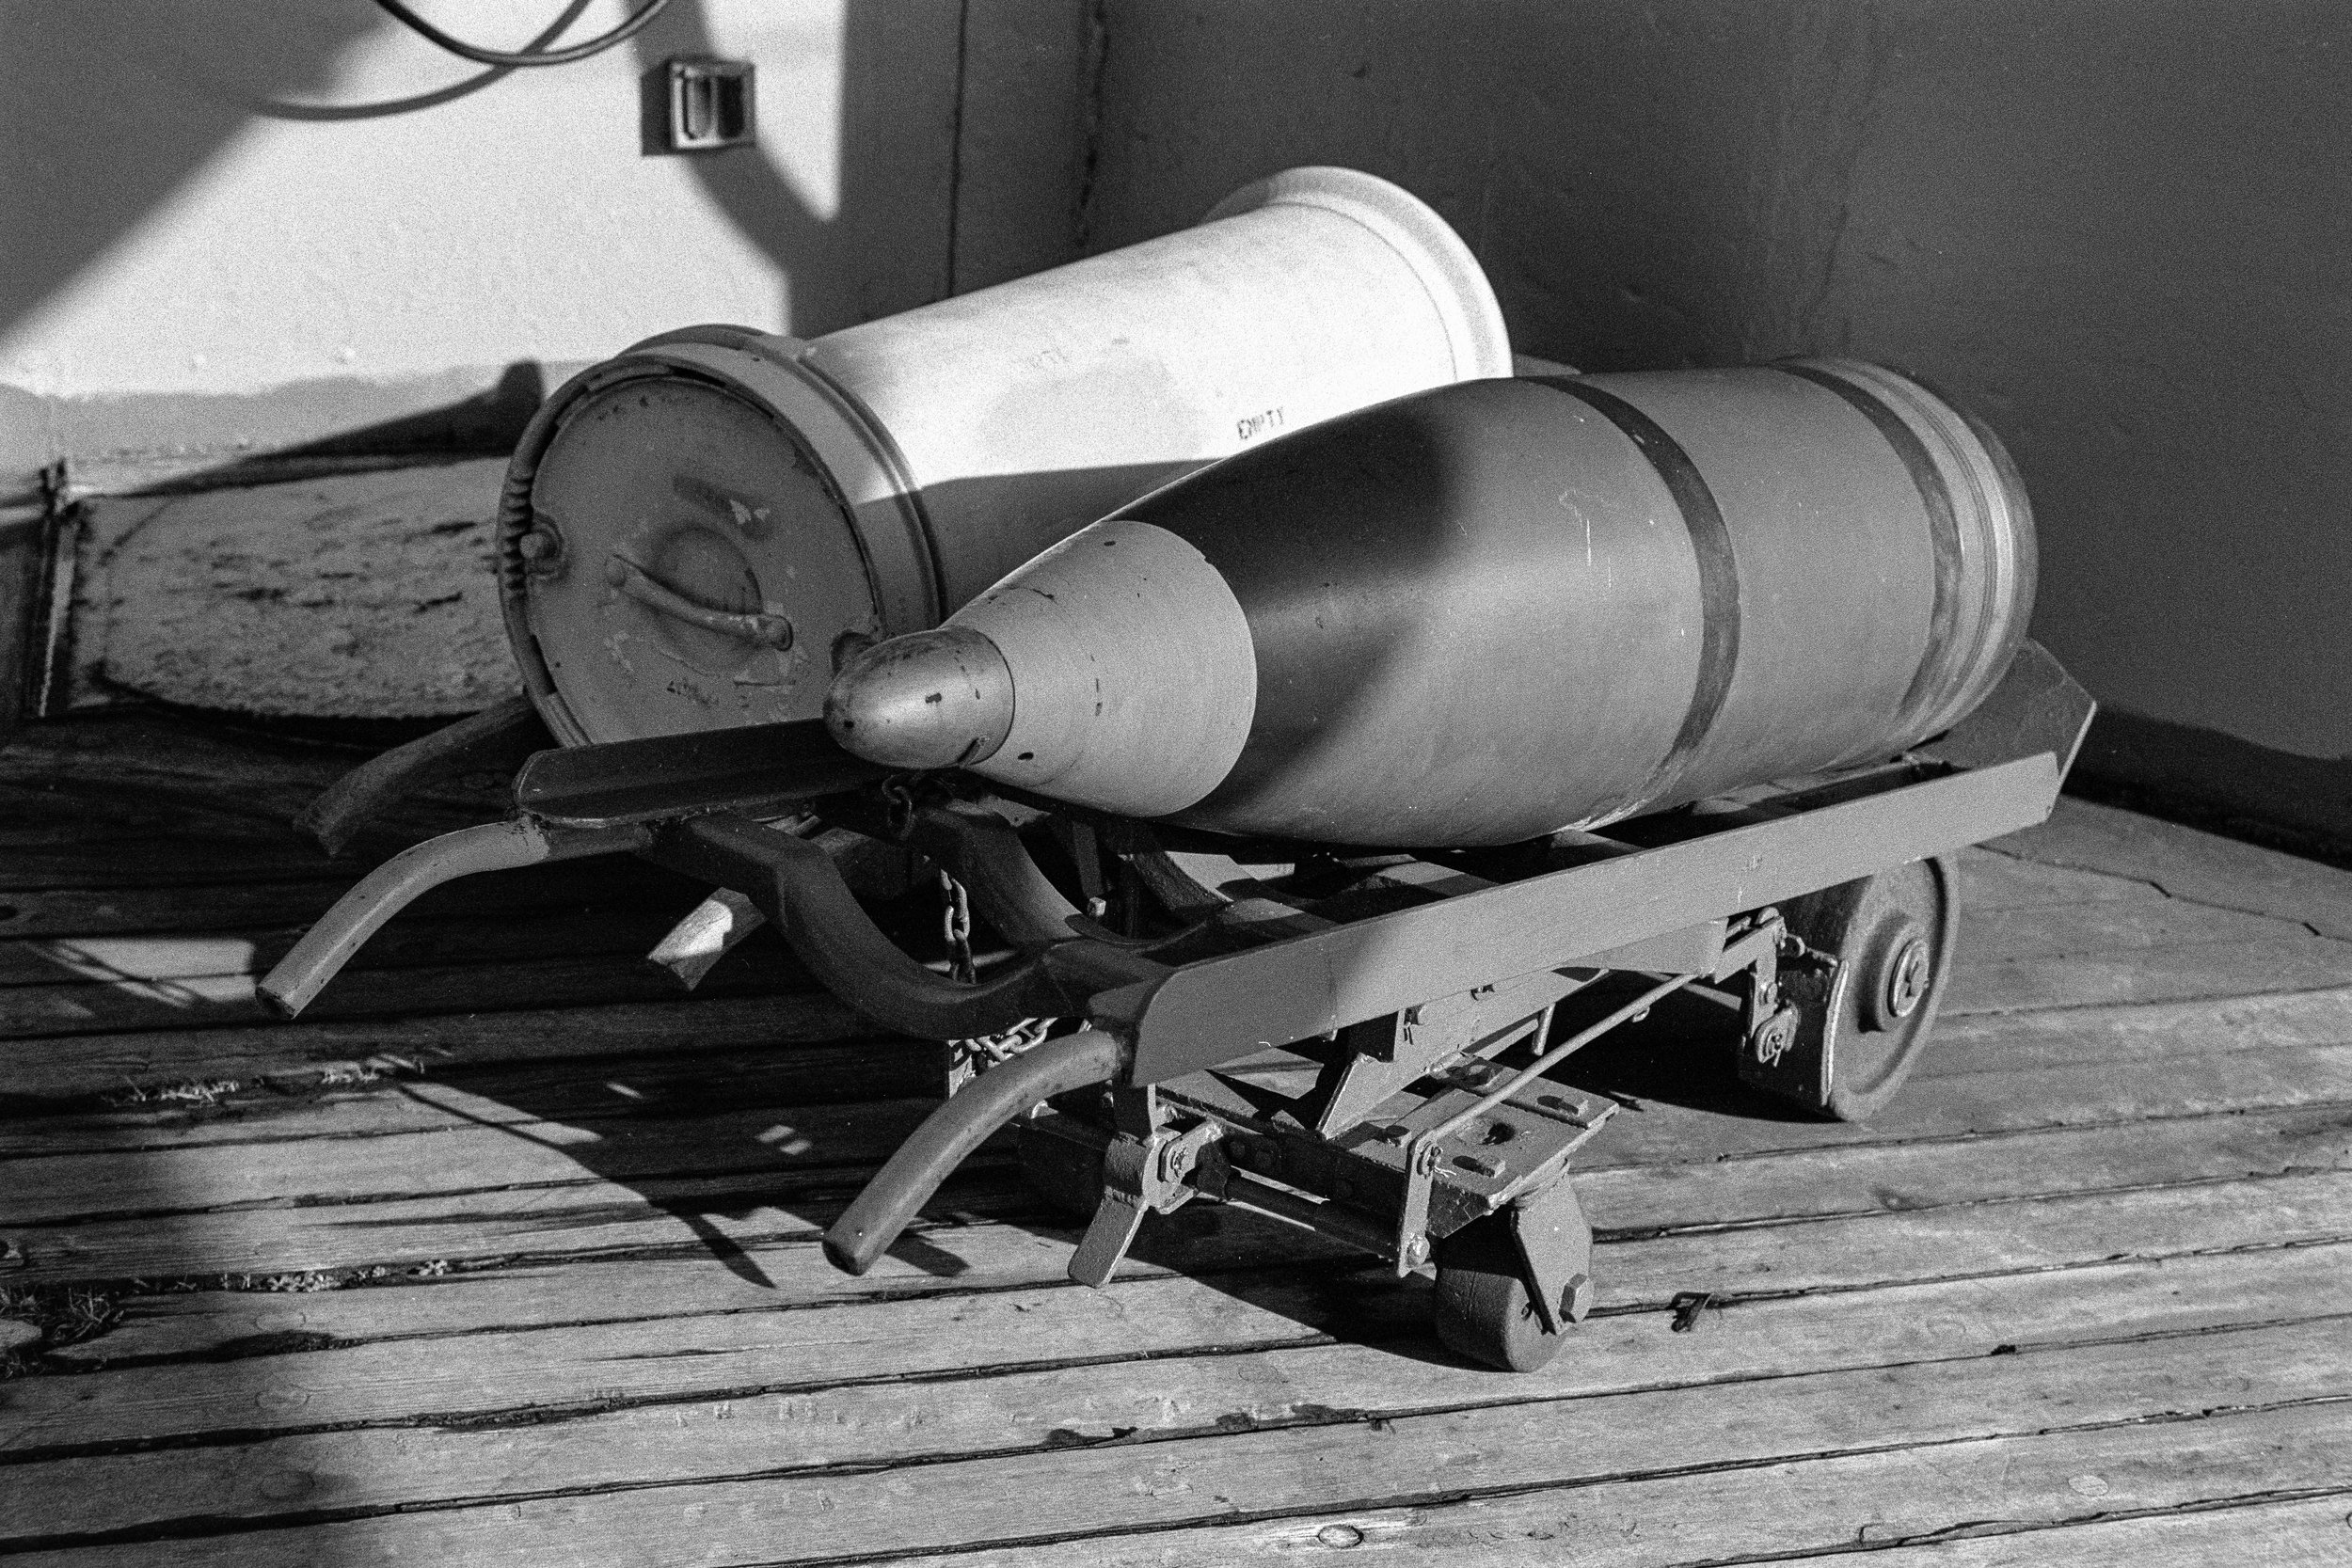
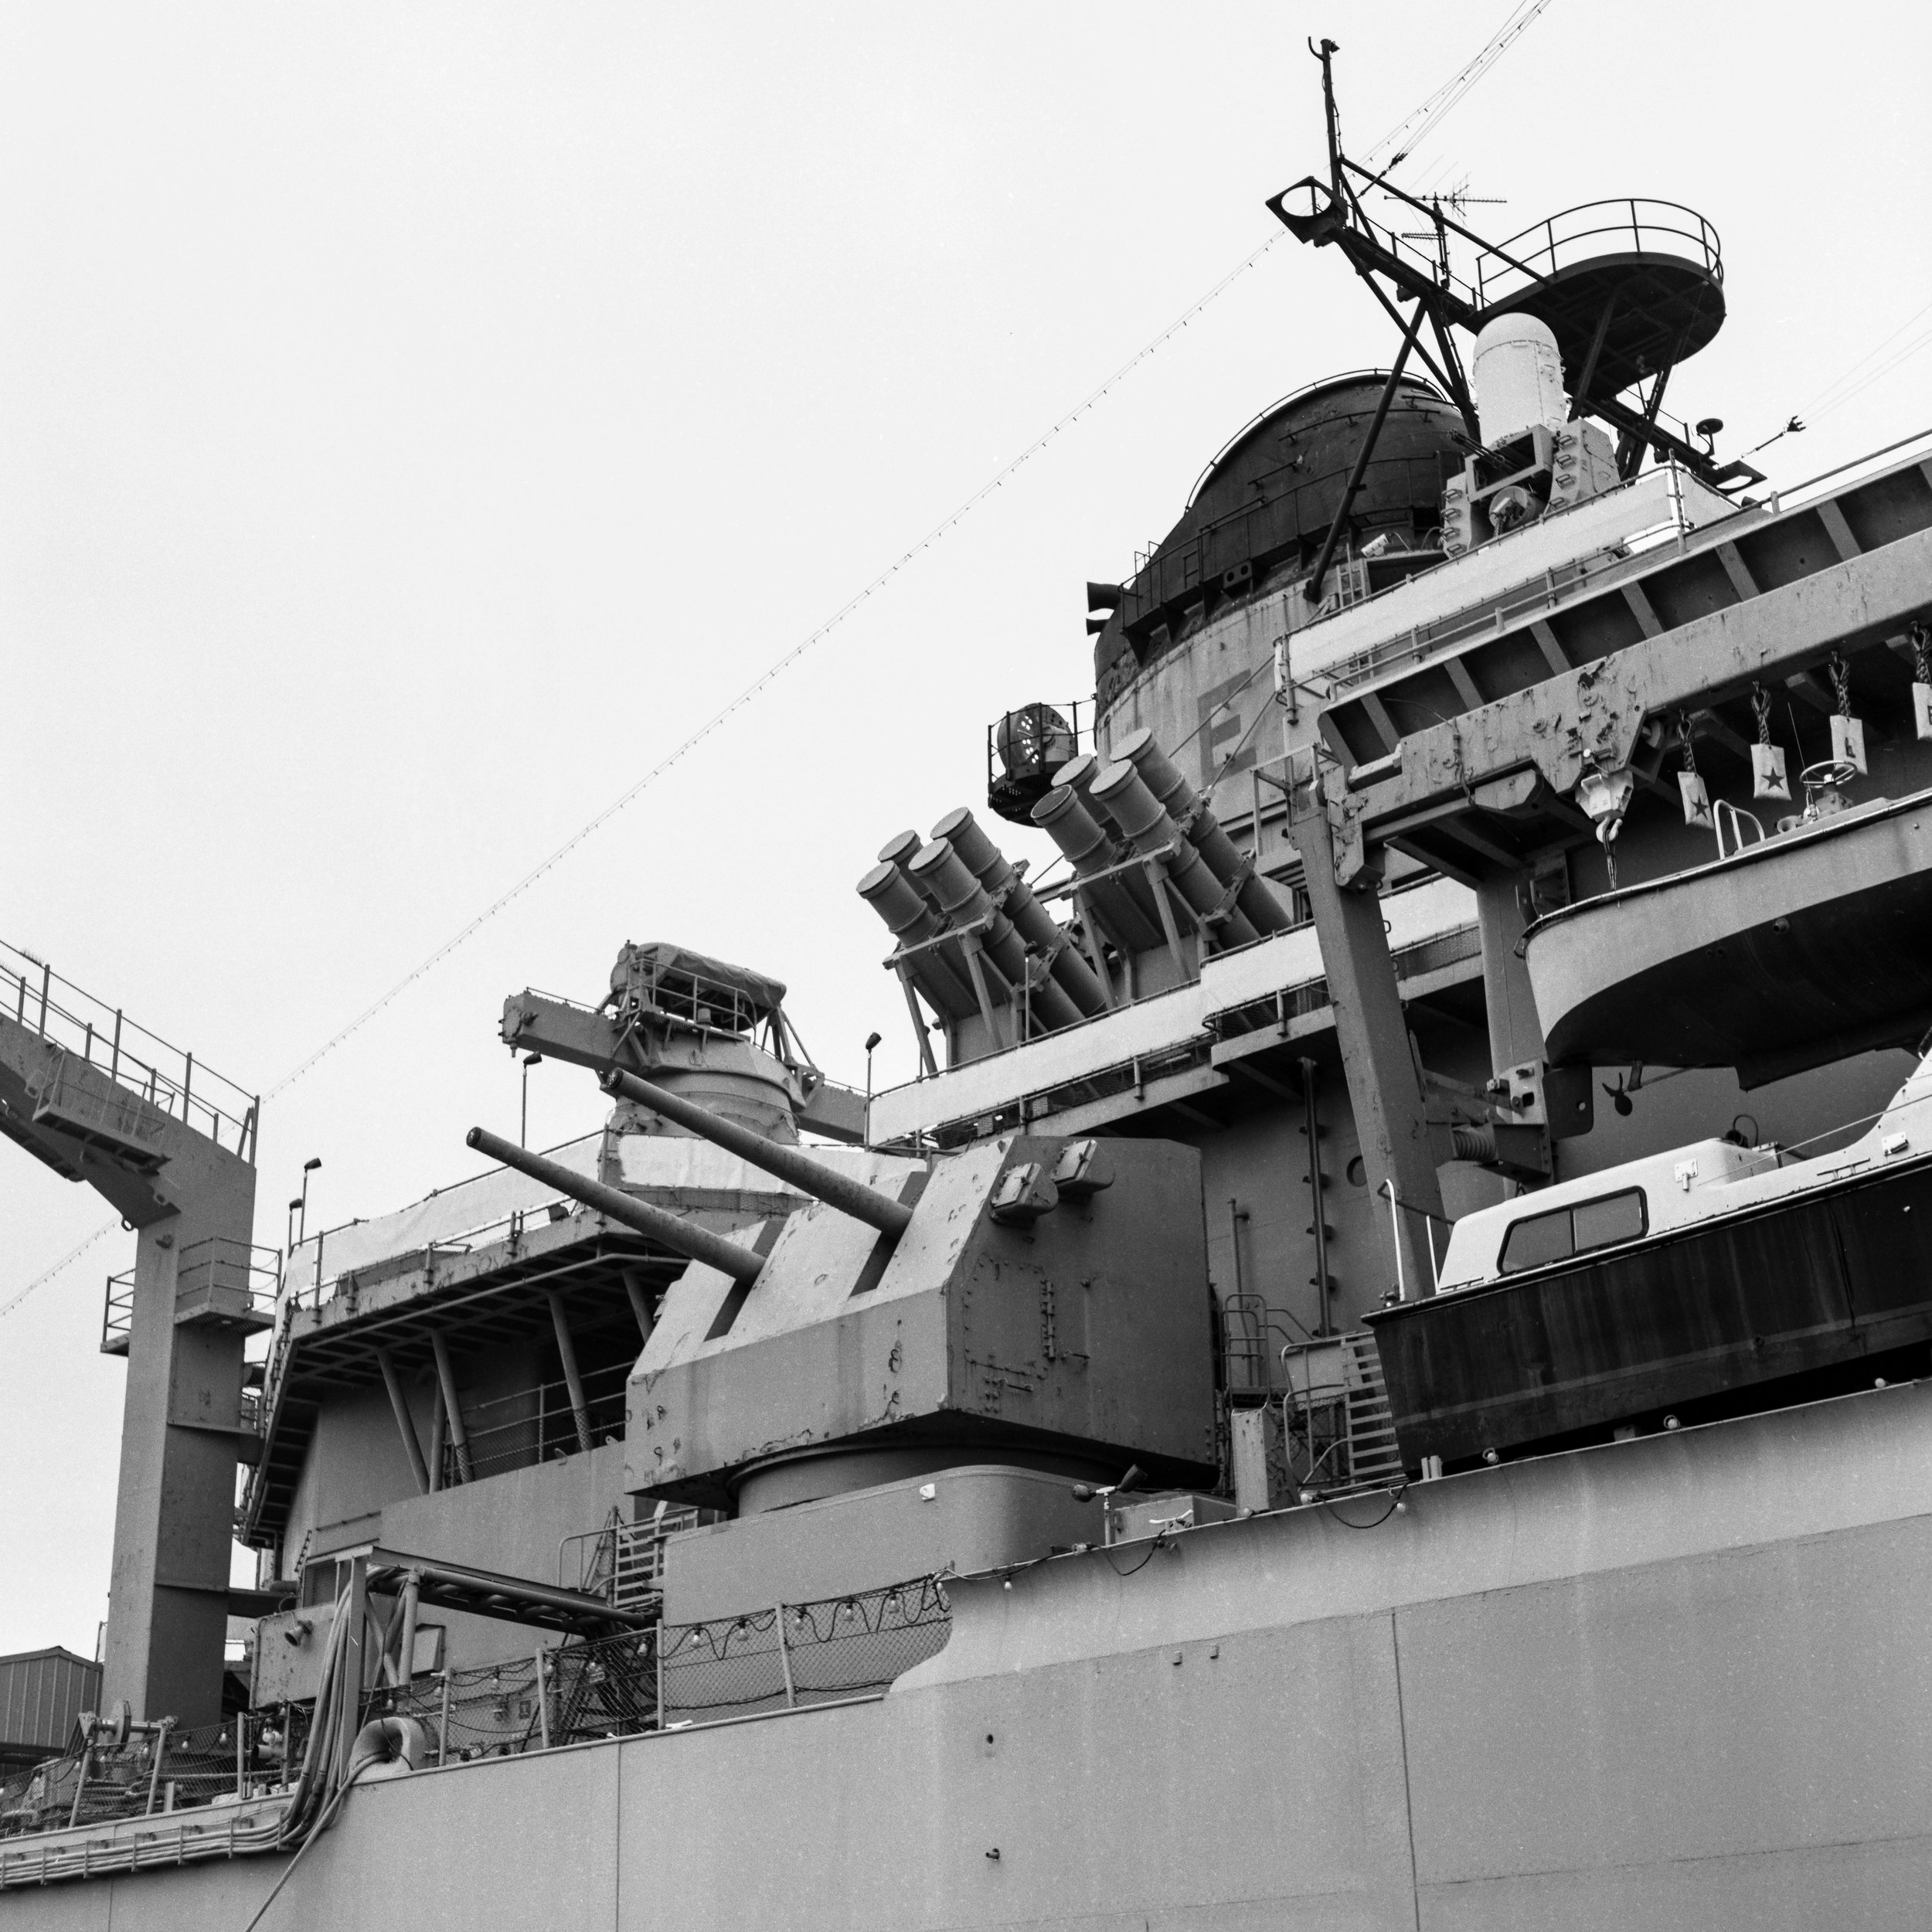
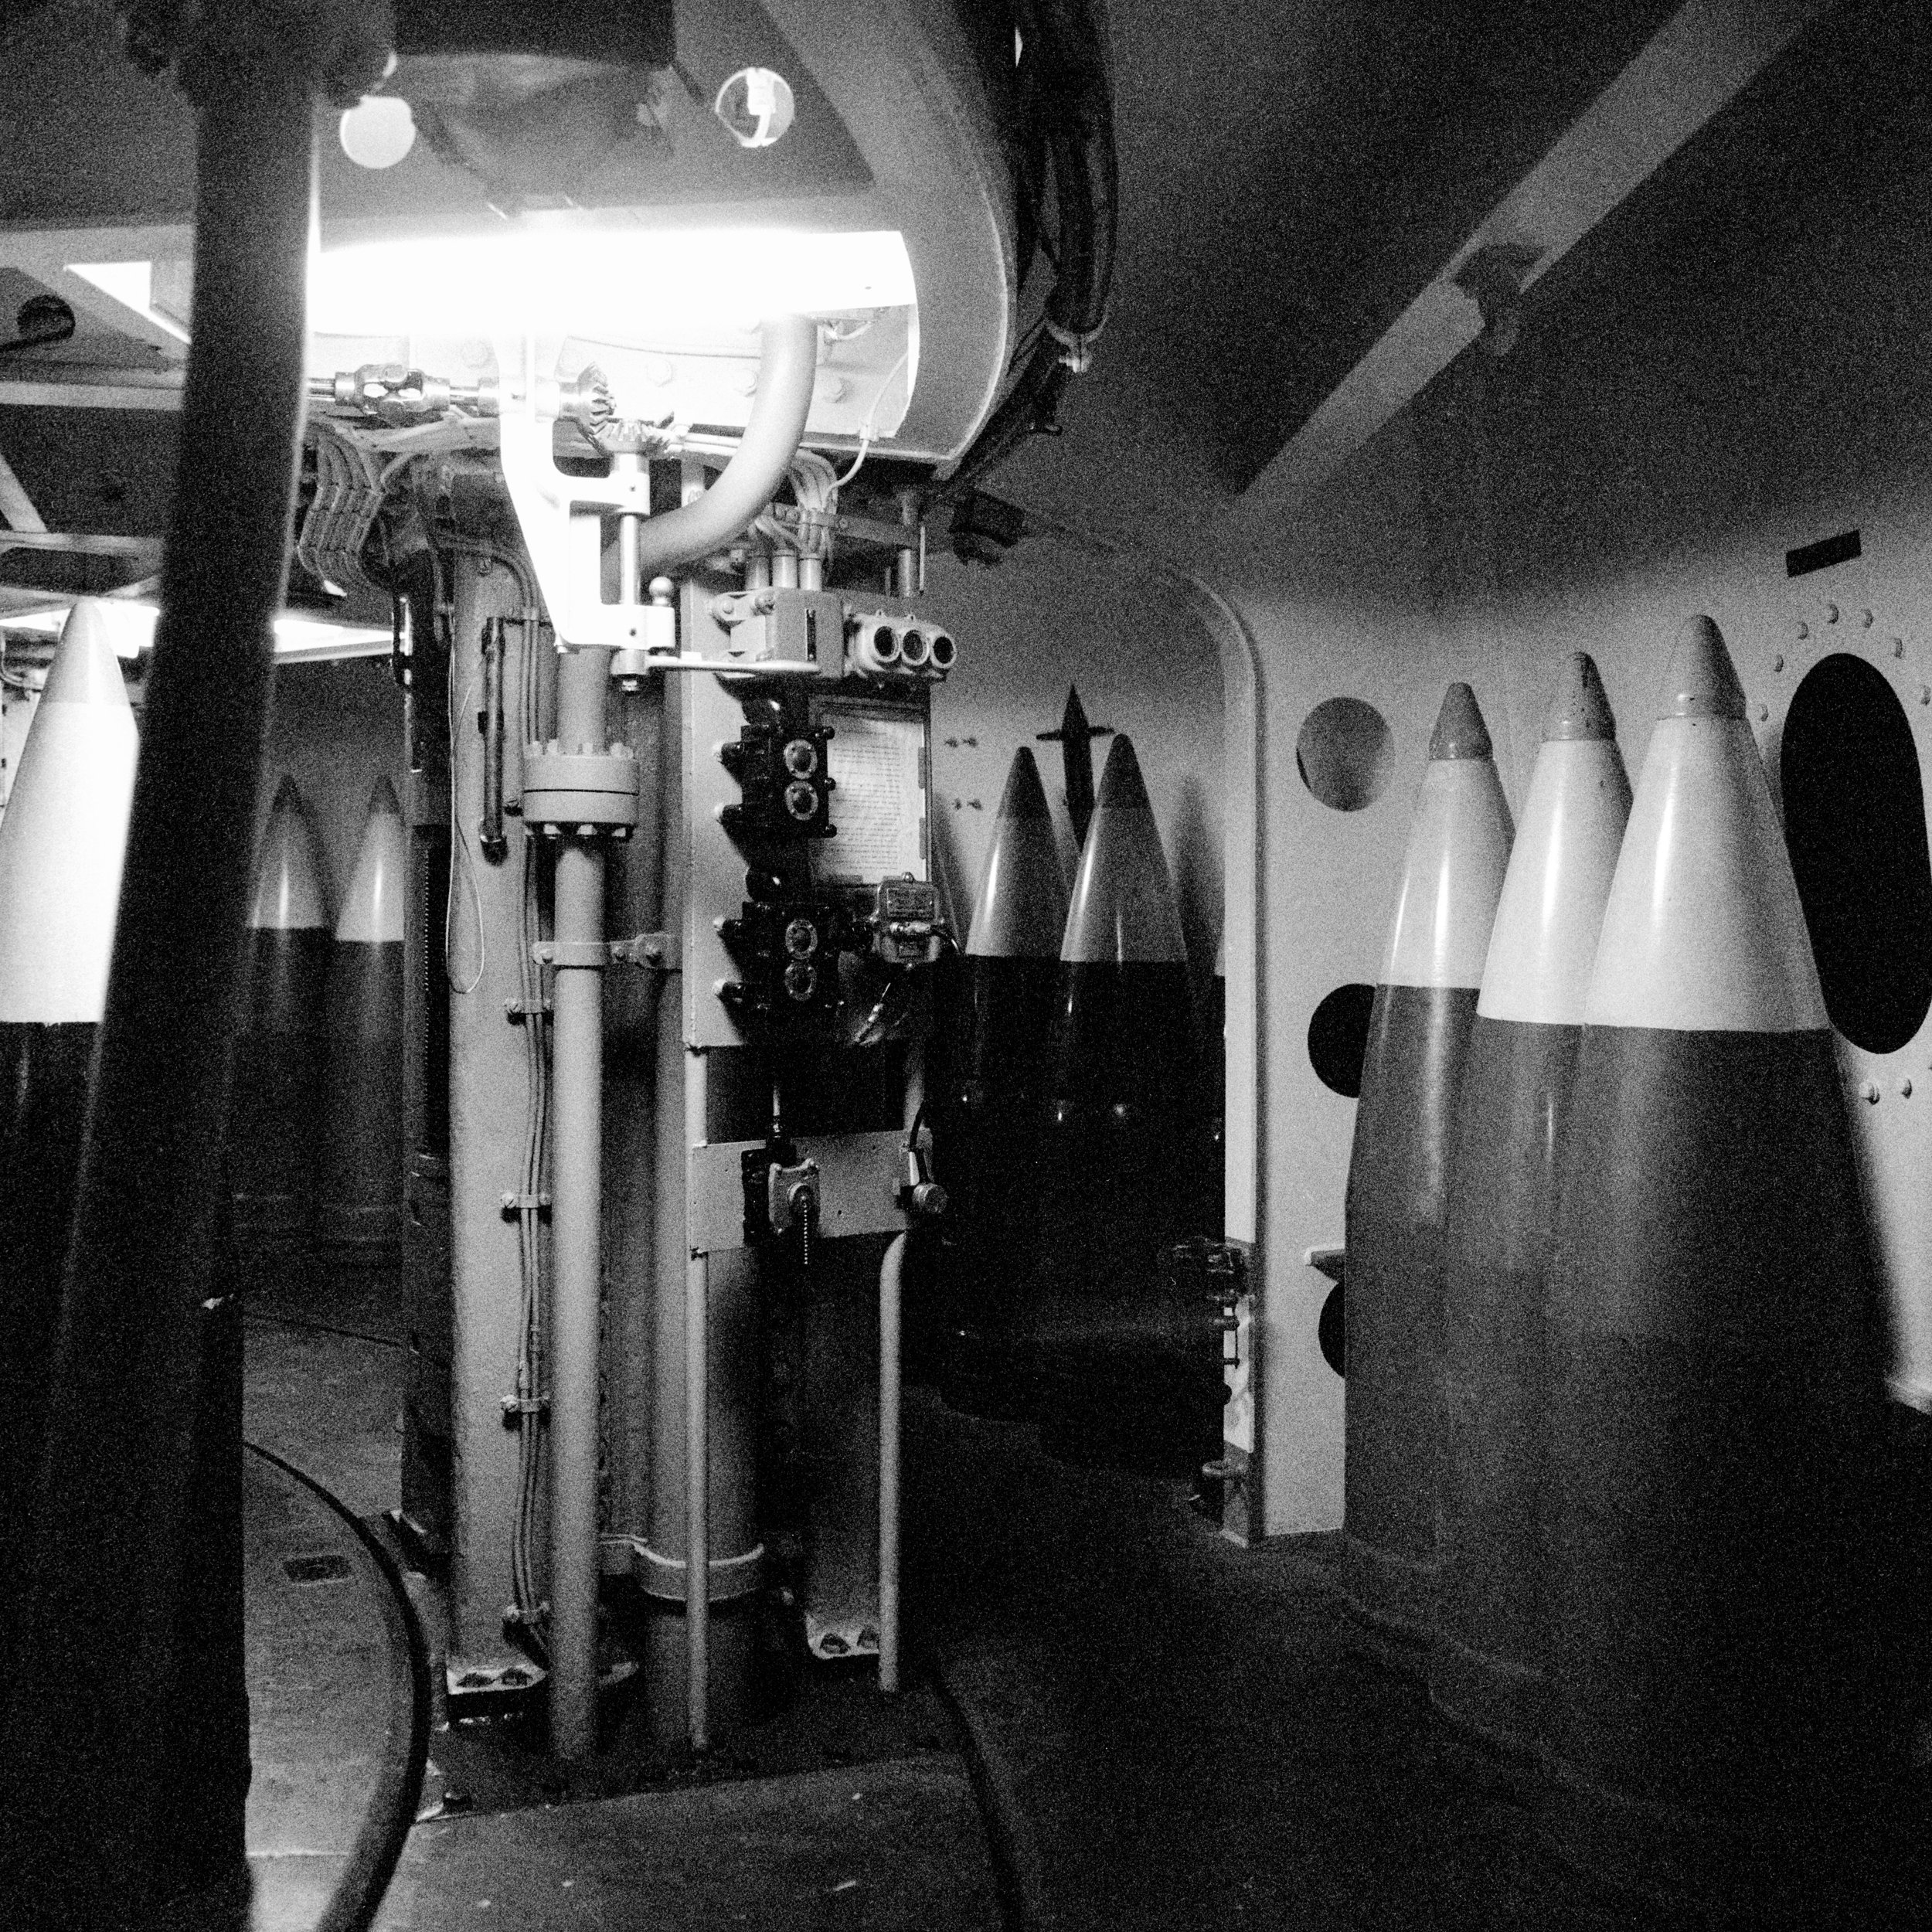
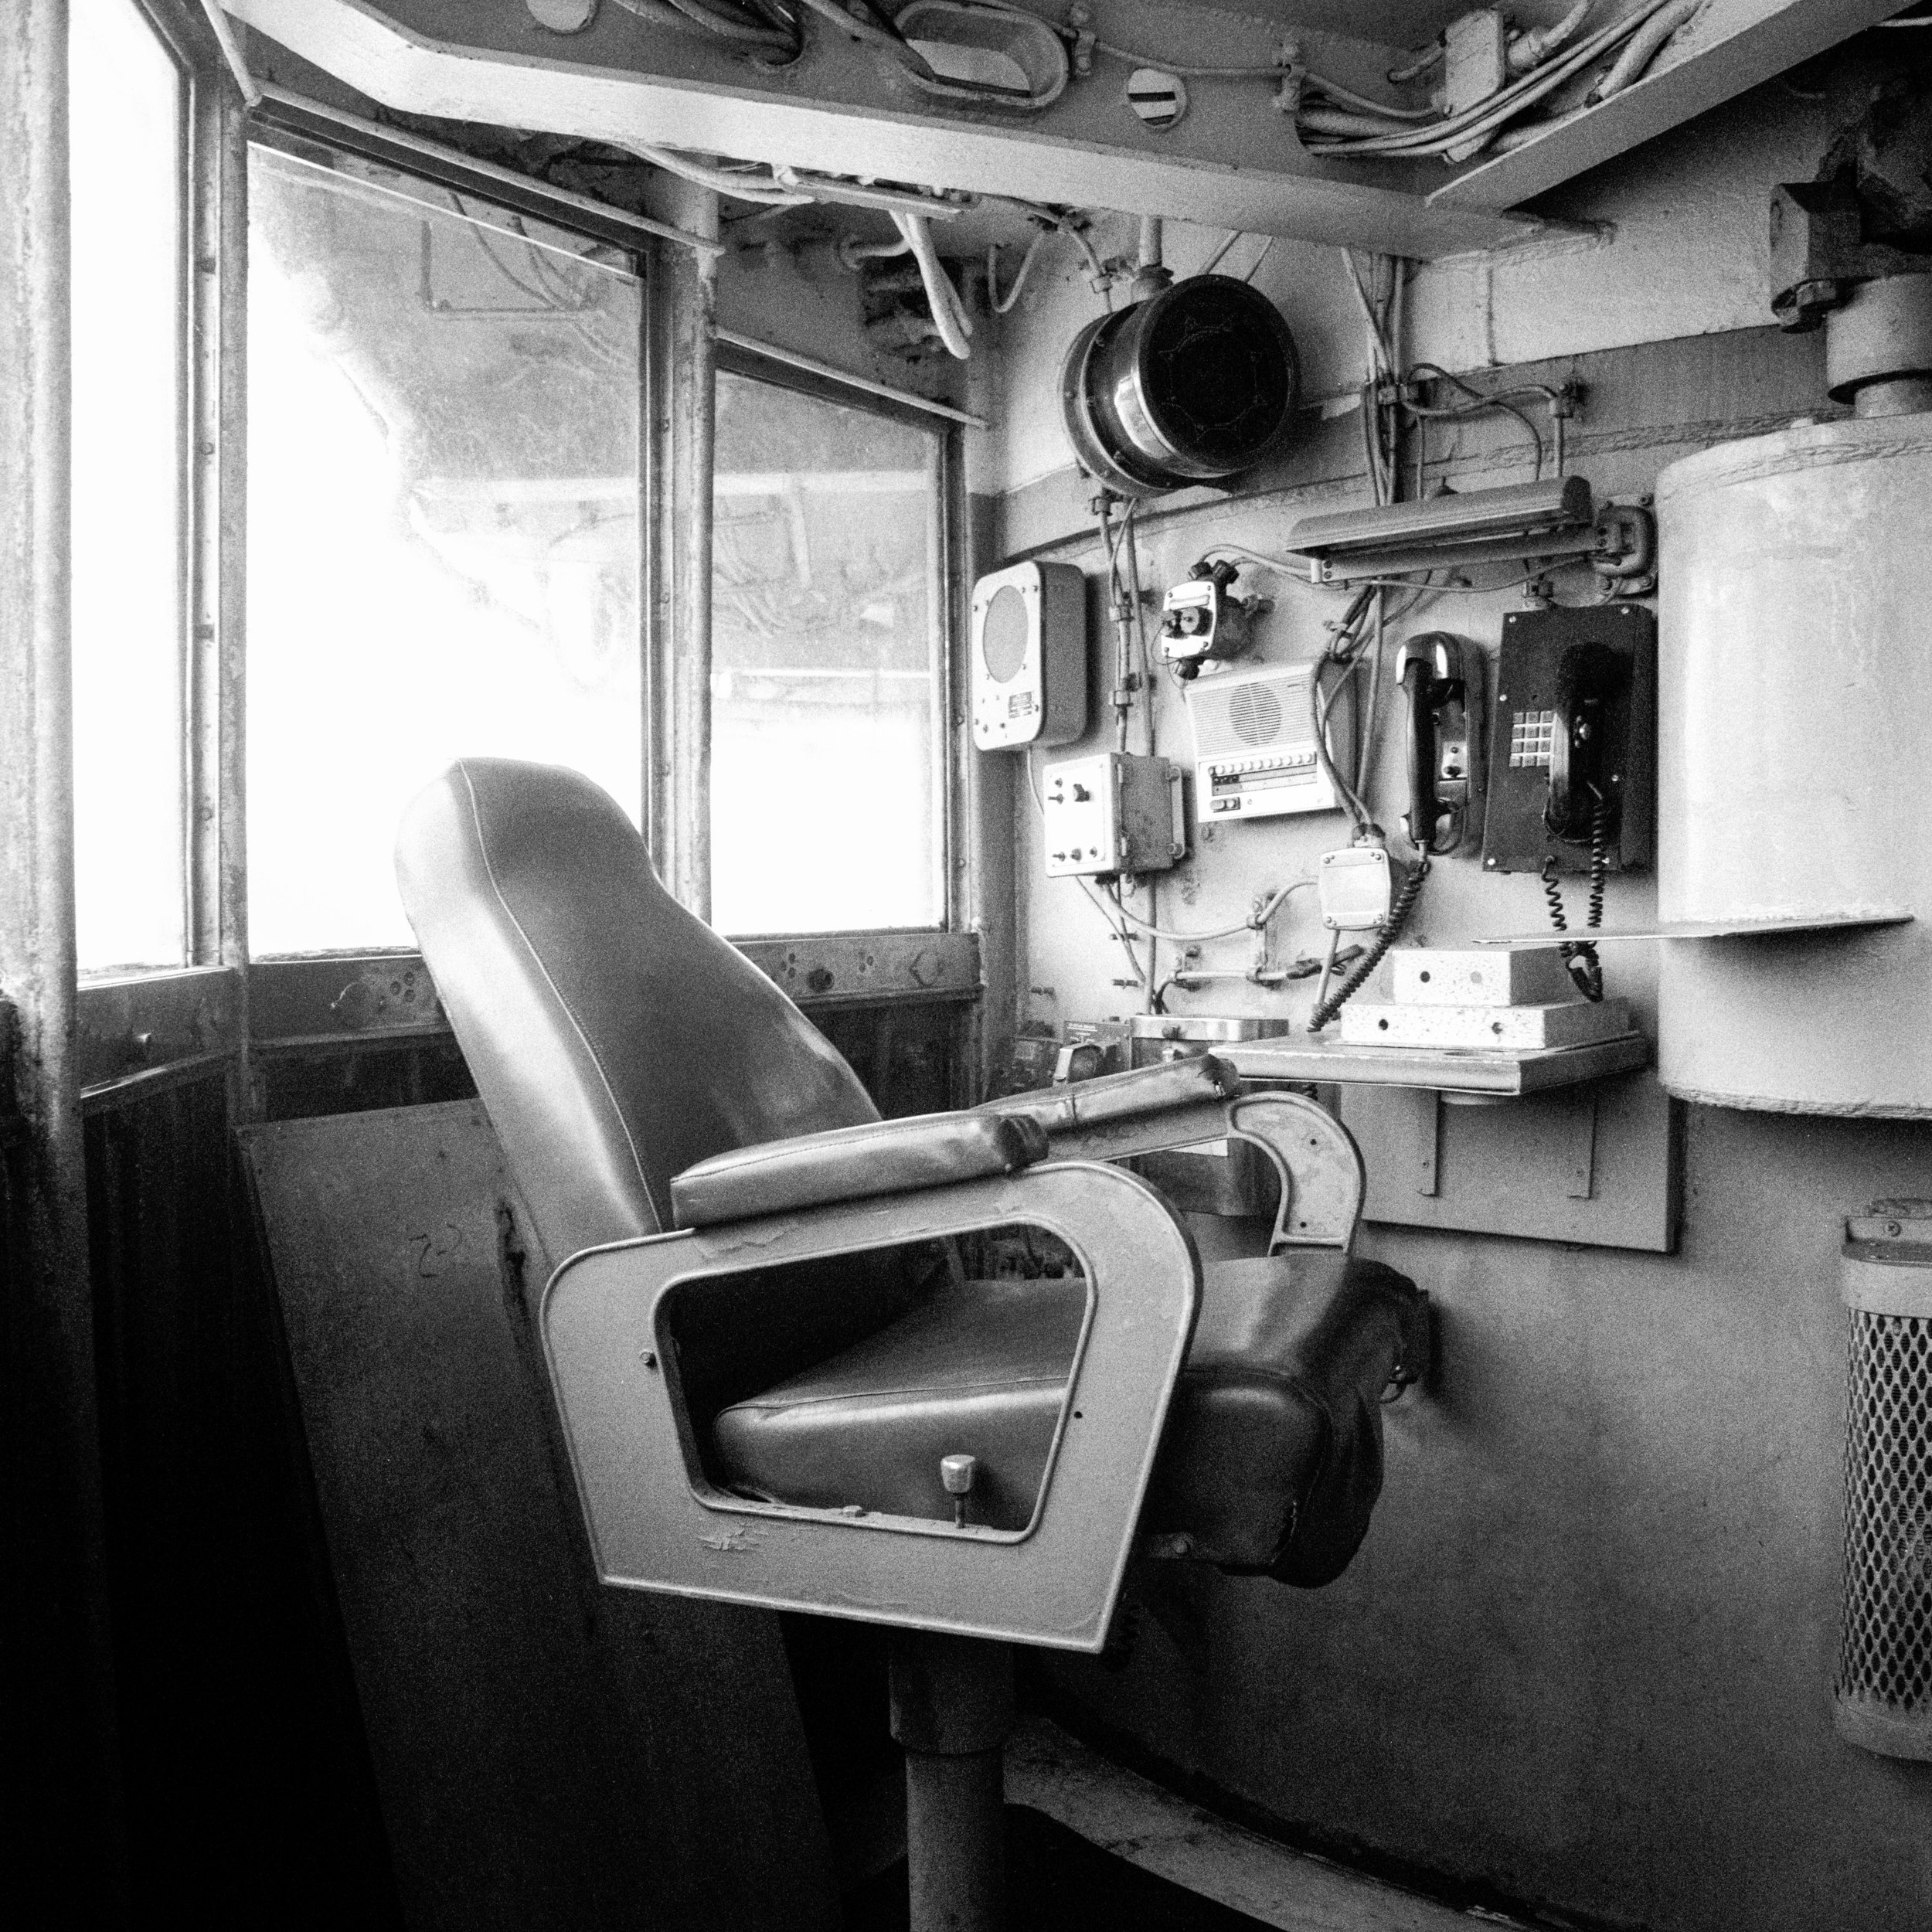
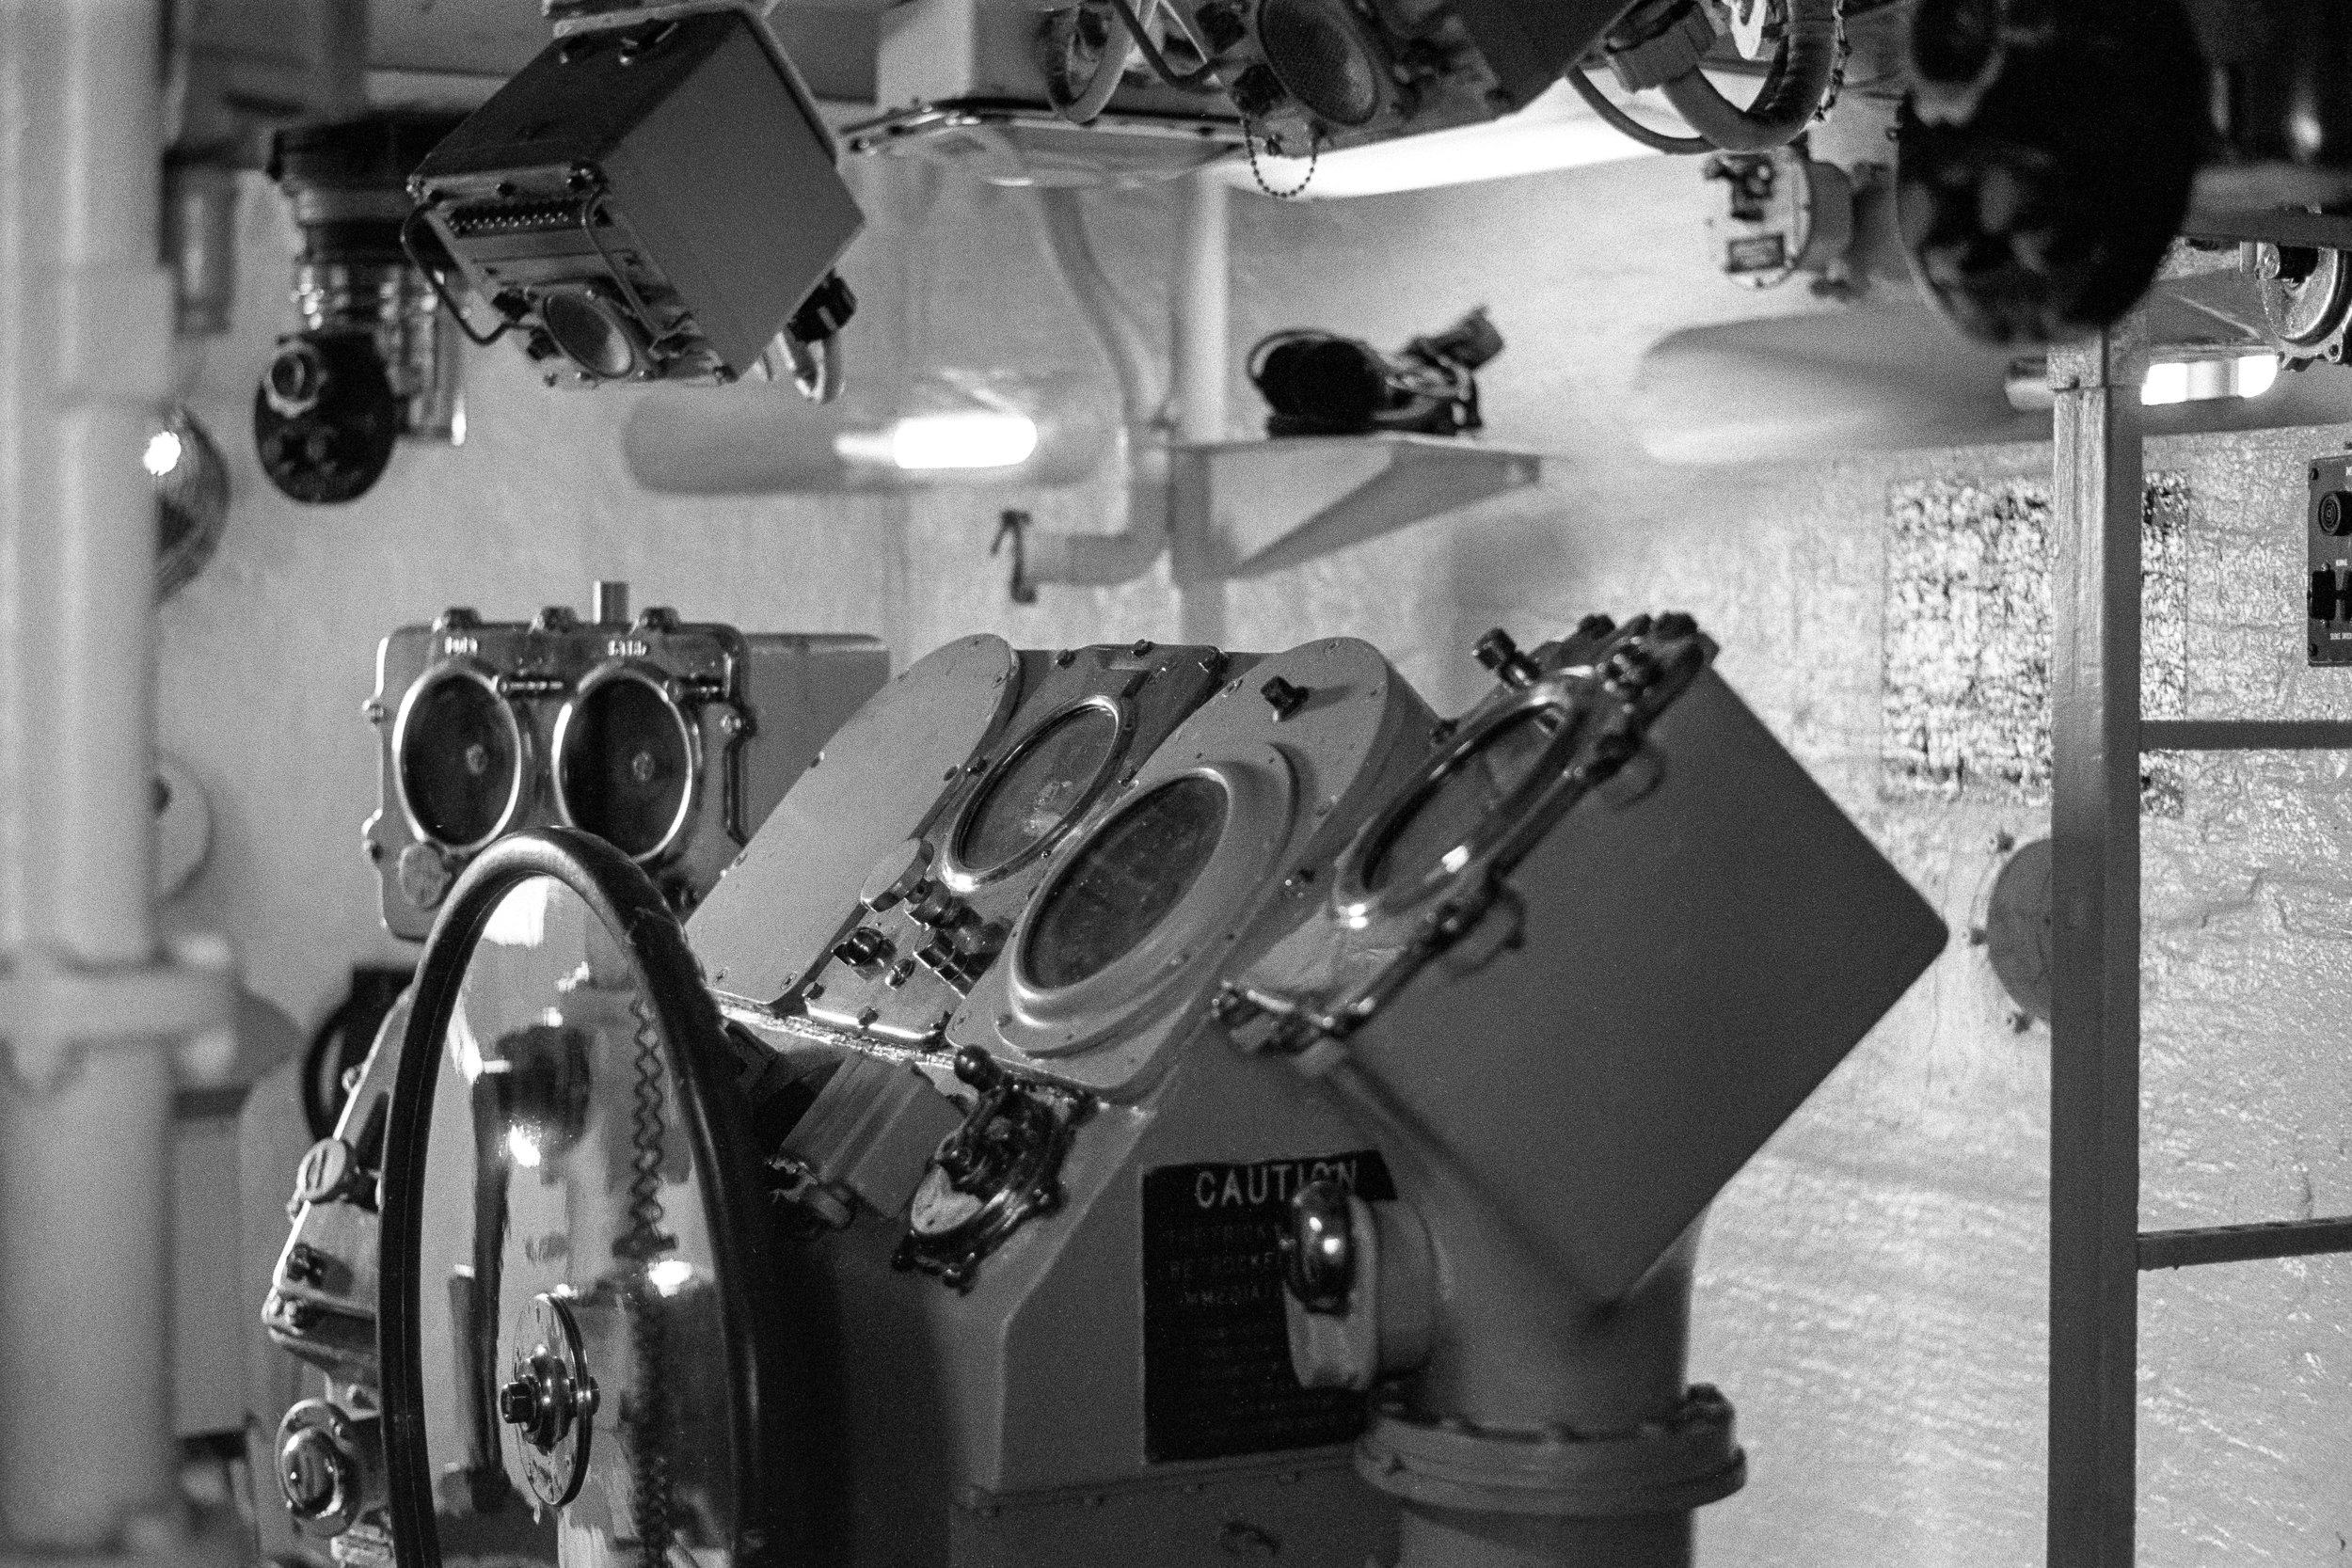
Sometimes the project you have in mind just doesn’t work out, and it can be tough to let go. Whether it comes down to a matter of timing, lack of resources, or just a loss of motivation, it’s important to recognize when you’re spinning your wheels. The images you see here are what’s left of a canceled project focused on the Battleship New Jersey. I burned through two rolls of 120 Ilford Delta 3200, one roll of 120 Ilford FP4 Plus, two rolls of 35mm Kodak P3200, and one roll of 35mm Ilford FP4 Plus before I decided it was time to switch gears to a new project.

With limitless ideas and limited time, I have to prioritize the projects I work on. My main gallery projects on the “Work” page of this site usually involve in-depth research, travel, or otherwise extraordinary expenditures of effort to complete. They can take anywhere from a few months to over a year to document between shooting, researching, and editing. For example, I’m just now wrapping up research for an upcoming gallery project covering Endicott Johnson’s legacy in the Triple Cities - a project which I started in Spring 2022 and have been researching ever since. Blog posts are more focused on smaller subjects, things which I can shoot in a weekend or where the history is readily available.

So how did this failed project begin in the first place? Well I regained interest in the Battleship New Jersey through the museum’s YouTube channel. Like many potential projects, I jumped straight into the research without pre visualizing the end result. I soon realized that no matter how much research I did, I’d never be able to document anything about the battleship that the YouTube channel hadn’t covered. I like to focus on the obscure and interesting history that can be hiding in plain sight, and a battleship isn’t exactly “hidden or obscure history”.

Shooting more film is never a bad thing, and any chance to practice composition in the field leads to better pictures in the future. My Mamiya C22 and F6 had been (figuratively) collecting dust in my dry cabinet since the summer, and I did get to explore every inch of the tour route on my many visits to the battleship. The lesson to be learned here is it’s ok to pull the plug on a project before you finish it. Enjoying the process of shooting film and improving your technique is just as important to becoming a better photographer, even if the end result doesn’t work out as planned.

Cincinnati Union Terminal

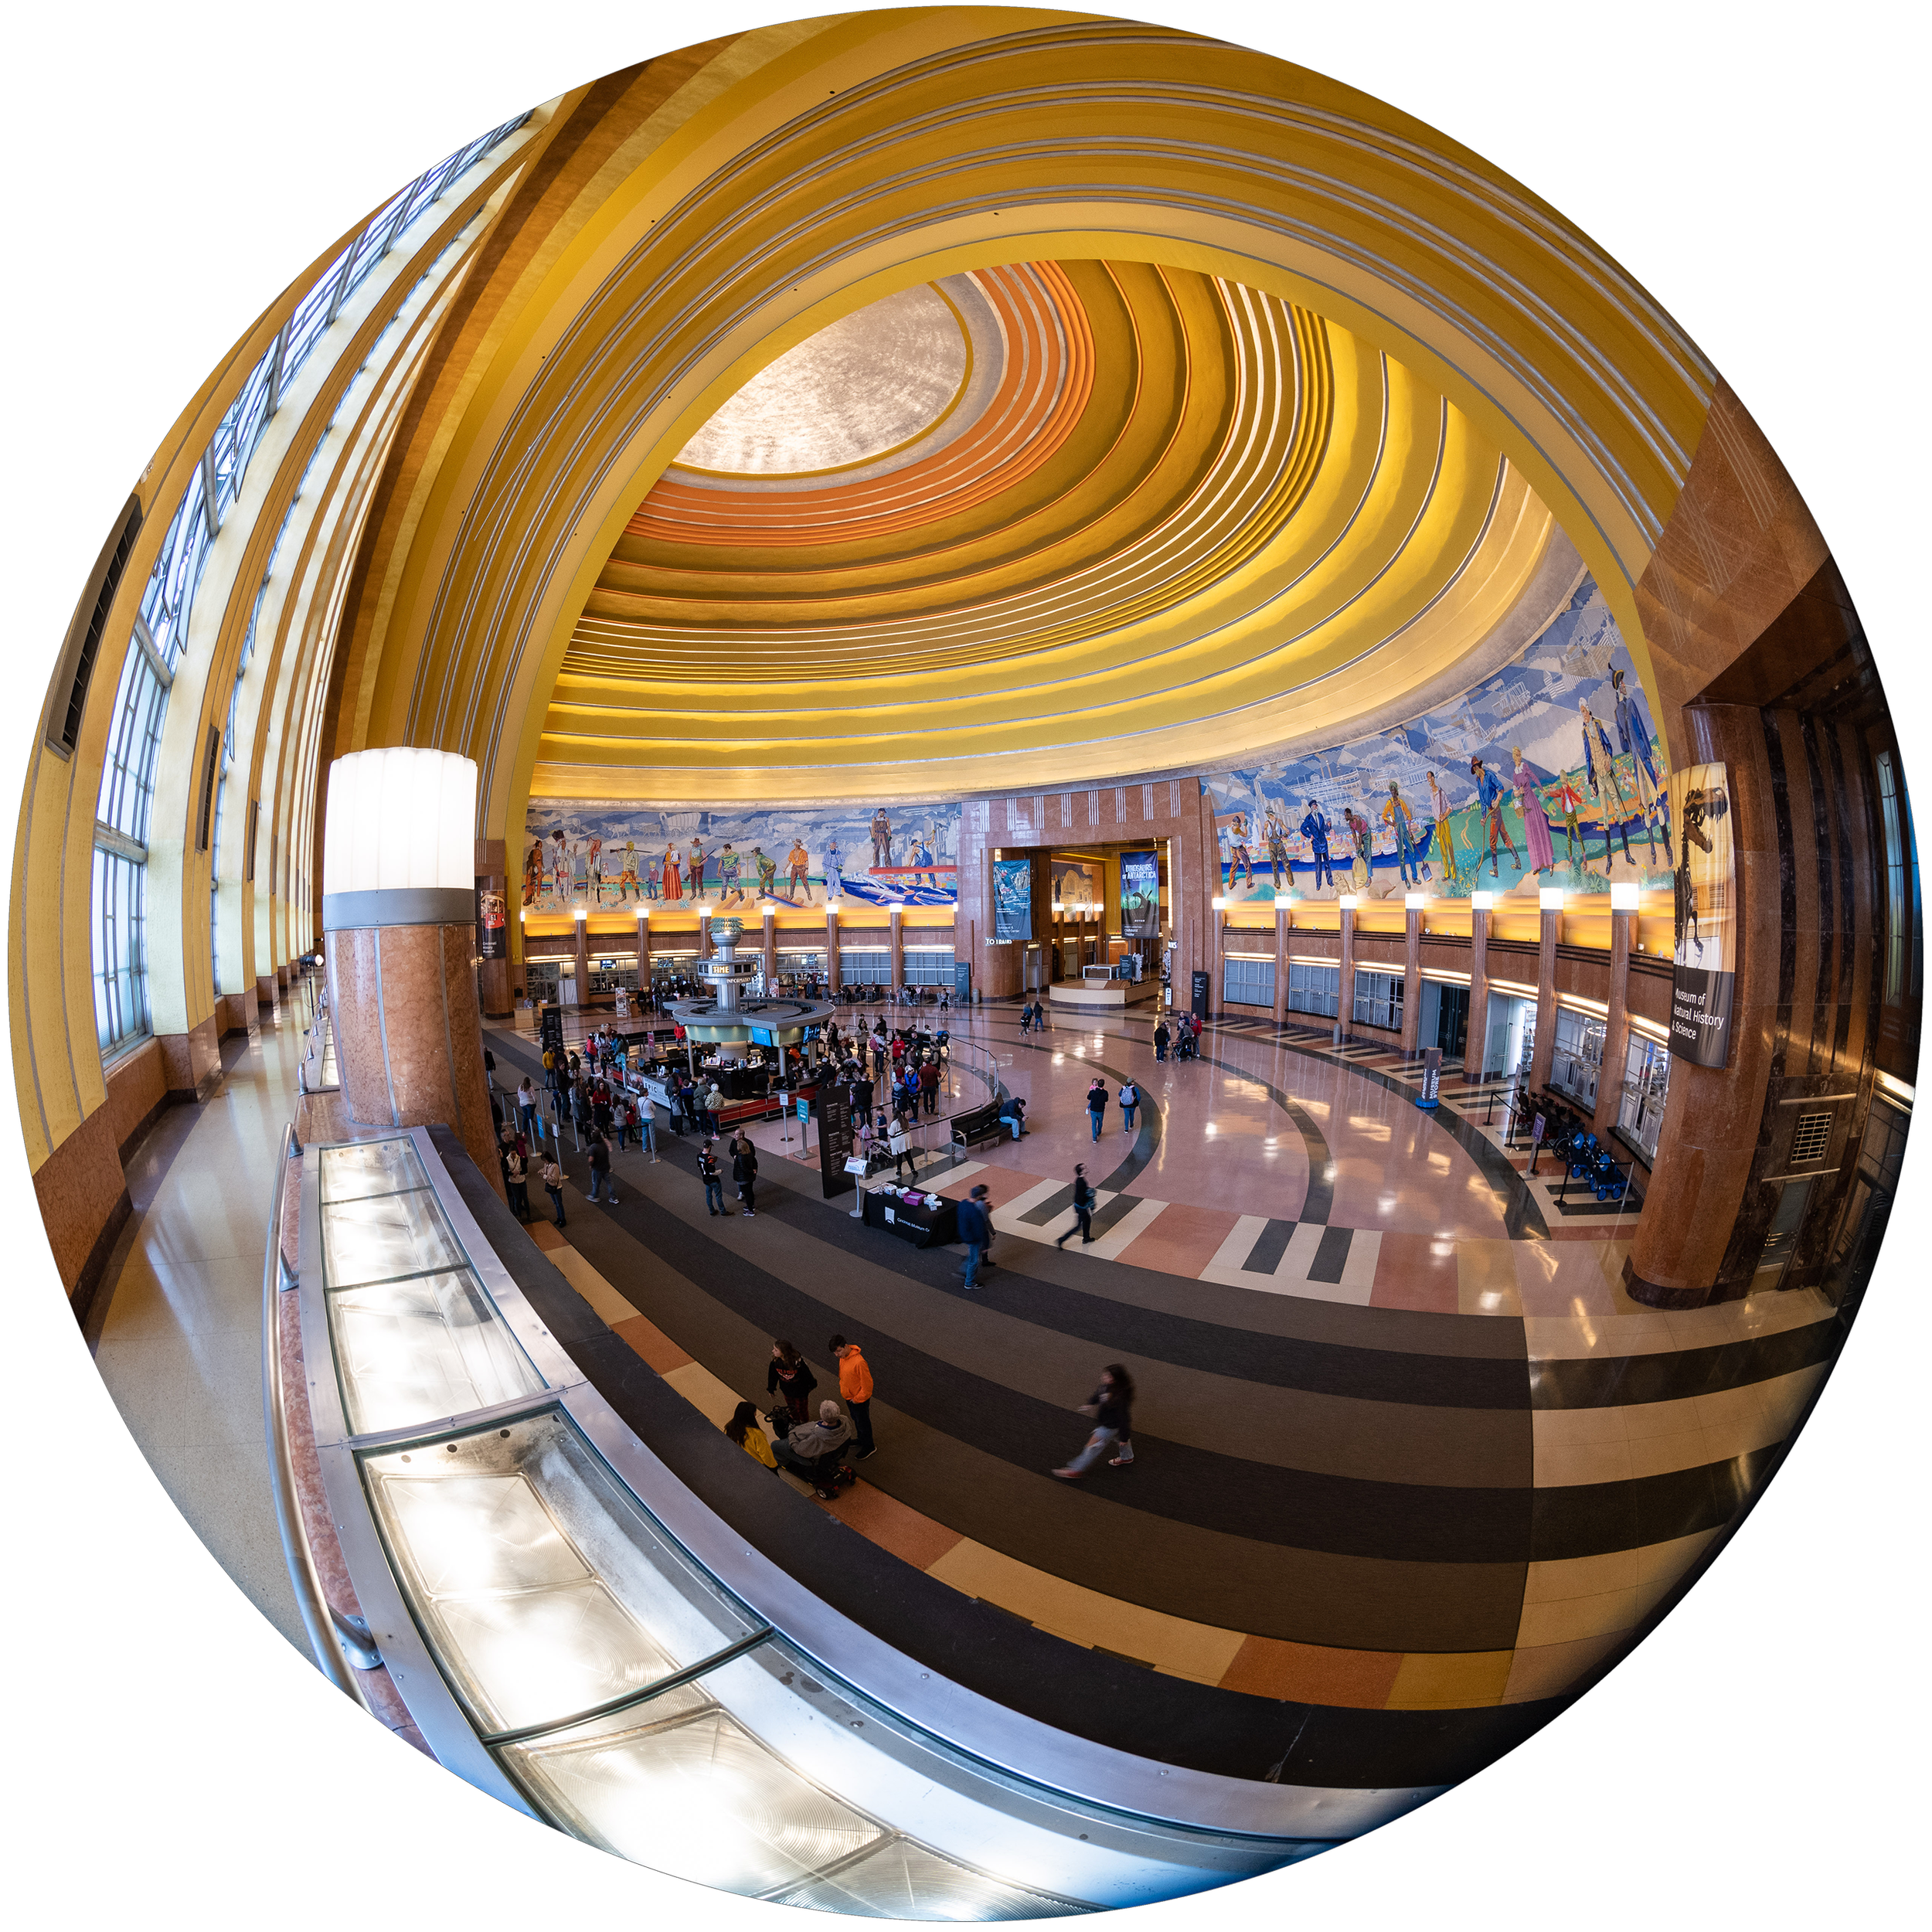
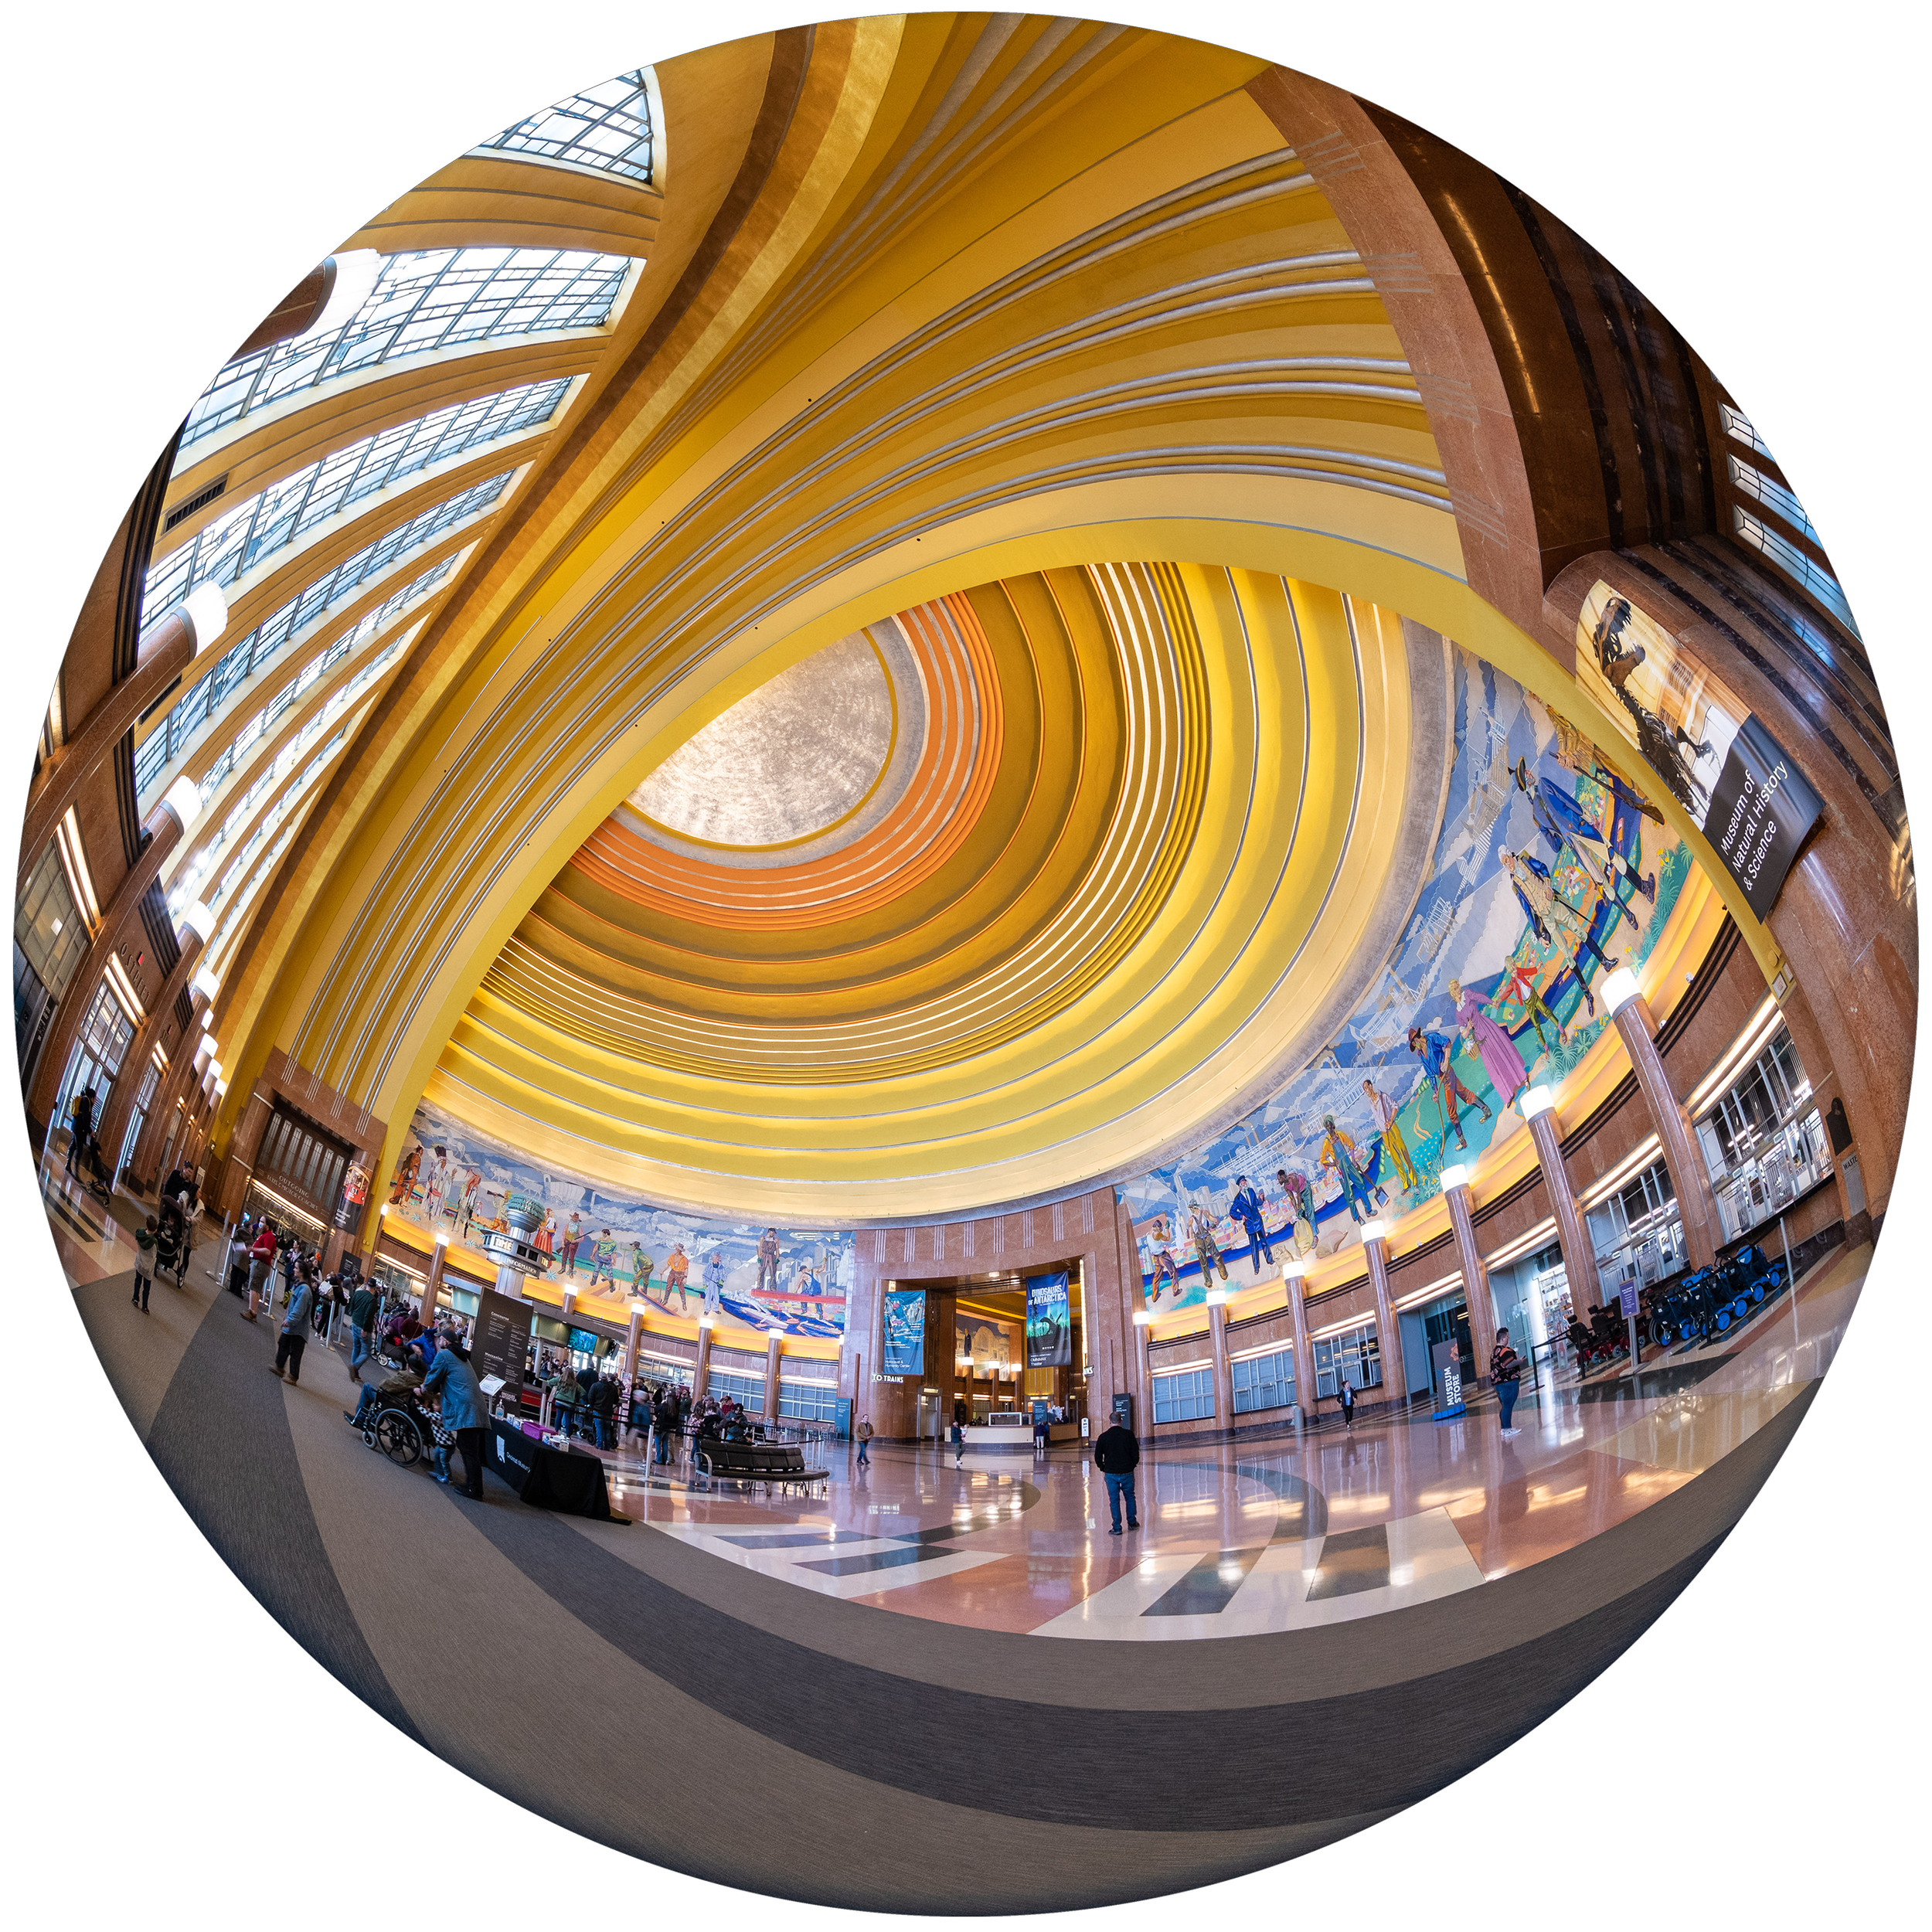
Cincinnati Union Terminal is a 1920s-era Art Deco station that sits on the outskirts of downtown Cincinnati. An iconic example of Art Deco design, construction was started in 1929 and completed by 1933. The station was a massive infrastructure project for the city and was funded to the tune of $41 million by the railroads, despite financial setbacks caused by the Great Depression. Because of its proximity to the Ohio River and the low elevation of the adjoining rail yard, the station and tracks were raised up on 5.5 million cubic feet of fill during construction to prevent track washouts. Sporting 94 miles of track with a theoretical capacity of 216 trains per day, this “Temple to Transportation” was busiest during WWII and practically abandoned by the 1970s as air and automotive travel won over the public. Amtrak discontinued service at the station from 1972 until 1991 when a renovation was completed by a coalition of museums who hoped to revitalize the terminal. Based on the crowd that showed up while I was visiting, I’d say their revitalization efforts were successful!

When viewed from above, the most jarring addition to the terminal is the massive stretch of asphalt parking lots that flank Ezzard Charles Drive. This wasn’t always here—as built, the terminal included 20,000 square feet of space which housed an underground parking garage. The parking garage even featured a garage of its own, and travelers could send their cars in for service while they were away on a trip. In order to breathe new life into the terminal in the post-rail era, the garage was converted for exhibition space and the manicured landscape leading to the terminal was paved over in 1980. While I understand the logic behind converting the parking garage to museum space, it’s a pity that the beautiful landscaping had to be destroyed for a parking lot.

The architects behind Cincinnati Union Terminal were clever. As you walk up to the station, you’ll see three staggered wings jutting out from the half-dome. Each was designed to serve a different mode of transportation—one ramp for cars and taxis, one for buses, and a loop for streetcars. Much like the incomplete Cincinnati Subway, the infrastructure was in place but the tracks were never built to connect the station and downtown Cincinnati by streetcar.

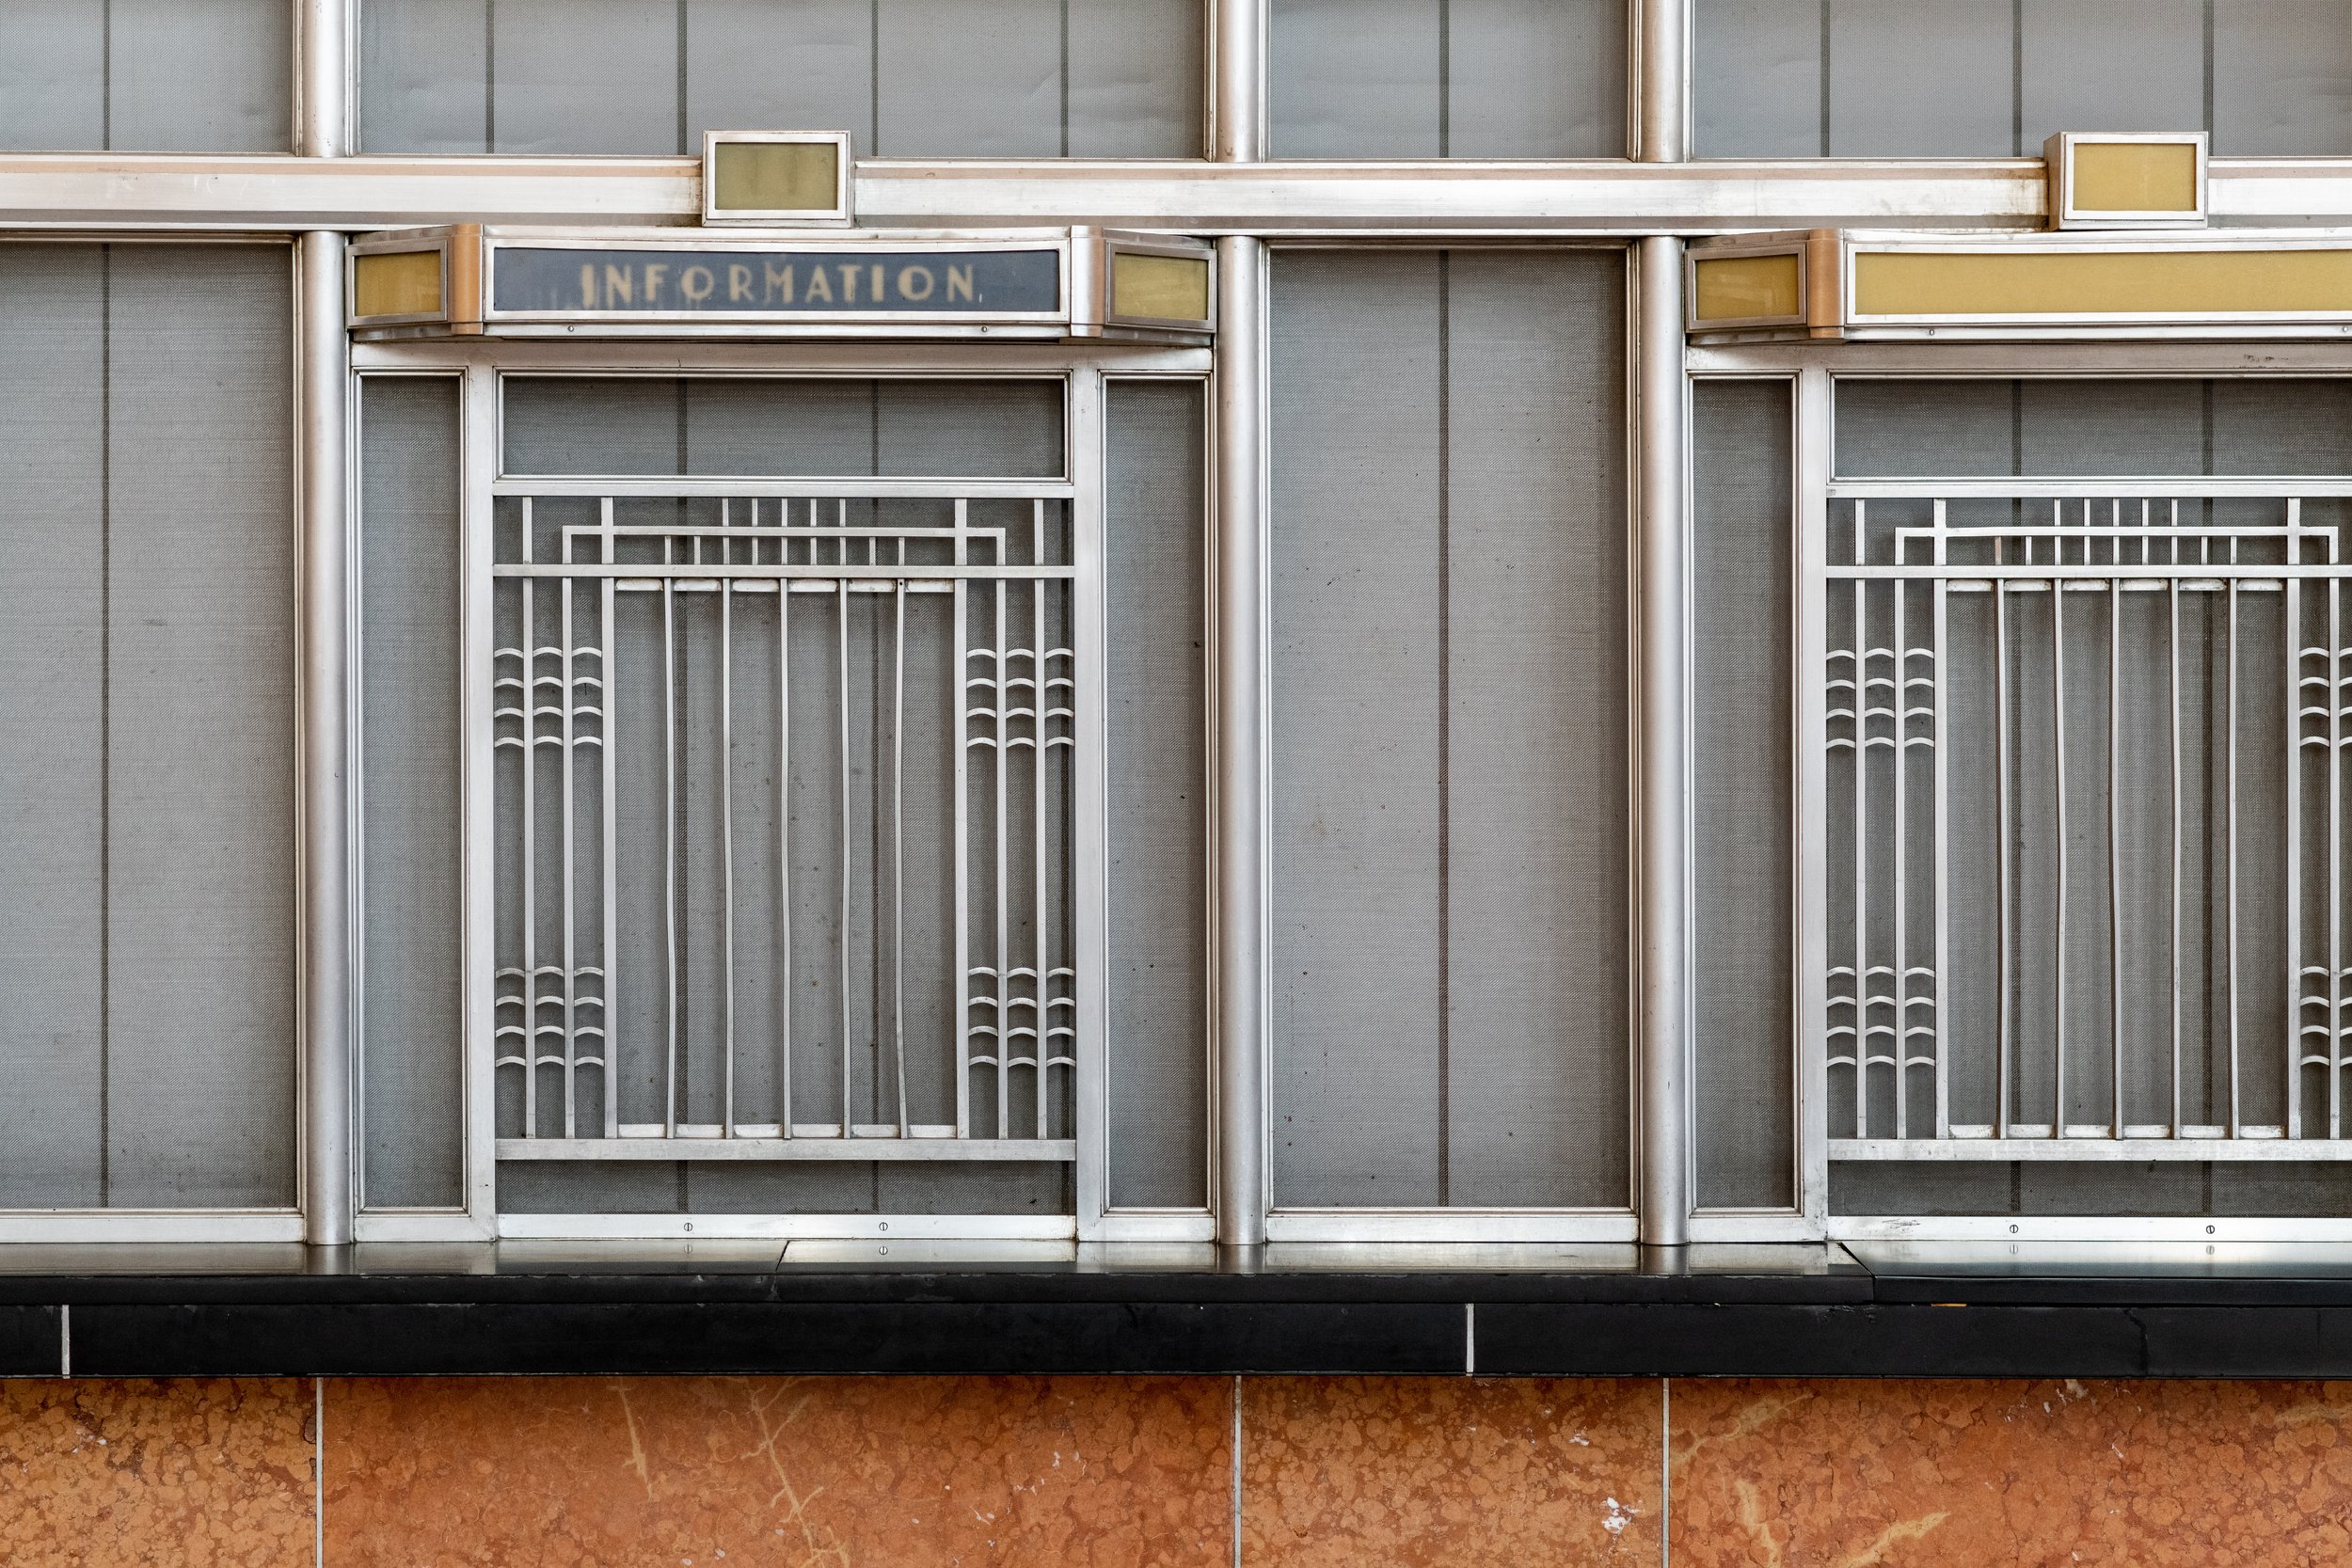
The concourse, where passengers would board their train, was demolished in the 1970s at the insistence of the railroads. Double-stacked cargo trains were now too high to fit under the overpass, and this reduced the theoretical capacity of the active rail yard. Much of the 18,150 square feet of murals that adorned the walls and depicted the industries of Cincinnati were located down this concourse. Luckily these 14 murals were saved, though the beautiful “map of the world” mosaic above the information counter at the rear of the concourse proved too impractical and costly to relocate. I’m hoping to track down some of those murals which were saved when I’m back in Cincinnati.

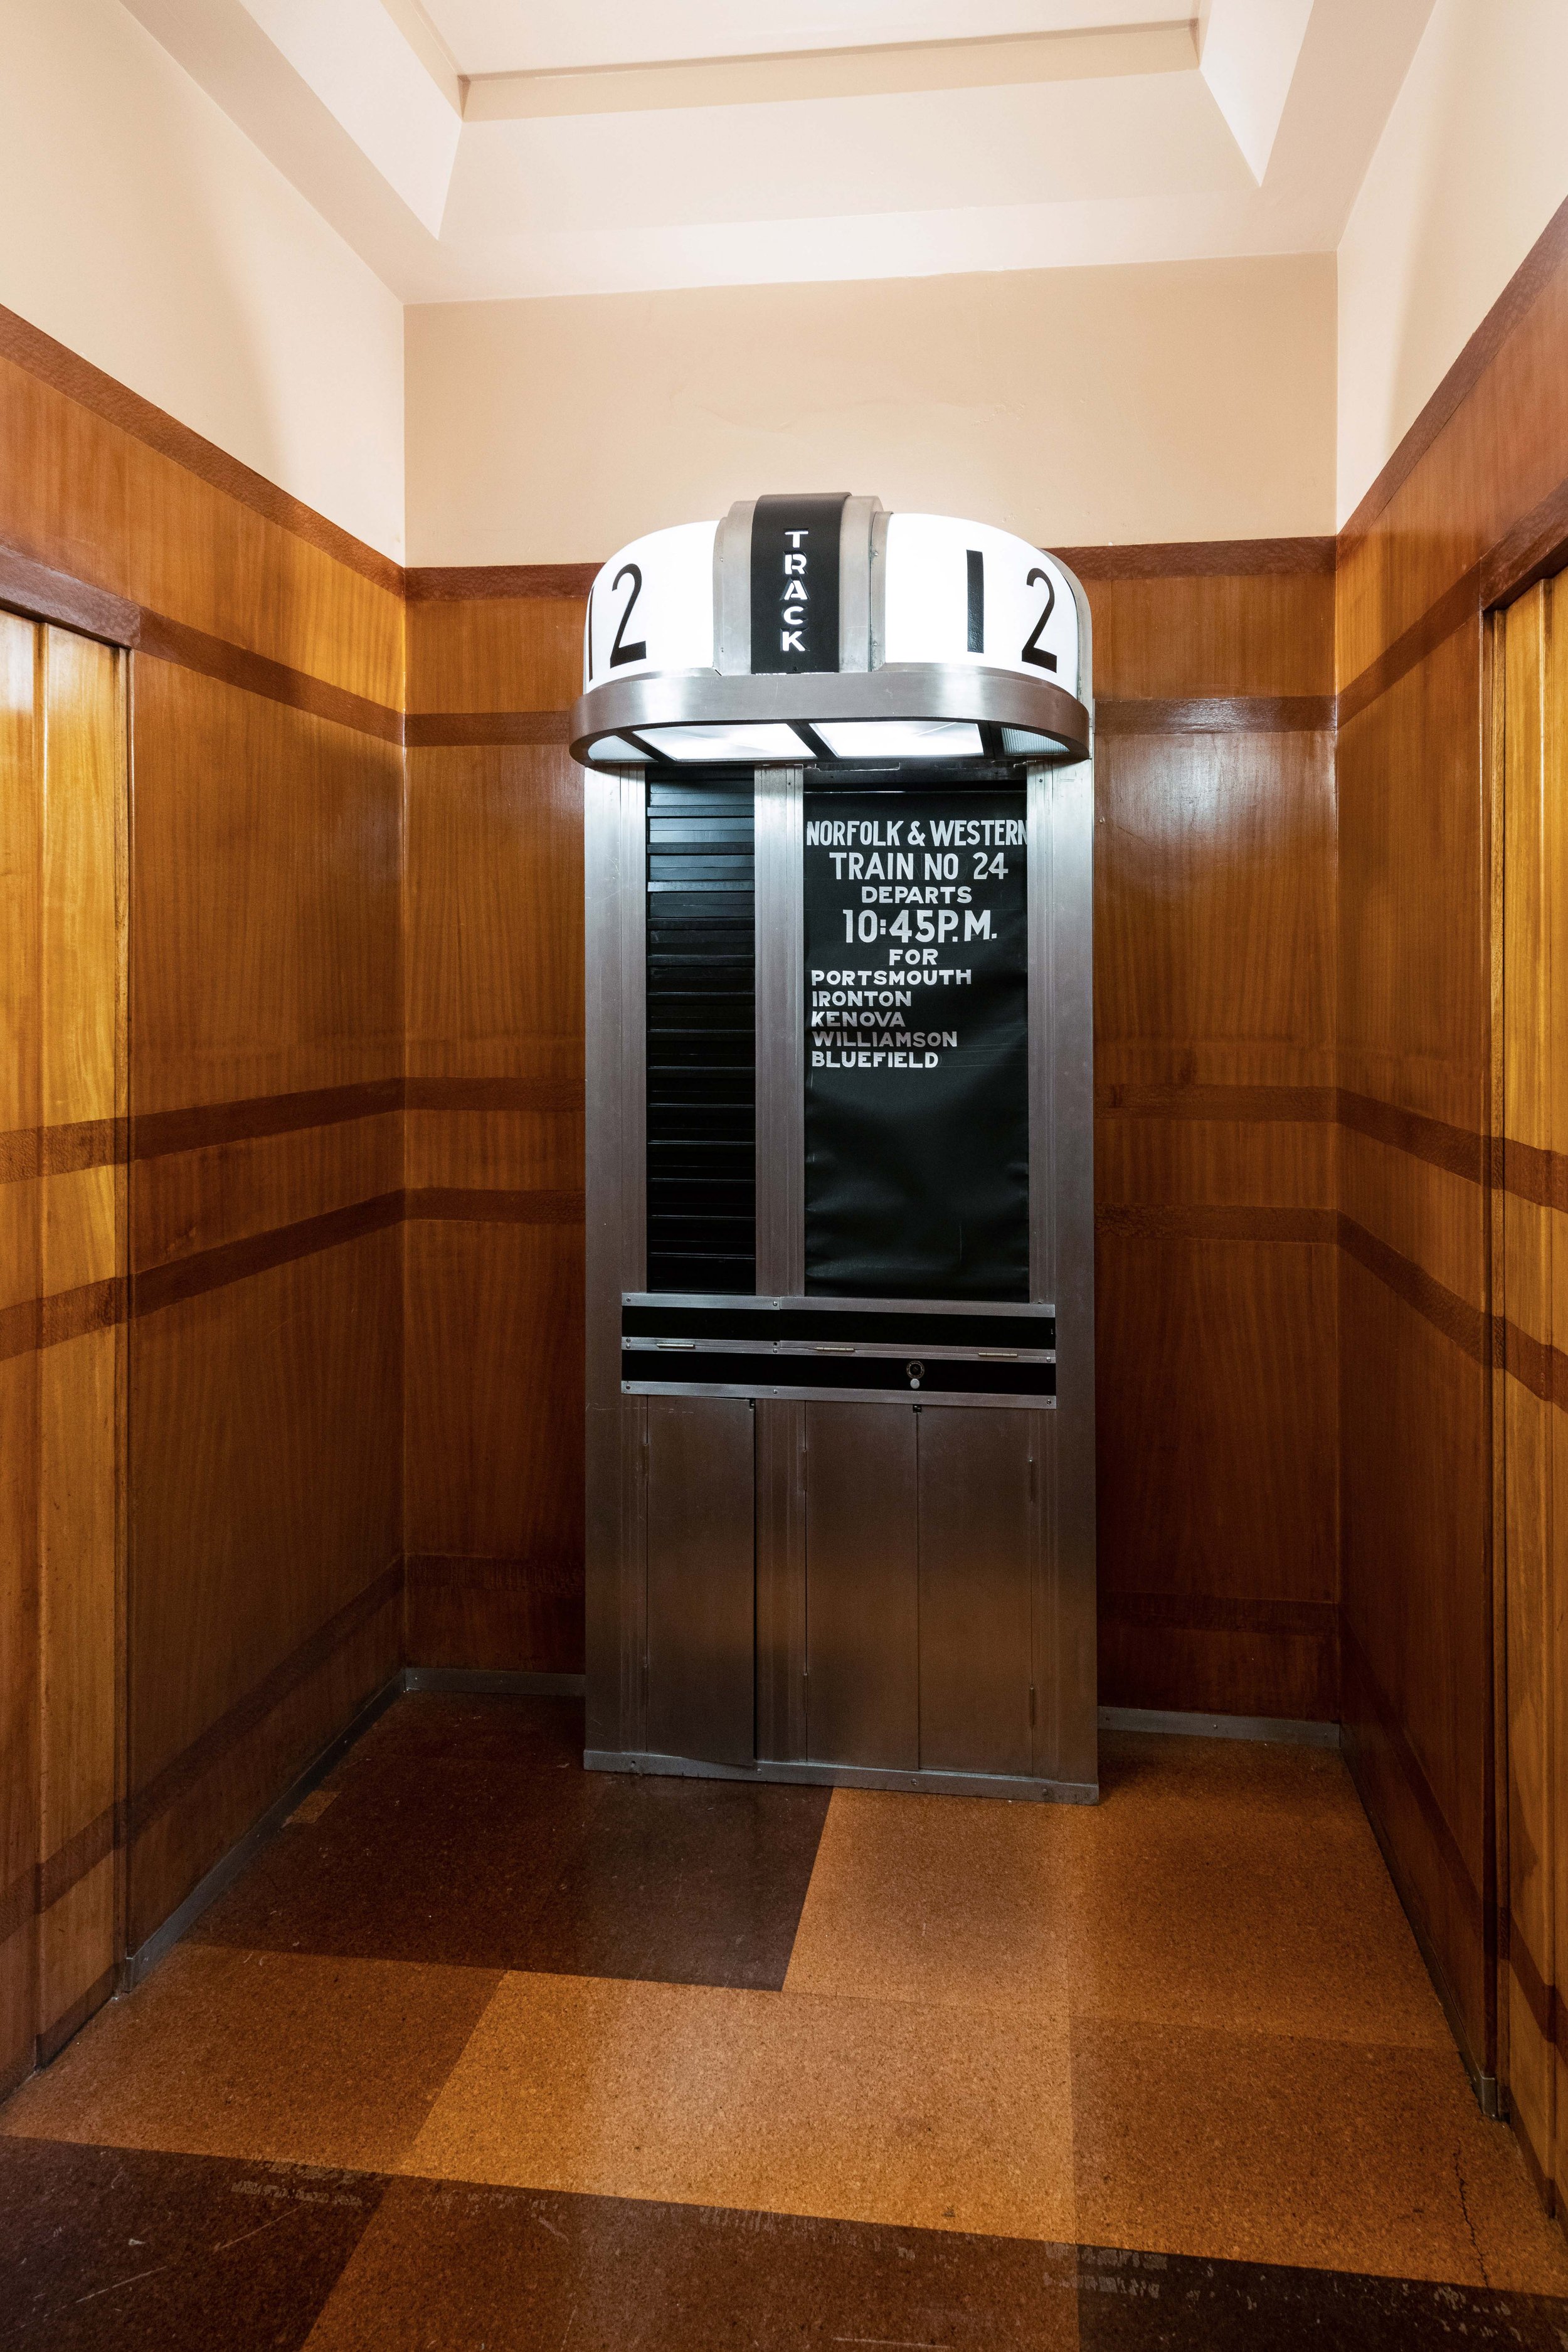
At the height of rail travel during WWII, over 30,000 passengers a day passed through the concourse on their way across the country. The USO set up accommodations for soldiers on their way home or to the front, filling offices with cots for a quick nap and converting the tea room into a snack station serving coffee, doughnuts, and locally donated baked goods. An air-conditioned theater just off the rotunda showed the latest newsreels, and a lunchroom offered a hot meal to travelers. To give you an idea of just how far backwards we’ve gone from the golden age of rail travel, passengers could take advantage of a wide variety of services while waiting for their trains. Rather than scurrying through Penn Station like I used to do every workday, passengers could grab a reasonably priced meal at the lunchroom, take a quick shower to freshen up, get a haircut and a shoe shine, or have light refreshments at the tea room. Now only two Amtrak trains stop in Cincinnati three times a week, and both in the early hours of the morning (1:30 AM inbound and 3:30 AM outbound to NYC on the Cardinal route). Cincinnati Union Terminal was truly the gateway to the city, guaranteed to leave a lasting impression.

The engineering behind the terminal is a marvel within itself. The half-dome is 180 feet wide and uses a double-walled construction method. Steam heat is piped between the roof and ceiling to keep the rotunda at a comfortable temperature. The entire terminal and rail yard had to be raised to avoid flooding. The complex mixture of steel and concrete had taken a beating by 2016 when occupants of the terminal were able to raise enough money to fund a complete renovation, which wrapped in 2018.

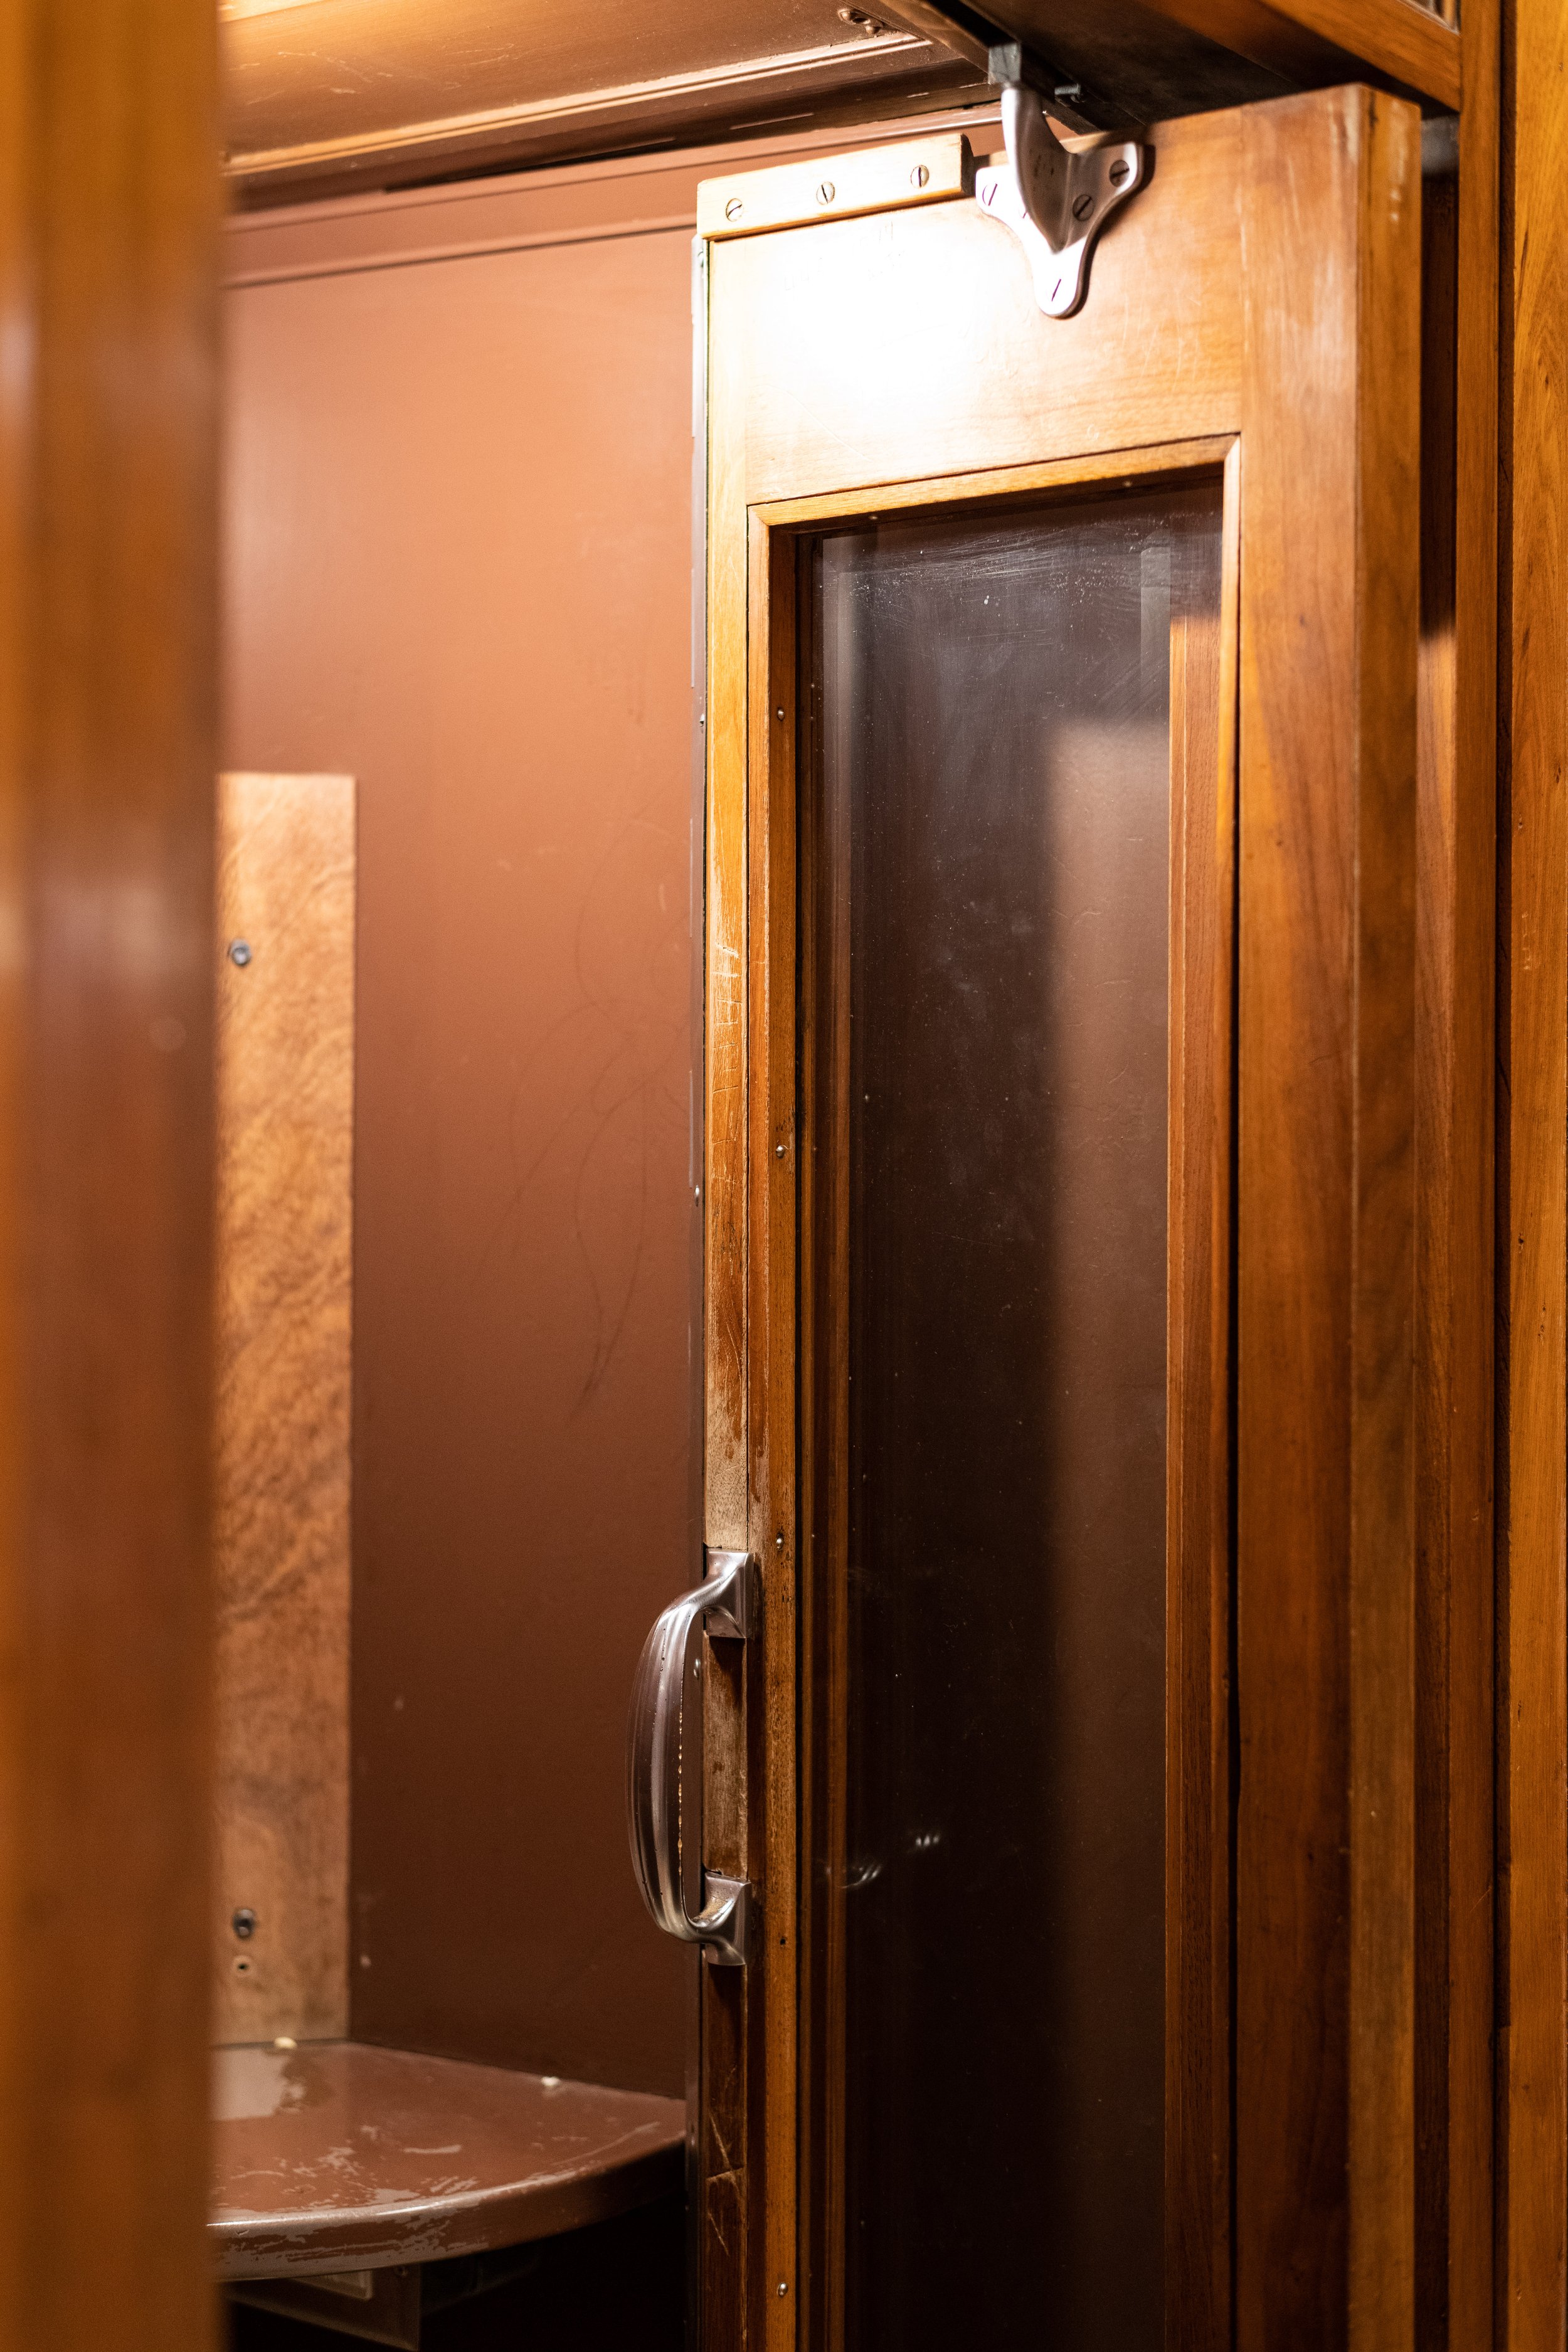
Operated as an independent corporation, Cincinnati Union Station contained offices for the station management which were completed in the Art Deco design. Suffering from weather damage and vandalism, these offices were restored to their former glory by volunteers. The secretary and president’s office feature Art Deco built-in desks, and the president’s office in particular is awash in hand-crafted detail. A map of the United States is inlaid over the fireplace (which was used on occasion) and a motif of the terminal is inlaid above the office’s entrance. The offices and board room feature cork floors, a nifty building material choice designed to dampen the noise from the nearby rail yard.

I was hoping to take a tour of Tower A, which gave a bird’s eye view of the tracks surrounding the terminal, but it was unfortunately closed. The Cincinnati Railroad Club restored the space and occupied it until the latest restoration was completed, when they were unceremoniously evicted from the space over stipulations which forced the terminal to charge the volunteer organization rent. Hopefully they reopen it someday and I’ll be able to take that tour.

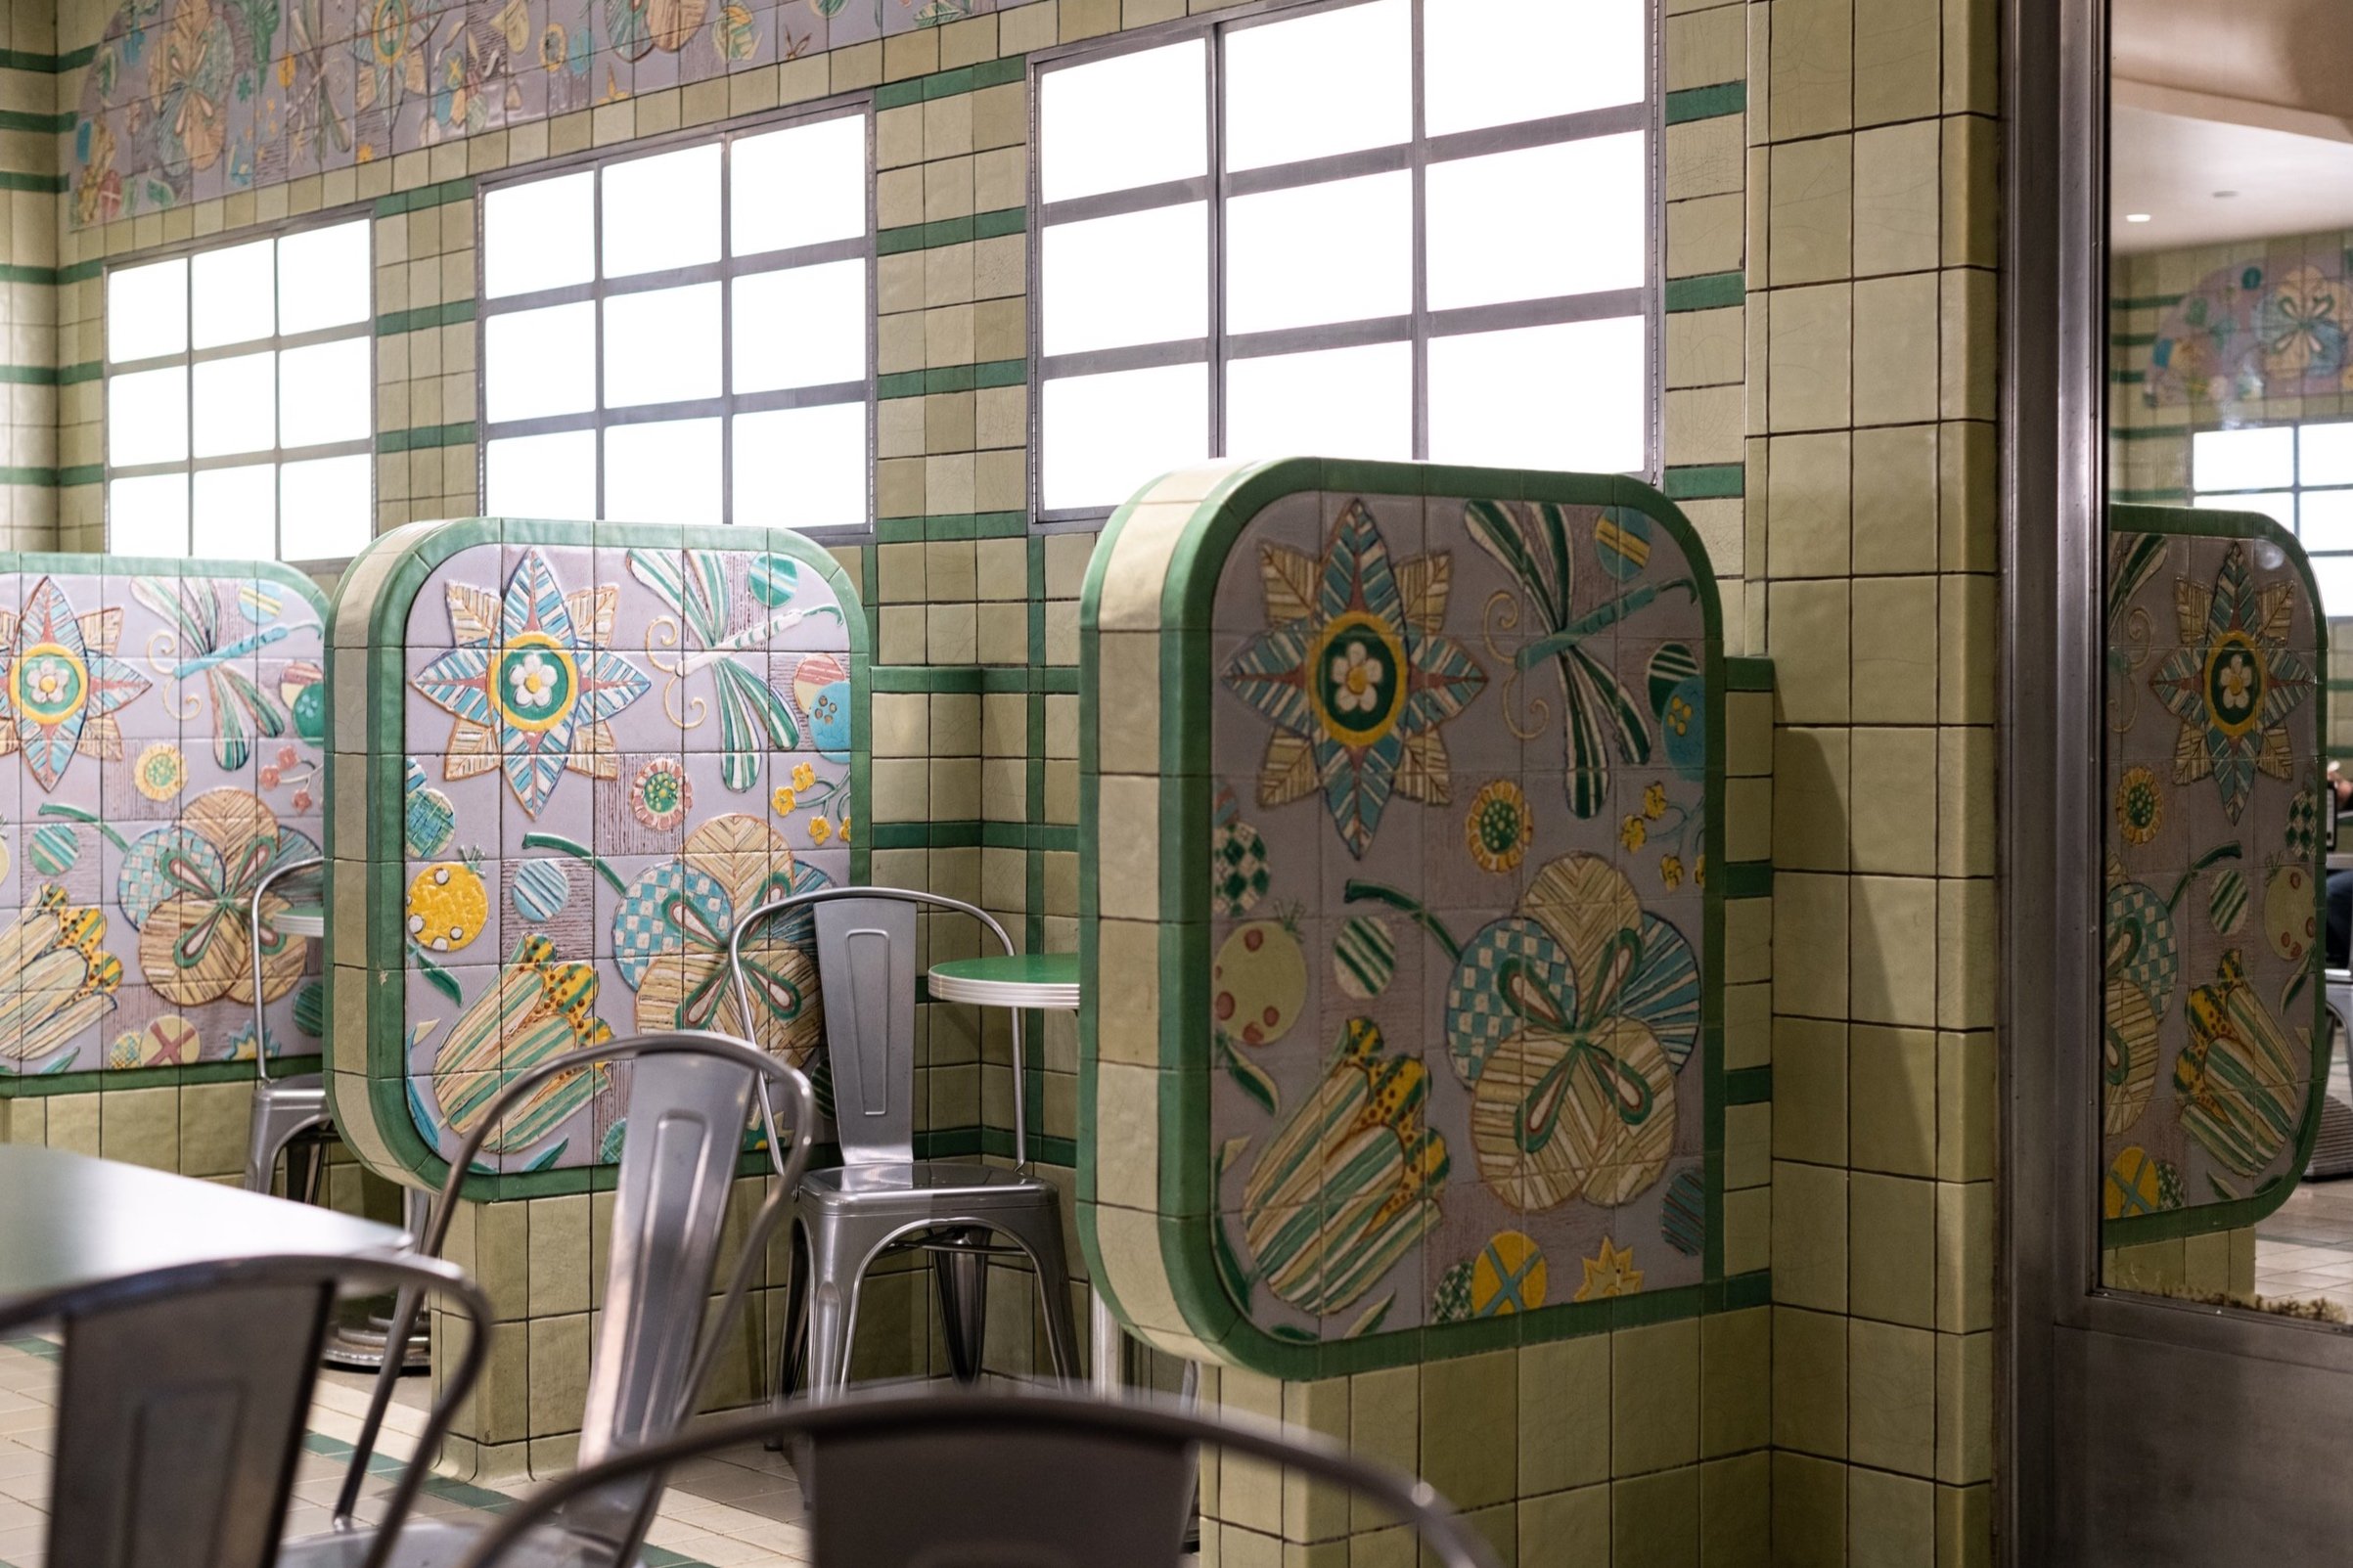
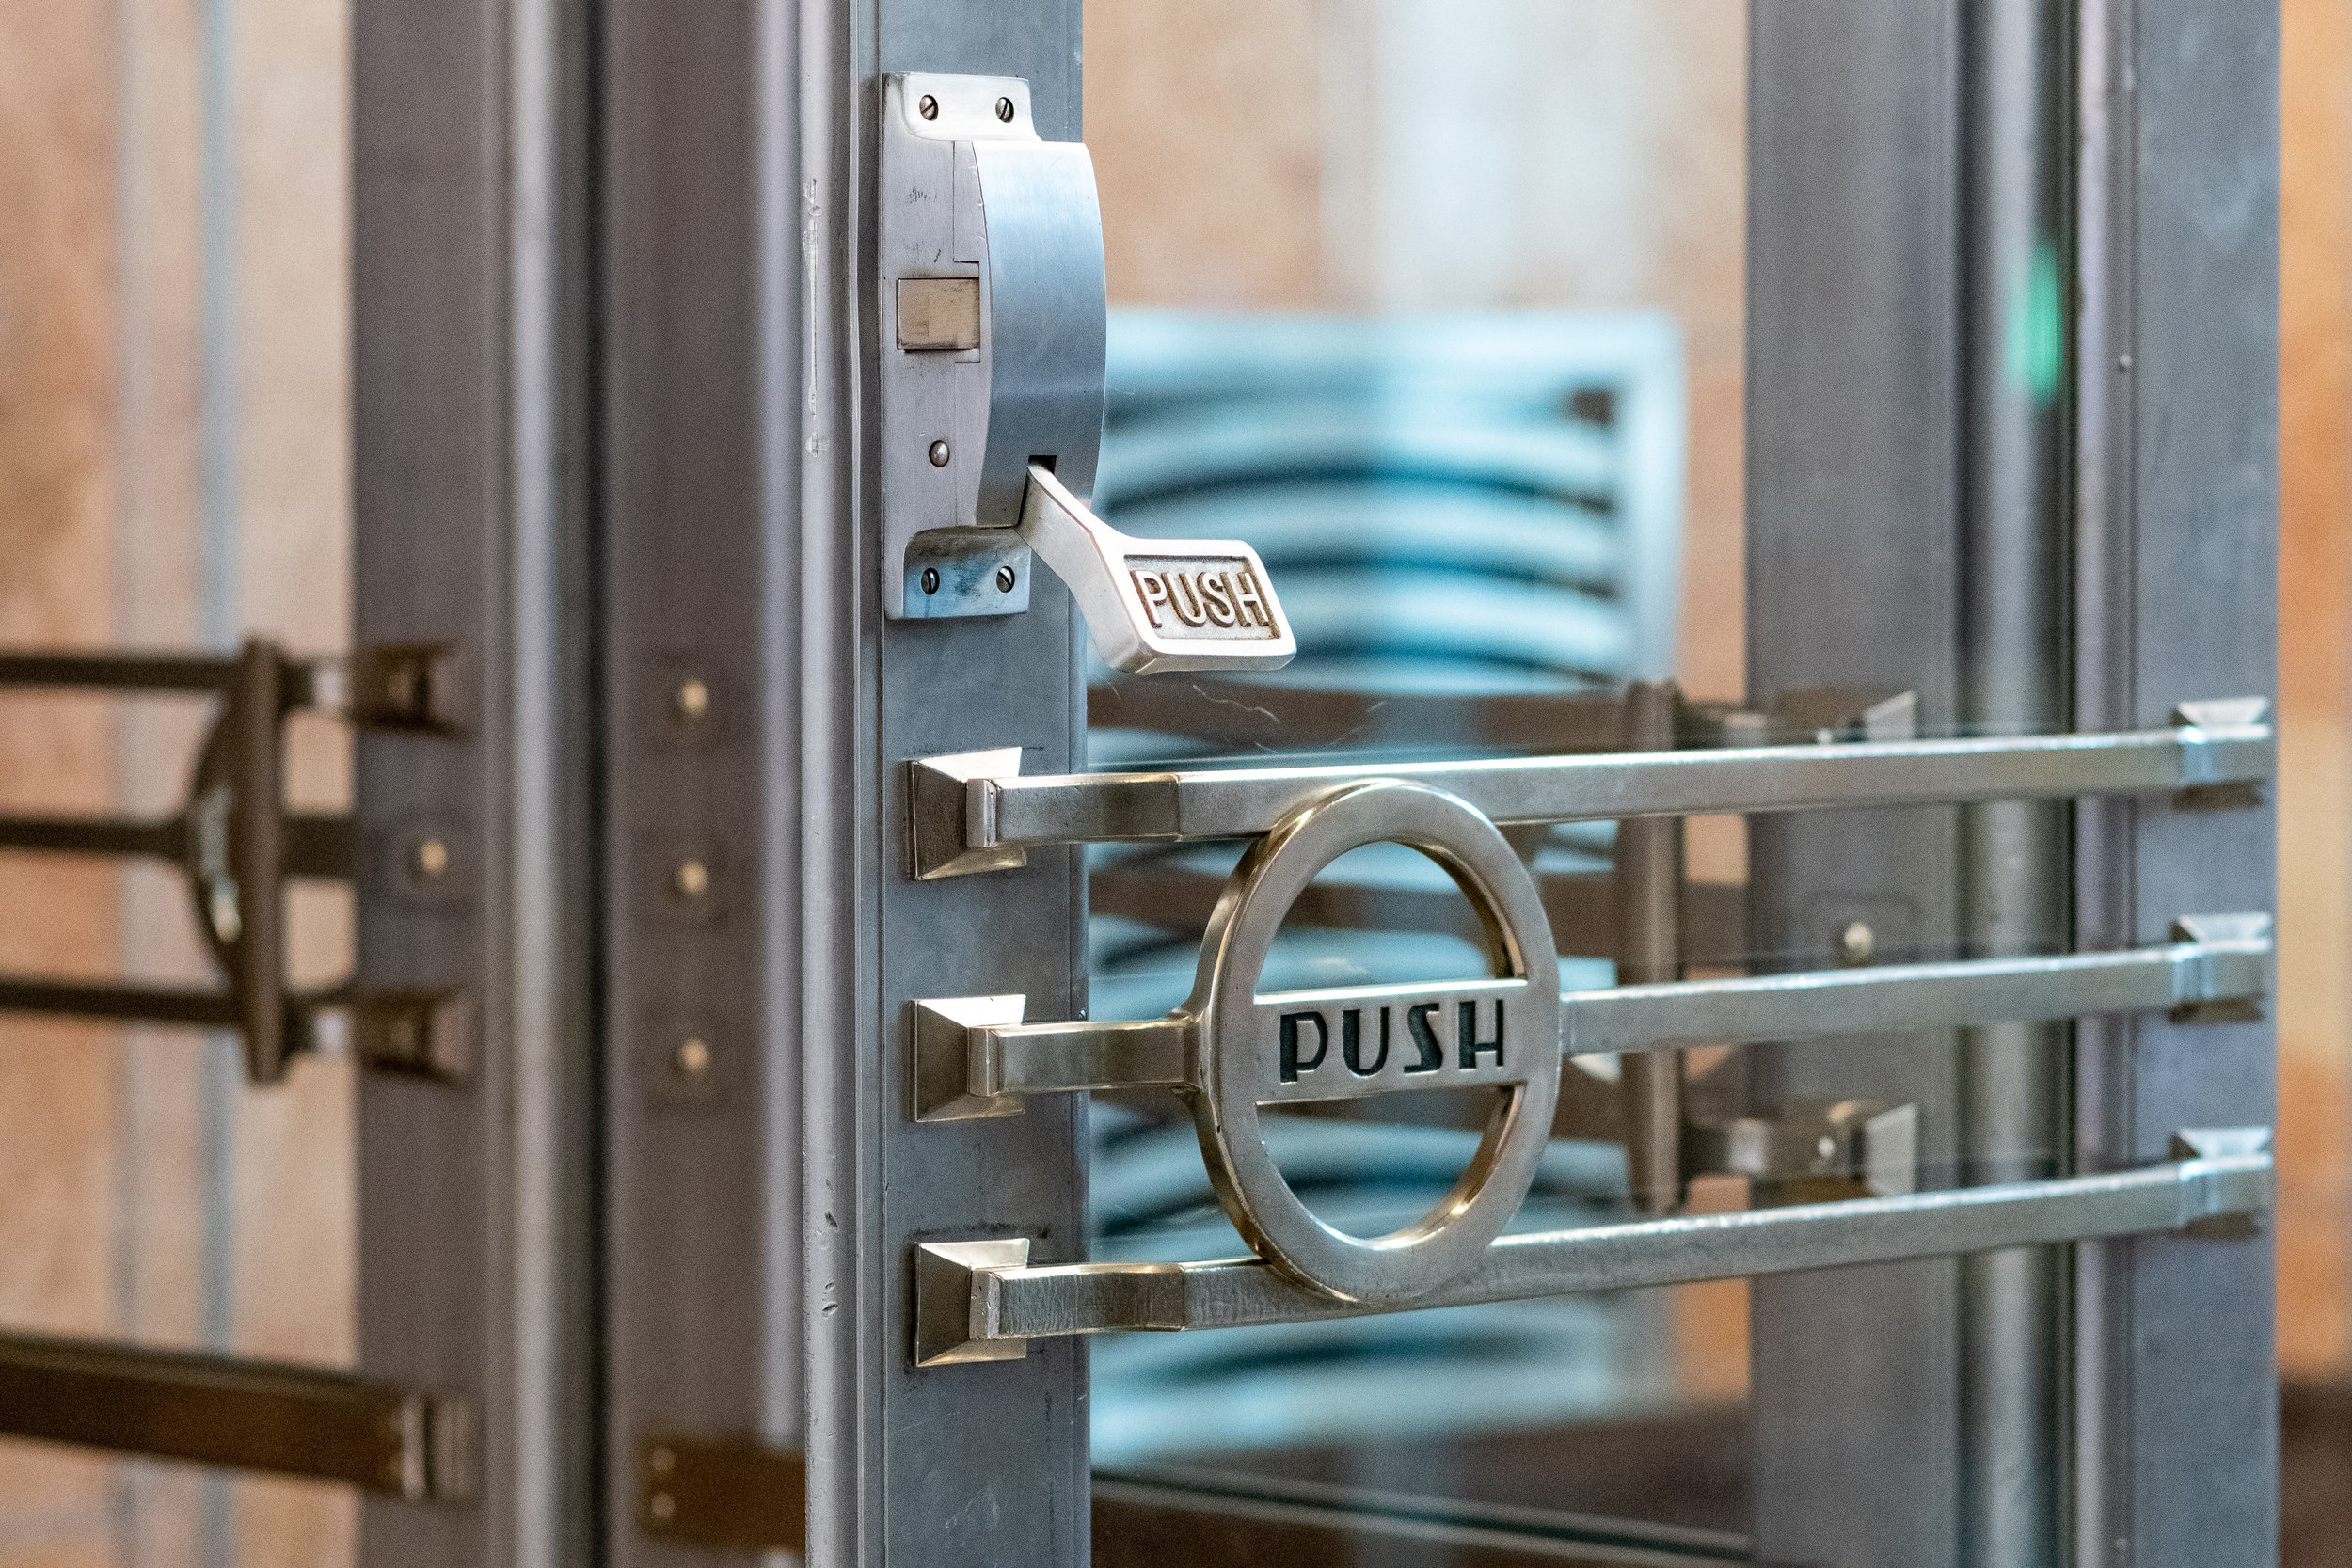
Among one of the more unique reuses of Cincinnati Union Terminal was the opening of a department store in the rotunda, which survived until 1985. Luckily the Art Deco details of the terminal were left intact! These details remind me a lot of my office at 30 Rockefeller Plaza in NYC—the abundance of painted artwork like that on the ceiling of the Cincinnati Room, the chrome door hardware, and the US Mail Boxes in the rotunda walls. The breadth of materials used is impressive—paint for murals, tile and dyed concrete for the 100-foot wide motifs depicting Cincinnati’s history in the rotunda, glazed tiles in the tea room, and hand-cut linoleum as the material of choice to depict the African-themed artwork near the lunchroom.

Gazing out the terminal and imagining how things would’ve looked here in 1941, I realized something—the tallest building on the horizon would’ve still been there to greet me. Built in 1931, the Carew Tower is another Cincinnati Art Deco icon that held the record of “tallest building in Cincinnati” until 2010. The tower features a historic Art Deco hotel, so I think I’ll need to find an excuse to stay in the city for a night on my next visit…

Nansen Ski Jump

The “Big Nansen”, otherwise known as the Nansen Ski Jump, was built between 1936-1937 and hosted its first event, the US Olympic tryouts, in 1938. The site is undergoing restoration efforts after being abandoned in 1988, and an additional two smaller jumps are under construction alongside the original. With the jump having sat dormant for so long, smaller jumps were needed to teach skiers how to handle the big one. As of this blog post, the smaller “Little Nansen” jump (situated to the right of the original) has been decked and is almost ready for use! You can keep up with their progress at the Nanasen Ski Club’s Facebook page.

Steel and wooden decking forms the backbone of the 171-foot tall ski jump, which looks impossibly large when viewed from the road below. A historical marker at the base of the jump explains how the Big Nansen was a product of the nearby City of Berlin and the National Youth Administration, and how it hosted the United States Ski Jumping National Championship in 1940, ’57, ’65, and ’72.

Across the way from the ski jump, the Nansen Wayside Park provides access to the Androscoggin River and a small boat launch. It was a beautiful summer day when I parked my car at the wayside area, crossed the road with my D850 in tow, and started the hike up the service road to see the Big Nansen up close.

Ascending 200 feet up to the Big Nansen, the incredible scale of the jump becomes even more apparent. While I don’t ski, I can see why the decision to construct two smaller jumps was made - taking your first jump off the Big Nansen would be a terrifying introduction into the sport. Adjacent to the ski jump is the decaying remains of the two story judges booth, which has yet to be restored. The worn decking of the jump was replaced in 2017.

The two circular images with black borders in this post were shot with my newest lens, the Nikon 8-15mm f/3.5-4.5 fisheye. Fisheye lenses are a bit of a gimmick, creating a circular image at their widest end but offering an incredible field of view using a non-rectilinear design. They flare like crazy because so much of the front element protrudes from the lens barrel, and I struggled to block the sun without getting any extremities in the photo. The lens hood can only be used at the 15mm end because otherwise it’ll show up in the picture.

I was always on the fence about the usefulness of fisheye lenses, but now I’m sold. Shooting situations like the Big Nansen are where a fisheye can really shine by providing an exaggerated sense of scale and offering unique perspectives that only a circular fisheye could provide. I haven’t been up to NH in the winter (because the family cabin is 3 seasons and I don’t want to be a popsicle), but I just might have to make a trip up when the jump opens up to the public. I won’t be making the jump myself, but I’d love to see somebody who knows what they’re doing give it a shot!

The NJ Museum of Transportation

The New Jersey Museum of Transportation is a narrow gauge railway that operates within Allaire State Park, though the museum isn’t financially supported by the NJ State Parks Department. They operate as a 50(c)3 non-profit and rely on both donations and train ride tickets to keep the things rolling. This wasn’t my first visit to the museum, but it was the first time I had a camera with me to document the experience.

Founded in 1952, the museum operates a loop track within Allaire State Park and owns a handful of historic building that were moved to the grounds, including the former Allenwood and Freneau train stations. Their collection spans both diesel and steam locomotives, though only the diesel locomotives are operative. The workhorse of the railroad, a WWII vintage diesel locomotive, was originally used to move ordinance around an army base in Hawaii. The train I rode consisted of this locomotive, an army munitions flatcar that was converted by the museum to carry passengers, and a Central Railroad of NJ caboose.

I was lucky enough to take a behind the scenes tour of the facilities with a few of the folks who volunteer with the museum. There are two main buildings where the museum maintains and restores their historic rolling stock - the workshop and car barn. Starting my tour in the workshop, I was introduced to a restored GE 50 ton locomotive that dwarfs the GE 25 ton diesel-electric that pulled my train around the .5 mile long track. A trio of these locomotives came from a US Steel plant, with one being fully restored by the museum and the others used for spare parts. A remotely operated model of the GE 50 ton which was used to work close to the heat of the steel furnaces sits in the car barn with the other inoperative locomotive.

Though in full working order, the restored GE 50 ton only makes a public appearances for special occasions. The weight of the locomotive puts excessive wear on the rails, which means more upkeep for the volunteers to contend with. Restoration projects going on around the workshop include the refurbishment of rail car trucks and the repair of a steam engine boiler, with the hopes of eventually bringing a steam engine from the museum’s collection back to life.

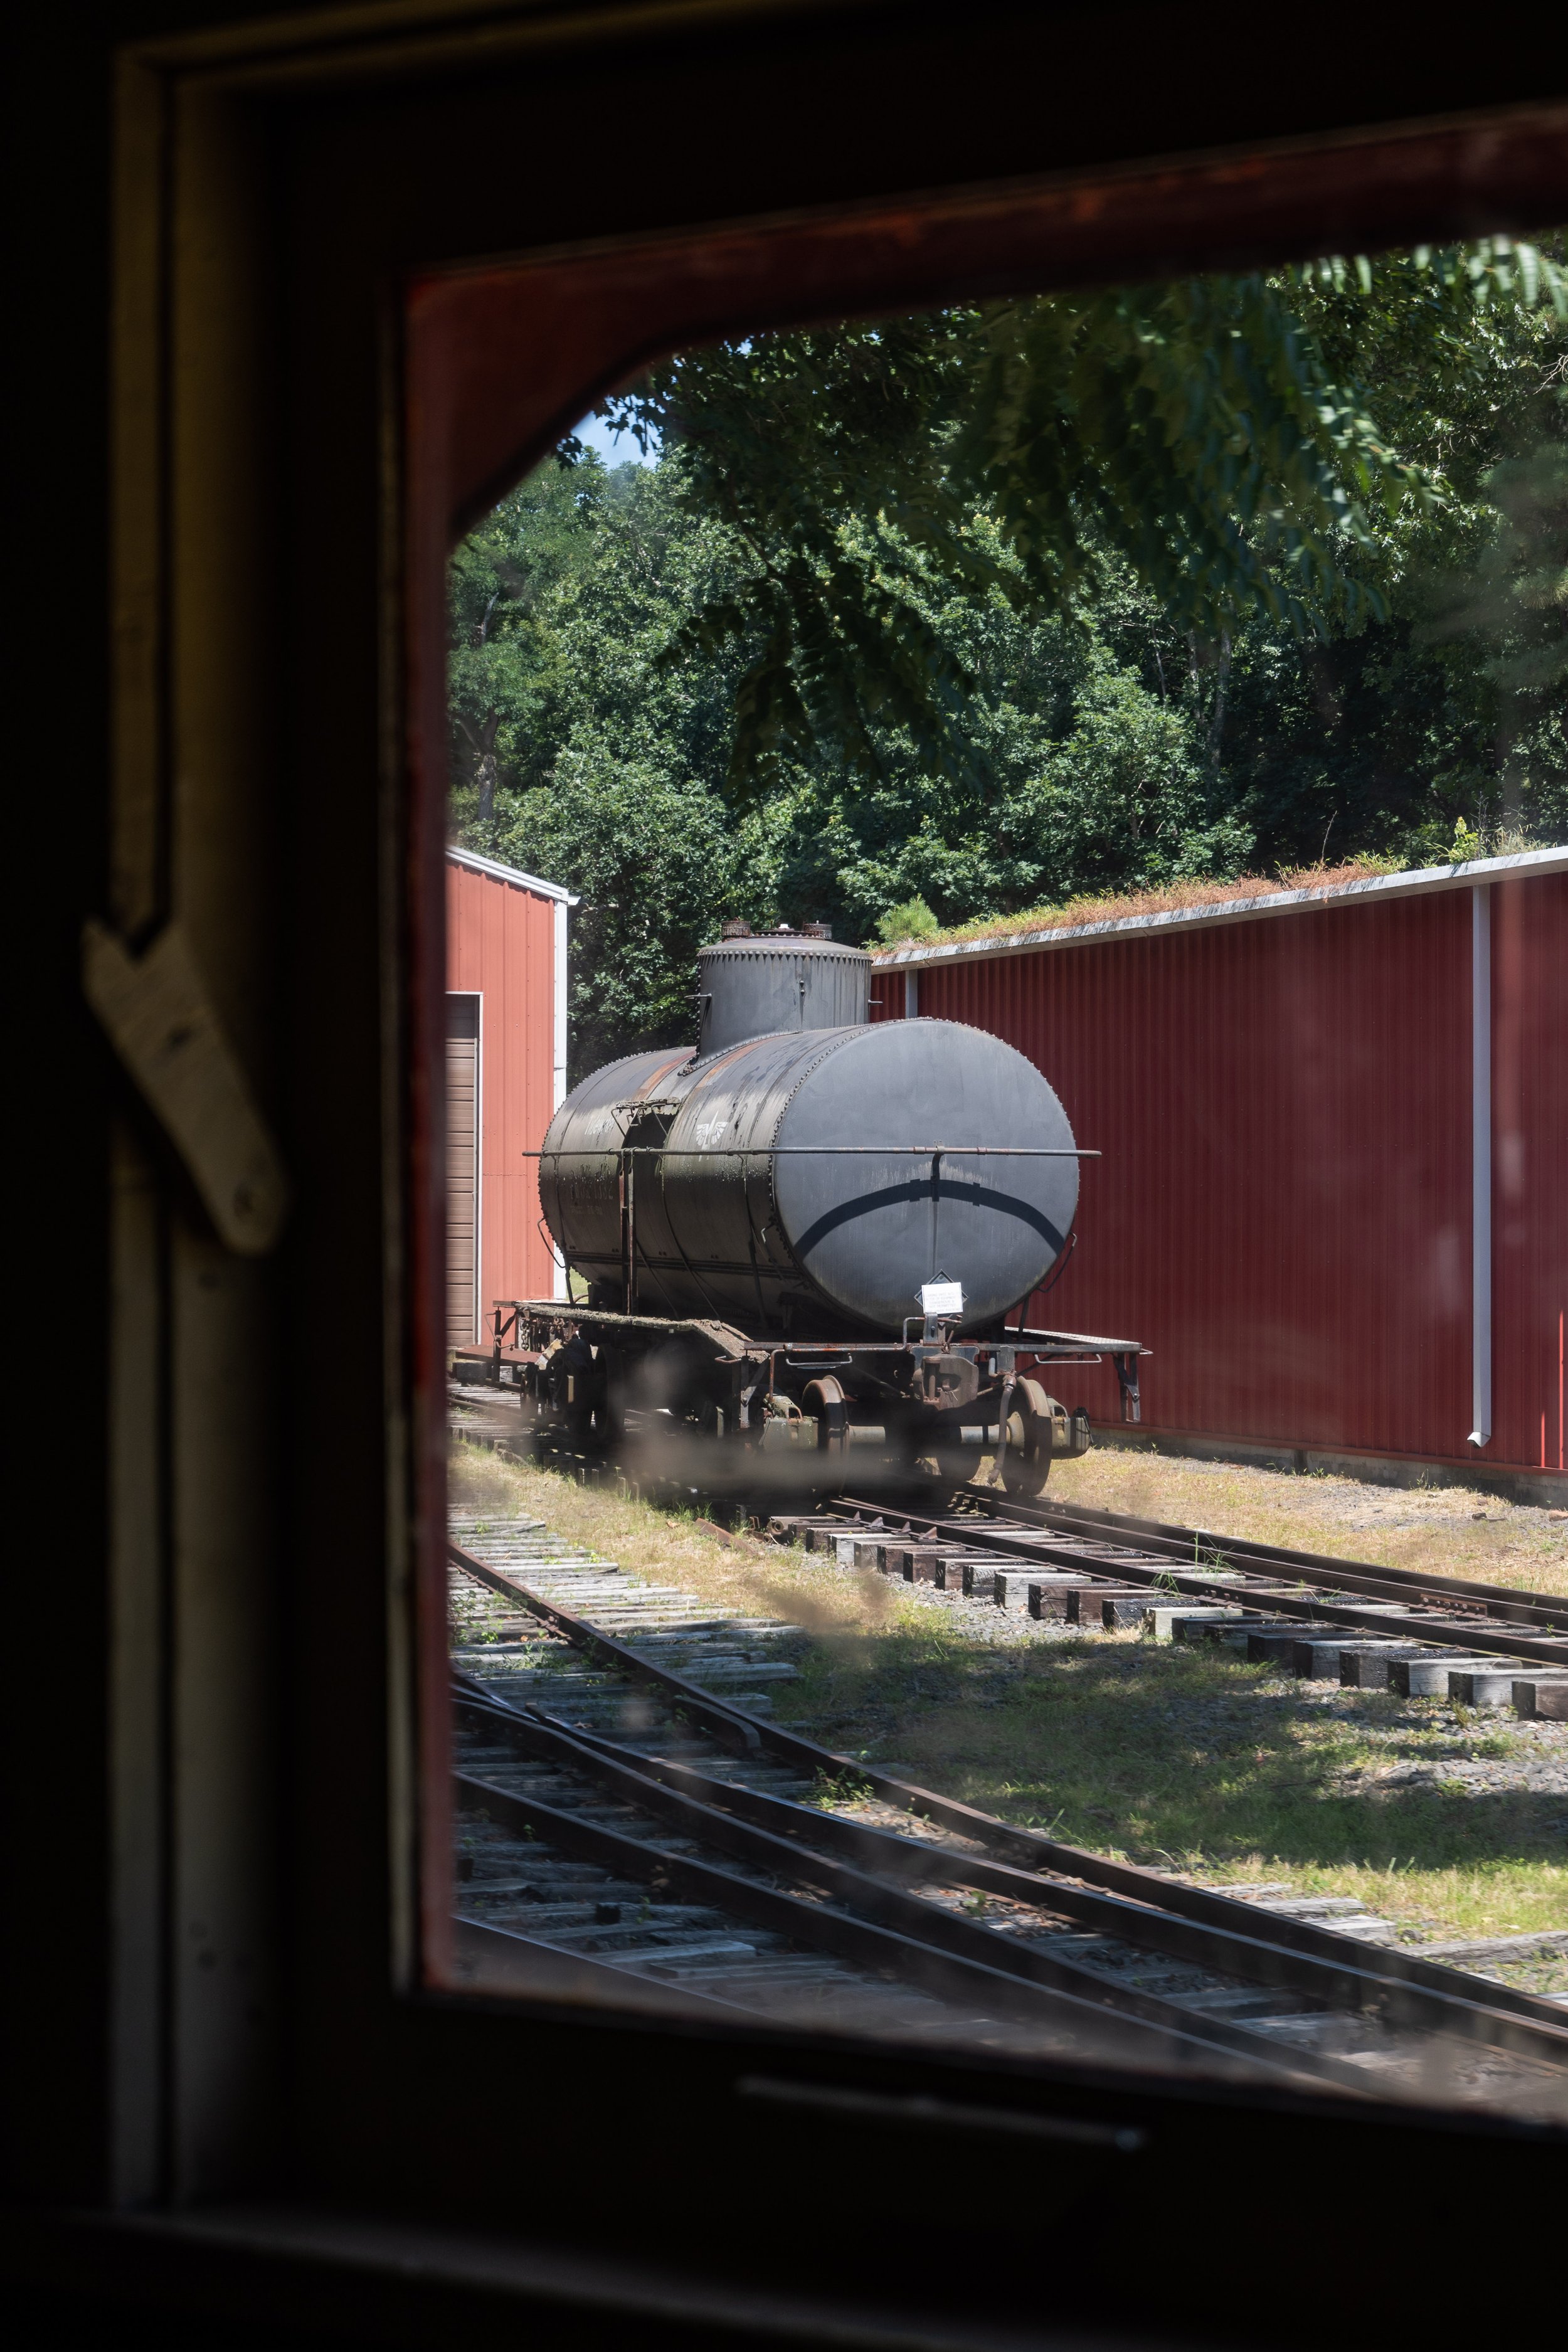
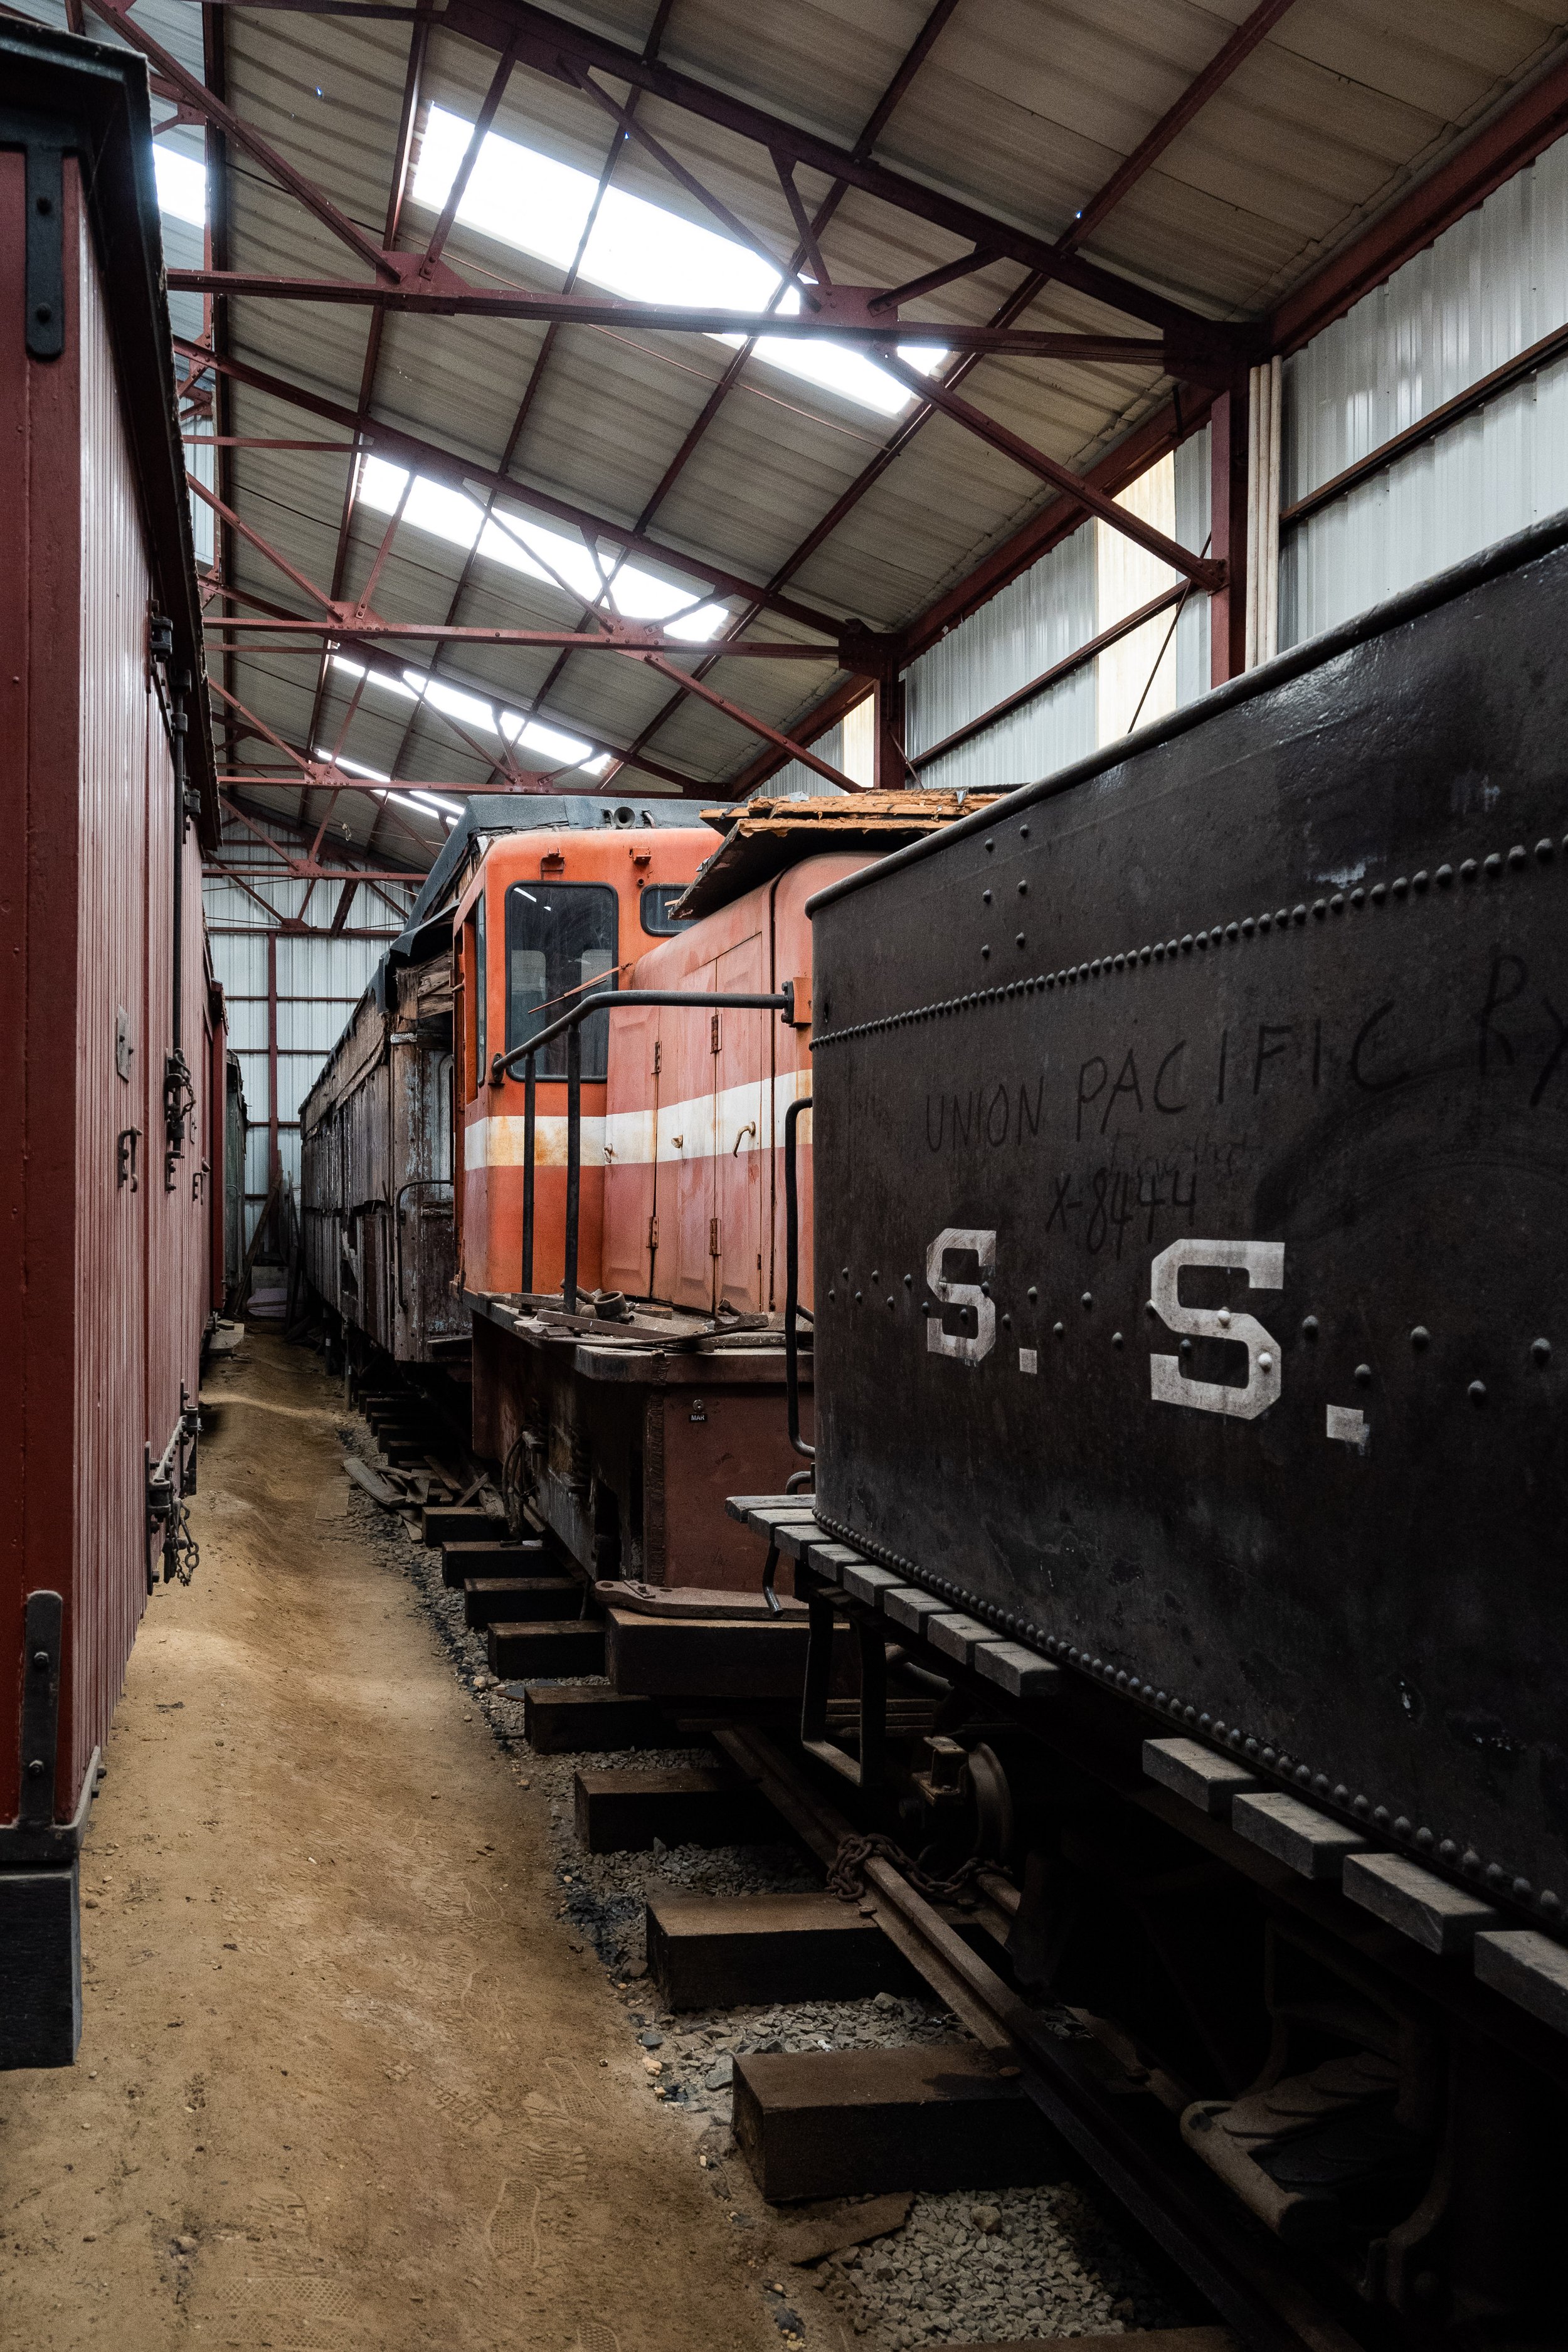
The car barn is a large storage area behind the workshop which holds many pieces of railroad history just waiting for their chance at restoration. Steam locomotives, Pullman cars, and railroad maintenance equipment are housed here in varying states of disrepair. A lot of the equipment now in the barn had suffered vandalism while being stored at the museum, back when things were kept in the open air. I’d particularly love to ride the Pullman car once it’s been fully restored. Some standard gauge railcars like the tanker pictured above are stored outside the car barn.

I was drawn to the green and yellow paint job of the Pine Creek Railroad locomotive below. The Pine Creek Railroad and the NJ Museum of Transportation are one in the same, though only this locomotive (from what I saw) has this detailed paint scheme.

Of all the projects just waiting in the car barn, the steam engines in particular will be quite difficult to restore because of the boiler work and subsequent state inspections required. The railroad is subject to many of the same regulations and insurance requirements larger carriers like NJ Transit and CSX must comply with. With an all volunteer force and a severely depleted operating budget caused by the COVID-19 pandemic, 2022 was the first year that semi-typical operations were able to resume. If you live in NJ, I think it’s worth your time to take a trip to Allaire to see both the historic village and the NJ Museum of Transportation. All the volunteers I spoke to were incredibly friendly, and I have to give them a shoutout for taking me on a “behind the scenes” tour of the museum.

Fort Ticonderoga

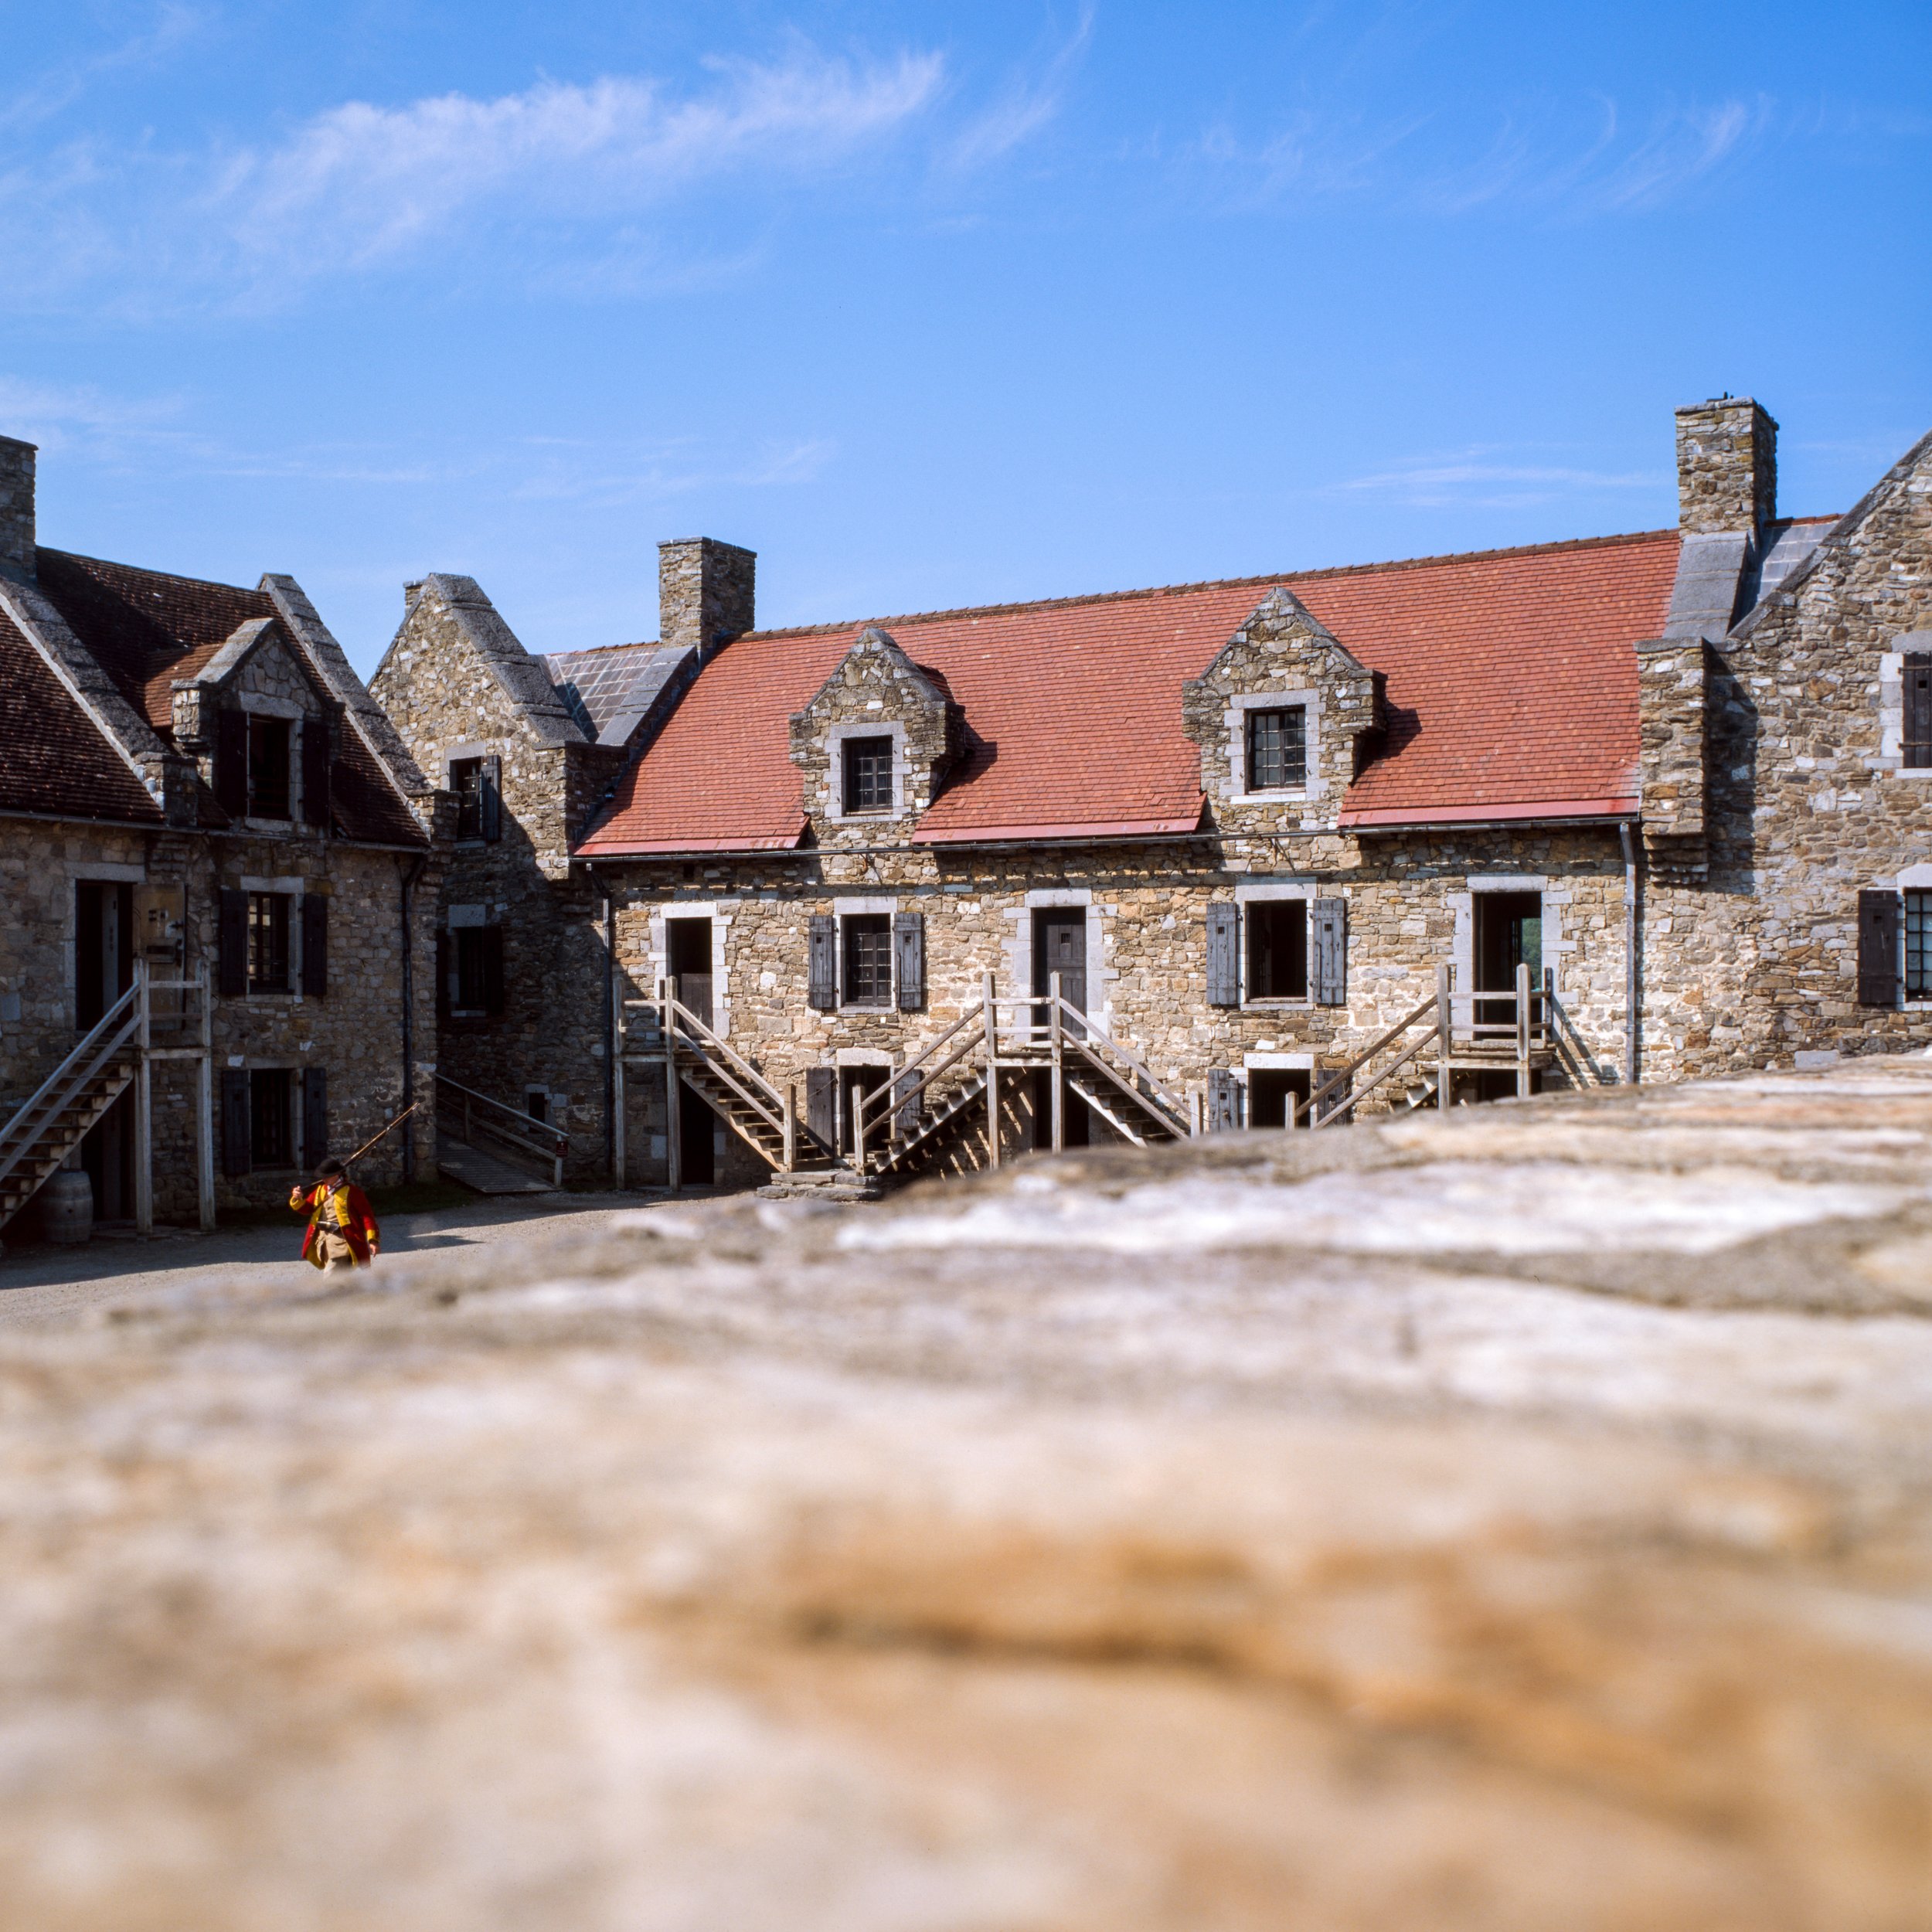
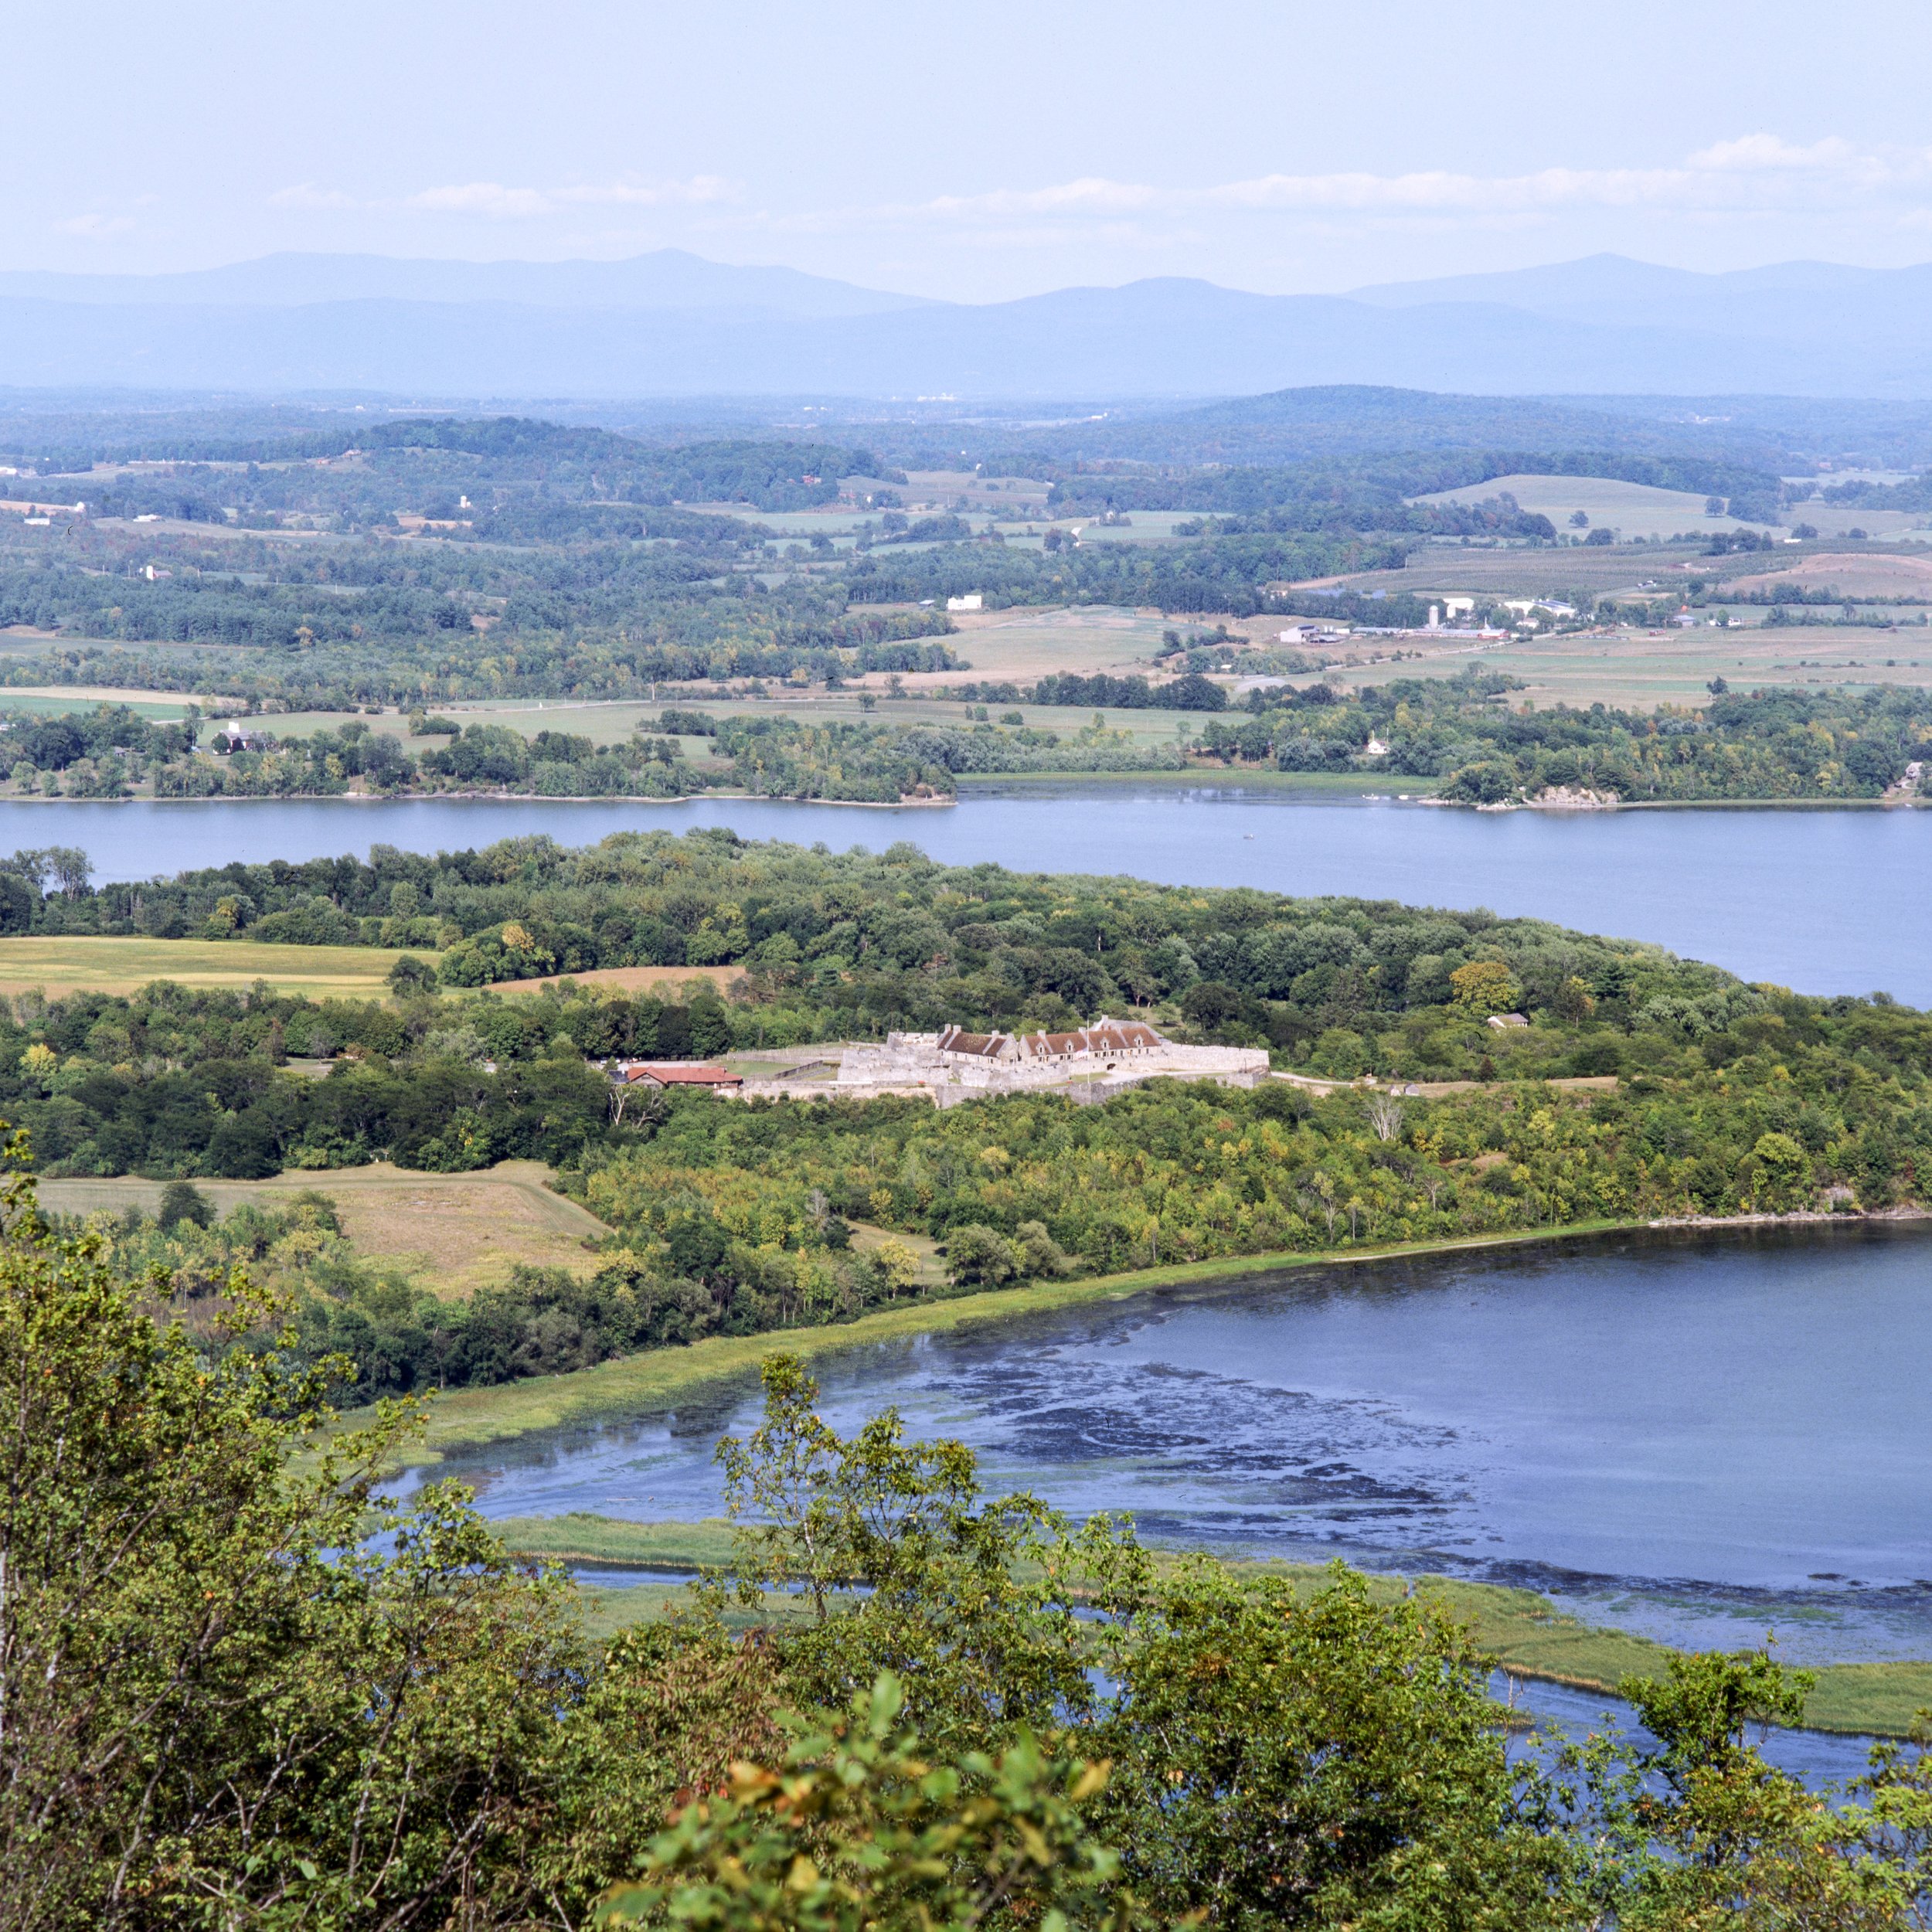
Overlooking Lake Champlain in upstate New York is Fort Ticonderoga, constructed by France during the French and Indian War. As I looked across the area around me on the drive up to the fort, I wondered “why?” - why build a fort perched above a lake? The placement of the fort just seemed so strange, overlooking a bend in the lake where the historic La Chute river connects Lake Champlain and Lake George.

The answer to “why?” is actually pretty simple. Back in the days when overland travel was difficult and inefficient compared to boats, the waters of Lake Champlain made up a key component of the route used by natives and traders to transit between the Saint Lawrence and Hudson River Valleys via Lake Champlain and Lake George. Both Fort Ticonderoga and Fort Saint-Frédéric (later Fort Crown Point) were built by the French to control trade on the waterways. The fort fell into ruin many times over the years as its importance wained, changing from French, to British, to American hands. During the Revolutionary War, Ethan Allen of Vermont and the Green Mountain Boys captured the fort from the British and used it as a staging base to press their unsuccessful invasion of Quebec in August 1775.

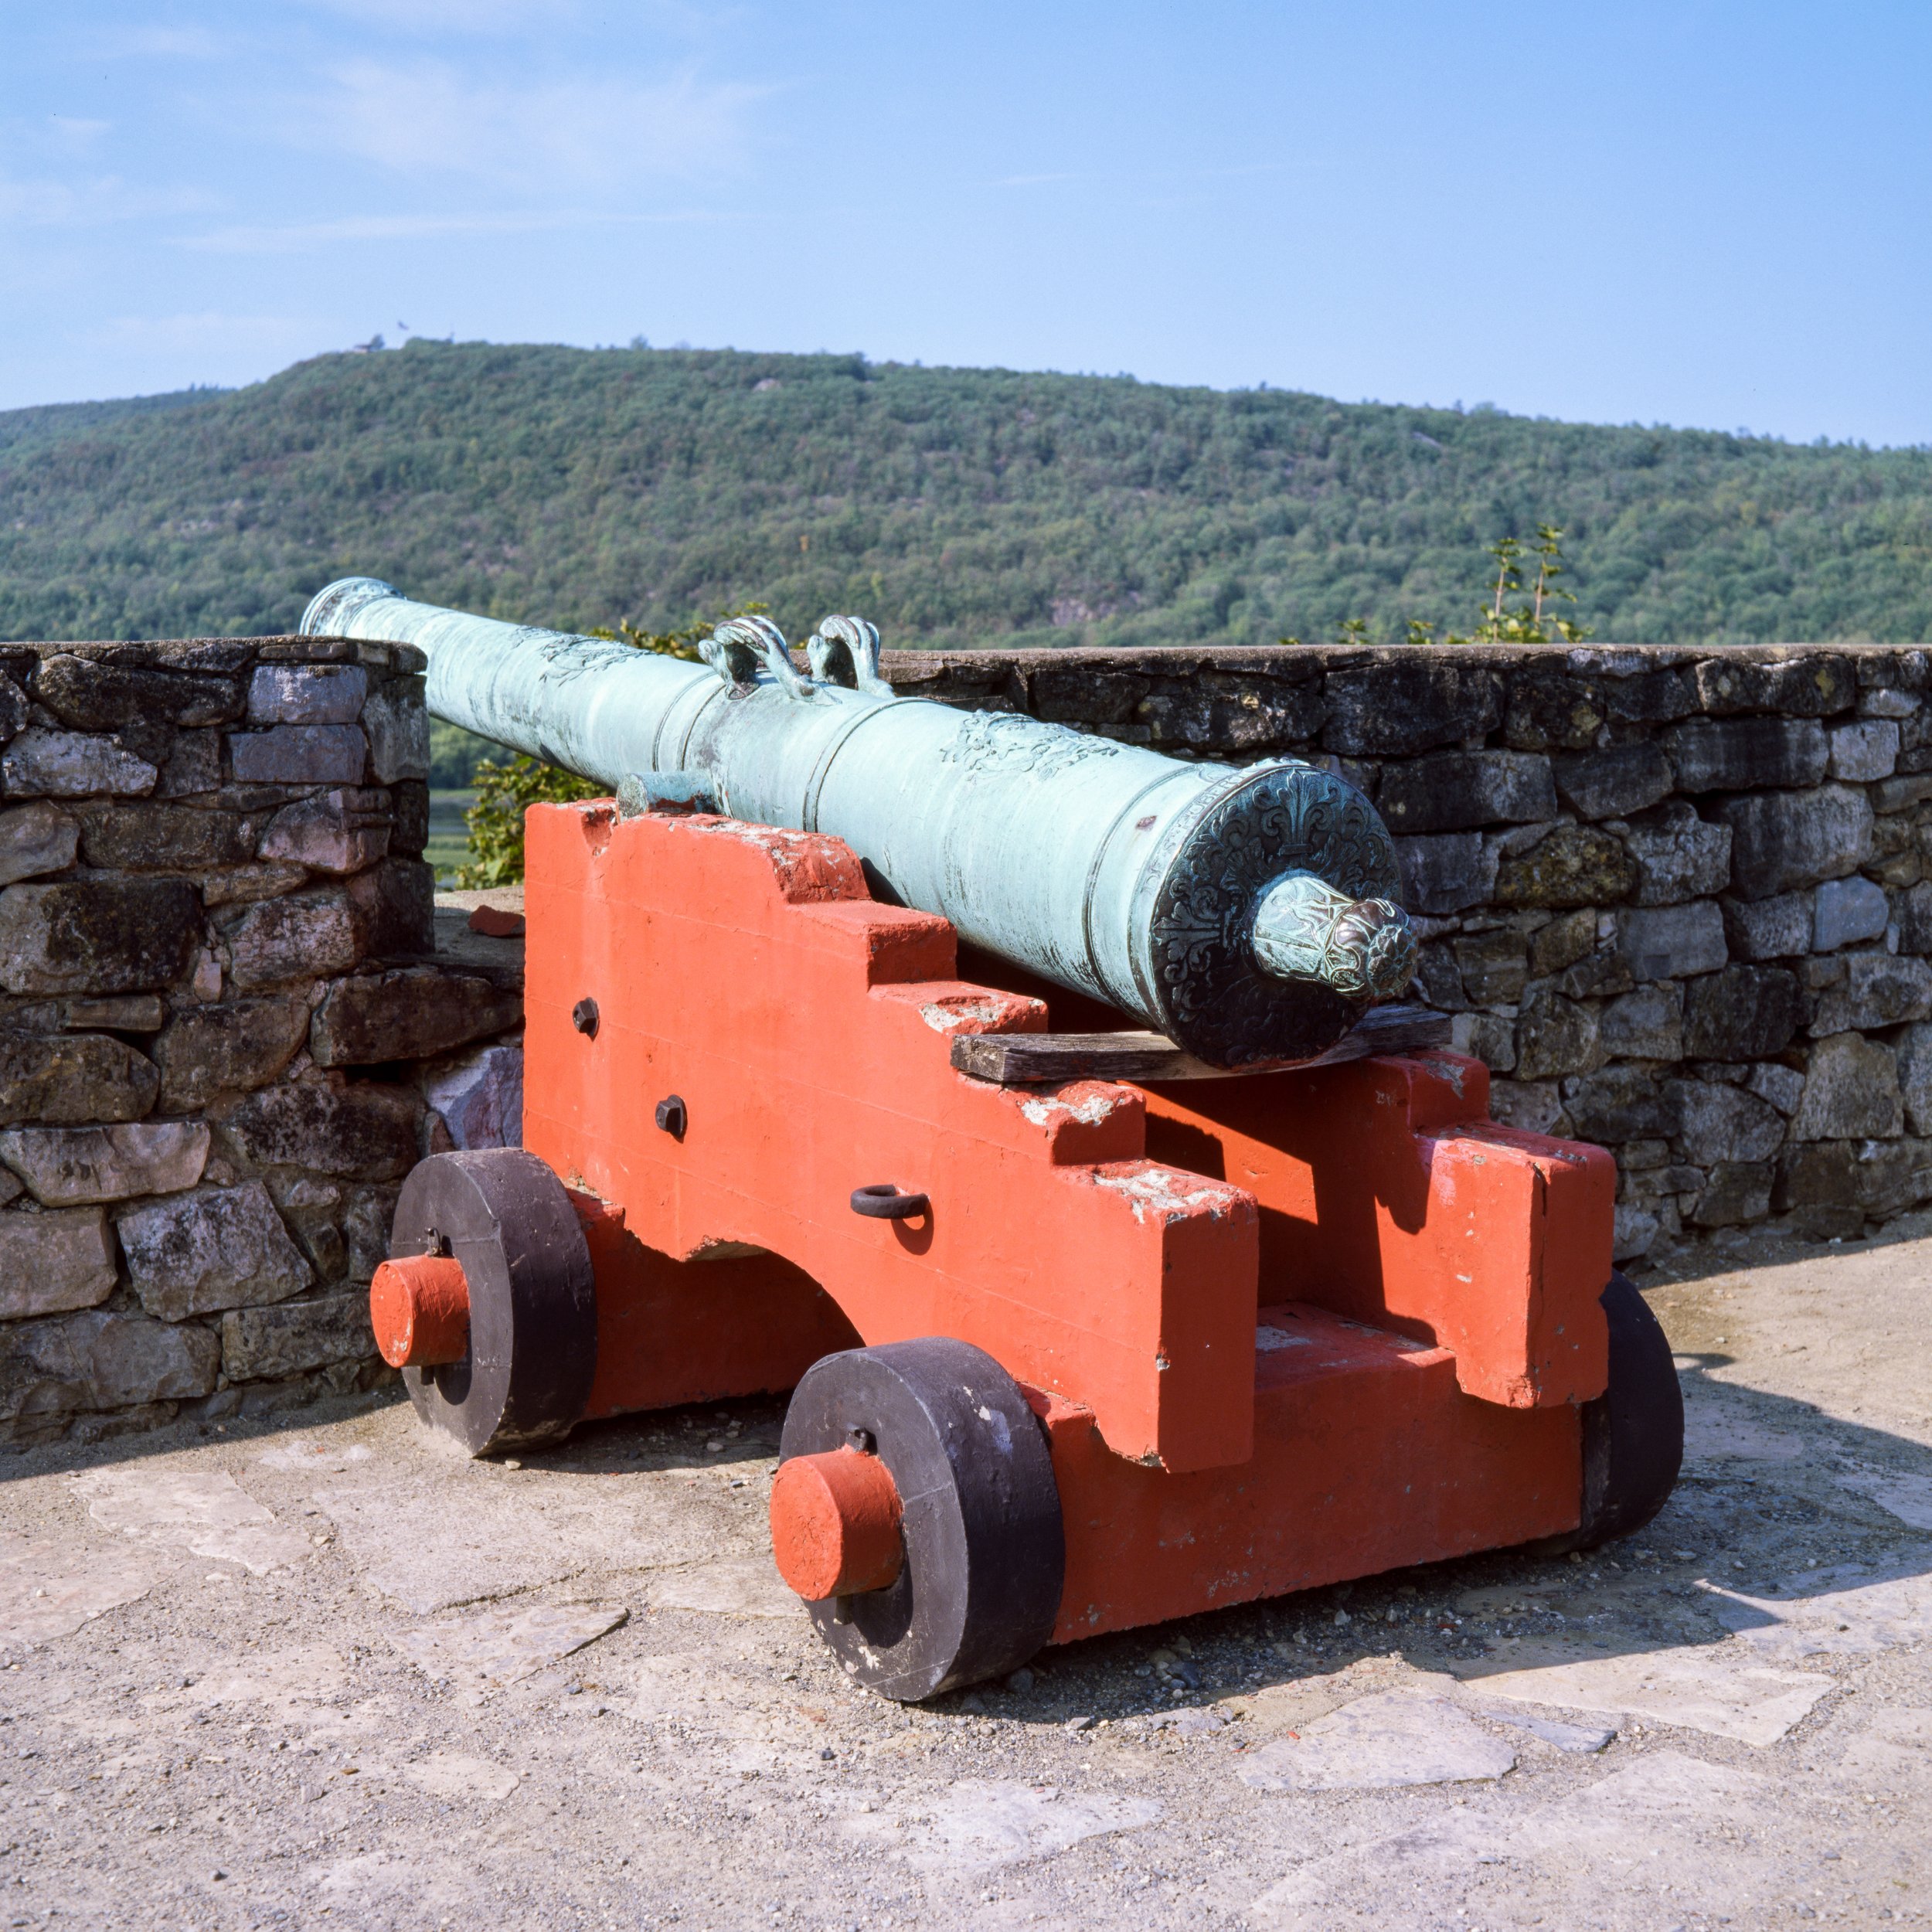
The fort as it stands today is largely a reconstruction. The site was eventually abandoned and salvaged for building materials by locals after it became strategically irrelevant in 1781. Since 1908, ongoing reconstruction of the fort has restored the outer walls, powder magazine, barracks, and outlying support facilities/fortifications. The numerous artillery pieces that adorn the bastions are not original either - after the Americans captured the fort in 1775, they transported most of the artillery south to break the British siege of Boston. Various British and Spanish artillery has been acquired over the years to replace what the Americans moved elsewhere.

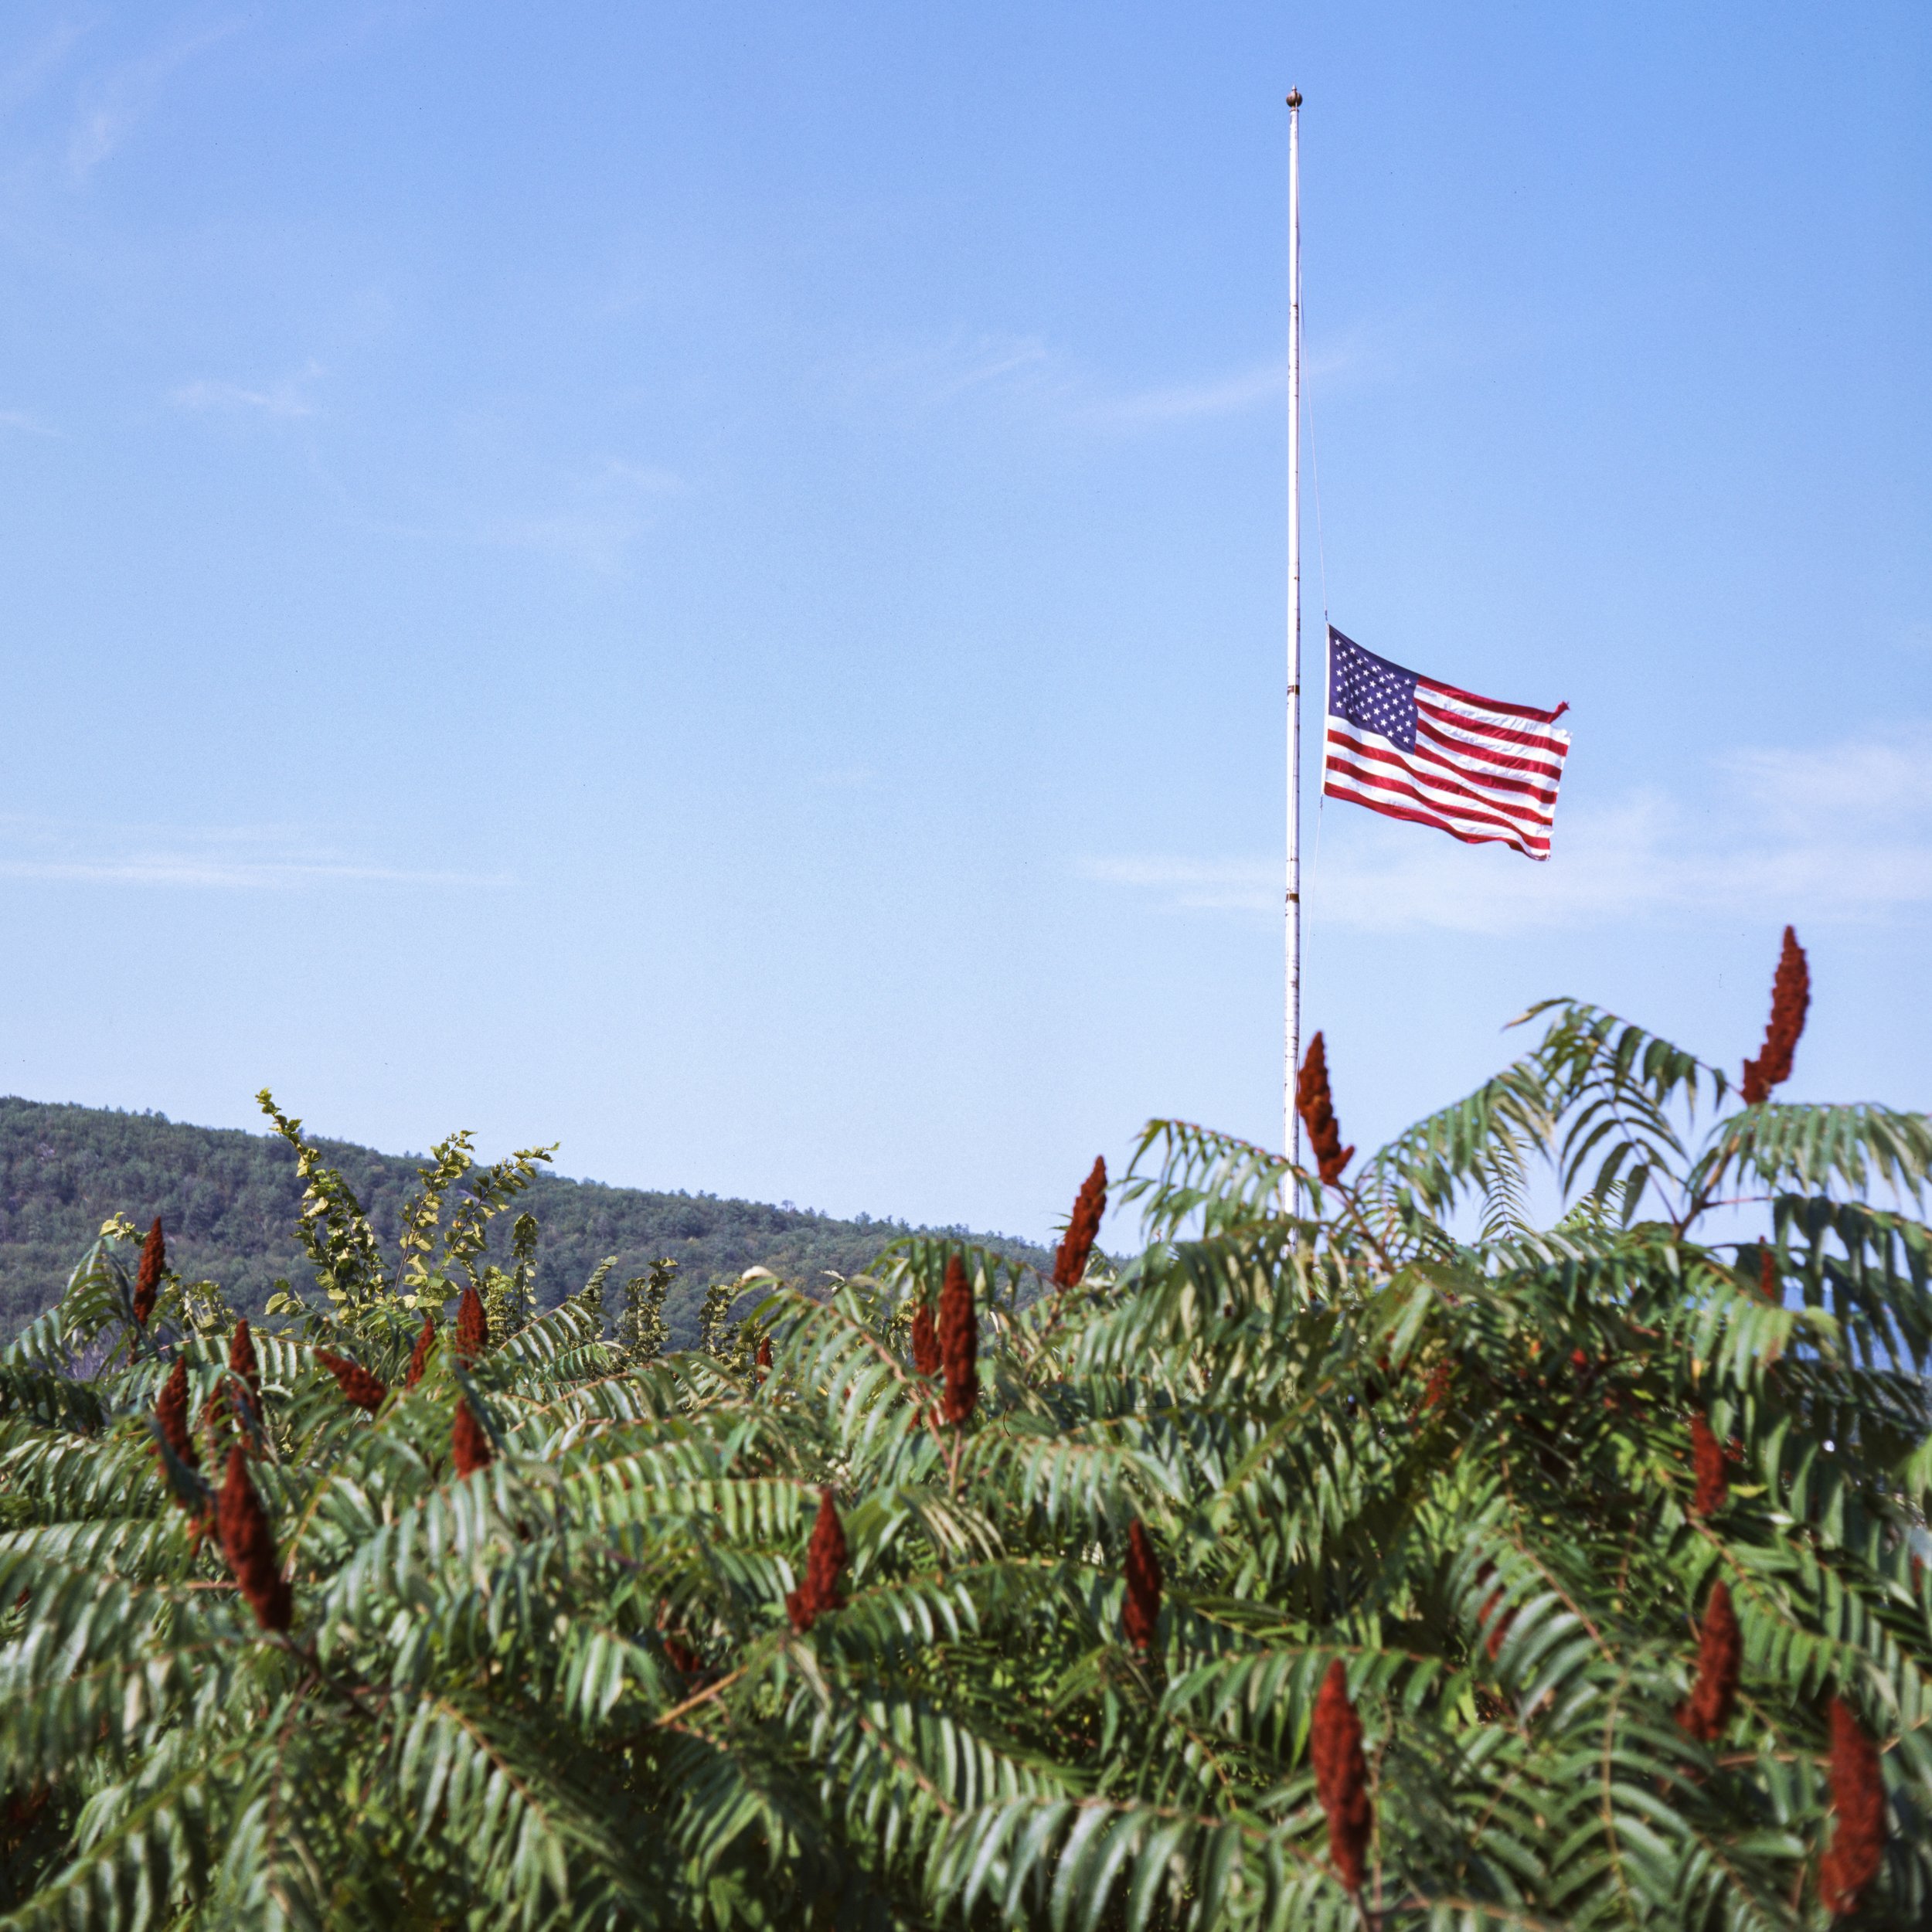
I had the chance to wander around the fort back in September with my Mamiya C22 and a roll of Ektachrome E100 film, the results of which you see here. While the northern redoubt was closed for renovation work, I enjoyed walking through the restored barracks and museum spaces. You can tell the foundation puts lots of work into the grounds and the gardens, which were beautifully restored. If you visit, book a ride on the Carillon - it really helps you get a sense of the lake’s scale, and it’s interesting to see via sonar what lies beneath the surface (everything from sunken Revolutionary War gunboats to railroad boxcars circa 1917). I camped a short distance away from the fort at Putnam Pond Campground, a part of the NY State Parks system.

I was happy with how the film turned out, though I did manage to overexpose 2 of the 12 frames on the roll. I don’t normally shoot color and I have no idea why I picked up a Pro Pack (5 rolls) of this film, but when slide film like Ektachrome works… it works wonders. There’s nothing like picking up your film from the lab, holding the roll up to the light, and seeing the beautiful full color images up close.

Frank Lloyd Wright's Taliesin West

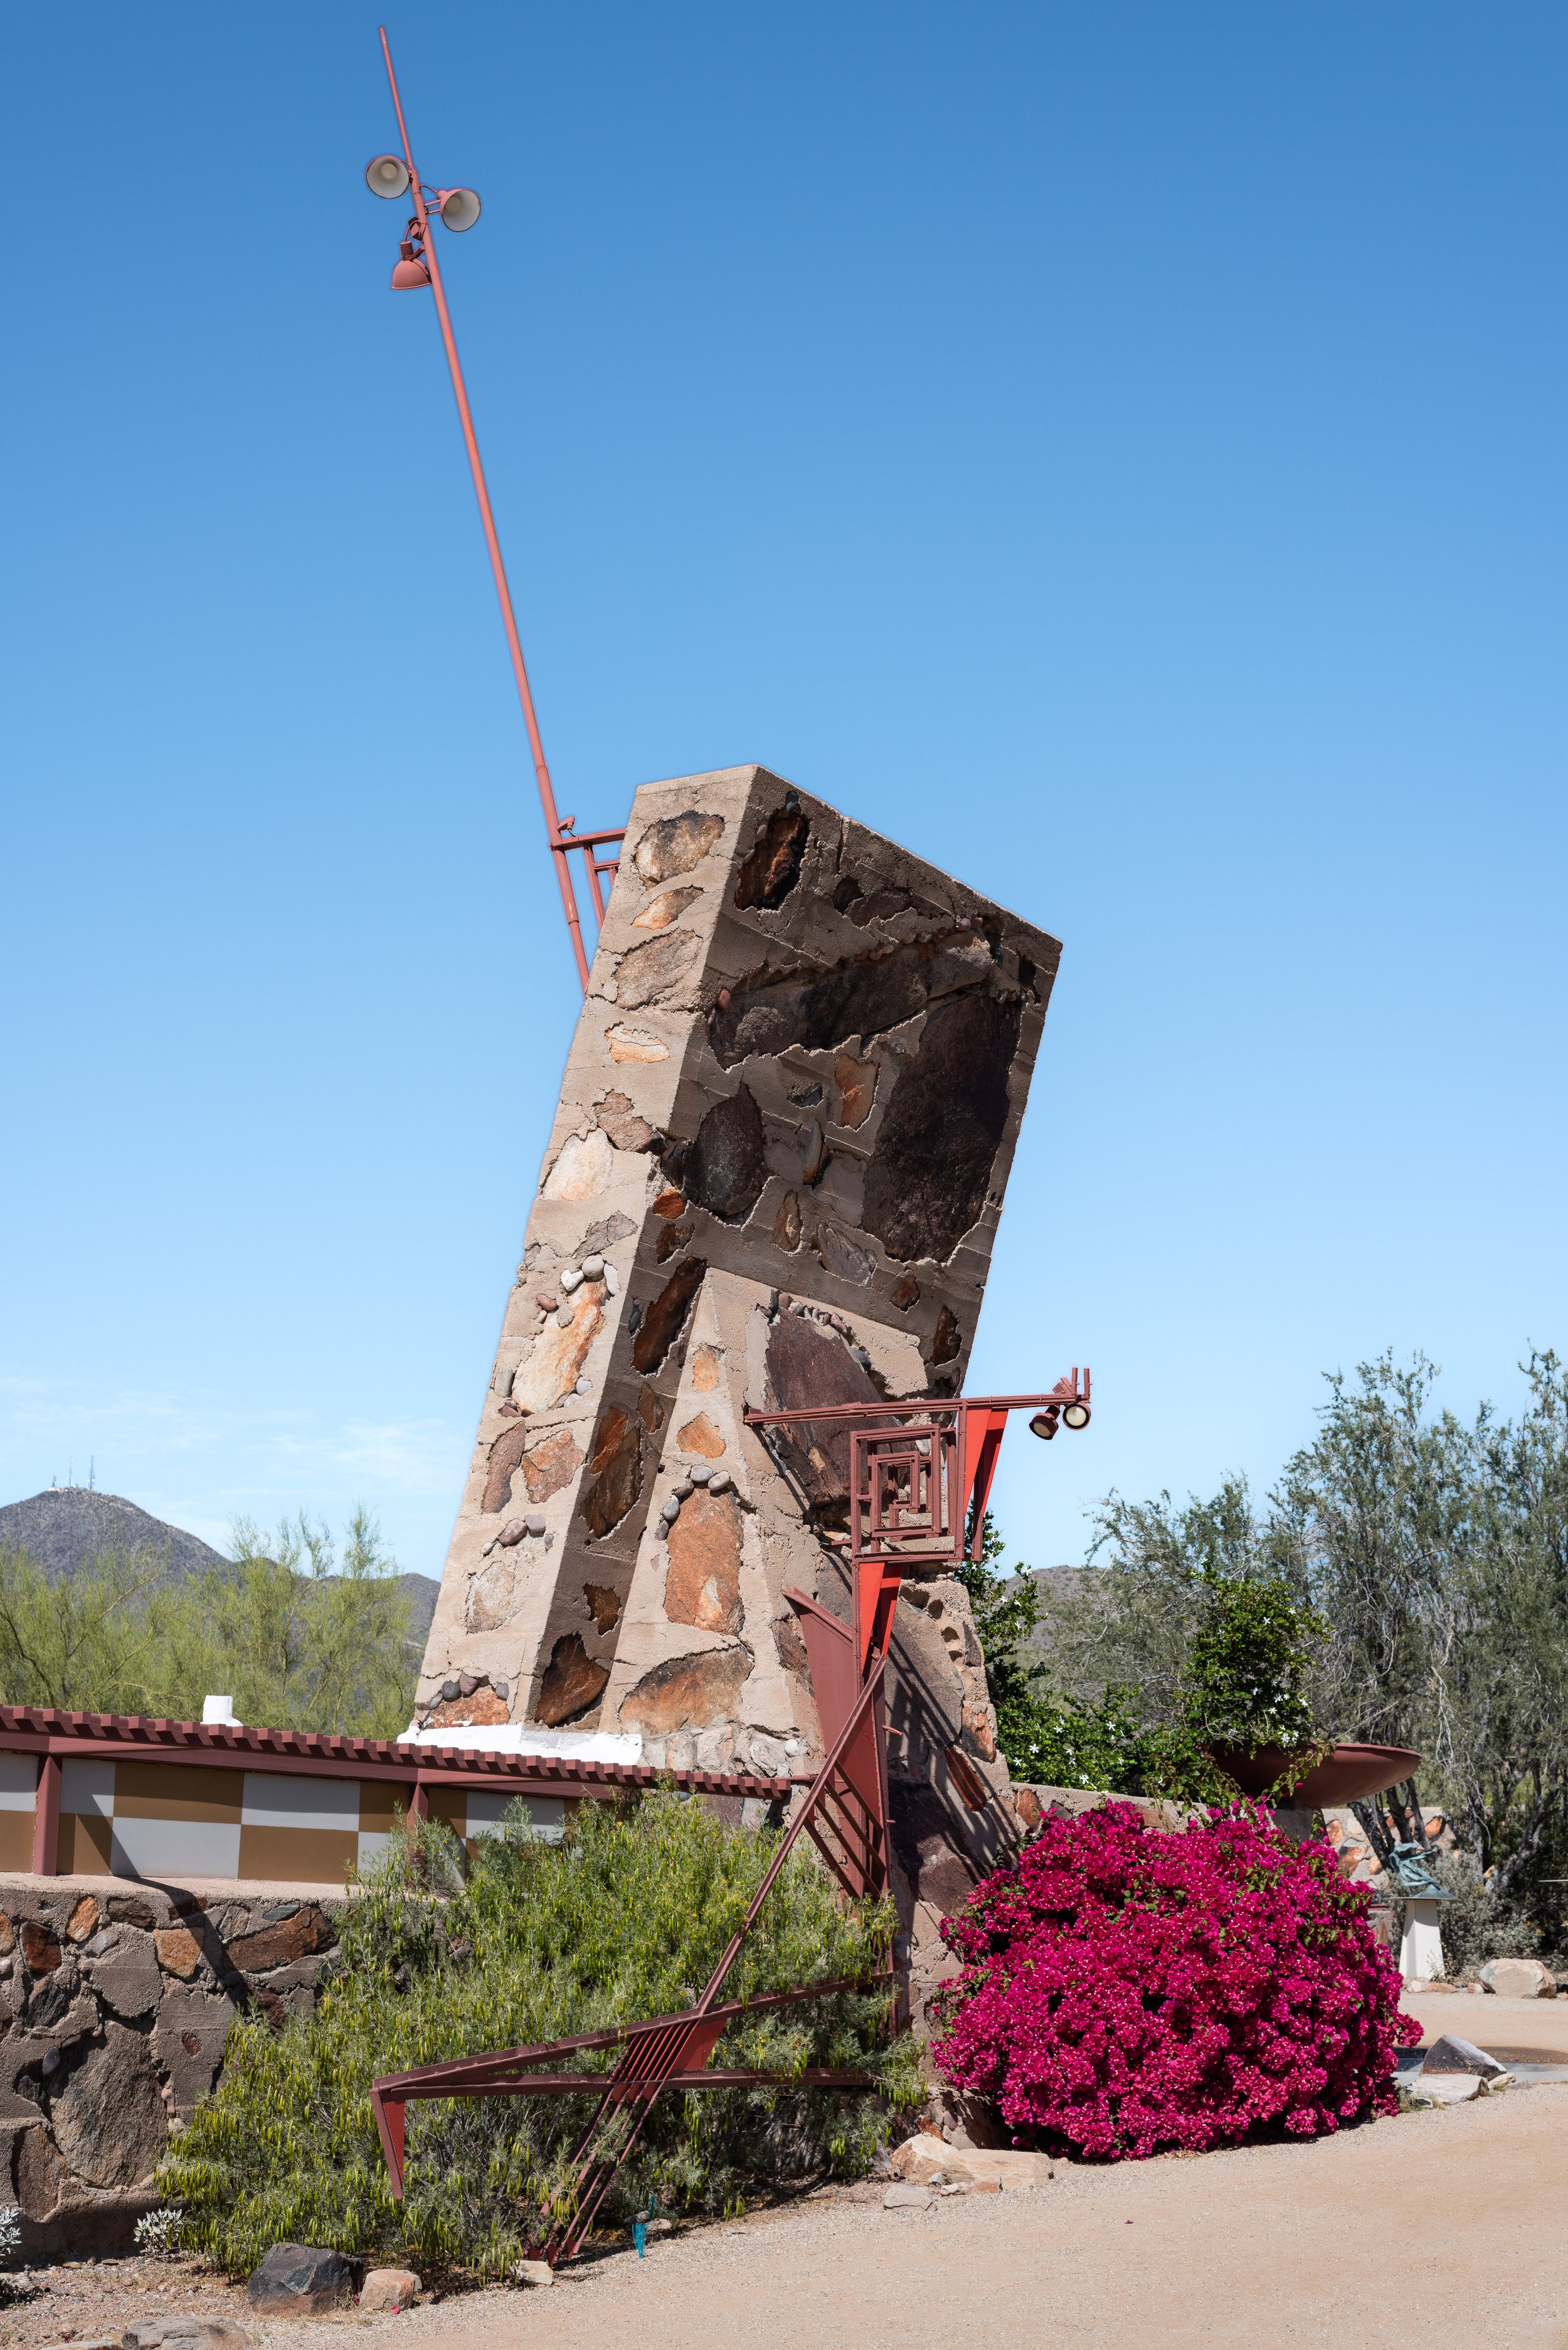
Taliesin West, Frank Lloyd Wright’s summer design campus, began life as a patch of barren desert in Northeast Scottsdale. From 1937 until his death in 1959, Wright and his entourage of apprentices and staff escaped the harsh Wisconsin winters via the Arizona desert. Today, the site is owned and managed by the Frank Lloyd Wright Foundation which offers audio and guided tours of the facilities. I stopped by on my way through Arizona, having flown into Phoenix before heading south to the Mexican border.

The odd glass elements installed around the property were part of an exhibit entitled “Chihuly in the Desert”, which showcased the work of Dale Chihuly. His glass sculptures were also installed at the Desert Botanical Garden I visited earlier in the day.

Wright’s first foray into the Arizona desert was as a rustic camp, dubbed Ocatilla, which was comprised of multiple wood frame cabins with canvas roofs. This first camp was established when Wright and his draftsmen were working on a handful of projects in the Phoenix area. A camp was a more economical solution than costly hotel rooms for the cash-strapped architect, and the total cost for the compound was about a season’s worth of accommodations at a Phoenix area hotel. Ultimately each cabin came out to around $200 ($3,418 in 2022). Wright abandoned the camp as his Phoenix area commissions evaporated with the stock market crash of 1928, .

Taliesin West started life in 1937 when the search began for a permanent winter home for the Wright Fellowship in the Phoenix area. Apprentices would pay $650 per year to work with Wright, but Foundation members found themselves implementing the very designs they were learning to draft. This free labor was instrumental in building everything from the winding access road to the last building completed by Wright in 1957, the Pavilion. Apprentices lived in tents away from the core buildings while construction was in progress, and dormitories weren’t completed until 1941. Even still, there were only 14 rooms in the newly completed Apprentice Court. A communal kitchen and dining room served meals at the camp.

Constructed of materials native to the desert itself, Taliesin West is anchored to the desert through foundations of desert sand, cement, and rocks acquired onsite (dubbed “desert masonry”). Buildings, paths, and spaces are oriented to complement the movement of the sun and showcase desert views. Large boulders featuring petroglyphs are installed prominently throughout the landscape and were scavenged from across the property.

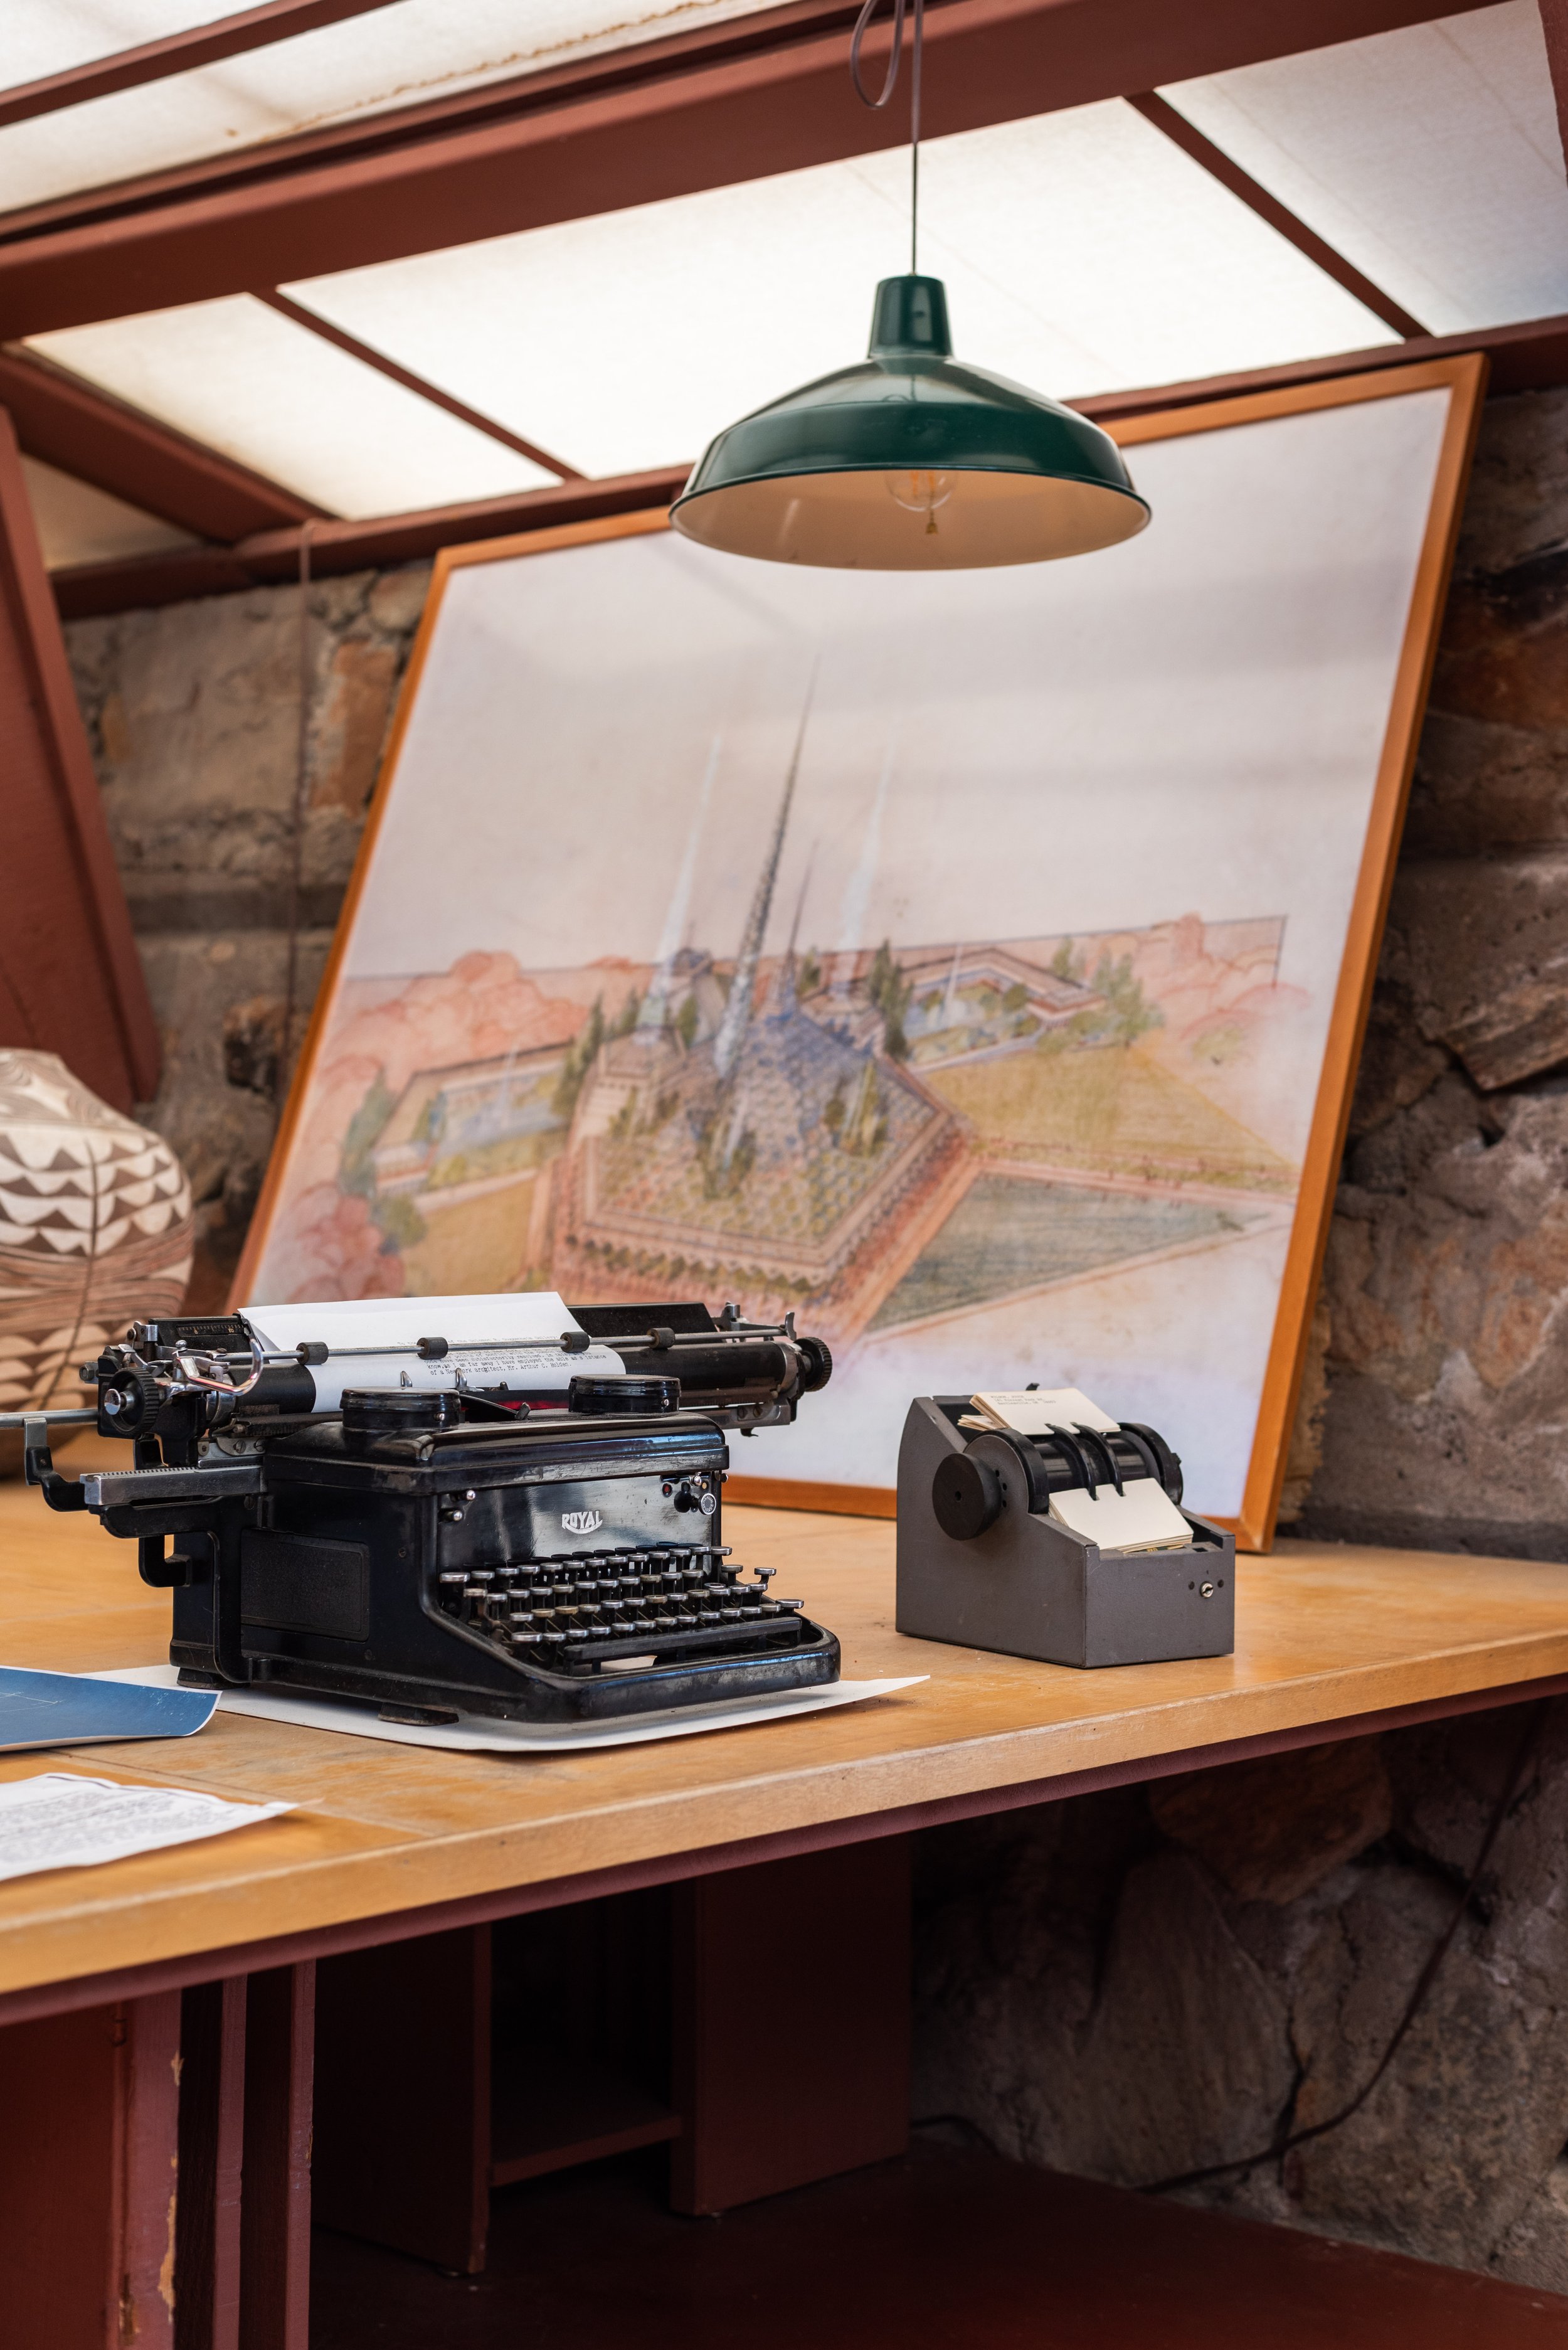
The first structure on the tour, and the oldest occupied structure onsite, is Frank Lloyd Wright’s business office. A larger drafting studio, pictured below, was constructed afterwards as a space for his apprentices to work. Just a short distance from the office is a vault, built of desert masonry and designed to protect the irreplaceable drawings churned out by the Fellowship. To harness the natural lighting and breezes that swept through the desert, Wright experimented with canvas as a roofing material around Taliesin West. Tightly stretched over redwood frames, the canvas proved to have poor durability in the Arizona summers. After his death, fiberglass and acrylic panels replaced canvas to improve performance while maintaining the benefits of a retractable roof.

The audio tour I followed takes you on a loop through Taliesin West, starting in Wright’s business office and continuing to the garden room, the Kiva (a theater turned library, then back into a theater), the drafting studio, and finally the Cabaret. Like any Wright crafted building, the design element of “compression and release” is pervasive. I found myself ducking left and right just to squeeze into the Garden Room or under the portal heading to the Kiva. The tactic certainly works, making the space you’re about to enter feel bigger than it is, but I don’t think Wright designed these structures with 6’ tall people in mind. If I could take a trip back I’d do a longer guided tour, which wasn’t an option on the day I visited. I think that’s one of the reasons I enjoyed my tour of the Robbie House in Chicago more than Taliesin West - the audio tour just doesn’t provide the same experience as a knowledgeable guide.